In today’s digital world, the clarity and size of what appears on your monitor can significantly impact your productivity and comfort. Whether you’re working on detailed spreadsheets, watching high-definition videos, or gaming, having the right display size and resolution is crucial. This article explores how to change the display size on your monitor, focusing on LED displays, and explains the underlying technology that influences your viewing experience.
Understanding LED Displays: What Makes Them Different?
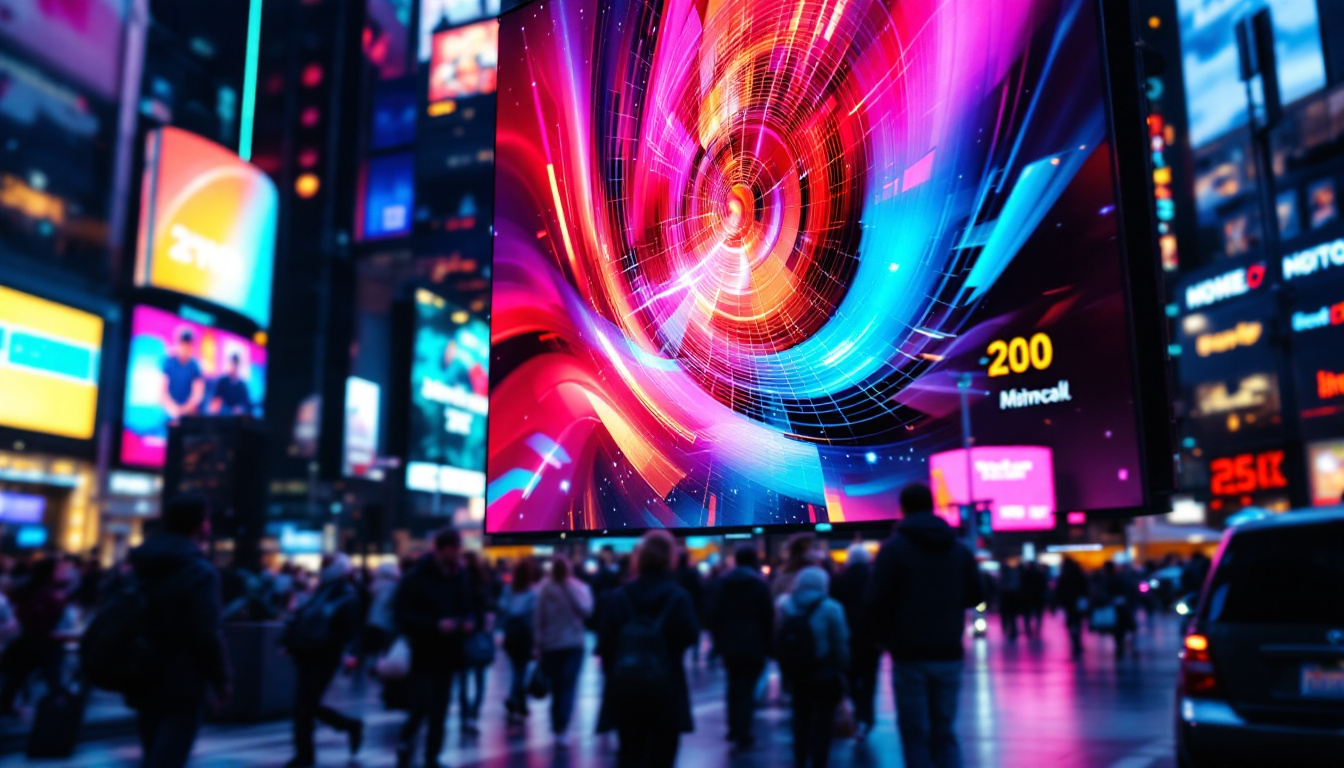
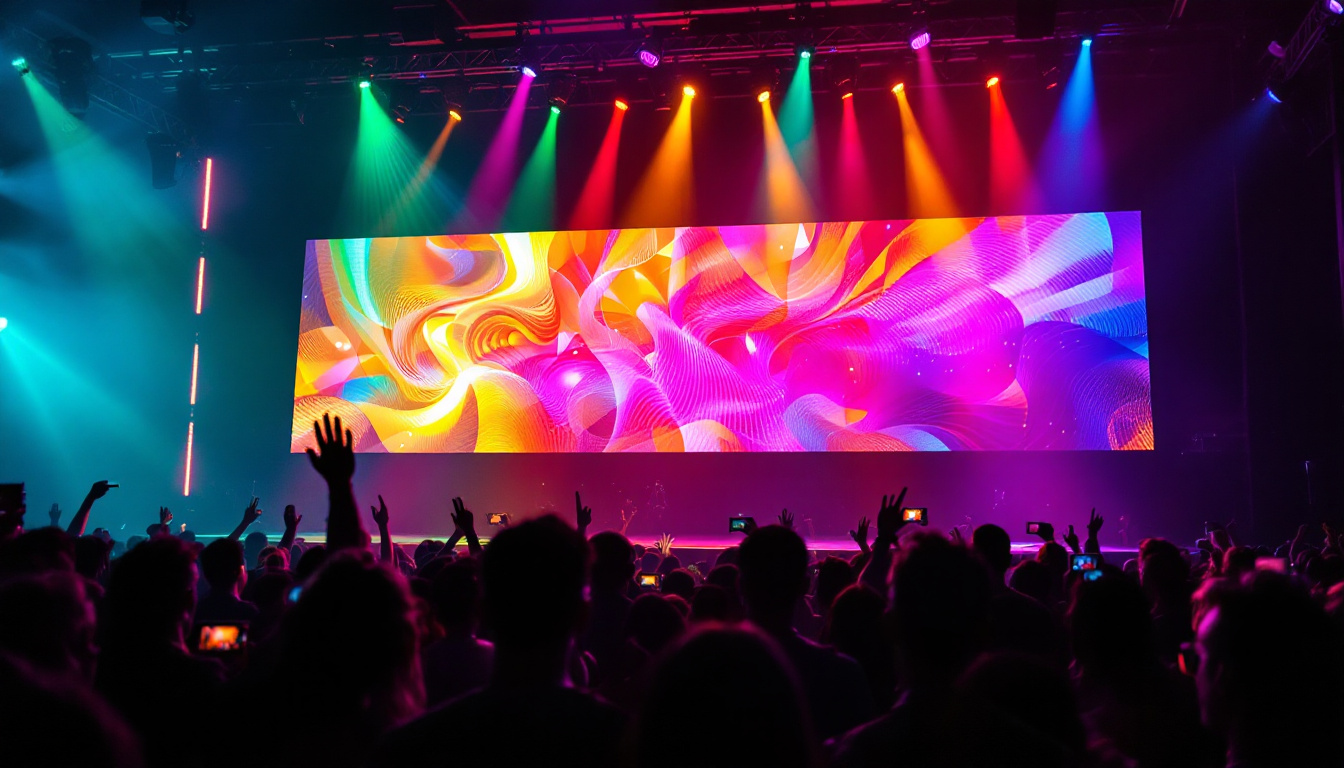
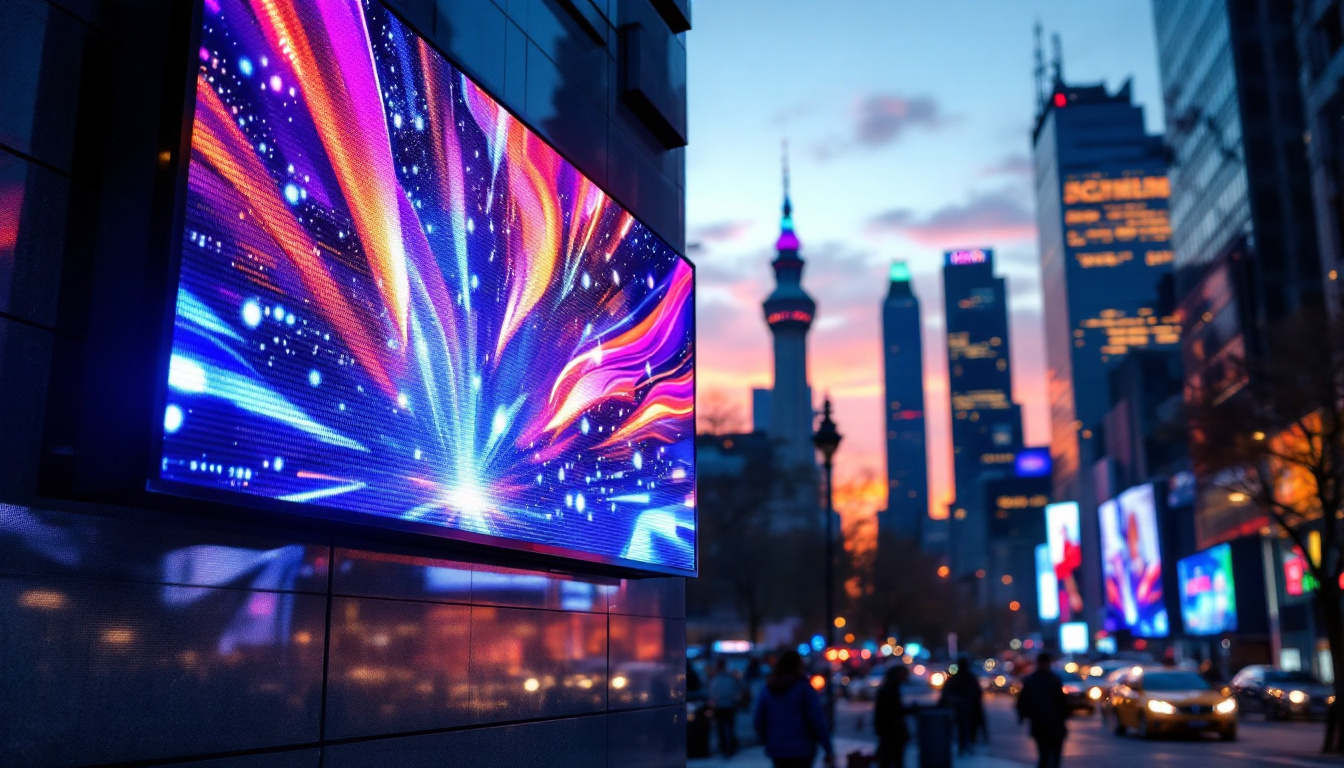
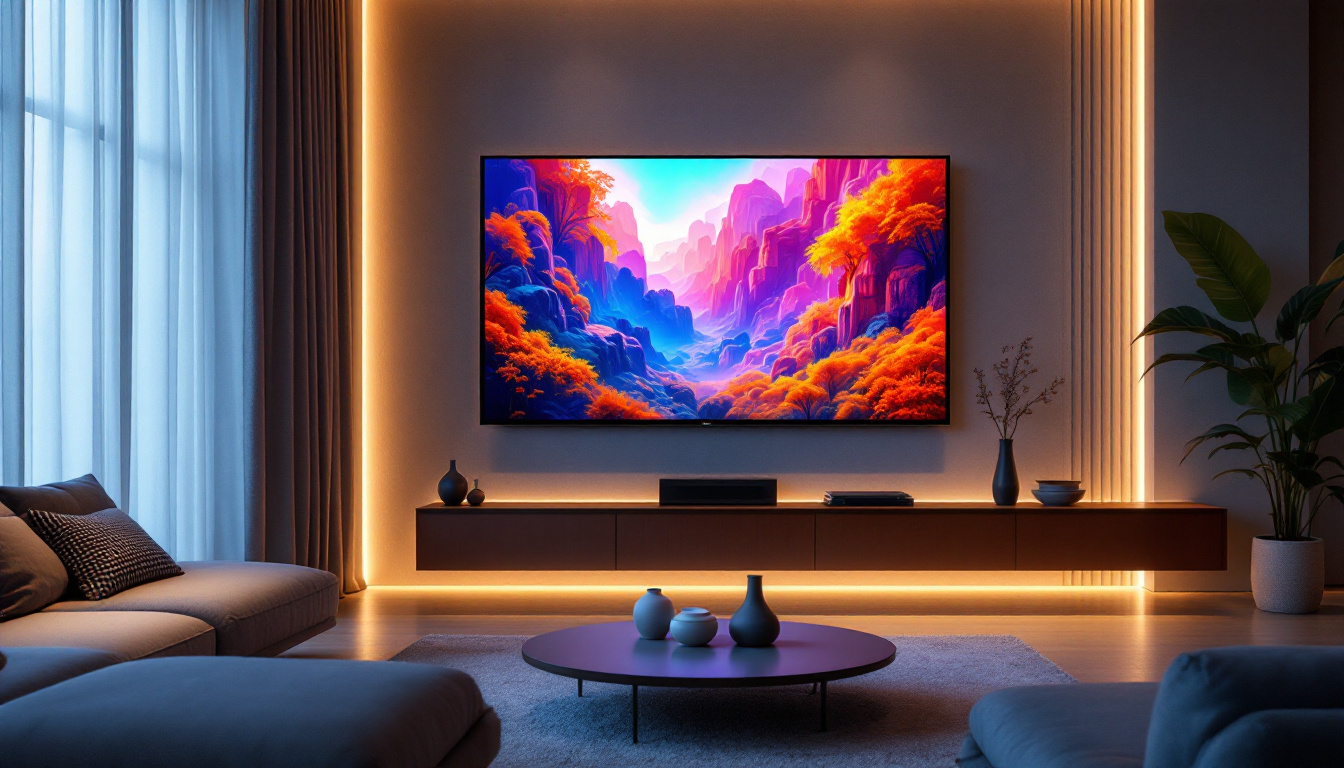
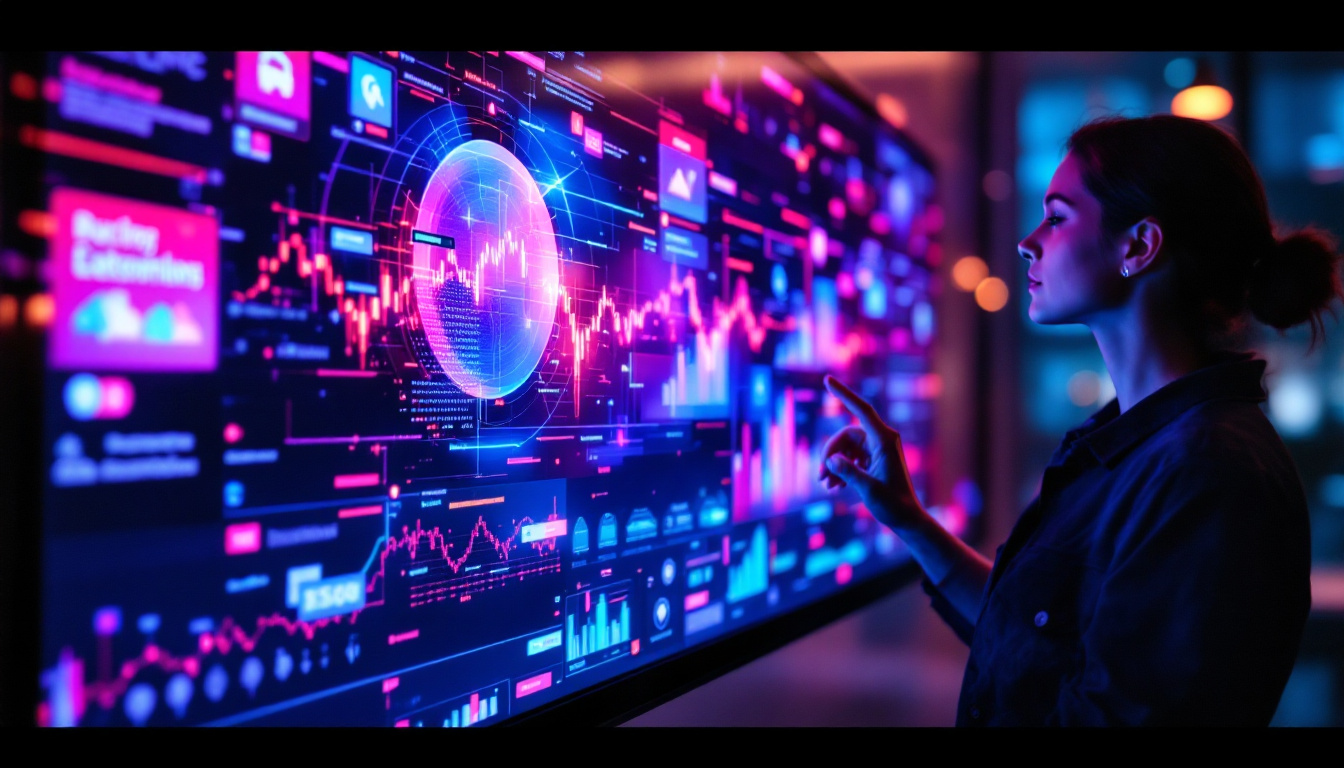
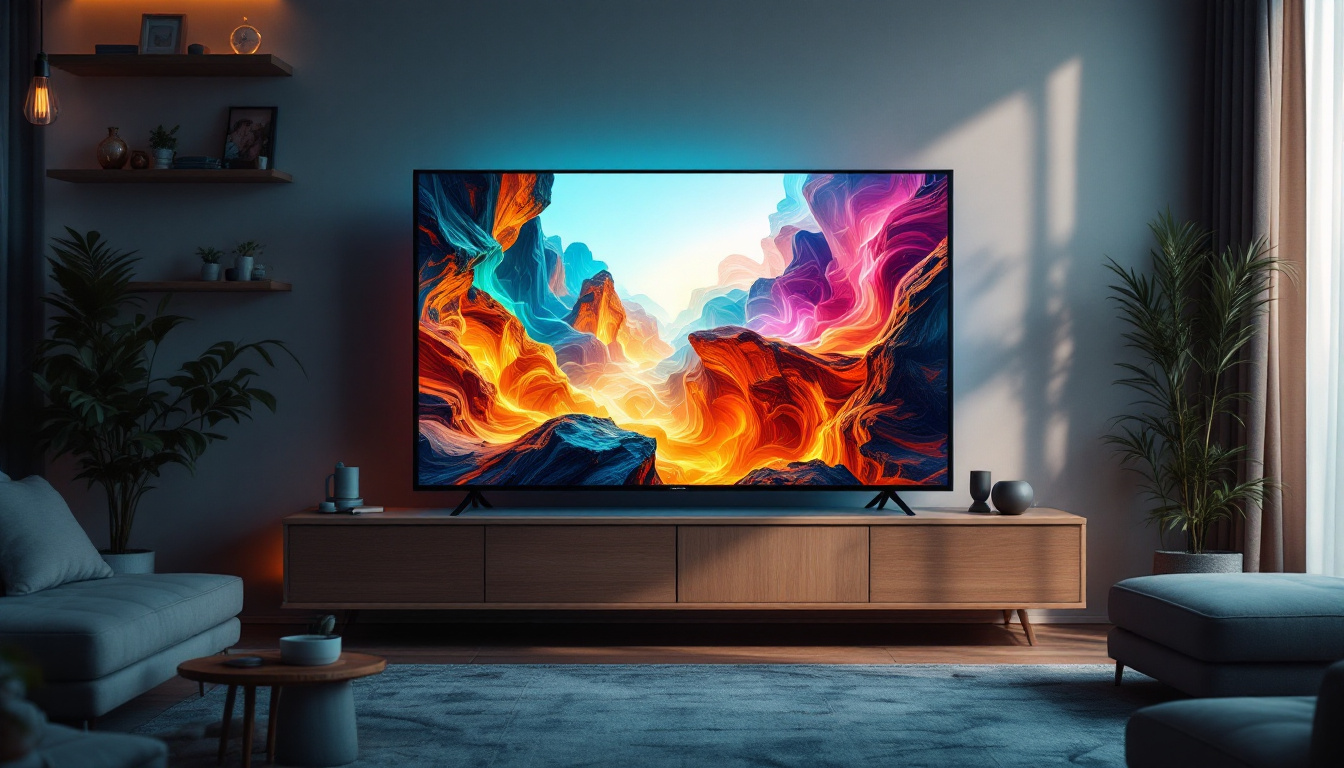
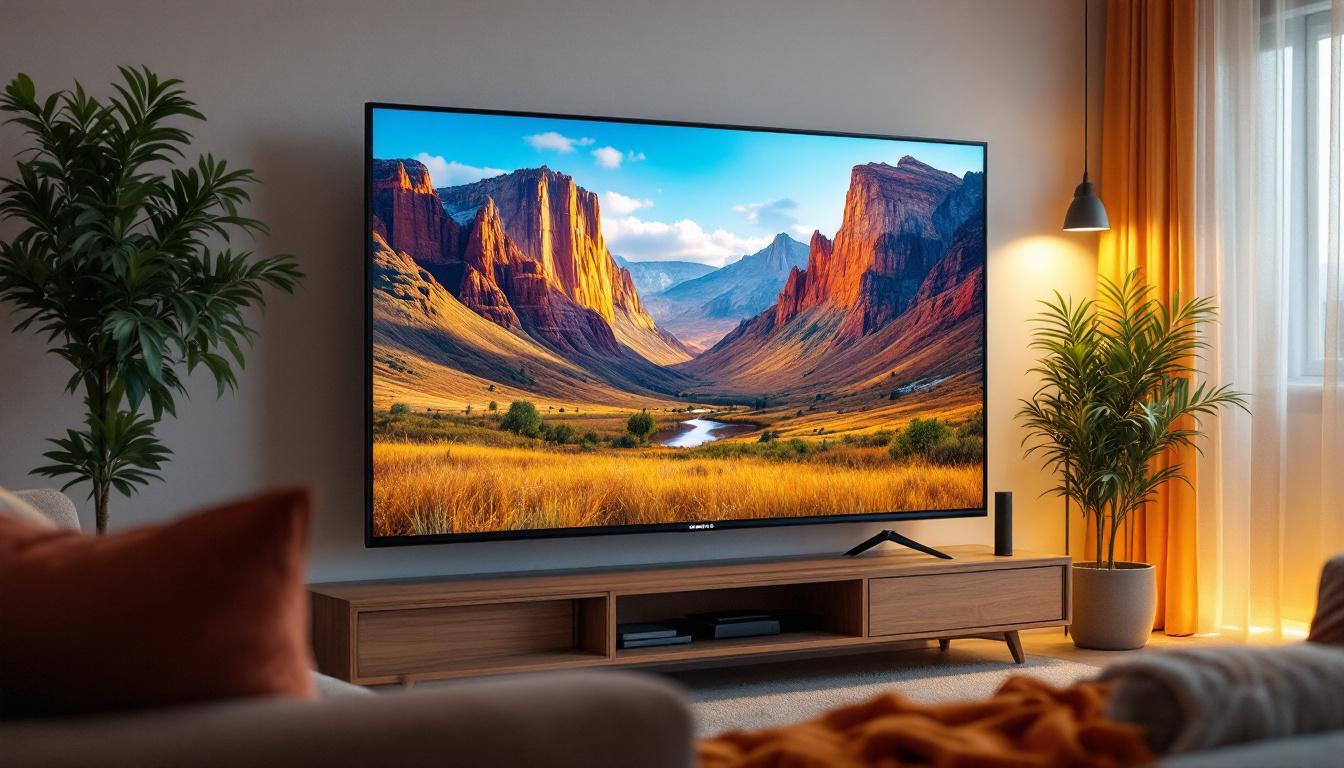
LED (Light Emitting Diode) displays have become the standard for modern monitors due to their superior brightness, energy efficiency, and color accuracy compared to older LCD or CRT screens. Unlike traditional LCDs that use cold cathode fluorescent lamps (CCFL) for backlighting, LED displays use light-emitting diodes, which allow for thinner panels and better control over brightness and contrast.
One key advantage of LED technology is its ability to produce vibrant colors and deep blacks, enhancing the overall image quality. This makes LED monitors particularly popular among graphic designers, video editors, and gamers who demand precise color reproduction and sharp visuals.
Understanding the technology behind LED displays is important because it influences how you can adjust the display size and resolution. For instance, LED monitors often support a wide range of resolutions and scaling options, allowing users to customize their viewing experience without compromising image quality.
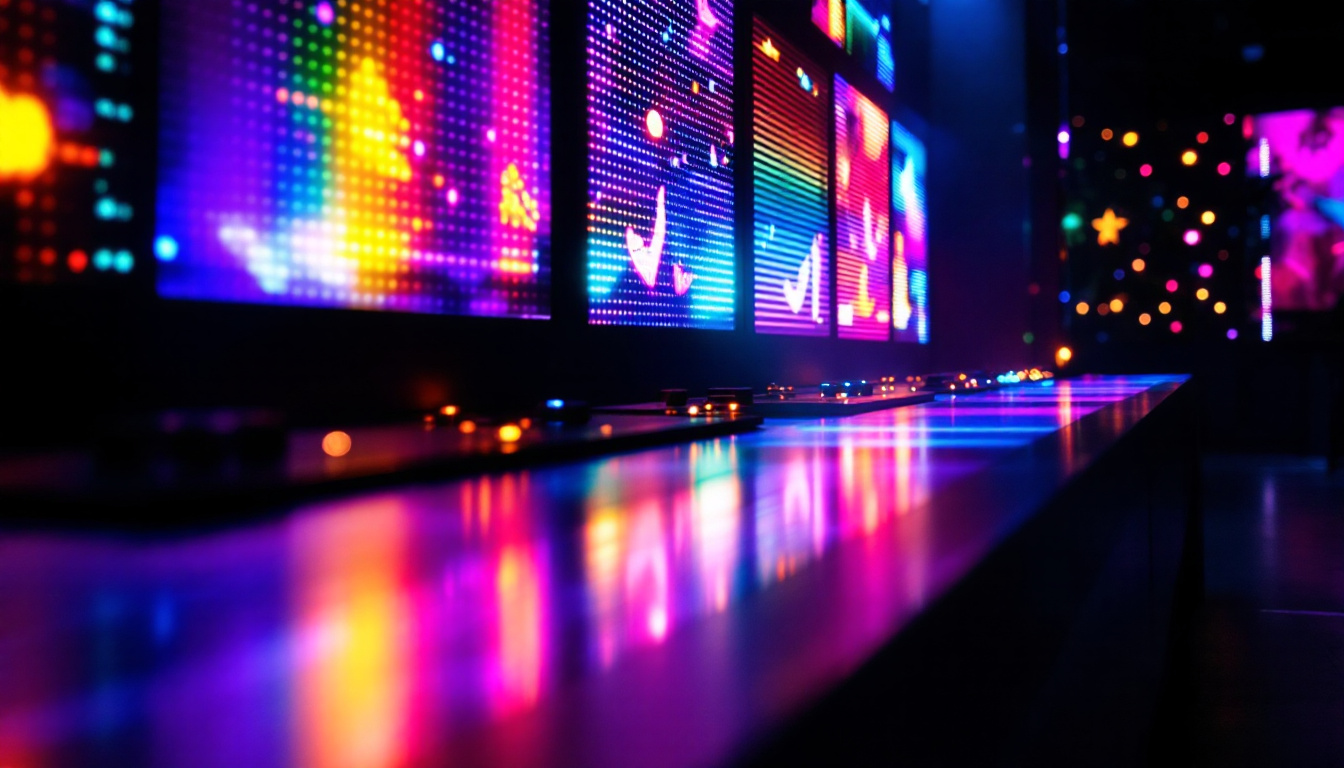
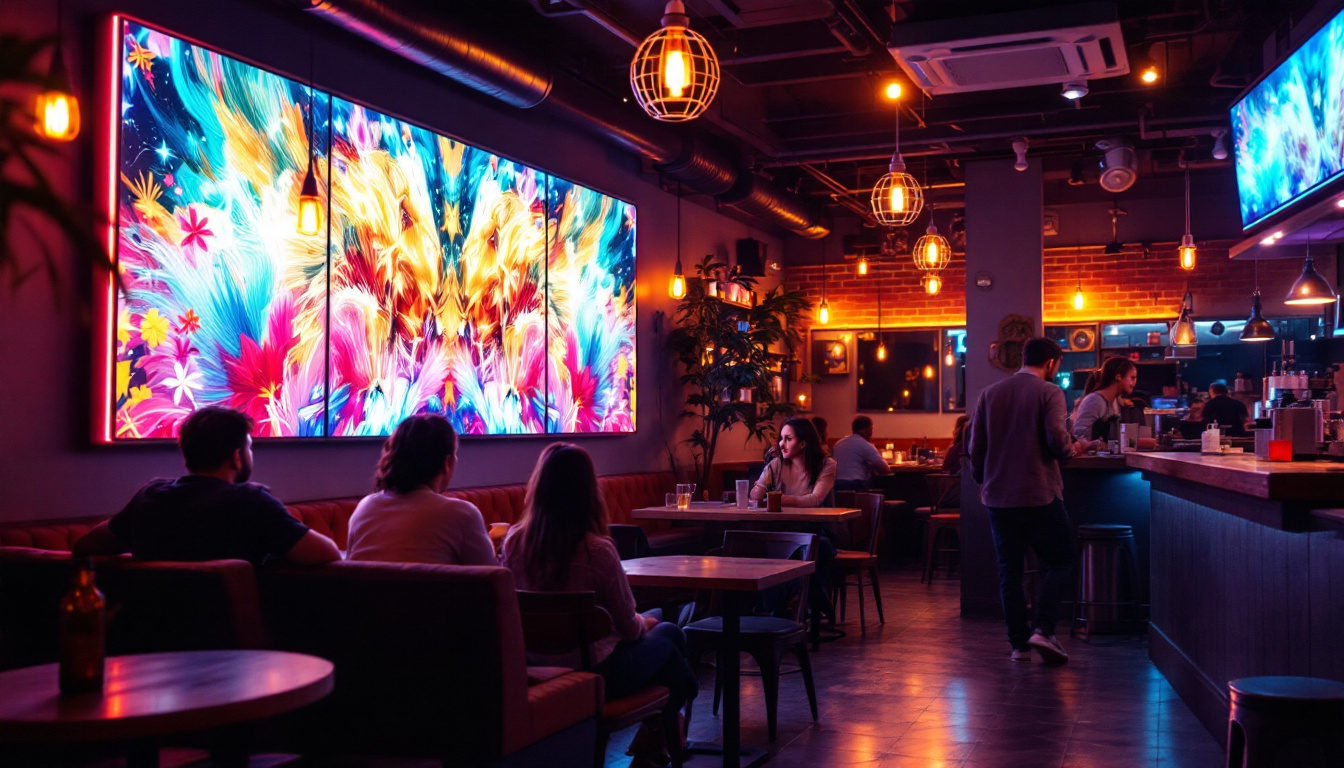
Moreover, LED displays come in various types, including OLED (Organic Light Emitting Diode) and QLED (Quantum Dot Light Emitting Diode), each offering unique benefits. OLED displays, for example, are known for their exceptional contrast ratios and the ability to produce true blacks since they can turn off individual pixels completely. This results in an immersive viewing experience, particularly in dark environments. On the other hand, QLED technology enhances brightness and color volume using quantum dots, making it an excellent choice for brightly lit rooms.
Additionally, the longevity and durability of LED displays are noteworthy. Unlike traditional screens that may suffer from burn-in or color fading over time, LED technology is designed to maintain its performance over extended periods. This reliability is crucial for professional environments where consistent visual output is necessary, such as in control rooms or during live broadcasts. Furthermore, the energy efficiency of LED displays not only reduces electricity costs but also contributes to a lower carbon footprint, aligning with the growing emphasis on sustainability in technology.
Why Adjusting Display Size Matters
Display size adjustment is not just about making things bigger or smaller on your screen. It plays a vital role in eye comfort, accessibility, and productivity. For example, users with visual impairments may need larger icons and text, while professionals working with detailed graphics might require a higher resolution with smaller elements to see more content at once.
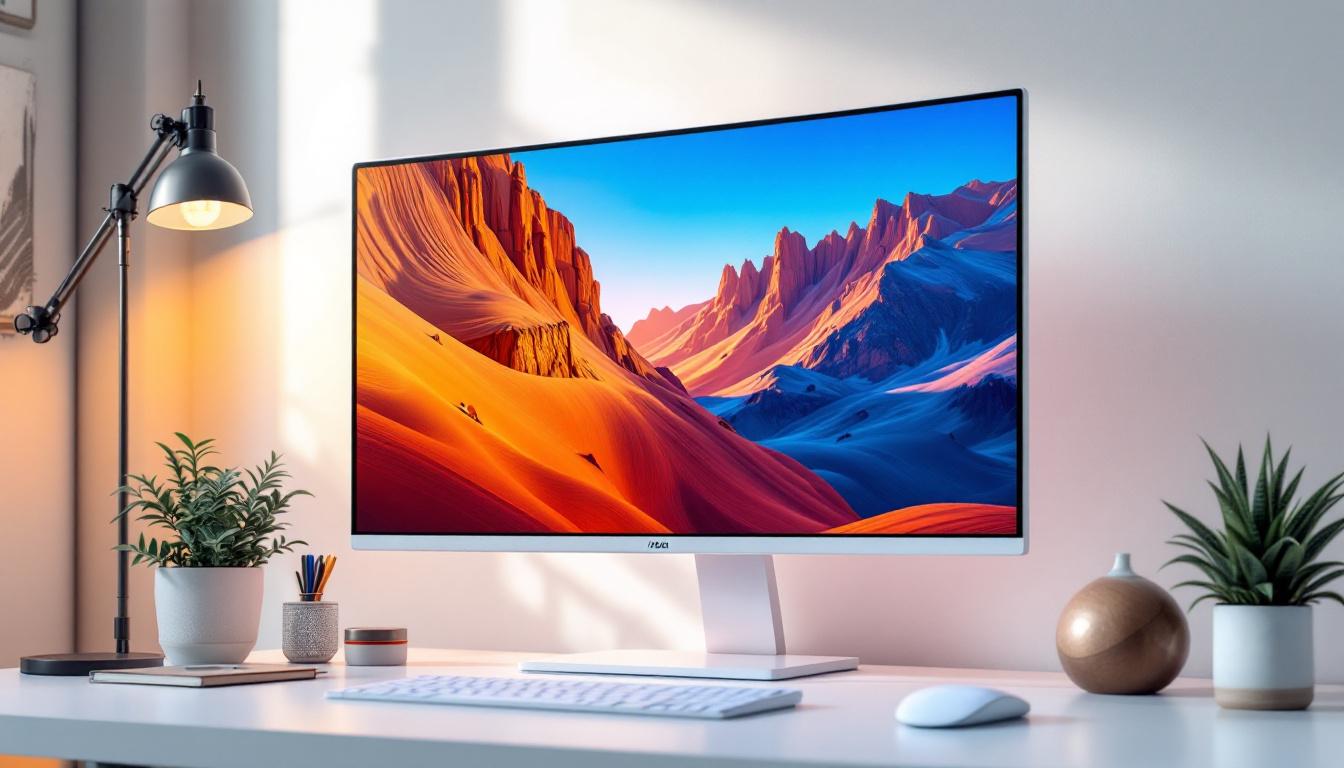
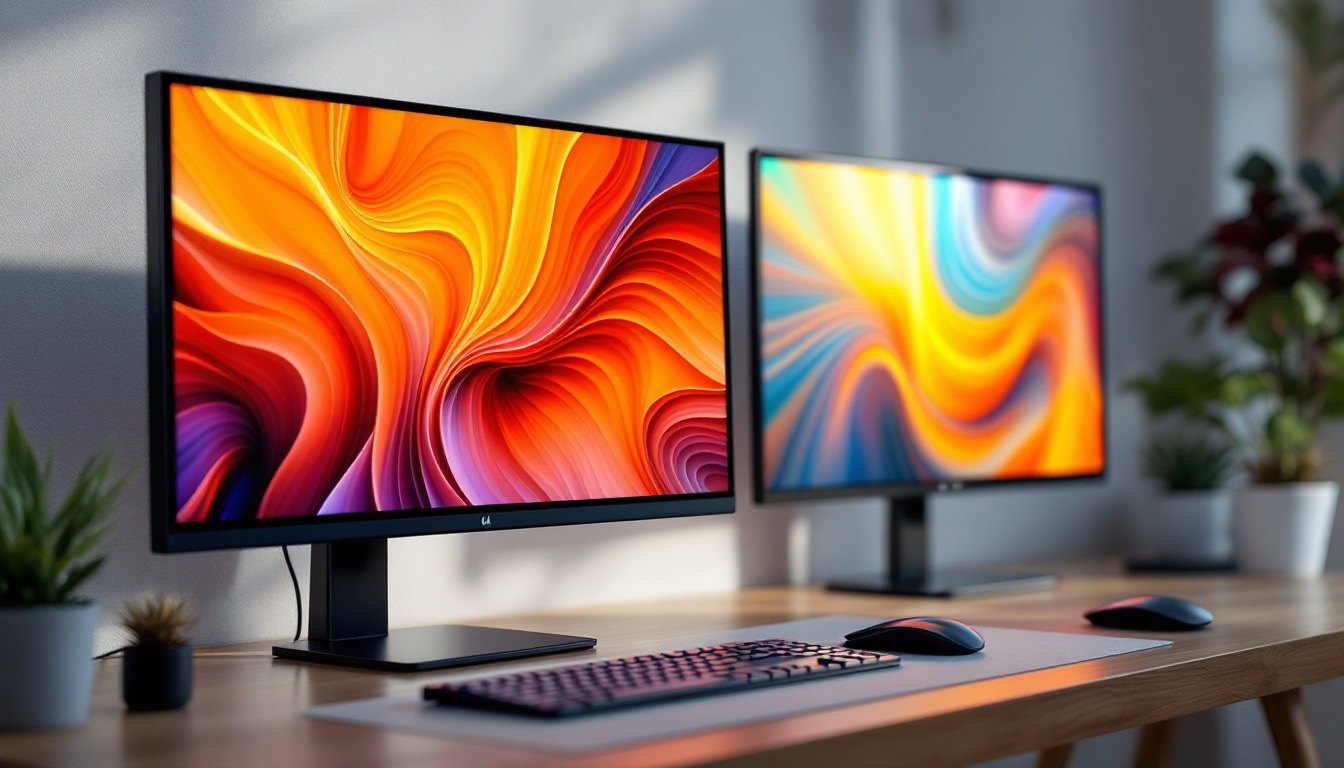
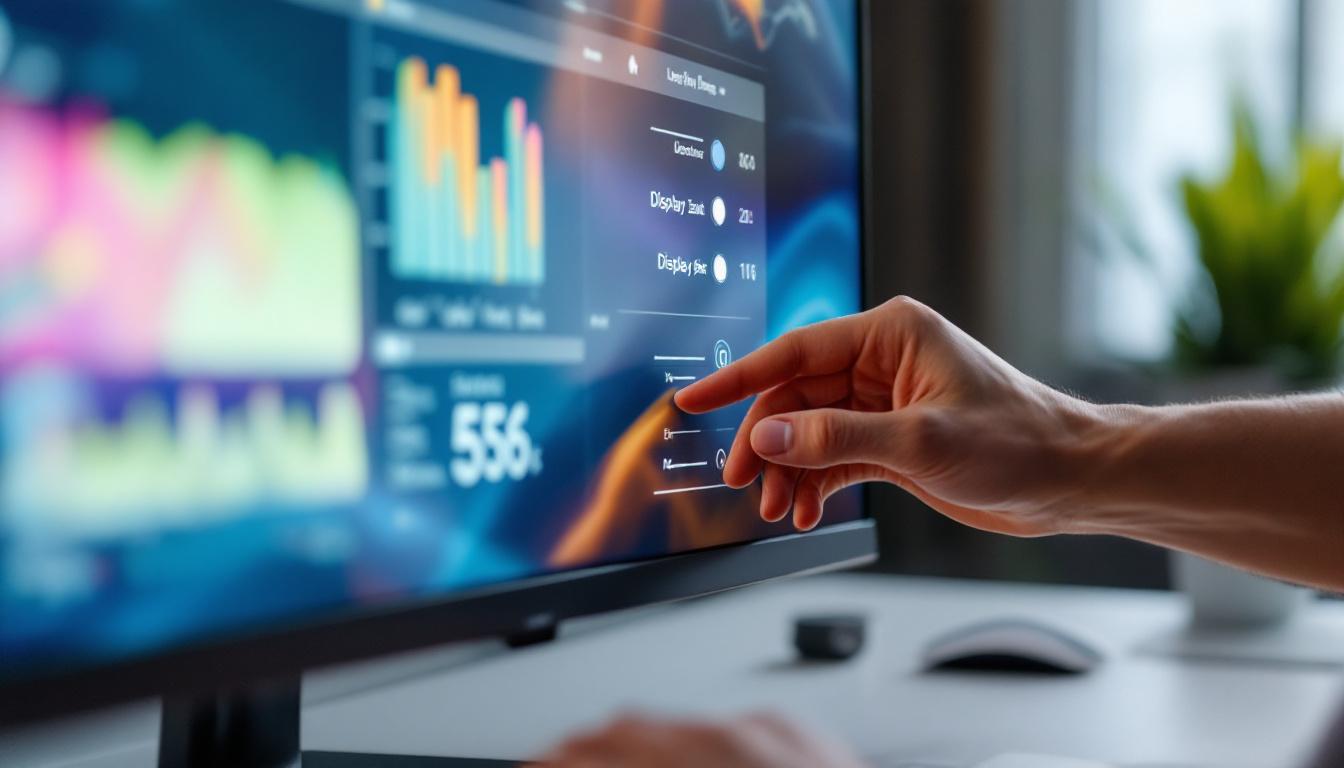
Moreover, the physical size of your monitor combined with its resolution determines the pixel density, measured in pixels per inch (PPI). A higher PPI means sharper images and text, but it can also make interface elements appear smaller. Adjusting display size through scaling settings helps balance clarity and usability.
In addition, different applications and operating systems handle display scaling differently. Understanding how to change display size ensures that your user interface remains consistent and comfortable across various programs and devices.
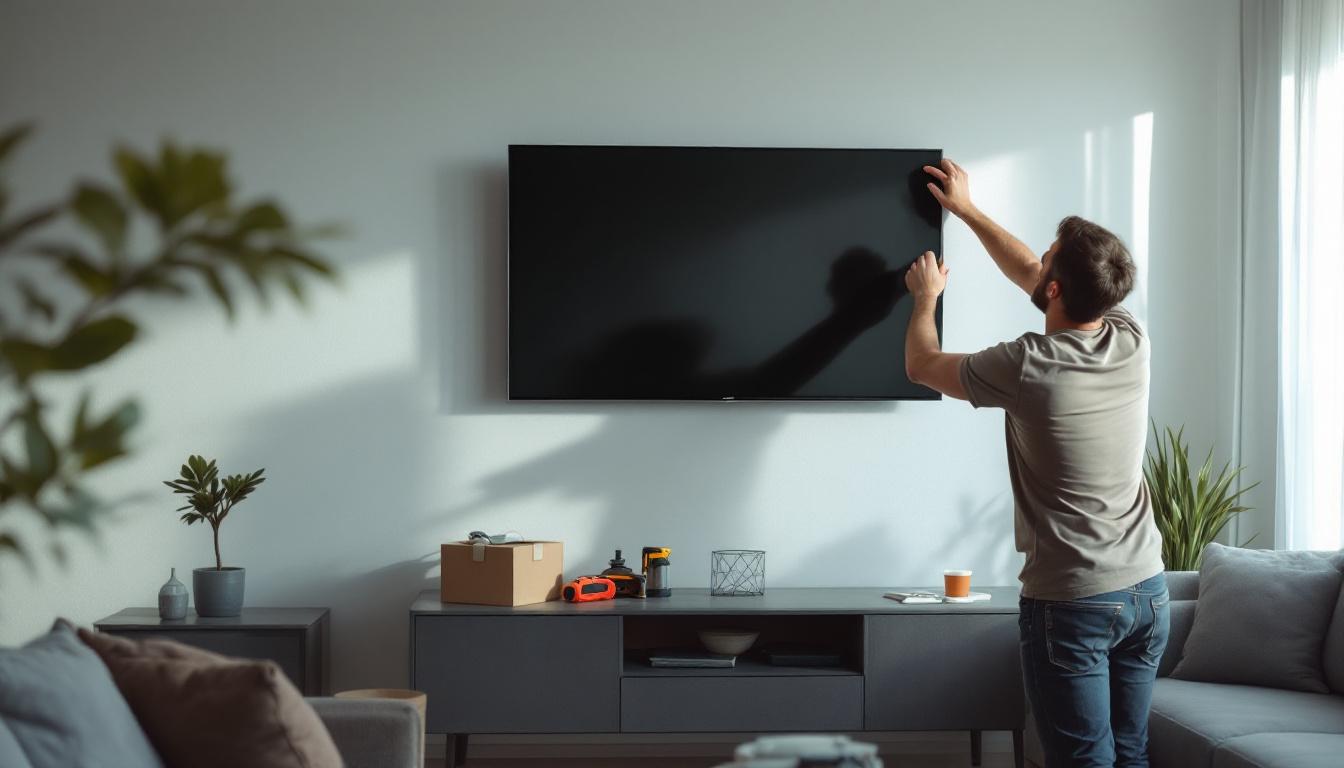
How to Change Display Size on Your LED Monitor
Using Windows Display Settings
For most users, the simplest way to adjust display size on an LED monitor is through the operating system’s built-in settings. On Windows 10 and Windows 11, the process is straightforward:
- Right-click on the desktop and select Display settings.
- Under the Scale and layout section, you will see a dropdown menu labeled Change the size of text, apps, and other items.
- Select a scaling percentage that suits your needs, such as 125%, 150%, or 175%. The system will automatically adjust the size of text and UI elements accordingly.
- If the preset options don’t work perfectly, click on Advanced scaling settings and enter a custom scaling size between 100% and 500%.
- Sign out and sign back in for the changes to take full effect.
This method changes the scaling across the entire system, making it ideal for users who want a consistent experience across all applications. However, some older programs may not scale well, leading to blurry or misaligned interfaces.
Adjusting Resolution for Display Size
Another way to affect display size is by changing the screen resolution. Resolution refers to the number of pixels displayed on the screen horizontally and vertically (e.g., 1920×1080). Higher resolutions mean more pixels and typically smaller UI elements, while lower resolutions increase the size of everything but reduce sharpness.
To change resolution on Windows:
- Go to Display settings as described above.
- Scroll down to Display resolution.
- Select a resolution from the dropdown menu. Windows usually marks the recommended resolution for your monitor.
- Apply the changes and confirm if the new resolution works well.
It’s important to note that using a resolution lower than your monitor’s native resolution can cause images and text to appear blurry or pixelated. Therefore, adjusting scaling is often preferable to changing resolution for display size purposes.
MacOS Display Size Adjustment
For Mac users, changing display size is handled through the System Preferences panel:
- Click on the Apple menu and open System Preferences.
- Select Displays.
- Under the Display tab, choose Scaled instead of Default for display.
- Pick from options such as “Larger Text” or “More Space” to increase or decrease the size of text and UI elements.
MacOS uses a different scaling system that maintains sharpness while adjusting size, thanks to Retina display technology on many Apple devices. This results in a smoother experience when changing display size compared to some Windows setups.
Advanced Tips for Optimizing Display Size on LED Monitors
Calibrating Your Monitor for Best Results
Adjusting display size is only one aspect of optimizing your viewing experience. Calibrating your monitor ensures that colors, brightness, and contrast are accurate, which can affect how comfortable it is to read and work for extended periods.
Many LED monitors come with built-in calibration tools or software. Additionally, you can use third-party calibration devices that measure color accuracy and adjust settings accordingly. This is especially important for professionals in photography, design, and video production.
Using Third-Party Software for Custom Scaling
If the default operating system options don’t meet your needs, several third-party applications offer more granular control over display size and scaling. Programs like DisplayFusion or Custom Resolution Utility allow users to create custom resolutions and scaling profiles tailored to specific tasks or preferences.
These tools can be particularly useful for multi-monitor setups, where different screens may have varying native resolutions and sizes. Customizing scaling per monitor ensures a seamless workflow without constant resizing or window adjustments.
Considerations for Gaming and Multimedia
Gamers often need to balance display size and resolution to achieve optimal performance and visual quality. Higher resolutions require more powerful graphics hardware, which can impact frame rates. Some games allow in-game scaling and resolution adjustments independent of the system settings.
For multimedia consumption, such as watching movies or streaming videos, adjusting display size can enhance immersion. Many media players support zoom and scaling features that let you customize the viewing area without affecting the entire system’s display settings.
Common Issues When Changing Display Size and How to Fix Them
Blurry Text and UI Elements
One common problem after changing scaling settings is blurry text or interface elements. This often happens when applications are not optimized for high-DPI (dots per inch) displays or when custom scaling is used.
To fix this on Windows:
- Right-click the problematic application’s shortcut or executable file.
- Select Properties and go to the Compatibility tab.
- Click on Change high DPI settings.
- Enable Override high DPI scaling behavior and select System (Enhanced) from the dropdown.
- Apply changes and restart the application.
This forces Windows to handle scaling for that app, often improving clarity.
Incorrect Resolution or Display Not Supported
Sometimes, users may select a resolution that their monitor does not support, resulting in a blank screen or error message. To avoid this, always choose resolutions marked as recommended or supported by your monitor’s specifications.
If your screen goes black after changing resolution, most systems revert to the previous setting automatically after a few seconds. If not, rebooting in safe mode allows you to reset display settings.
Scaling Not Applying to Some Apps
Certain legacy applications do not respond to system-wide scaling changes, causing inconsistent UI sizes. In such cases, check if the app has its own zoom or scaling options. Alternatively, updating the software to the latest version or contacting the developer for support may resolve the issue.
Conclusion: Achieving the Perfect Display Size on Your LED Monitor
Changing the display size on your LED monitor is a crucial step toward enhancing your digital experience. Whether for work, gaming, or casual use, adjusting scaling and resolution helps reduce eye strain, improve readability, and tailor your interface to your preferences.
Understanding the technology behind LED displays and the tools available within your operating system empowers you to make informed decisions. Remember to prioritize native resolution for sharpness, use scaling to adjust size, and calibrate your monitor for accurate colors and brightness.
With the right settings and occasional troubleshooting, your LED monitor can deliver a comfortable, visually pleasing experience that meets the demands of modern computing.
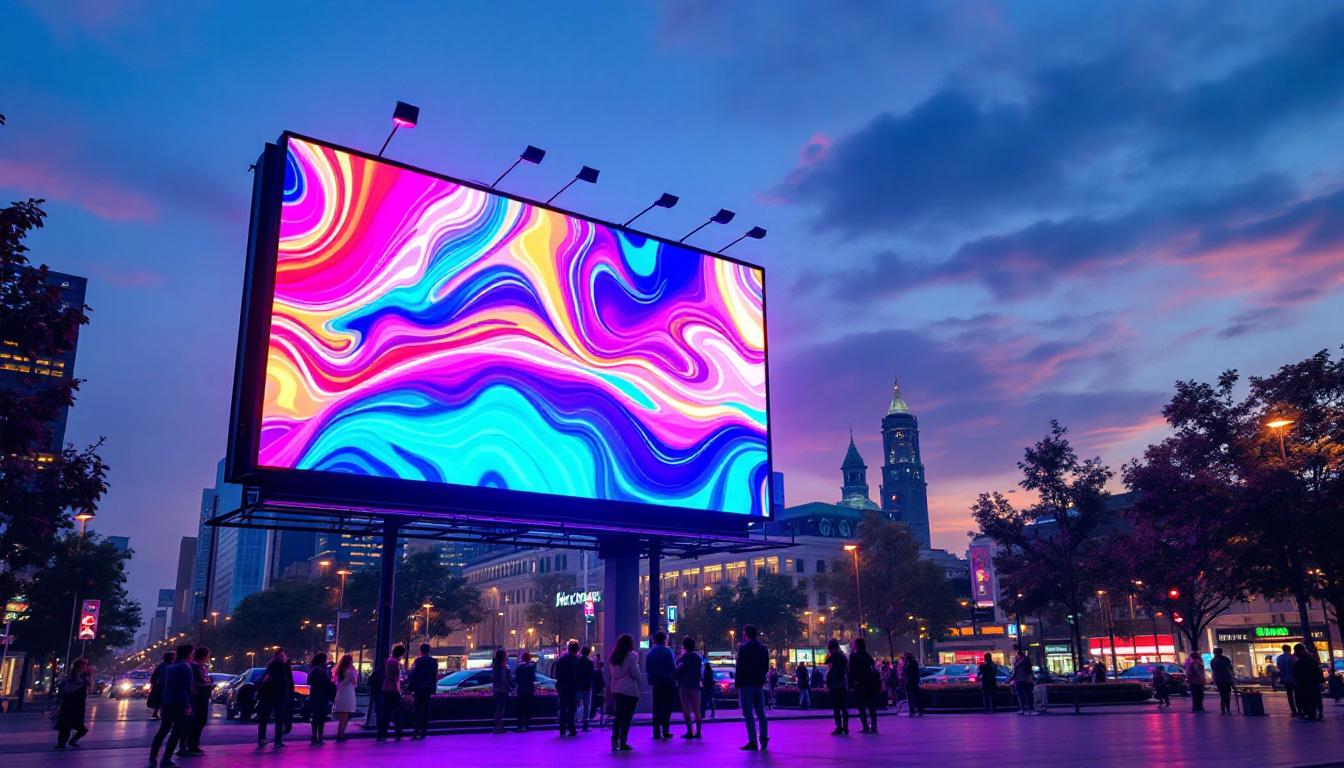
Explore Cutting-Edge LED Display Solutions
Ready to take your digital experience to the next level? LumenMatrix is at the forefront of LED display innovation, offering a wide array of solutions that cater to your unique needs. From captivating Indoor and Outdoor LED Wall Displays to dynamic Vehicle and Sports LED Displays, our technology is designed to enhance brand visibility and audience engagement. Discover the transformative power of our LED Poster Displays, Floor Displays, Custom Solutions, All-in-One, and Transparent Displays. Elevate your visual communication today by visiting LumenMatrix LED Display Solutions and see how we can help you share your message with unparalleled impact and clarity.