Light Emitting Diodes (LEDs) have revolutionized the way we display information. From simple indicators to complex screens, LEDs are ubiquitous in modern technology. Understanding how to program LEDs can open up a world of possibilities for both hobbyists and professionals. This article delves into the intricacies of programming LEDs, exploring various types of LED displays and the methods to control them effectively.
Understanding LED Technology
Before diving into programming, it’s essential to grasp the fundamentals of LED technology. LEDs are semiconductor devices that emit light when an electric current passes through them. They come in various shapes, sizes, and colors, making them versatile for numerous applications. From household lighting to intricate displays, LEDs have revolutionized the way we illuminate our environments and convey information.
Types of LEDs
LEDs can be categorized into several types based on their application and configuration. The most common types include:
- Single Color LEDs: These are the simplest form of LEDs, available in various colors, and are typically used for indicators or basic lighting.
- RGB LEDs: Capable of producing multiple colors by mixing red, green, and blue light, RGB LEDs are popular in decorative lighting and displays.
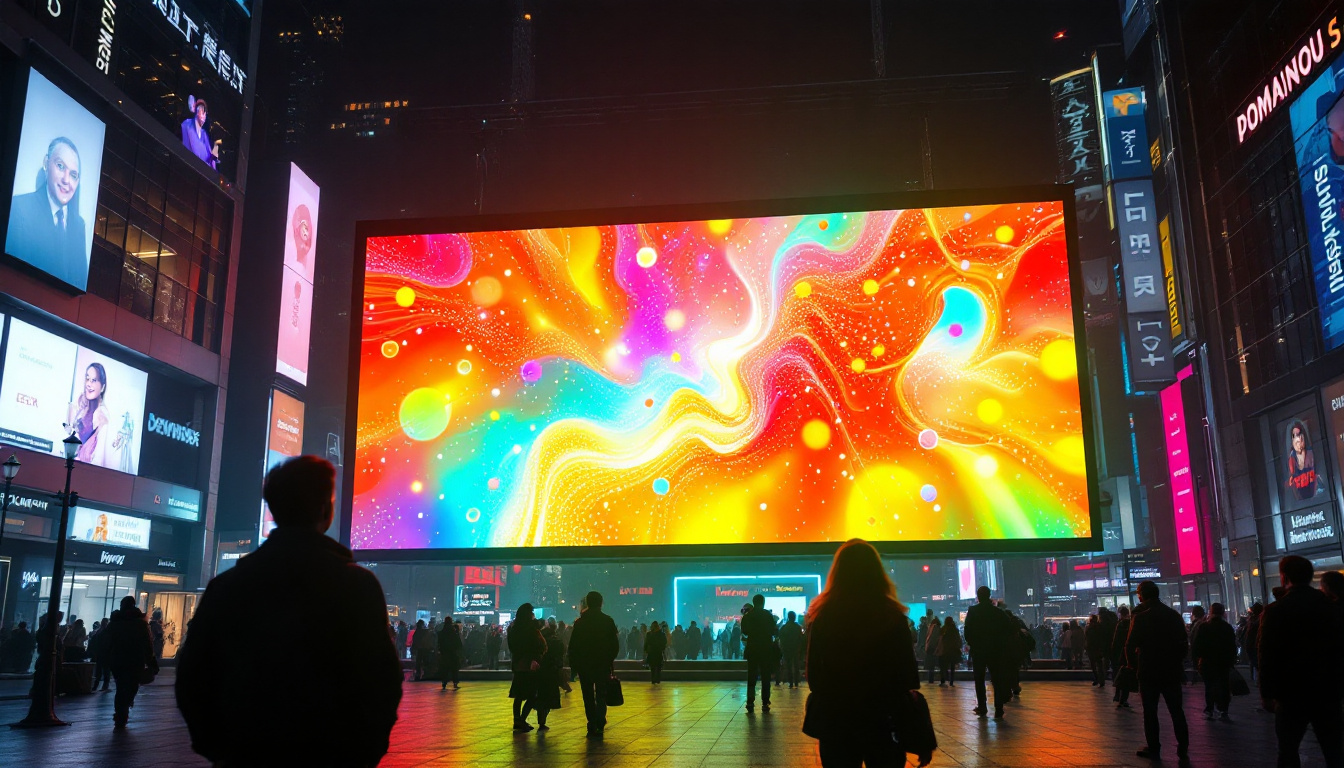
- LED Displays: These are arrays of LEDs that can form characters, graphics, or video, commonly seen in billboards and screens.
How LEDs Work
LEDs operate on the principle of electroluminescence. When electrons recombine with holes in the semiconductor material, energy is released in the form of photons, producing light. The color of the emitted light depends on the materials used in the semiconductor. For instance, gallium nitride produces blue light, while gallium phosphide can emit green light. This diversity in materials allows for a wide range of applications, from traffic signals to mood lighting.
To control the brightness and color of an LED, varying the current and voltage applied to it is crucial. This can be achieved through methods such as Pulse Width Modulation (PWM), which adjusts the average power delivered to the LED. PWM not only enhances the efficiency of LEDs but also prolongs their lifespan by preventing overheating. Additionally, advanced control systems can synchronize multiple LEDs to create stunning visual effects, making them ideal for stage lighting and architectural displays.
Moreover, the energy efficiency of LEDs is a significant advantage over traditional incandescent bulbs. LEDs consume significantly less power, converting a higher percentage of energy into visible light rather than heat. This efficiency not only reduces electricity bills but also contributes to a lower carbon footprint, making LEDs a more sustainable choice for the environment. As technology advances, we can expect further innovations in LED technology, including smart LEDs that can be controlled via smartphones and integrated into home automation systems.
Programming Basics for LEDs
Programming LEDs involves sending signals to control their behavior. This can be accomplished using microcontrollers, development boards, or even software applications designed for LED control.
Microcontrollers and Development Boards
Microcontrollers, such as Arduino or Raspberry Pi, are popular choices for programming LEDs due to their flexibility and ease of use. These platforms allow users to write code that can control the LEDs based on various inputs and conditions.
For instance, an Arduino board can be programmed to turn on an LED when a button is pressed or to create a light pattern based on sensor readings. The programming language used is typically C or C++, which provides a robust framework for developing complex LED applications.
Programming Languages and Libraries
When programming LEDs, several libraries can simplify the process. For example, the Arduino IDE offers libraries like FastLED and Adafruit NeoPixel that provide pre-built functions for controlling RGB LEDs and LED strips.
These libraries allow developers to easily manipulate colors, brightness, and effects without delving into low-level hardware details, making it accessible for beginners and efficient for experienced programmers.
Setting Up Your LED Display
Setting up an LED display requires careful planning and execution. Whether it’s a simple matrix or a complex video wall, the principles remain the same. Here’s a step-by-step guide to get started.
Choosing the Right Hardware
The first step is selecting the appropriate hardware for your LED display. Factors to consider include:
- Type of LEDs: Depending on your project, you may choose single color, RGB, or addressable LEDs.
- Size and Resolution: Determine the size of your display and the resolution needed for your application.
- Power Supply: Ensure you have a suitable power supply that can provide the necessary voltage and current for your LEDs.
Wiring the LEDs
Once the hardware is selected, the next step is wiring the LEDs. This involves connecting the LEDs to the microcontroller or development board. Proper wiring is crucial to ensure that the LEDs function correctly and safely.
For example, when using an RGB LED strip, each color channel (red, green, blue) must be connected to a separate PWM-capable pin on the microcontroller. Additionally, a common ground connection is essential to complete the circuit.
Programming Your LED Display
With the hardware set up, it’s time to write the code that will control the LED display. The programming process can vary depending on the complexity of the display and the desired effects.
Basic LED Control
For basic LED control, simple commands can be used to turn LEDs on and off, change colors, or create patterns. Here’s a simple example using Arduino:
void setup() { pinMode(LED_BUILTIN, OUTPUT); // Set the LED pin as output}void loop() { digitalWrite(LED_BUILTIN, HIGH); // Turn the LED on delay(1000); // Wait for a second digitalWrite(LED_BUILTIN, LOW); // Turn the LED off delay(1000); // Wait for a second}This code will blink the built-in LED on the Arduino board every second.
Creating Patterns and Effects
To create more complex patterns and effects, such as fading or color cycling, additional programming techniques can be employed. For instance, using PWM for brightness control allows for smooth transitions between states.
Here’s an example of fading an RGB LED:
int redPin = 9;int greenPin = 10;int bluePin = 11;void setup() { pinMode(redPin, OUTPUT); pinMode(greenPin, OUTPUT); pinMode(bluePin, OUTPUT);}void loop() { for (int i = 0; i < 256; i++) { analogWrite(redPin, i); // Fade red up delay(10); } for (int i = 255; i >= 0; i--) { analogWrite(redPin, i); // Fade red down delay(10); }}This code will create a fading effect for the red color of the LED.
Advanced LED Display Programming
For those looking to take their LED programming skills to the next level, advanced techniques can be explored. This includes using libraries for complex animations, integrating sensors, and network connectivity.
Using Libraries for Complex Animations
Libraries such as FastLED and NeoPixel offer a plethora of functions for creating intricate animations and effects. These libraries provide built-in functions to create effects like rainbows, twinkling stars, and more.
For example, the following code snippet demonstrates how to create a rainbow effect using the FastLED library:
#include <FastLED.h>#define NUM_LEDS 60#define DATA_PIN 6CRGB leds[NUM_LEDS];void setup() { FastLED.addLeds<NEOPIXEL, DATA_PIN>(leds, NUM_LEDS);}void loop() { for (int i = 0; i < NUM_LEDS; i++) { leds[i] = CHSV(i * 255 / NUM_LEDS, 255, 255); // Create rainbow colors } FastLED.show(); delay(50);}This code will create a smooth rainbow effect across a strip of 60 LEDs.
Integrating Sensors and Inputs
Integrating sensors allows for interactive LED displays that respond to user input or environmental conditions. For instance, using a light sensor can enable the display to adjust brightness based on ambient light.
Here’s a simple example of using a photoresistor to control LED brightness:
int sensorPin = A0; // Photoresistor pinint ledPin = 9; // LED pinvoid setup() { pinMode(ledPin, OUTPUT);}void loop() { int sensorValue = analogRead(sensorPin); int brightness = map(sensorValue, 0, 1023, 0, 255); // Map sensor value to brightness analogWrite(ledPin, brightness); delay(100);}This code adjusts the brightness of the LED based on the light detected by the photoresistor.
Common Challenges and Troubleshooting
Programming LEDs can come with its own set of challenges. Understanding common issues and their solutions can save time and frustration.
Power Supply Issues
One of the most frequent problems encountered is insufficient power supply. LEDs require a specific voltage and current, and failing to provide this can lead to dim or non-functional displays. Always check the specifications of the LEDs and ensure the power supply meets these requirements.
Wiring Mistakes
Incorrect wiring can lead to malfunctioning LEDs or even damage to the components. It’s crucial to double-check connections, especially when working with multiple LEDs or complex setups. Using a breadboard can help in organizing the wiring and making it easier to troubleshoot.
Conclusion
Programming LEDs opens up a myriad of possibilities for creative and functional applications. From simple blinking lights to complex displays, understanding the fundamentals of LED technology and programming techniques is essential for anyone looking to explore this field.
By mastering the basics, experimenting with advanced techniques, and troubleshooting common issues, anyone can create stunning LED displays that captivate and inform. The journey into the world of LEDs is not only educational but also immensely rewarding, offering endless opportunities for innovation and creativity.
Explore Cutting-Edge LED Displays with LumenMatrix
Ready to transform your ideas into luminous realities? LumenMatrix is at the forefront of LED display innovation, offering a diverse range of solutions tailored to your needs. Whether you’re looking to enhance your brand’s presence with an Indoor LED Wall Display, captivate passersby with an Outdoor LED Wall Display, or create dynamic visual experiences with our Custom LED Displays, we have the technology to bring your vision to life. Elevate your visual communication and engage your audience like never before. Check out LumenMatrix LED Display Solutions today and step into the future of digital signage.