Large format tiles have become increasingly popular in modern design due to their aesthetic appeal and versatility. They offer a seamless look that can transform any space, making it feel more expansive and contemporary. However, the installation process can be complex, especially when integrating features like LED displays. This article will guide you through the essentials of installing large format tiles with a focus on the integration of LED displays.
Understanding Large Format Tiles
Large format tiles are typically defined as tiles that are larger than 15 inches on any side. They come in various materials, including porcelain, ceramic, and natural stone, and are available in a plethora of colors and finishes. Their size allows for fewer grout lines, which not only enhances the visual appeal but also simplifies maintenance. The trend of using large format tiles has gained momentum in recent years, as homeowners and designers alike seek to create sleek, modern aesthetics in both residential and commercial spaces.
Advantages of Large Format Tiles
One of the most significant advantages of large format tiles is their ability to create a sense of continuity in a space. With fewer grout lines, the eye can travel smoothly across the surface, making rooms appear larger and more open. Additionally, these tiles are often more durable than smaller options, making them suitable for high-traffic areas. Their robust nature means they can withstand the wear and tear of daily life, making them a practical choice for busy households and commercial establishments alike.
Another benefit is the ease of cleaning. With fewer grout joints, there is less surface area for dirt and grime to accumulate, which can significantly reduce cleaning time. This feature is particularly appealing for commercial spaces or homes with children and pets. Moreover, many large format tiles come with advanced finishes that resist stains and scratches, further enhancing their longevity and maintaining their pristine appearance over time.
Design Flexibility
Large format tiles offer remarkable design flexibility. They can be used in various applications, from flooring to wall installations, and can even be employed in unique ways, such as for countertops or backsplashes. This versatility allows designers and homeowners to create cohesive looks throughout their spaces. For instance, using the same tile for both the floor and the wall can create a seamless transition, enhancing the overall flow of the room.
Furthermore, these tiles can mimic natural materials like wood or stone, providing the aesthetic benefits of these materials without the associated maintenance issues. This makes them an attractive option for those looking to achieve a specific look while maintaining practicality. The advancements in printing technology have allowed for incredibly realistic textures and patterns, making it difficult to distinguish between large format tiles and their natural counterparts. This opens up a world of design possibilities, allowing for creative expressions that can suit any style, from rustic to ultra-modern.
Preparing for Installation
Before diving into the installation process, thorough preparation is essential. This includes selecting the right materials, ensuring the substrate is suitable, and gathering the necessary tools. Taking these steps can significantly impact the success of the installation.
Choosing the Right Tiles
When selecting large format tiles, consider factors such as the intended use of the space, the desired aesthetic, and the tile’s slip resistance. For high-traffic areas, it is advisable to choose tiles with a higher PEI (Porcelain Enamel Institute) rating, which indicates durability.
Additionally, the thickness of the tiles can influence the installation process. Thicker tiles may require specific tools and techniques, so understanding the product specifications is crucial. Consulting with a professional can help ensure that the right tiles are chosen for the project.
Preparing the Substrate
The substrate, or the surface onto which the tiles will be installed, must be prepared properly to ensure a successful installation. This may involve leveling the floor, repairing any damage, or applying a suitable underlayment. For large format tiles, a flat and stable substrate is critical, as any imperfections can lead to cracking or uneven surfaces.
In some cases, it may be necessary to use a self-leveling compound to achieve a smooth surface. This process can be time-consuming but is essential for ensuring the longevity of the installation.
Installation Process
The installation of large format tiles requires precision and attention to detail. It is recommended to follow a systematic approach to ensure that the tiles are laid correctly and securely. This section will outline the key steps involved in the installation process.
Setting Up the Layout
Before applying adhesive, it is crucial to plan the layout of the tiles. This involves measuring the space and determining the best starting point, typically in the center of the room. Dry-laying the tiles can help visualize the final look and make adjustments as necessary.
Using a chalk line can assist in marking straight lines for tile placement, ensuring that the installation remains aligned throughout the process. This step is vital, as it sets the foundation for the entire installation.
Applying Adhesive
Once the layout is established, the next step is to apply the adhesive. For large format tiles, a medium-bed mortar is often recommended, as it provides better support for the weight of the tiles. The adhesive should be spread evenly using a notched trowel, ensuring full coverage on the back of each tile.
It is essential to work in small sections to prevent the adhesive from drying out before the tiles are placed. Additionally, back-buttering the tiles—applying a layer of adhesive directly to the back of each tile—can enhance adhesion and reduce the risk of lippage.
Placing the Tiles
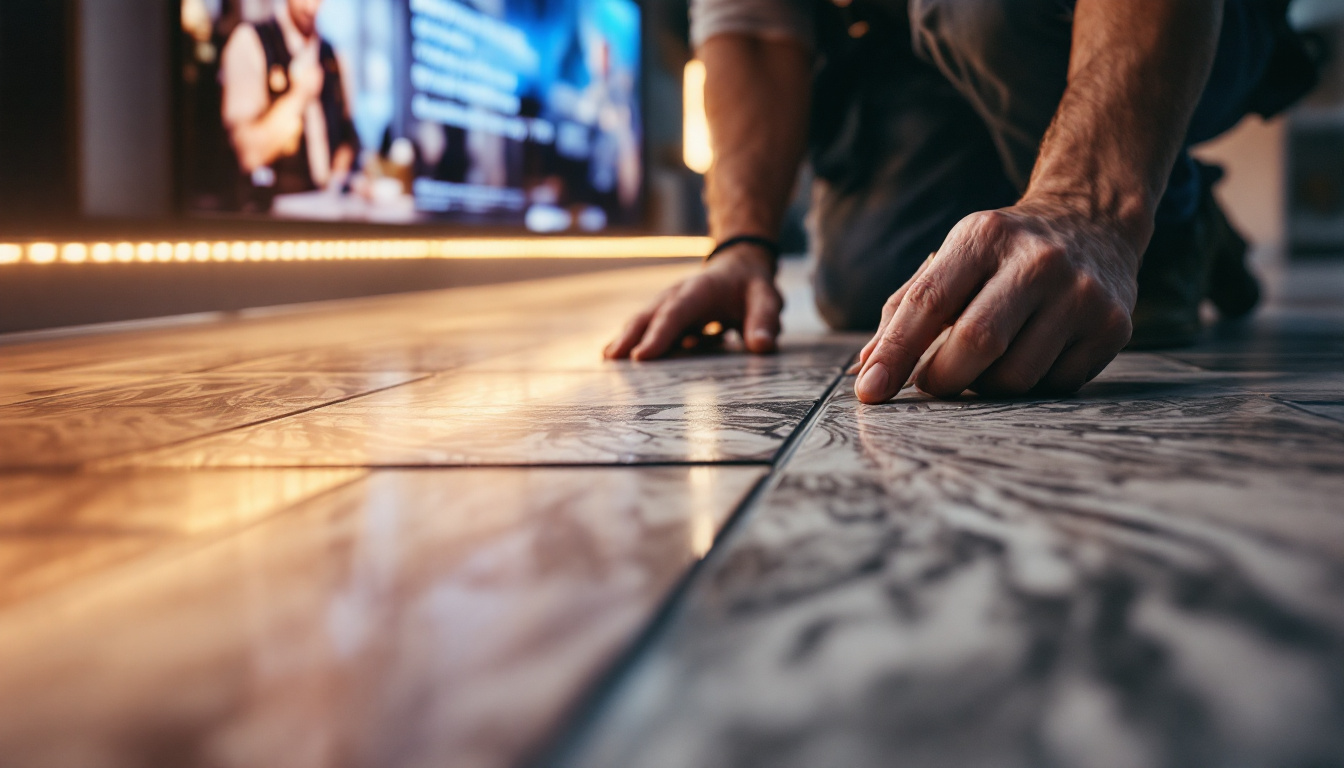
With the adhesive applied, the tiles can be placed according to the predetermined layout. Care should be taken to press each tile firmly into the adhesive, ensuring that it is level with adjacent tiles. Using spacers can help maintain consistent grout lines, although some may opt for a groutless installation for a more seamless look.
As the tiles are placed, periodic checks for levelness and alignment are crucial. Any adjustments should be made immediately to avoid complications later in the process. Once all tiles are installed, the adhesive needs time to cure before grouting.
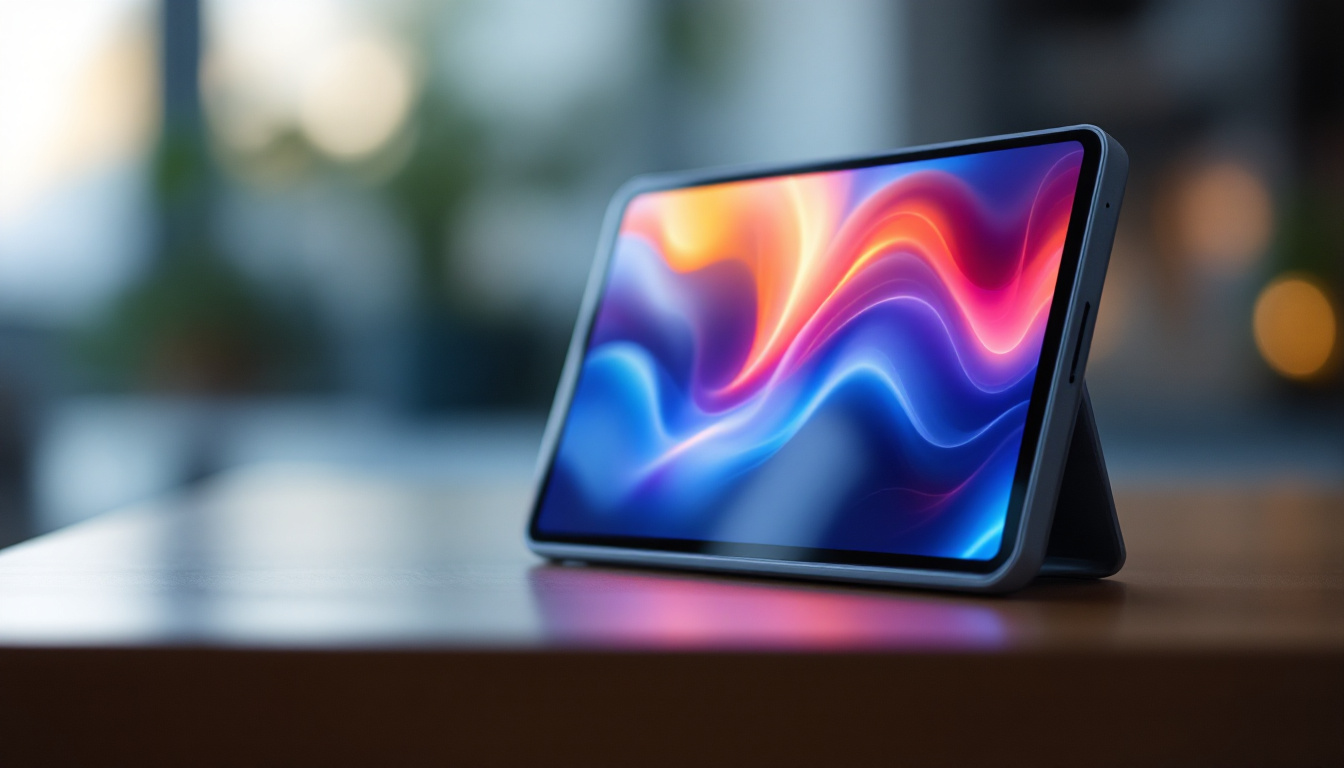
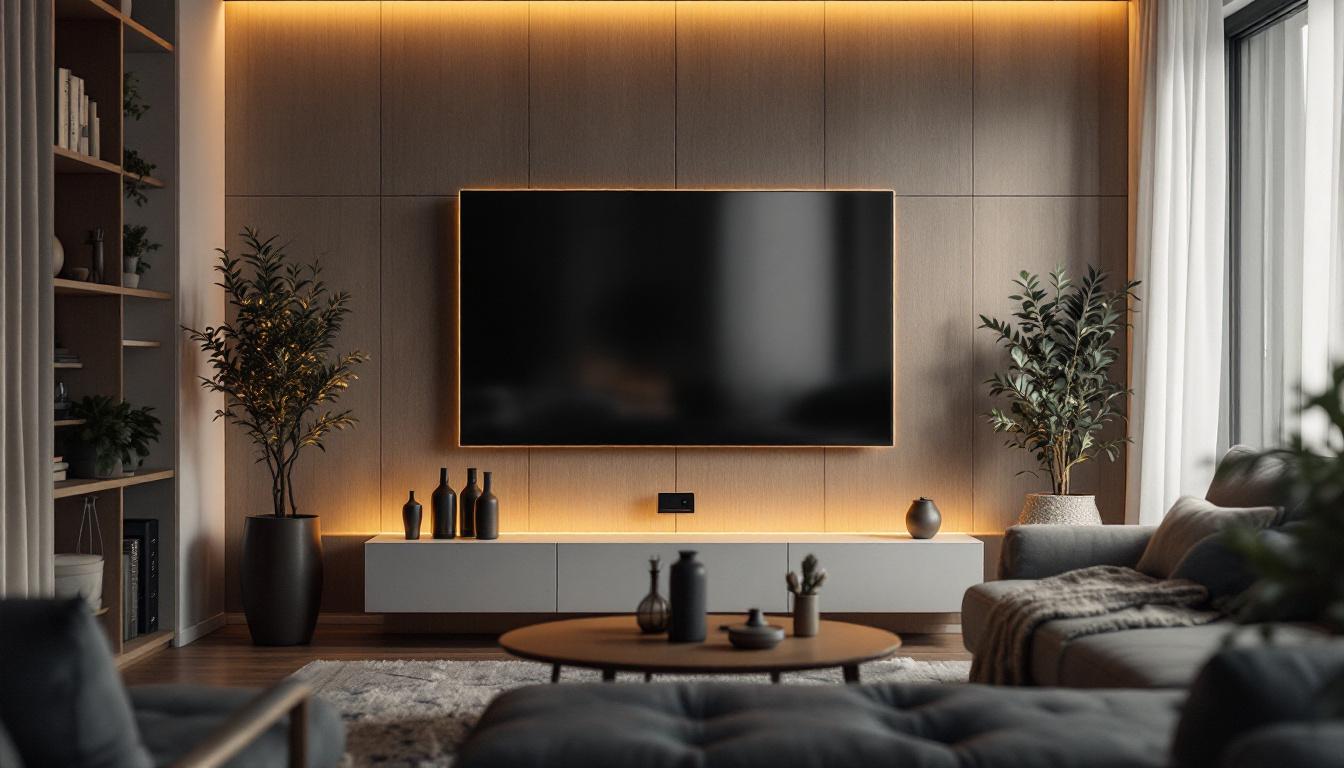
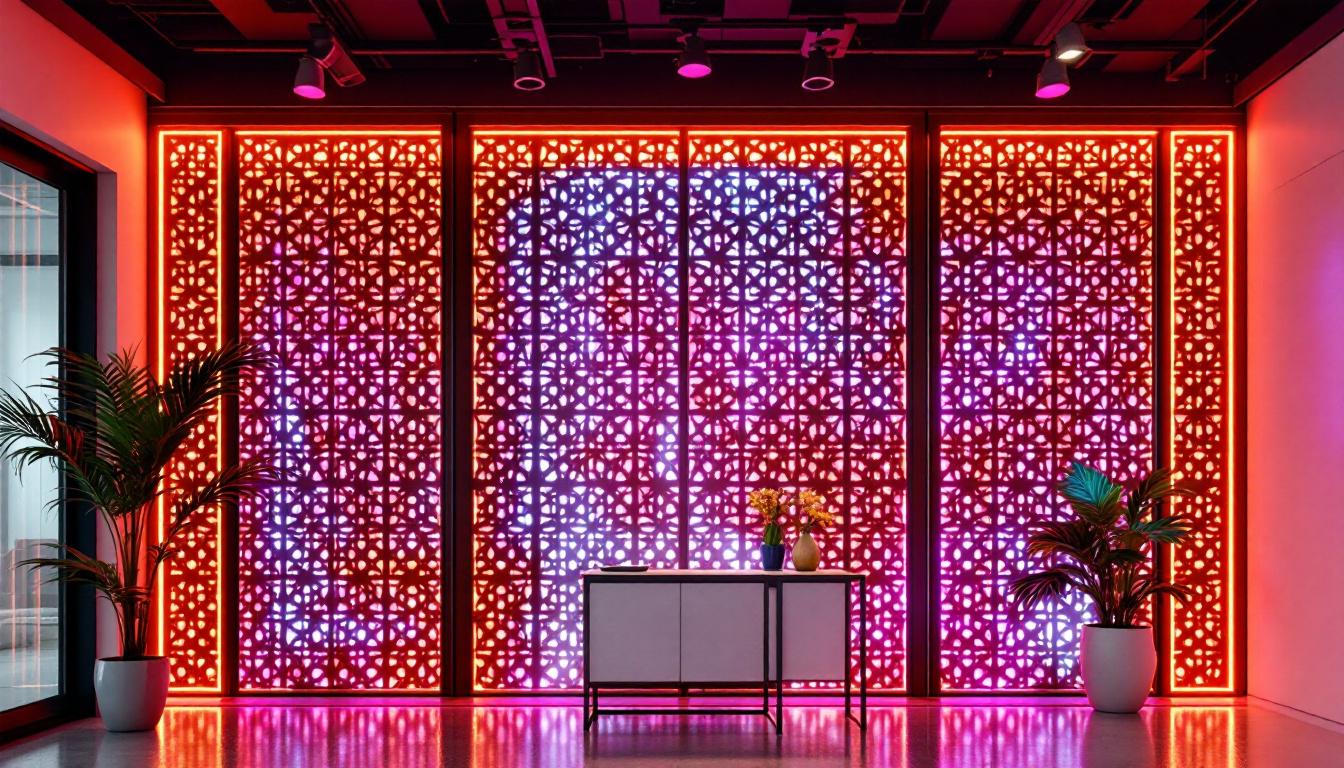
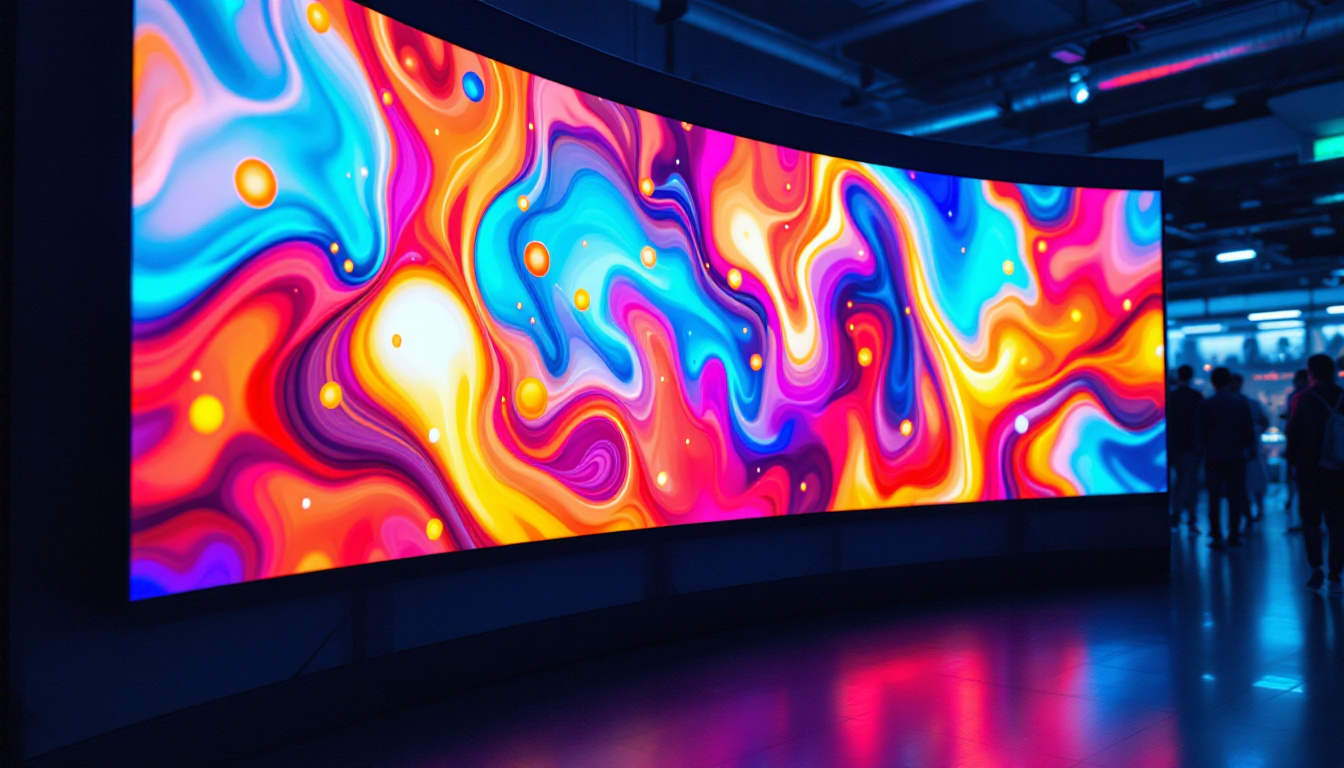
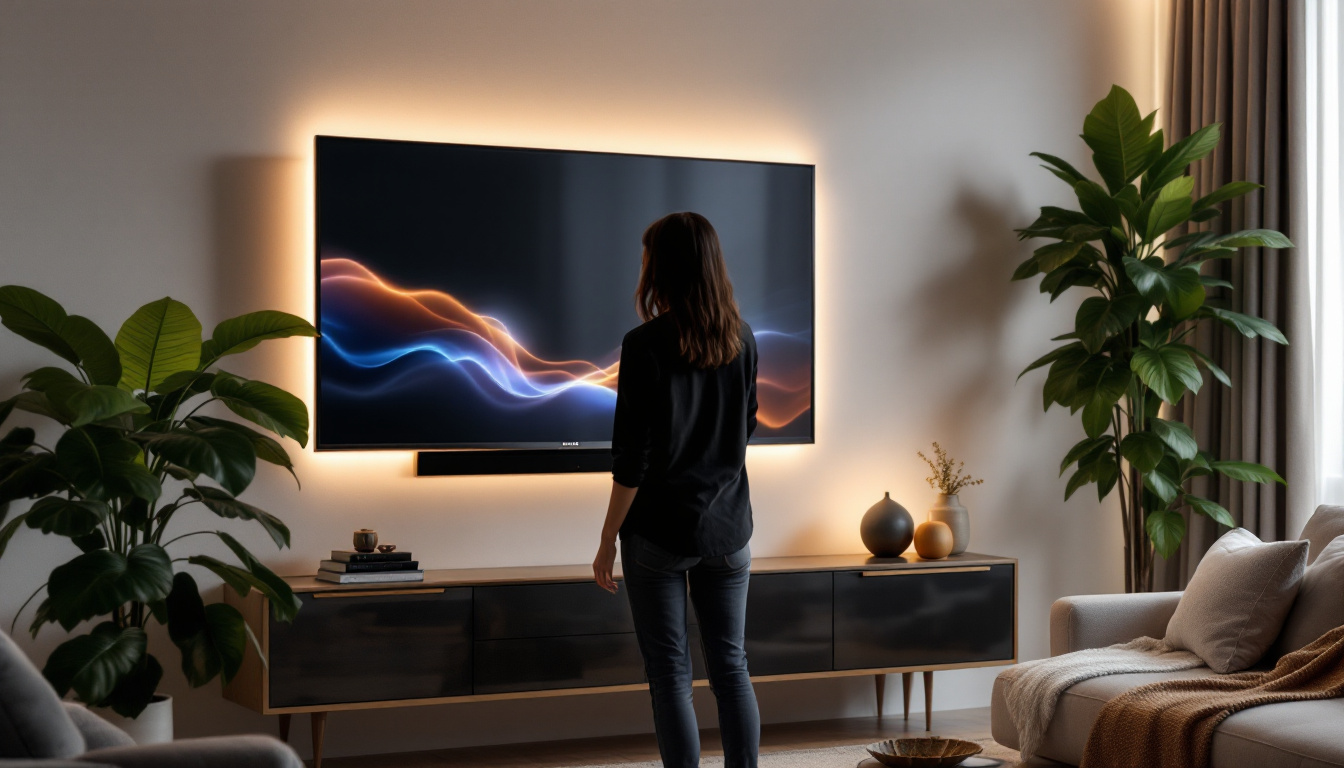
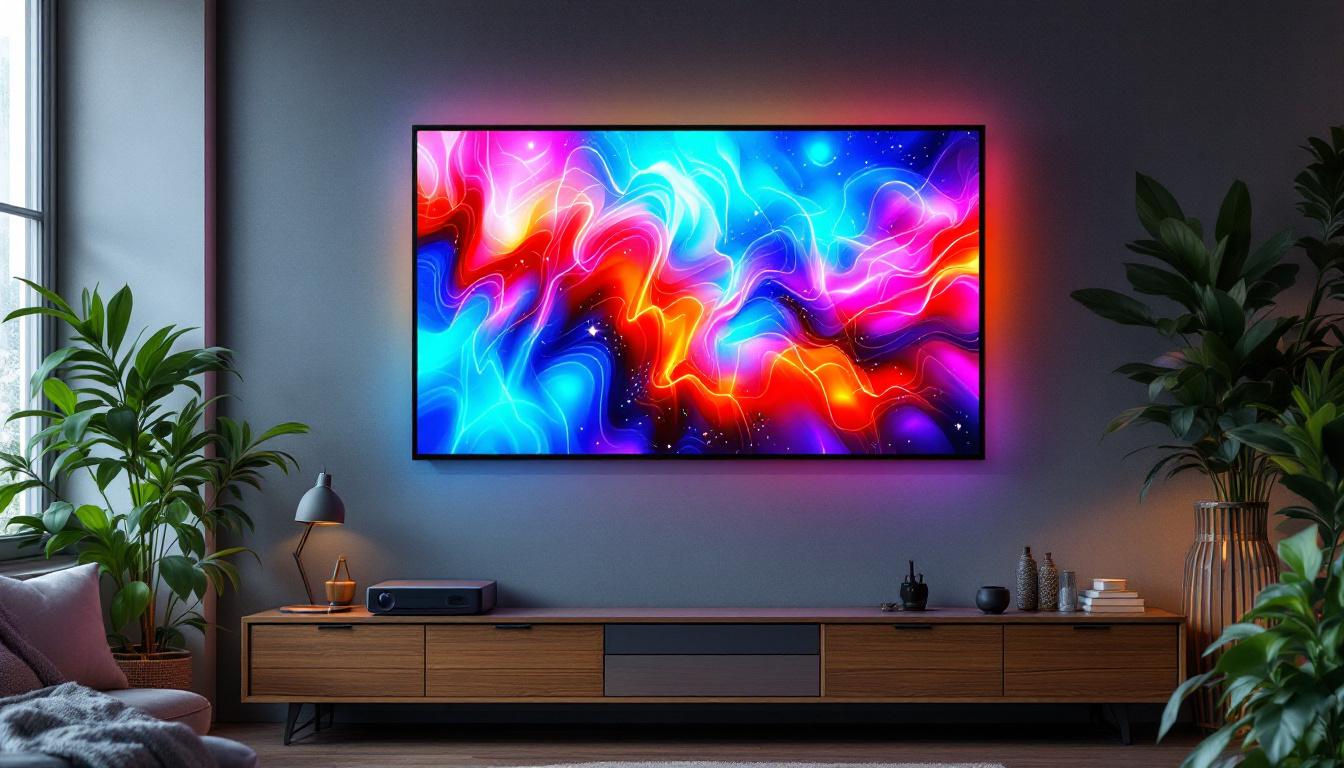
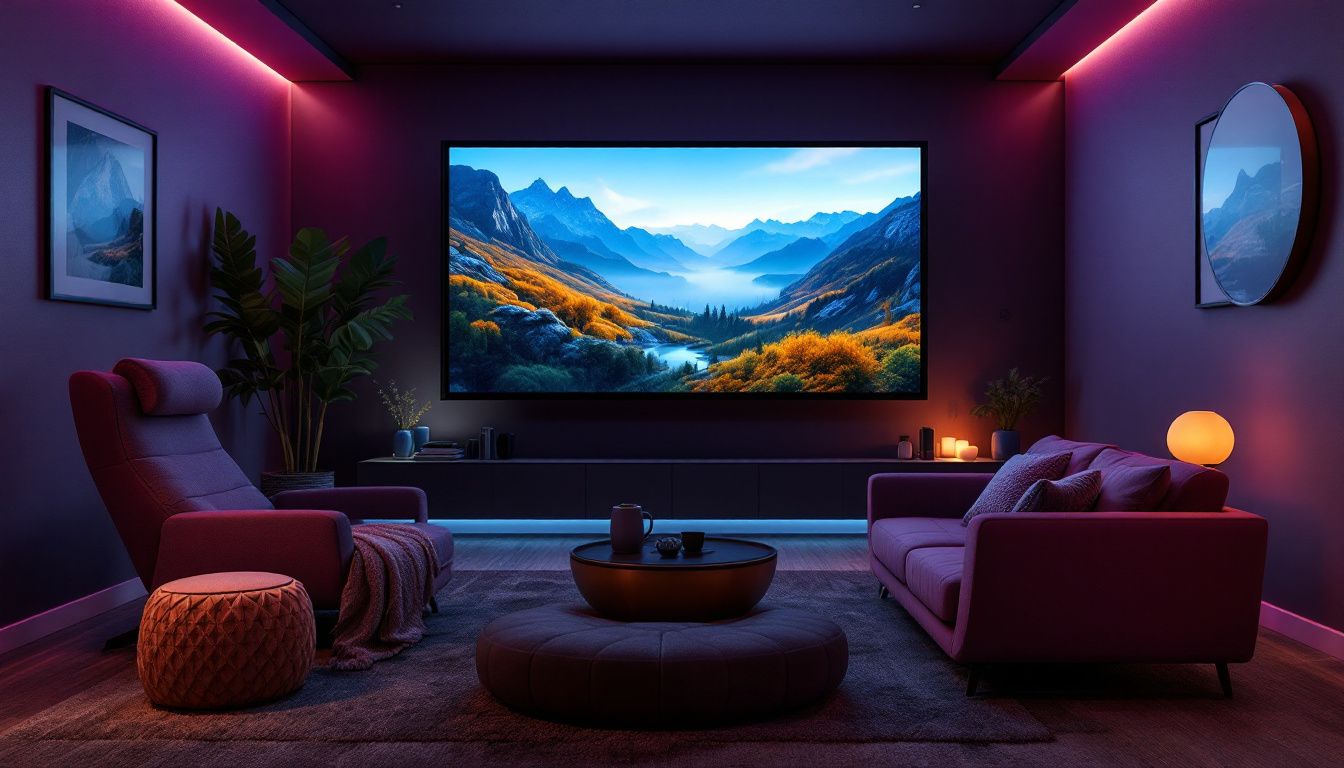
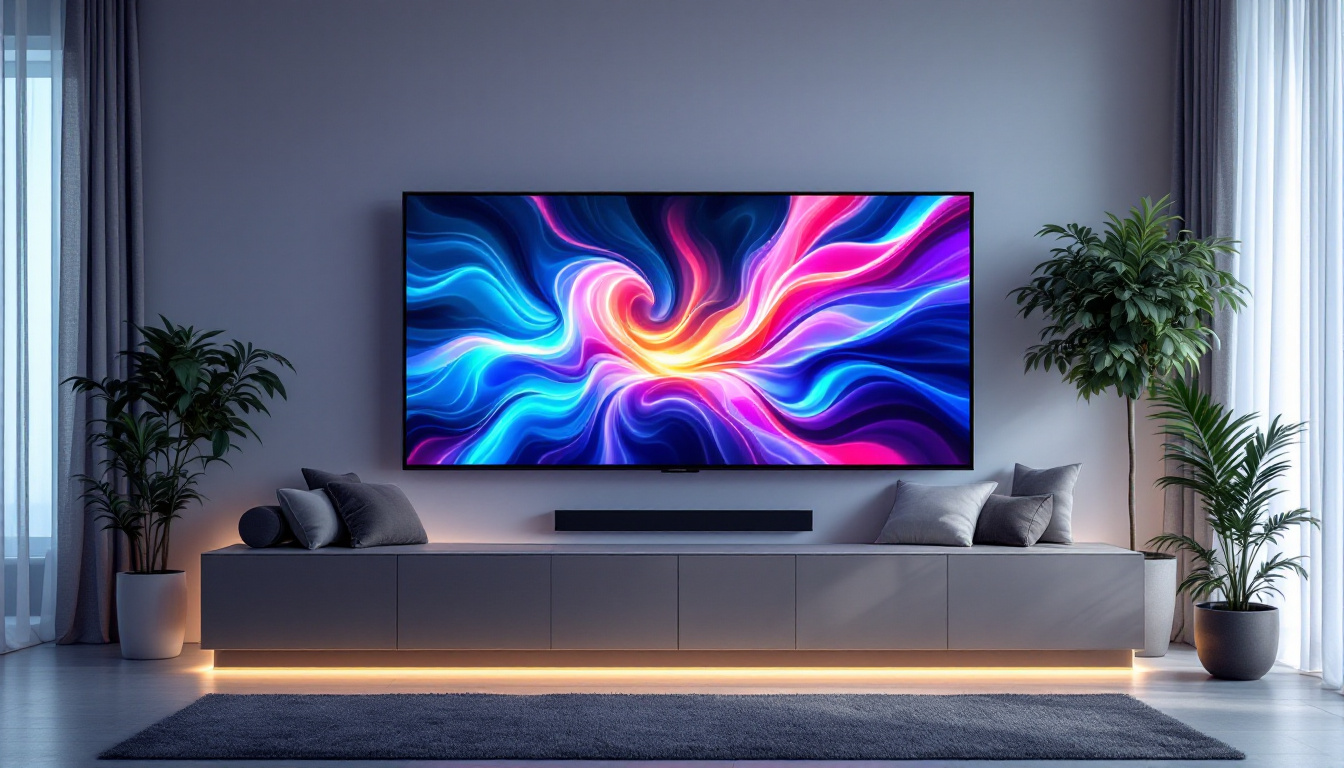
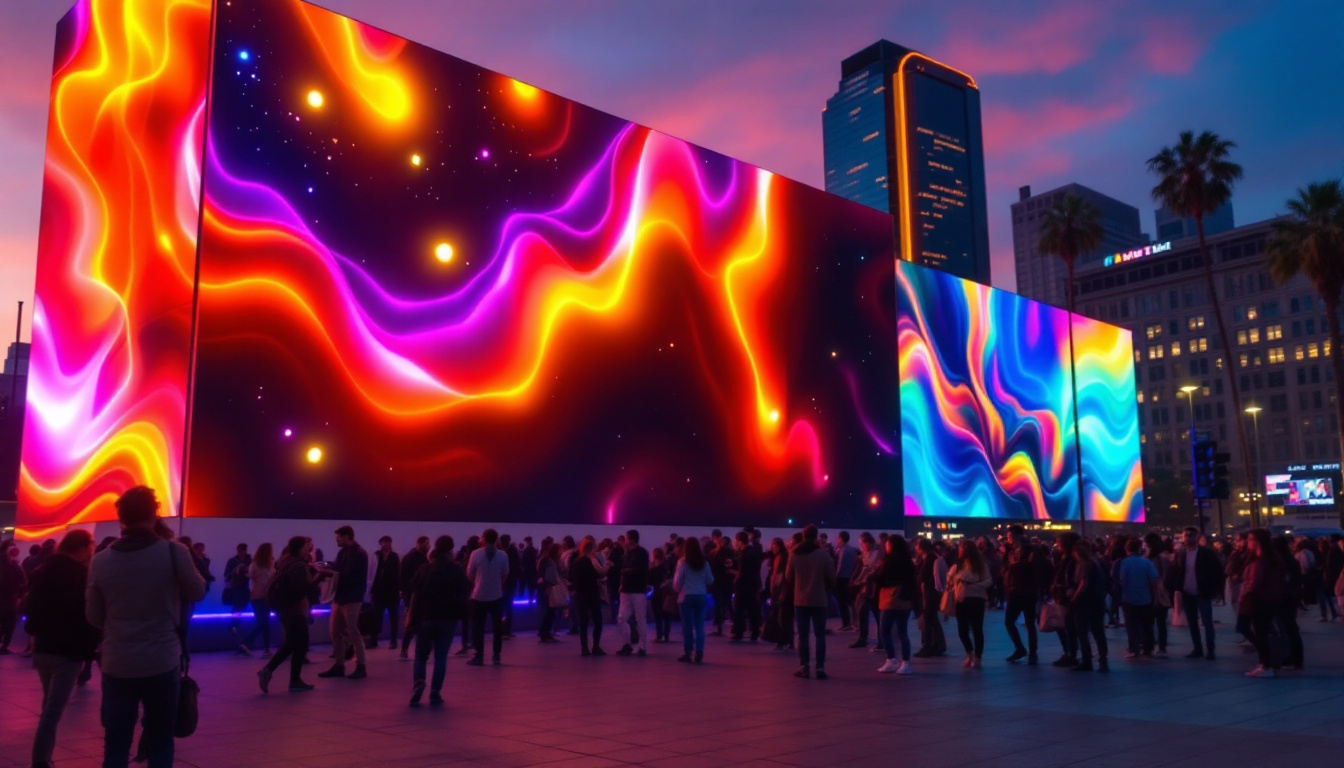
Integrating LED Displays
Incorporating LED displays into large format tile installations can enhance the functionality and aesthetic appeal of a space. This section will explore the considerations and steps involved in integrating LED technology into tile installations.
Planning the Integration
Before installation, it is essential to plan where the LED displays will be placed. This involves considering the electrical requirements, viewing angles, and the overall design of the space. The integration should be seamless, ensuring that the displays complement the tile design rather than detract from it.
Consulting with an electrician or a professional experienced in LED installations can provide valuable insights into the best practices for integrating these systems. This planning phase is crucial for ensuring that the installation meets both aesthetic and functional requirements.
Preparing the Tile Surface
For LED displays to be integrated effectively, the tile surface must be prepared accordingly. This may involve cutting tiles to accommodate wiring or adjusting the layout to ensure that the displays fit seamlessly within the design. Precision is key during this phase, as any miscalculations can lead to complications during installation.
Additionally, ensuring that the tiles are securely adhered to the substrate is vital, as the added weight of the LED displays can create stress points. Proper installation techniques will help mitigate this risk.
Finalizing the Installation
Once the tiles are installed and the LED displays are in place, the final steps involve grouting and sealing. Grout should be applied carefully, ensuring that it fills any gaps without compromising the integrity of the tiles or the displays. After grouting, a sealant may be applied to protect the tiles and enhance their longevity.
Finally, testing the LED displays to ensure they function correctly is essential. This step ensures that the integration is successful and that the displays enhance the overall design as intended.
Maintenance and Care
Maintaining large format tiles and integrated LED displays is crucial for ensuring their longevity and appearance. Regular cleaning and care can prevent damage and keep the surfaces looking their best.
Cleaning Large Format Tiles
Cleaning large format tiles is relatively straightforward. Regular sweeping or vacuuming can help remove dirt and debris, while damp mopping with a mild detergent can keep the surface clean. It is important to avoid harsh chemicals that may damage the tile finish.
For grout lines, a specialized grout cleaner can be used to maintain their appearance. Regular maintenance can prevent staining and discoloration, ensuring that the tiles remain attractive over time.
Maintaining LED Displays
LED displays require specific care to ensure optimal performance. Regularly checking connections and cleaning the screen with a soft, dry cloth can help maintain clarity and functionality. It is advisable to follow the manufacturer’s guidelines for maintenance to avoid voiding warranties or causing damage.
Additionally, monitoring the displays for any signs of malfunction or wear is crucial. Addressing issues promptly can prevent further damage and extend the life of the display.
Conclusion
Installing large format tiles with integrated LED displays can elevate the design of any space, offering both aesthetic appeal and functionality. While the installation process requires careful planning and execution, the results can be stunning and long-lasting. By following the outlined steps and considering the unique aspects of integrating LED technology, homeowners and designers can create beautiful, modern environments that stand the test of time.
Ultimately, whether for residential or commercial applications, the combination of large format tiles and LED displays presents an exciting opportunity to innovate and enhance interior design. With the right approach and attention to detail, these installations can transform spaces into visually captivating and functional areas.
Discover LumenMatrix LED Display Solutions
Ready to take your large format tile installations to the next level? Explore the innovative world of LumenMatrix, where cutting-edge LED display technology meets creative design. Whether you’re looking to create a dynamic indoor atmosphere, make a bold statement outdoors, or captivate passersby with a custom LED display, LumenMatrix has the solutions to bring your vision to life. Check out LumenMatrix LED Display Solutions today and transform your space into an immersive experience that engages and inspires.