LED displays have become a cornerstone of modern visual technology, offering vibrant colors and dynamic presentations for a variety of applications. Among the many options available, Screen Tight stands out for its innovative approach to installation and display quality. This article delves into the intricacies of installing Screen Tight LED displays, providing a comprehensive guide to ensure a seamless setup process.
Understanding Screen Tight Technology
Before diving into the installation process, it’s essential to understand what Screen Tight technology entails. This system is designed to simplify the mounting and maintenance of LED displays, making it an ideal choice for both professional and casual users.
What is Screen Tight?
Screen Tight is a patented system that allows for easy installation and adjustment of LED panels. Unlike traditional mounting methods, which can be cumbersome and time-consuming, Screen Tight utilizes a unique framework that supports quick assembly and disassembly. This feature is particularly beneficial for users who need to frequently update their displays or relocate them for different events. The design ensures that even those with minimal technical expertise can manage the setup, reducing the need for specialized installation services.
Benefits of Using Screen Tight
The advantages of Screen Tight technology extend beyond ease of installation. The system is designed for durability and flexibility, accommodating various screen sizes and configurations. Additionally, the modular nature of Screen Tight allows for seamless integration with existing setups, making it a versatile choice for a wide range of applications. Users can easily swap out panels or adjust their arrangement based on specific needs, which is particularly useful in dynamic environments where visual content must be frequently refreshed to engage audiences effectively.
Applications of Screen Tight LED Displays
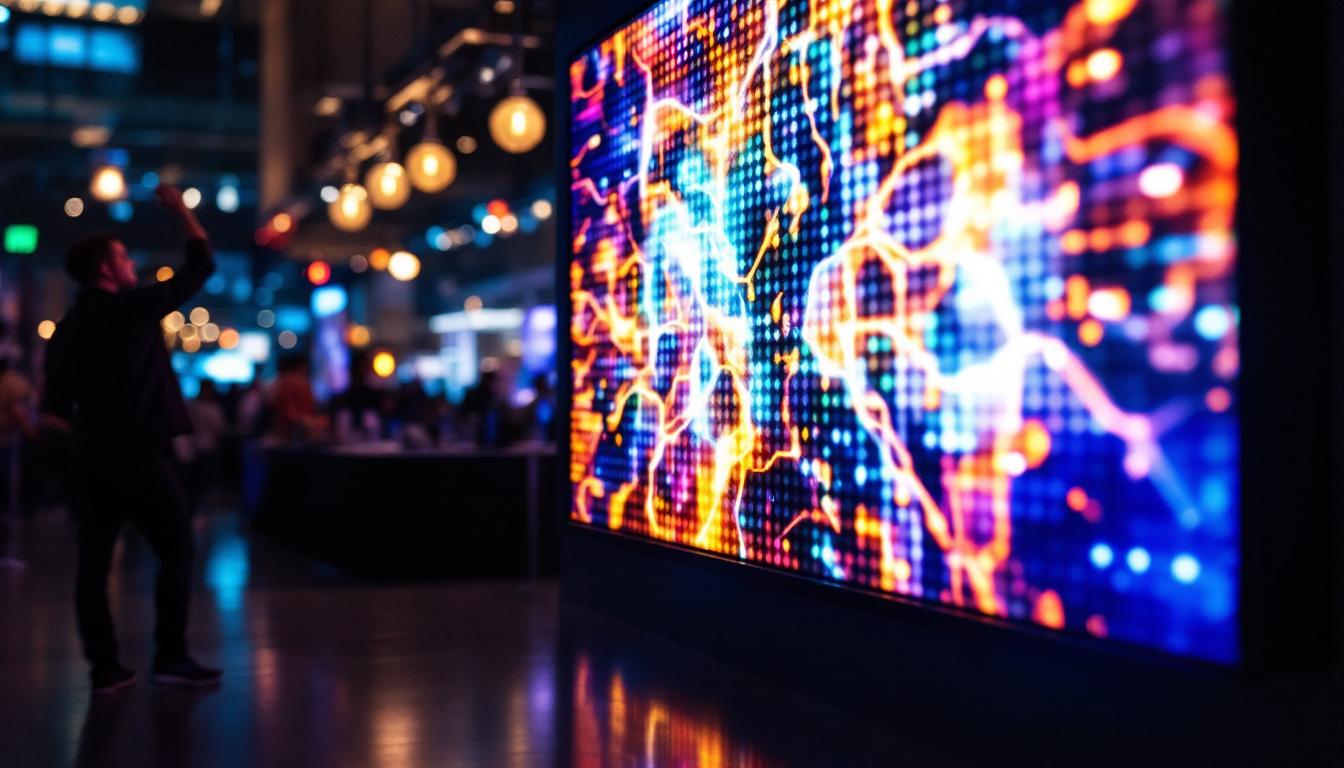
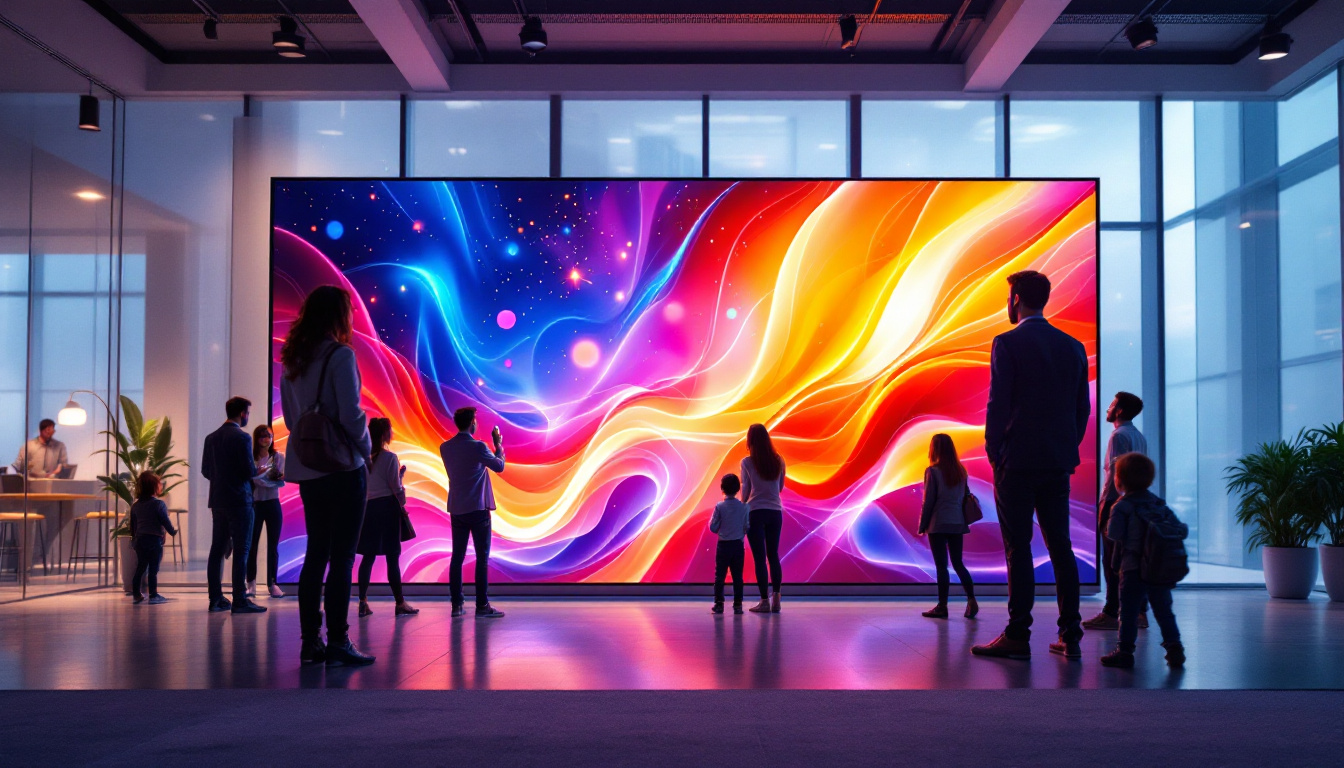
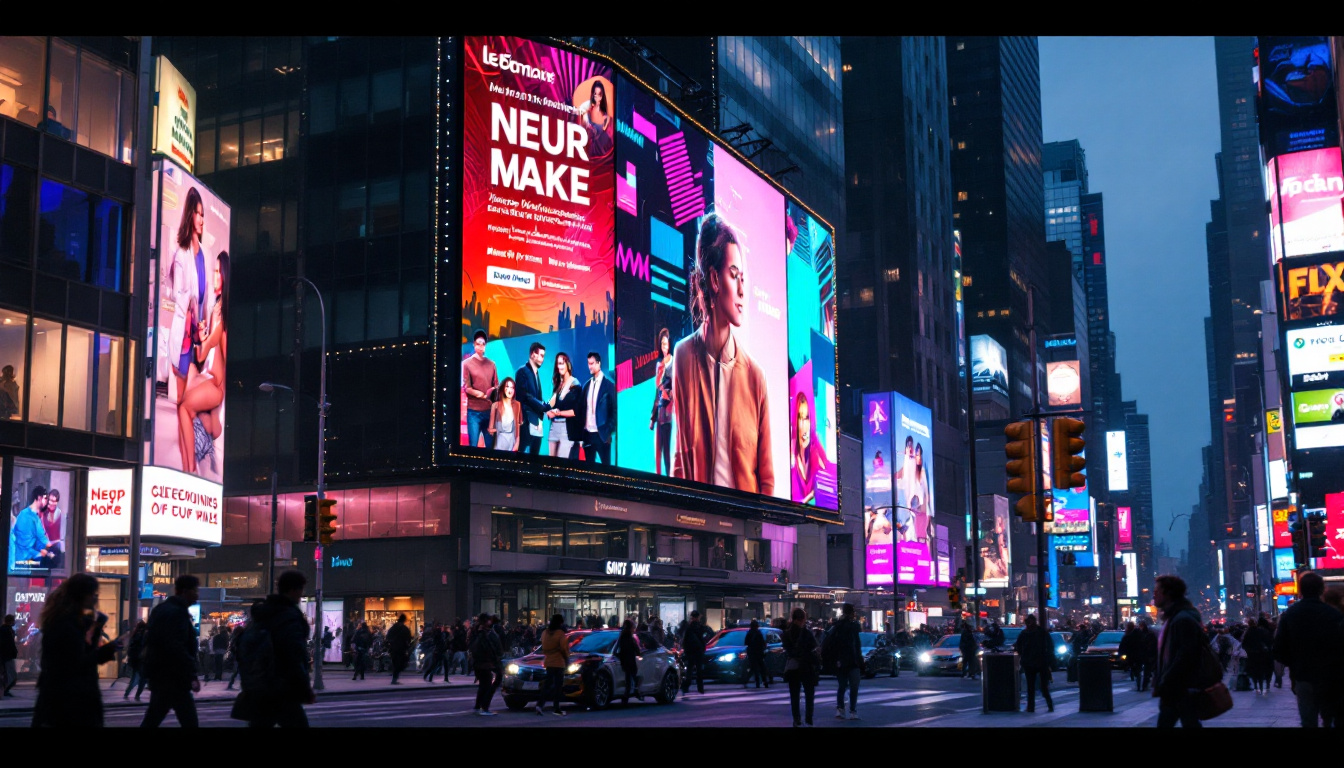
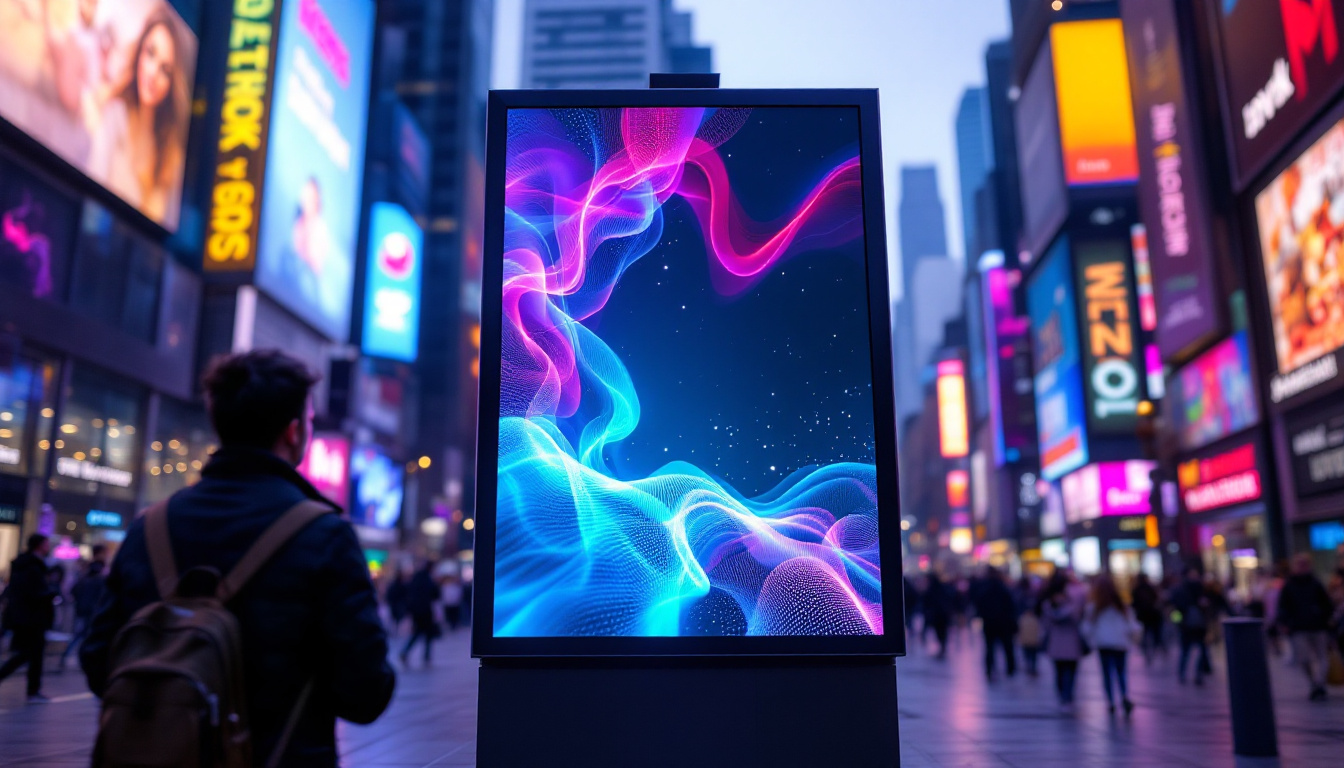
Screen Tight LED displays are used in numerous settings, including corporate environments, retail spaces, and entertainment venues. Their vibrant visuals and adaptability make them suitable for advertising, presentations, and live events. As businesses increasingly rely on digital signage, the demand for efficient installation solutions like Screen Tight continues to grow. In retail, for instance, these displays can be used to showcase promotions or new product launches, drawing customers’ attention with high-quality imagery and animations. In corporate settings, they serve as powerful tools for internal communications, allowing for real-time updates and information sharing during meetings and conferences.
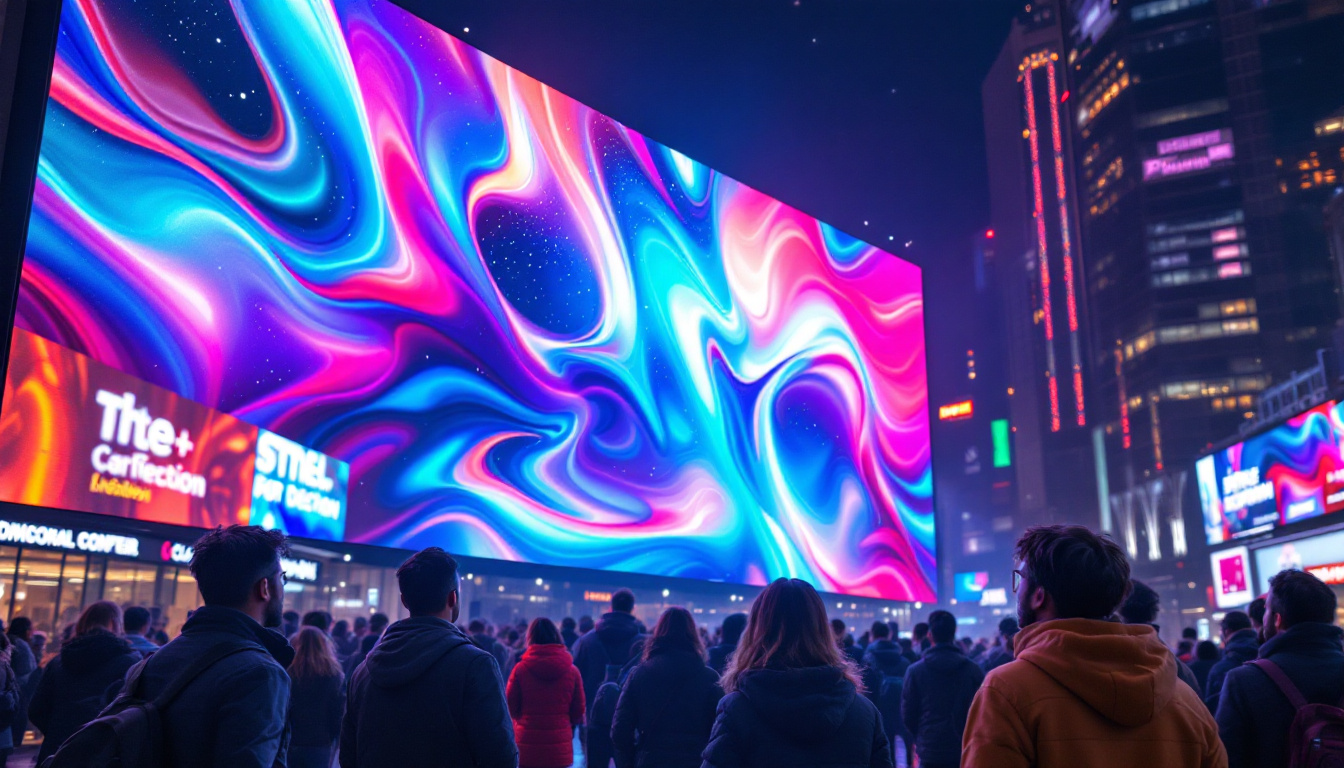
Moreover, the versatility of Screen Tight technology extends to outdoor applications, where weather-resistant features ensure that displays remain functional and visually appealing even in challenging conditions. This capability opens up opportunities for outdoor advertising, festivals, and public events, where engaging visuals are crucial for capturing audience interest. As technology advances, the integration of Screen Tight with smart systems and IoT devices is also becoming more prevalent, allowing for automated content updates and remote management, further enhancing its appeal in the fast-paced digital landscape.
Preparing for Installation
Proper preparation is crucial for a successful installation of Screen Tight LED displays. This section outlines the steps necessary to ensure everything is in place before beginning the installation process.
Gathering Required Tools and Materials
Before starting the installation, it is essential to gather all necessary tools and materials. The basic toolkit should include a power drill, level, measuring tape, and appropriate screws and anchors. Additionally, having a clean workspace and protective gear will help facilitate a smooth installation process. It’s also wise to have a backup power source, such as a portable generator, in case of unexpected power outages during installation. A sturdy ladder may be needed if the display is to be mounted at a height, ensuring that all safety protocols are followed when working at elevation.
Assessing the Installation Location
Choosing the right location for the LED display is vital. Factors such as visibility, accessibility, and power supply should be considered. A well-lit area with minimal obstructions will enhance the display’s effectiveness. Furthermore, ensure that the location can support the weight and dimensions of the Screen Tight system. It’s also beneficial to evaluate the surrounding environment for potential interference from sunlight or reflective surfaces that could impact visibility. Conducting a site survey at different times of the day can provide insights into how natural light affects the display, allowing for adjustments to be made before installation.
Understanding the User Manual
Before proceeding, it is advisable to thoroughly read the user manual provided with the Screen Tight system. This document contains essential information regarding the installation process, safety precautions, and troubleshooting tips. Familiarizing oneself with the manual can prevent potential issues during installation. Additionally, consider watching tutorial videos or attending workshops if available, as these resources can offer visual guidance and practical tips that complement the written instructions. Engaging with online forums or communities can also provide insights from other users who have successfully installed their displays, sharing their experiences and best practices.
Step-by-Step Installation Process
With the preparation complete, it’s time to move on to the installation process. This section provides a detailed, step-by-step guide to installing the Screen Tight LED display.
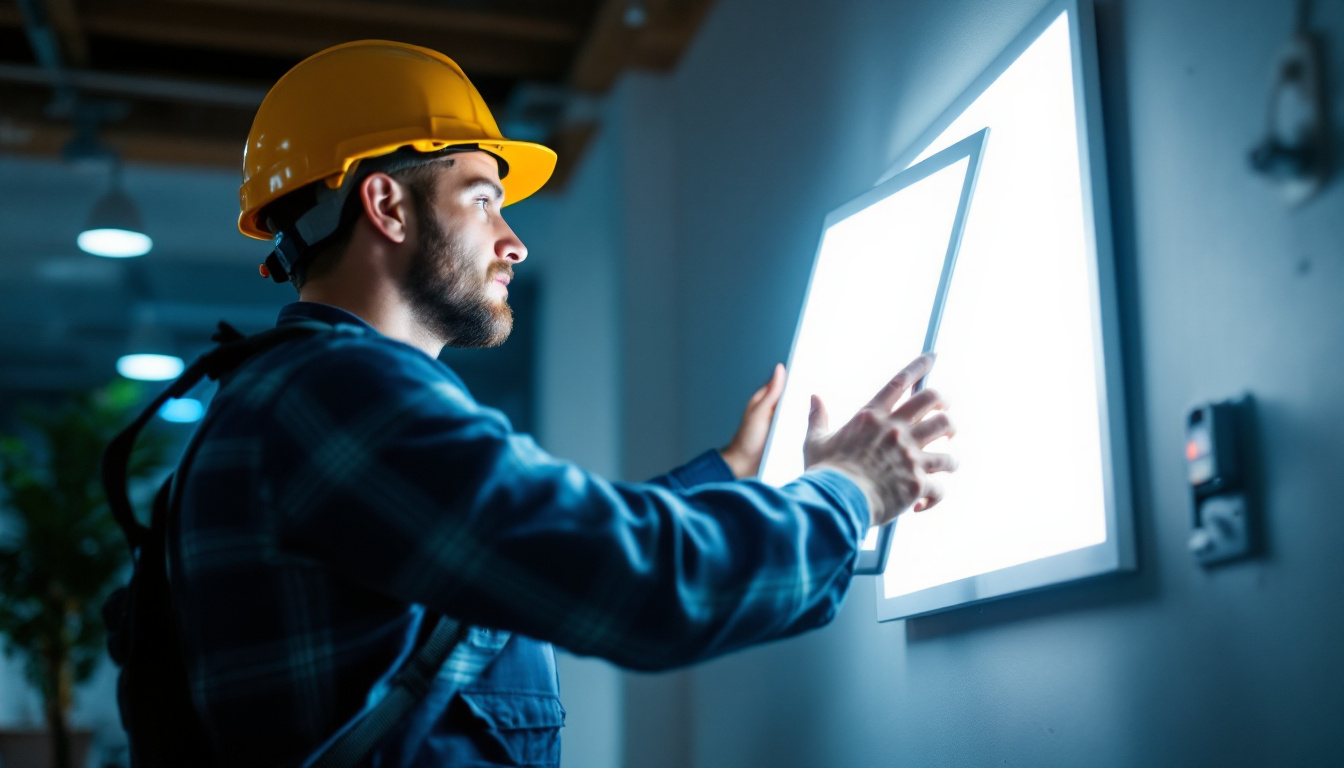
Step 1: Mounting the Frame
The first step in the installation process is to mount the frame onto the wall or designated surface. Start by marking the desired height and position using a level to ensure accuracy. Once the markings are in place, drill pilot holes and secure the frame using the appropriate screws and anchors.
It is essential to double-check the alignment of the frame before tightening the screws completely. Any misalignment at this stage can lead to complications later in the installation process. Additionally, consider using a stud finder to locate the most secure points on the wall, as this will provide extra stability for the frame. If you are mounting on drywall, using toggle bolts may be a wise choice to ensure that the frame can support the weight of the LED panels without any risk of sagging or detachment over time.
Step 2: Installing the LED Panels
After the frame is securely mounted, the next step involves installing the LED panels. Carefully lift each panel and align it with the frame, ensuring that the connectors are properly positioned. Gently press the panel into place until it clicks securely into the frame.
Repeat this process for each panel, taking care to maintain uniform spacing and alignment. Once all panels are installed, conduct a visual inspection to ensure everything is correctly positioned. It’s also advisable to check the manufacturer’s guidelines for any specific recommendations regarding panel orientation, as some displays may have particular requirements for optimal performance. Additionally, consider using a soft cloth to clean the edges of the panels before installation to prevent any dust or debris from interfering with the connections.
Step 3: Connecting Power and Data Cables
With the panels in place, the next step is to connect the power and data cables. Begin by locating the designated ports on the back of each panel. Carefully plug in the power cables, ensuring that they are securely connected to avoid any interruptions in power supply.
Next, connect the data cables according to the instructions provided in the user manual. This step is crucial for ensuring that the panels communicate effectively with the control system. Once all connections are made, double-check for any loose cables before proceeding. It’s also wise to organize the cables neatly, using cable ties or clips to prevent tangling or accidental disconnection during operation. A well-organized setup not only enhances the aesthetic appeal but also simplifies any future maintenance or troubleshooting that may be required.
Testing and Calibration
Once the installation is complete, it’s time to test and calibrate the LED display. This step ensures that the system functions correctly and delivers optimal performance.
Powering On the Display
Begin by powering on the LED display. Observe the initial startup sequence to ensure that all panels light up evenly. If any panels fail to illuminate, it may indicate a connection issue that needs to be addressed.
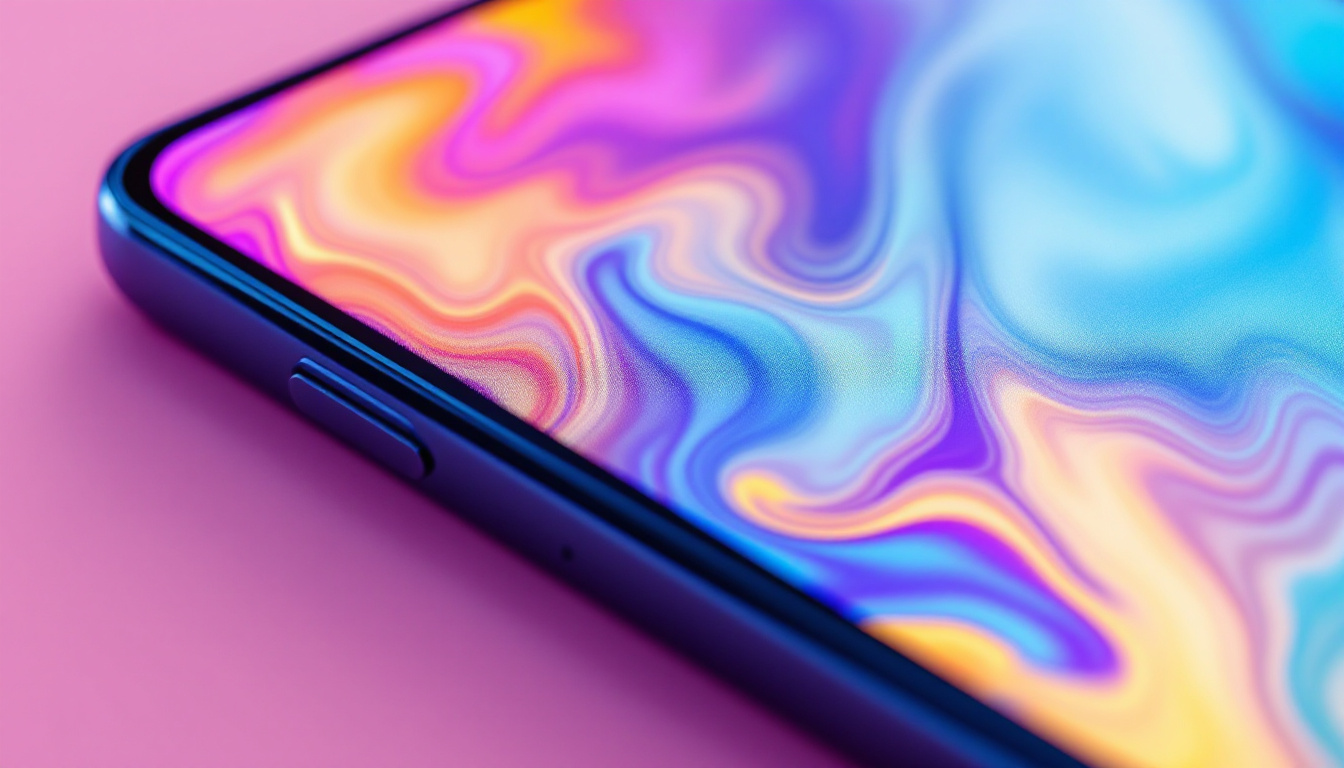
Calibrating the Display Settings
After confirming that the display powers on successfully, proceed to calibrate the settings. This process may involve adjusting brightness, contrast, and color settings to achieve the desired visual effect. Many Screen Tight systems come with software that allows for fine-tuning these parameters, ensuring the display meets specific requirements.
Conducting a Final Inspection
Once calibration is complete, conduct a final inspection of the installation. Check for any visible gaps between panels, loose cables, or misalignments. Addressing these issues before the display goes live will help prevent complications down the line.
Maintenance and Troubleshooting
Routine Maintenance Tips
Routine maintenance should include cleaning the display surface with a soft, dry cloth to remove dust and debris. Avoid using harsh chemicals or abrasive materials, as these can damage the LED panels. Additionally, regularly inspect the cables and connections for signs of wear or damage.
Troubleshooting Common Issues
Even with proper installation and maintenance, issues may arise. Common problems include flickering screens, uneven brightness, or connectivity issues. For flickering screens, check the power supply and connections to ensure they are secure. Uneven brightness may require recalibration of the settings. In case of connectivity issues, verify that all data cables are properly connected and functioning.
Conclusion
Installing a Screen Tight LED display can significantly enhance visual presentations, whether for business or entertainment purposes. By following the outlined steps for installation, testing, and maintenance, users can ensure a successful setup that delivers vibrant and dynamic visuals.
As technology continues to evolve, staying informed about the latest advancements in LED display systems will be crucial for maximizing their potential. Embracing innovative solutions like Screen Tight not only streamlines the installation process but also contributes to a more engaging and effective visual experience.
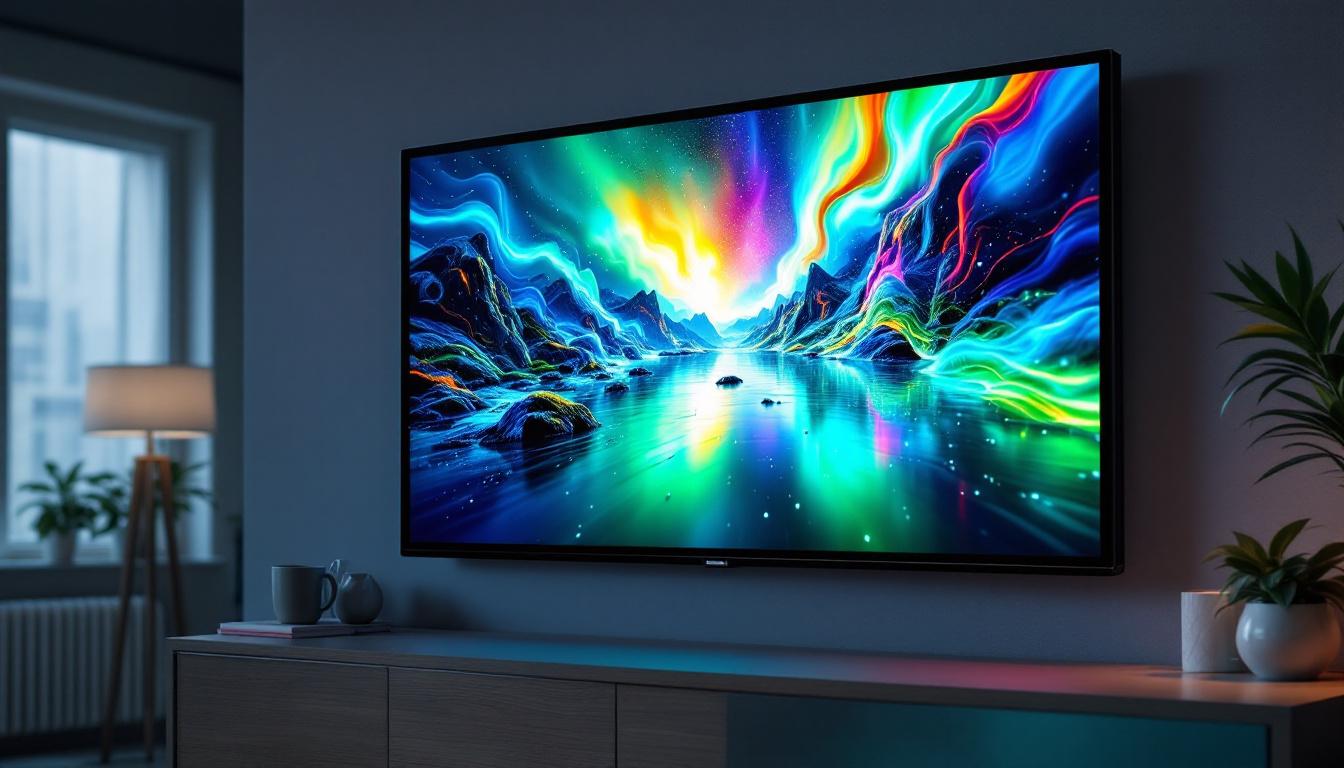
Discover LumenMatrix’s Innovative LED Solutions
Ready to elevate your visual experience with the latest in LED technology? Look no further than LumenMatrix, a pioneer in crafting immersive LED displays that transform any space into a dynamic environment. From indoor and outdoor walls to specialized solutions for vehicles, sports, and custom installations, LumenMatrix is your partner in creating visual spectacles that captivate and engage. Check out LumenMatrix LED Display Solutions today and step into the future of vibrant, high-impact visual communication.