In recent years, LED technology has revolutionized the way we display information and visuals. From large outdoor billboards to small screens in our homes, LED displays are everywhere. This article delves into the intricacies of DIY LED screens, explaining how they work, the components involved, and how to create your own LED display.
Understanding LED Technology
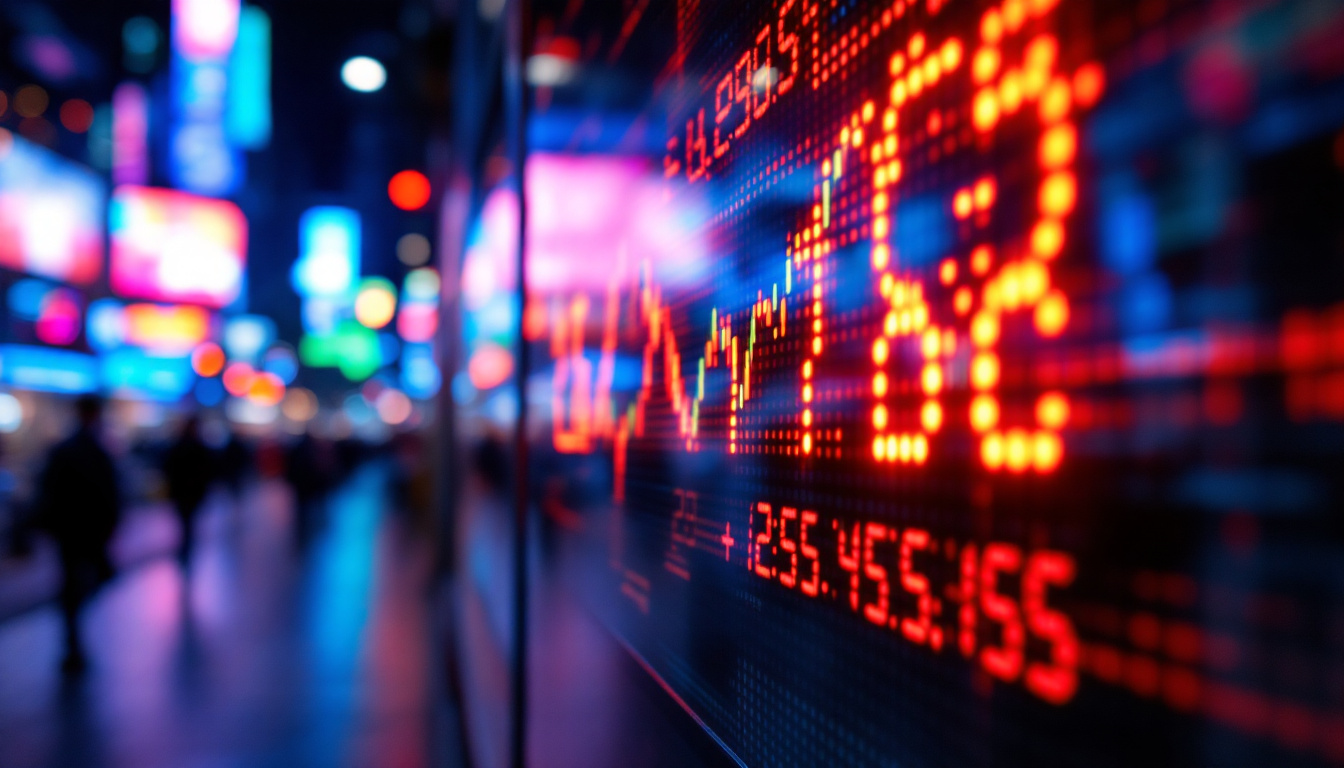
LED, or Light Emitting Diode, is a semiconductor device that emits light when an electric current passes through it. This technology has gained immense popularity due to its efficiency, longevity, and versatility. Unlike traditional lighting methods, LEDs consume significantly less power and have a longer lifespan, making them an ideal choice for various applications. The rapid advancement in LED technology has led to innovations in design and functionality, allowing for more creative uses in both commercial and residential settings.
The Basics of LED Operation
At its core, an LED operates on the principle of electroluminescence. When electrons recombine with holes within the device, energy is released in the form of light. The color of the emitted light depends on the materials used in the semiconductor. For instance, different combinations of gallium, arsenide, or phosphide can produce various colors, from red to blue to green. This variability in color production has paved the way for the development of RGB (Red, Green, Blue) LEDs, which can create a full spectrum of colors by adjusting the intensity of each individual color component.
Understanding this basic operation is crucial for anyone looking to create their own LED display. By manipulating the arrangement of these diodes, one can create vibrant images and videos, making LED technology a popular choice for screens of all sizes. Furthermore, advancements in microcontroller technology allow for sophisticated control of LED displays, enabling dynamic content that can change in real-time, enhancing user engagement and interactivity.
Advantages of LED Displays
LED displays offer several advantages over traditional display technologies. One of the most significant benefits is their energy efficiency. LEDs consume less power, which translates to lower electricity bills and a reduced carbon footprint. Additionally, they have a longer lifespan, often lasting up to 50,000 hours or more, compared to traditional bulbs that may only last a few thousand hours. This longevity not only reduces the frequency of replacements but also minimizes waste, contributing to more sustainable practices in lighting and display solutions.
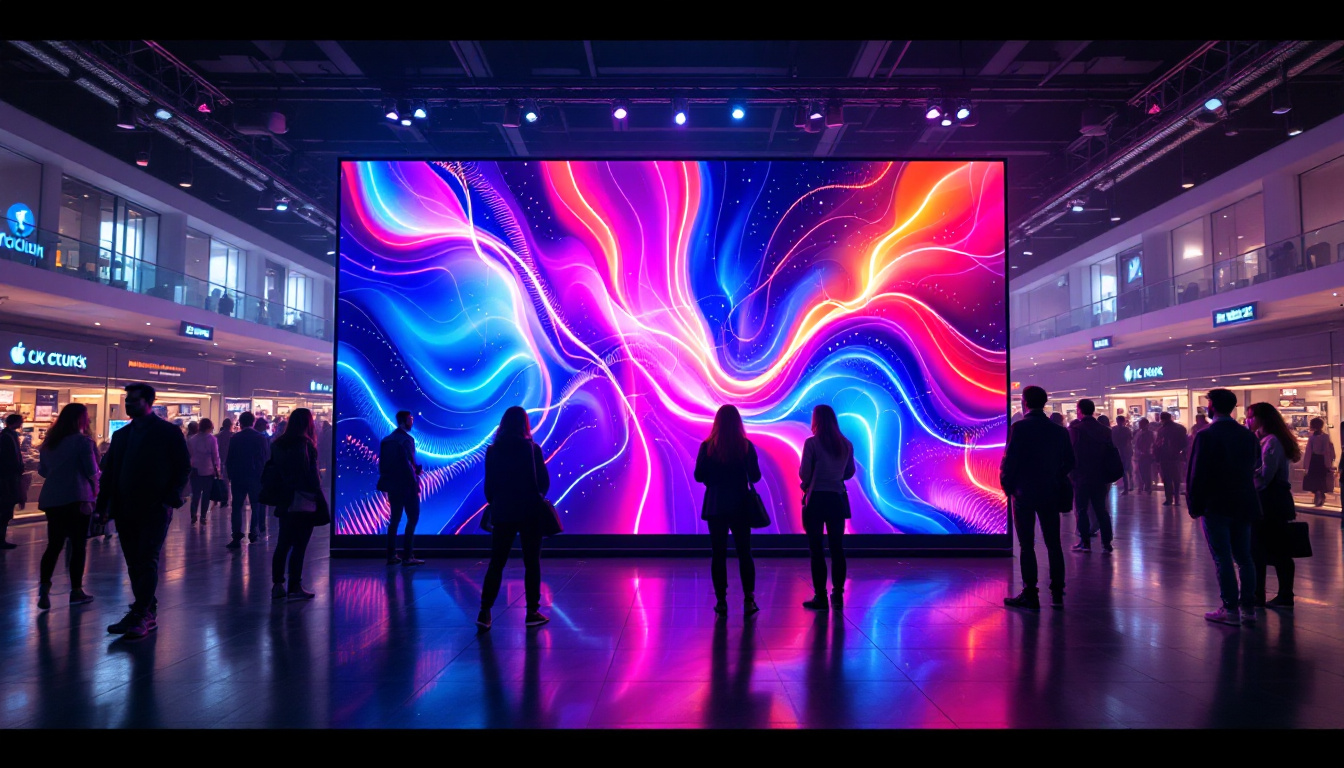
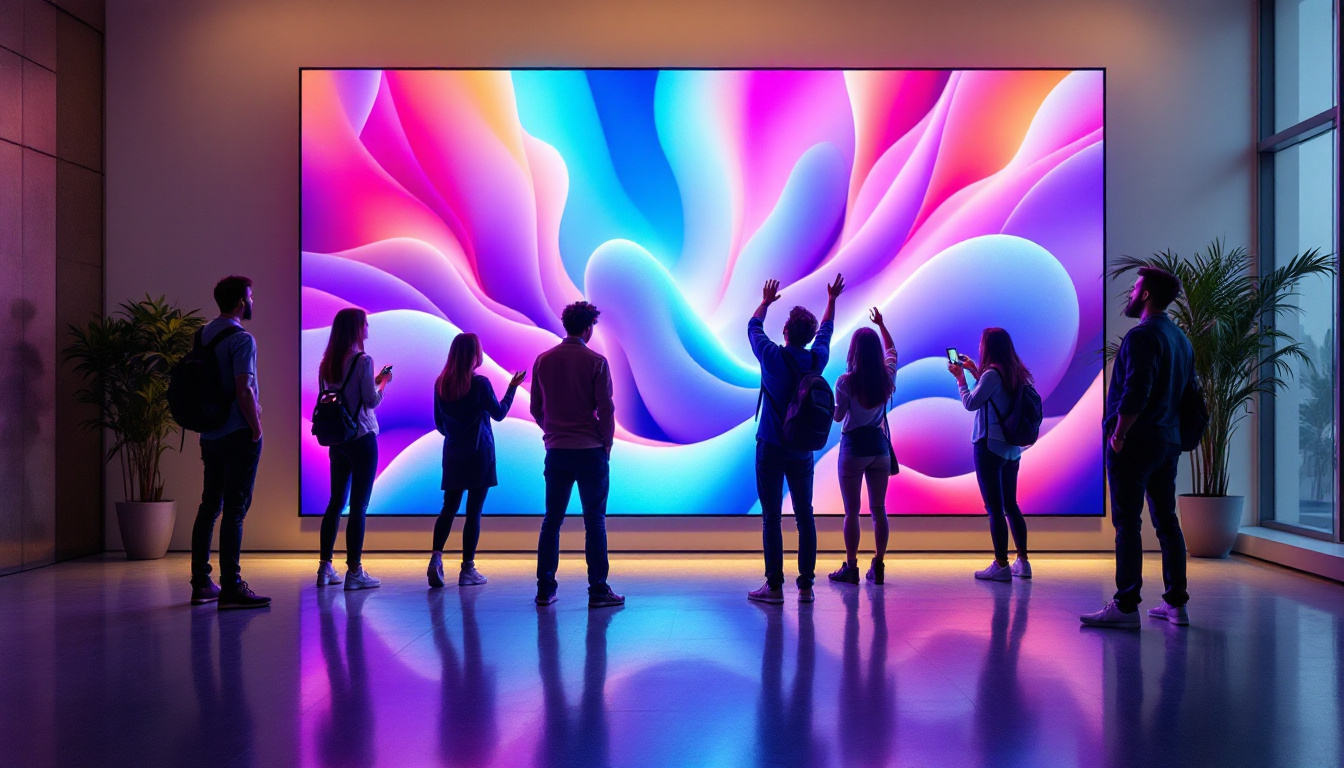
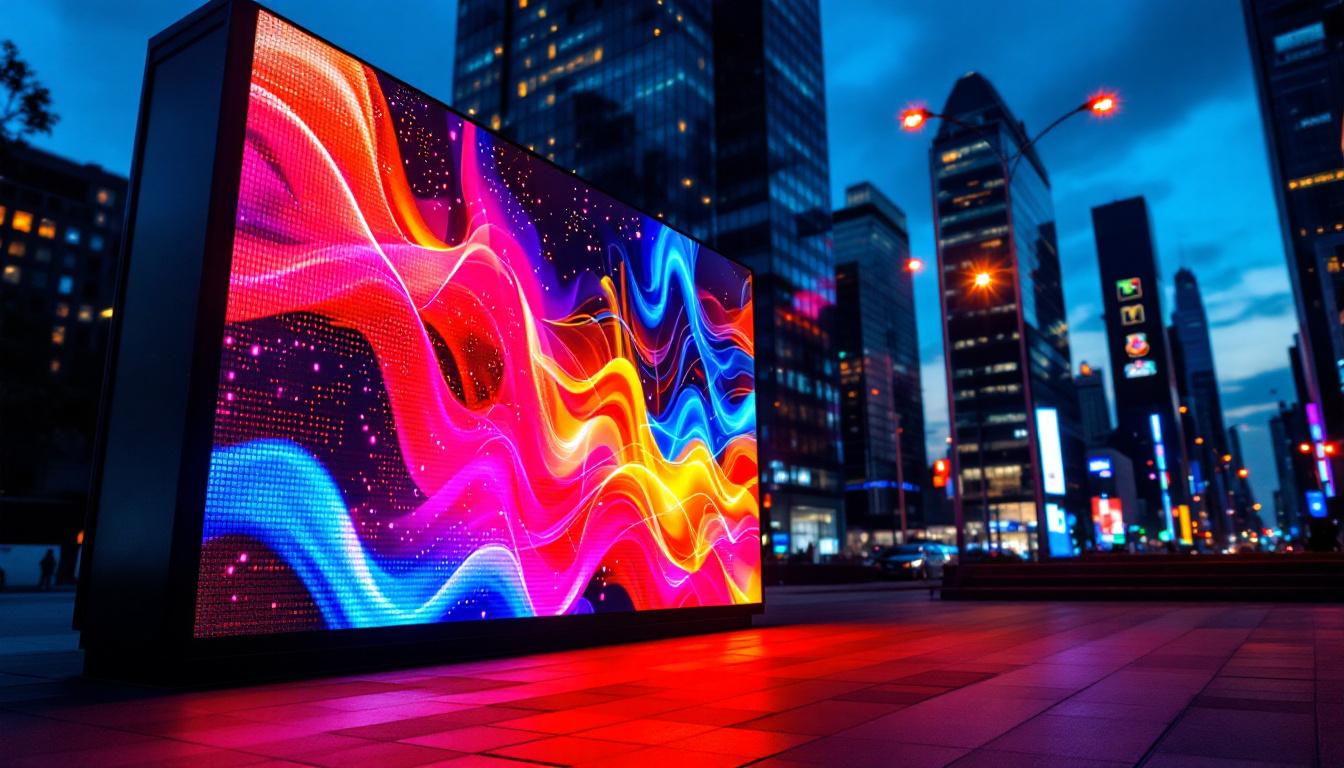
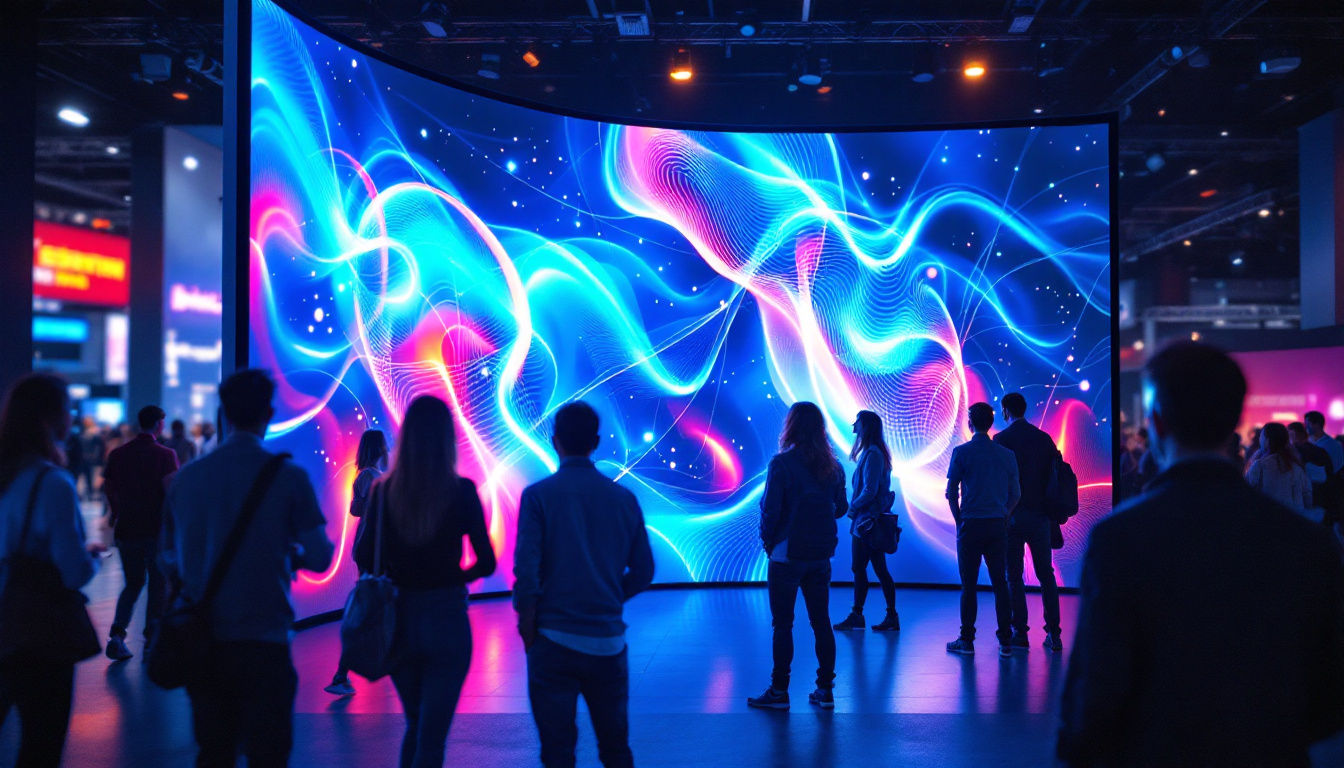
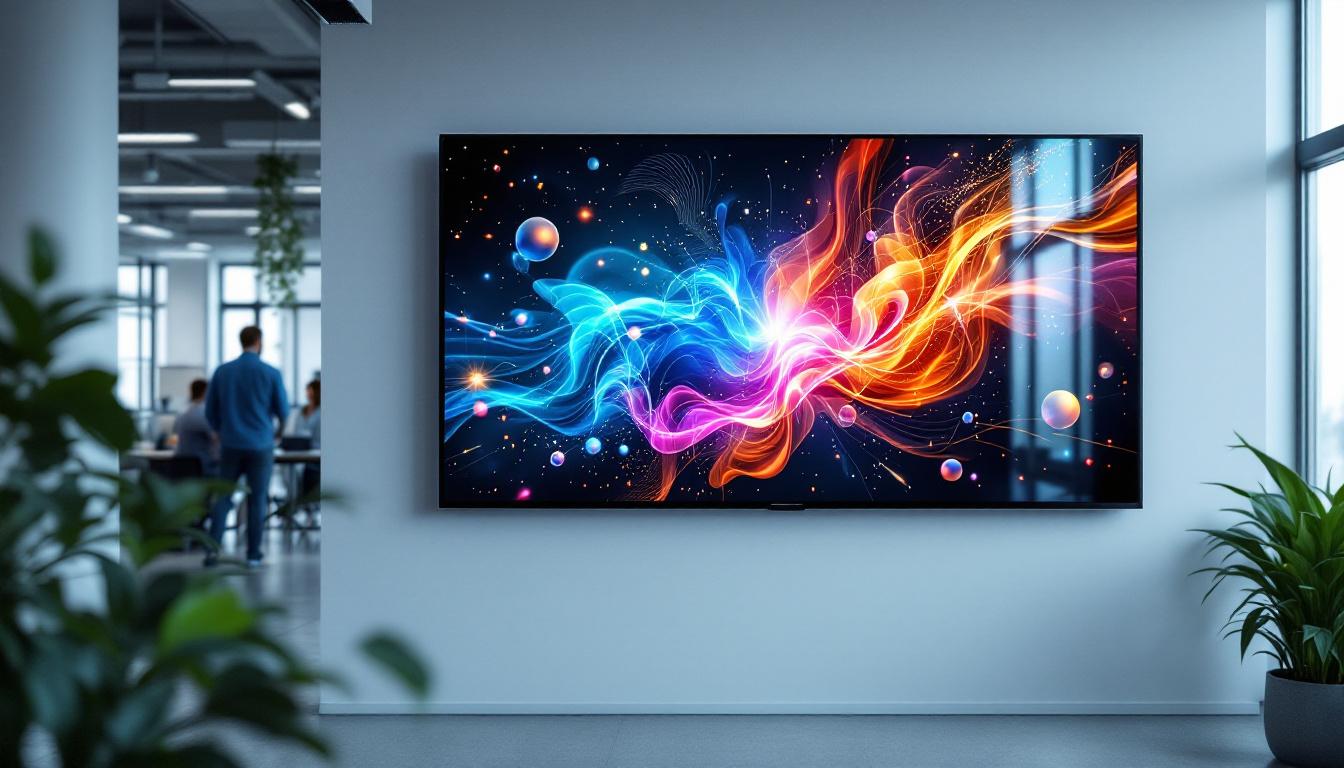
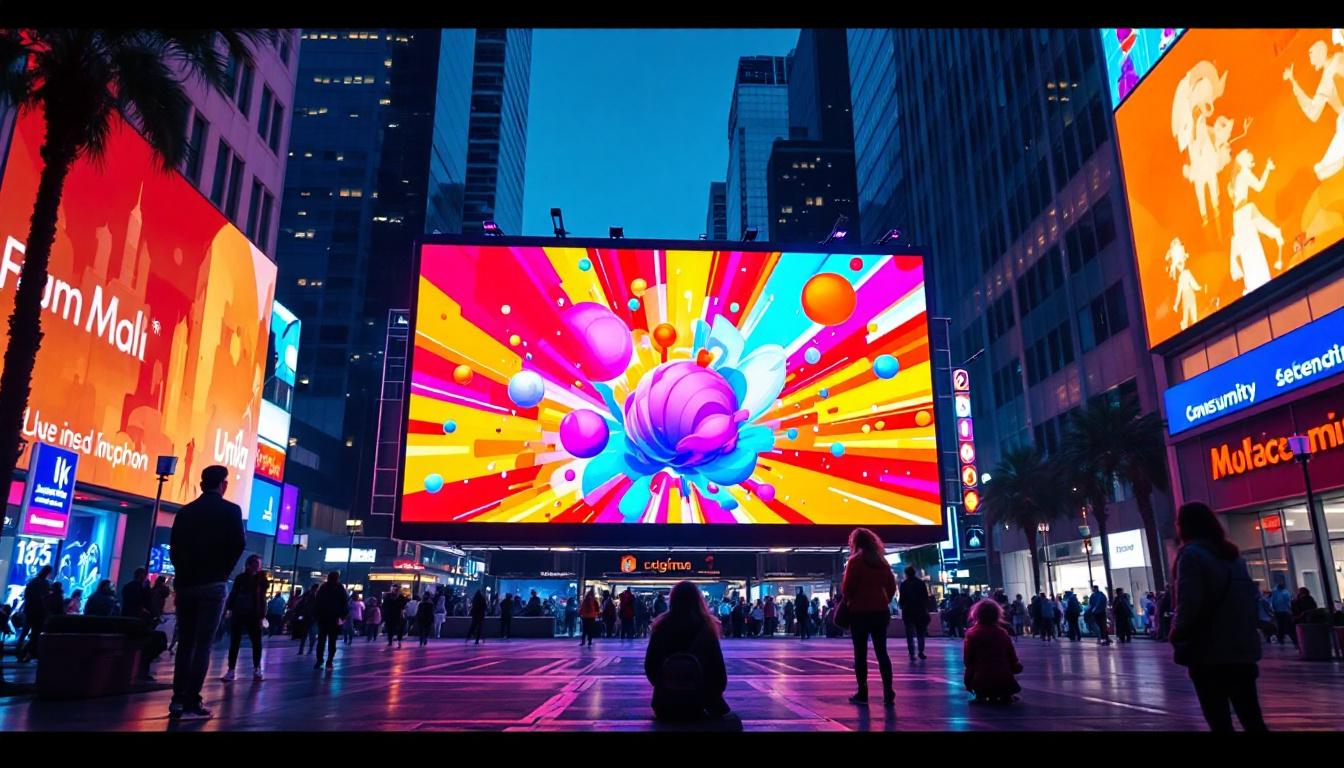
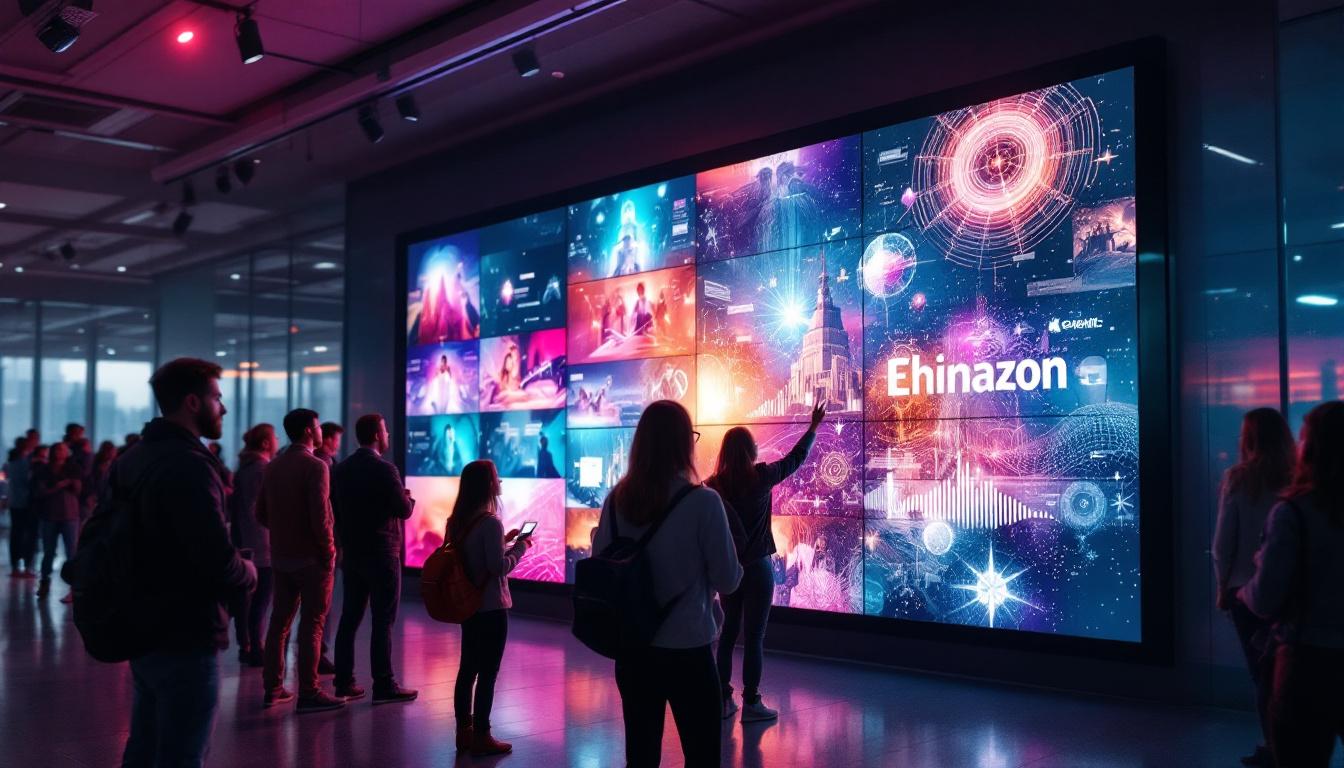
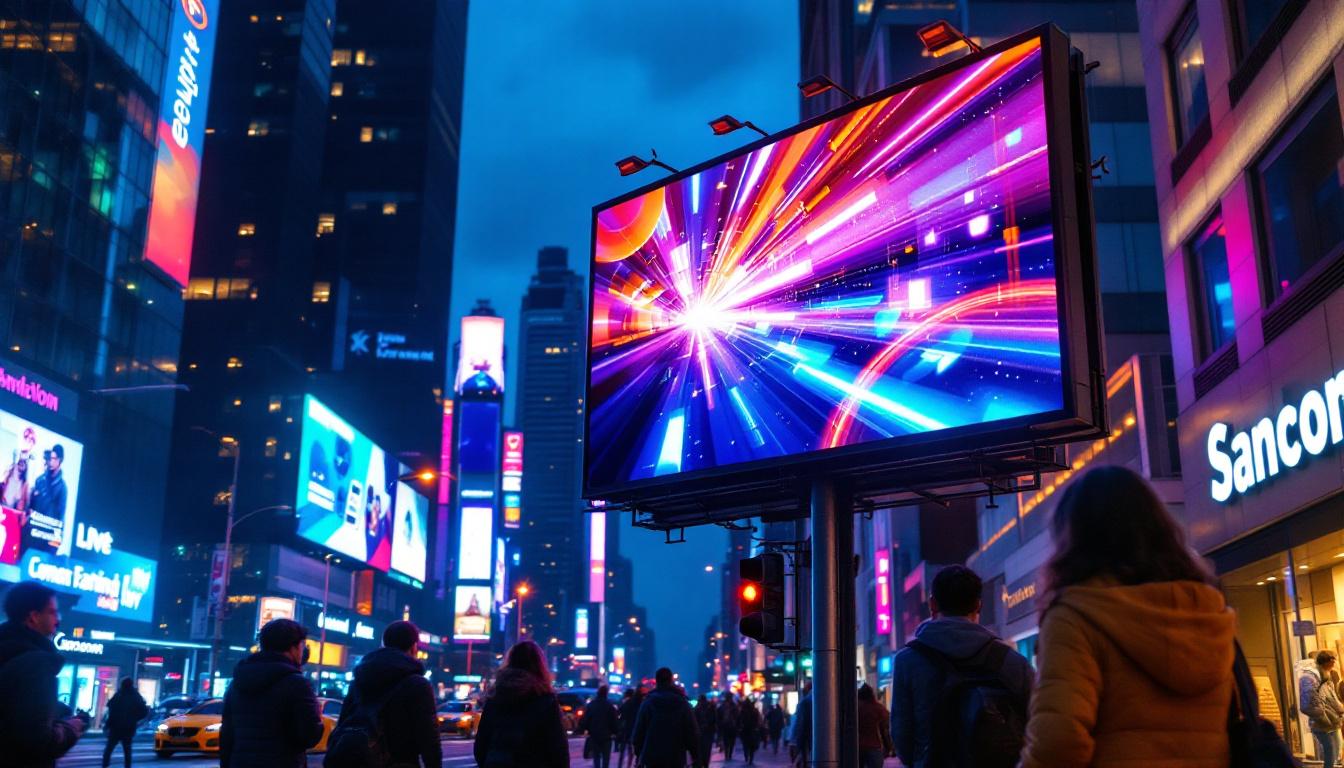
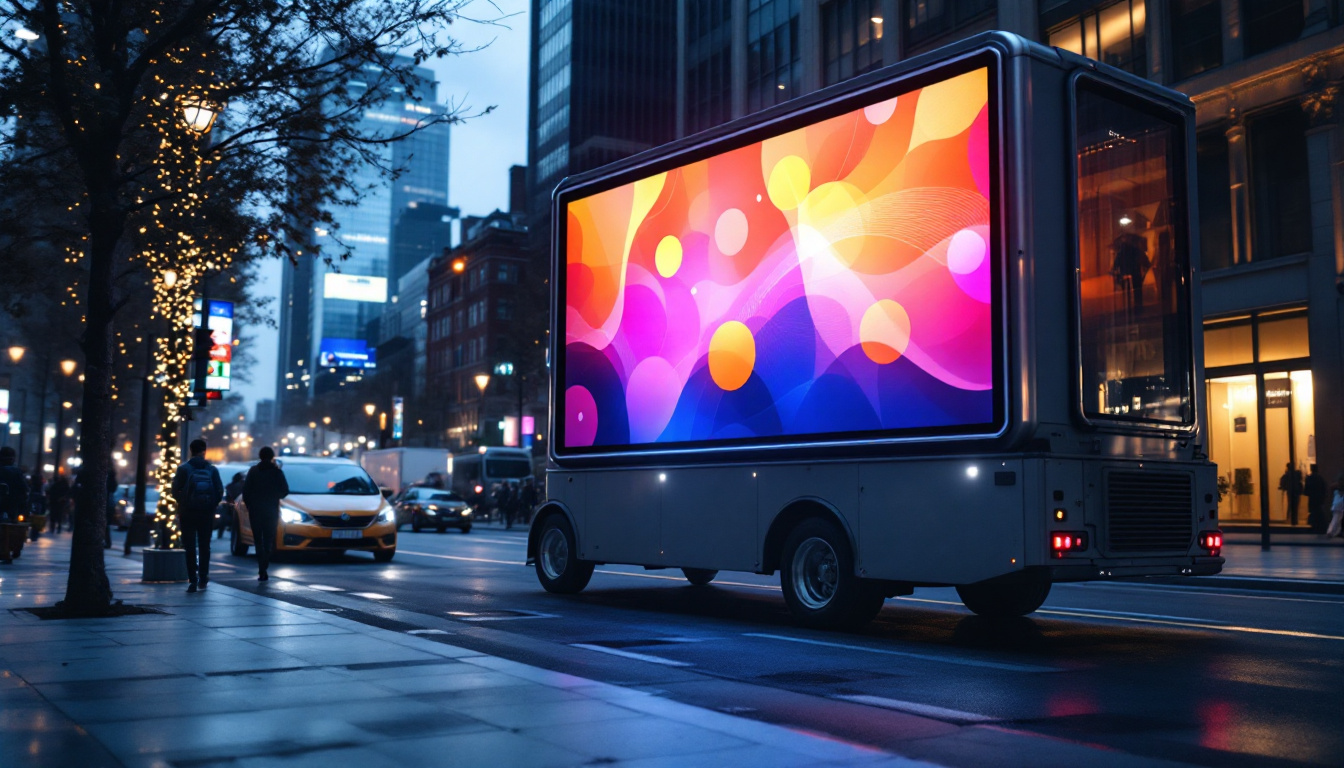
Moreover, LED displays are known for their superior brightness and clarity. They can produce vivid colors and high contrast ratios, making them suitable for both indoor and outdoor settings. This versatility allows for a wide range of applications, from advertising to home entertainment. In outdoor environments, for example, LED displays are designed to withstand harsh weather conditions, ensuring that they remain functional and visually appealing regardless of the elements. Additionally, the lightweight nature of LED technology facilitates easier installation and portability, making it a preferred choice for events and exhibitions where flexibility is key.
Components of a DIY LED Screen
Creating a DIY LED screen requires a few essential components. Understanding each part’s role is vital for building a functional and efficient display. Here are the primary components needed:
LED Modules
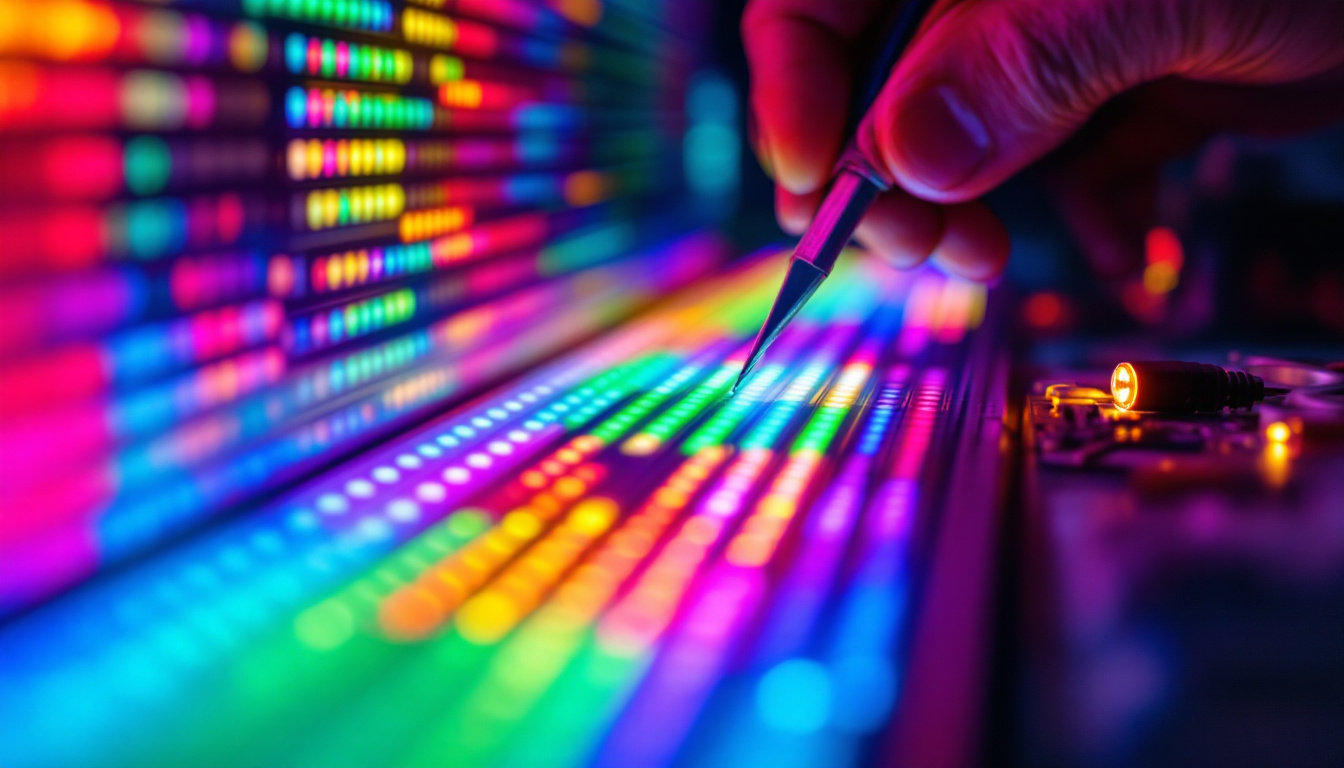
These are the building blocks of your LED screen. LED modules come in various sizes and configurations, often arranged in a grid-like pattern. Each module contains multiple LEDs and is responsible for displaying a portion of the overall image. When selecting LED modules, consider factors such as pixel pitch, brightness, and color capabilities. The pixel pitch, which refers to the distance between the centers of two adjacent pixels, significantly affects the resolution and clarity of the display. A smaller pixel pitch means a higher resolution, making it ideal for close viewing distances, while a larger pixel pitch is more suitable for larger audiences viewing from afar. Additionally, the brightness of the LEDs is crucial for visibility in different lighting conditions, especially for outdoor displays where sunlight can wash out images.
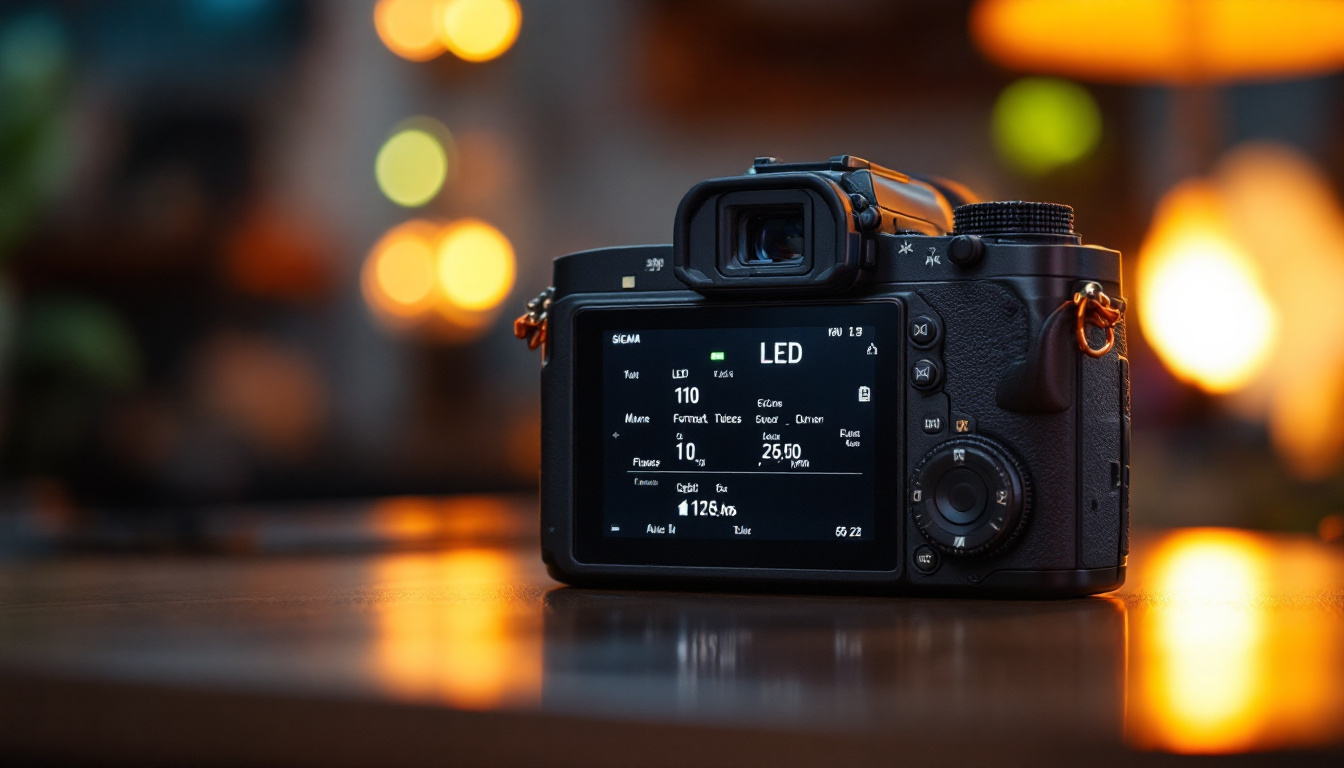
Control System
The control system is the brain of your LED display. It manages the data sent to the LED modules, ensuring that the correct images and videos are displayed. This system typically includes a controller board and software that allows users to upload content, adjust settings, and manage the display. Popular control systems include Raspberry Pi, Arduino, and dedicated LED controllers. Each option has its advantages; for instance, Raspberry Pi offers a user-friendly interface and extensive community support, while Arduino provides flexibility for custom projects. Additionally, the software used can vary from simple applications for basic displays to more sophisticated programs that allow for real-time content updates and remote management, making it easier to keep your display fresh and engaging.
Power Supply
LED displays require a stable power supply to function correctly. The power supply must match the voltage and current specifications of the LED modules. It’s essential to choose a power supply that can handle the total load of the display, ensuring consistent performance without overheating or failing. In addition to the main power supply, consider incorporating a backup power solution to prevent any interruptions during operation, especially for displays used in critical applications like events or advertising. Furthermore, implementing proper cable management and ensuring that all connections are secure can help avoid power loss and enhance the longevity of your LED screen. Regular maintenance checks on the power supply and connections will also contribute to the reliability of your display over time.
Steps to Build Your DIY LED Screen
Building a DIY LED screen can be a rewarding project. While the process may seem daunting, breaking it down into manageable steps can make it more approachable. Here’s a step-by-step guide to creating your own LED display.
Step 1: Planning Your Design
Before diving into the assembly, it’s crucial to plan your design. Determine the size of your LED screen and the resolution you desire. This decision will influence the number of LED modules you need and their arrangement. Consider where the screen will be placed and how it will be used, as these factors will affect your design choices.
Step 2: Acquiring Components
Once you have a plan in place, it’s time to gather the necessary components. Purchase LED modules, a control system, a power supply, and any additional materials required for mounting and housing your display. Many online retailers specialize in LED components, making it easy to find what you need.
Step 3: Assembling the Screen
With all components in hand, begin assembling your LED screen. Start by connecting the LED modules according to your design. Ensure that the wiring is secure and that each module is functioning correctly. Next, integrate the control system, connecting it to the LED modules and power supply. Follow the manufacturer’s instructions for wiring and configuration to avoid any issues.
Programming Your LED Display
After assembling the hardware, the next step is programming your LED display. This process involves configuring the control system to communicate with the LED modules and display content effectively.
Installing Software
Depending on the control system you chose, you may need to install specific software. For instance, if using a Raspberry Pi, you might opt for software like PiSignage or Screenly. These platforms allow users to upload images and videos, schedule content, and manage display settings easily.
Uploading Content
With the software installed, you can start uploading content to your LED display. This may include images, videos, or even live feeds. Ensure that the content is formatted correctly for your specific display resolution to achieve the best results. Many software options provide templates and guidelines to assist in this process.
Testing and Calibration
Once the content is uploaded, it’s time to test the display. Check for any issues with brightness, color accuracy, or connectivity. Calibration may be necessary to ensure that all modules are displaying content uniformly. Adjust settings as needed to achieve the desired visual quality.
Maintenance and Troubleshooting
Like any electronic device, LED displays require regular maintenance to ensure optimal performance. Understanding common issues and how to address them can prolong the life of your DIY LED screen.
Routine Maintenance
Regularly check the connections and wiring of your LED display. Loose connections can lead to flickering or complete failure of certain modules. Additionally, keep the screen clean and free of dust, as this can affect brightness and clarity. Use a soft cloth and mild cleaning solution to avoid damaging the LEDs.
Common Issues and Solutions
Some common issues with DIY LED screens include dead pixels, color inconsistencies, and connectivity problems. Dead pixels can sometimes be fixed by re-soldering connections or replacing the affected module. For color inconsistencies, recalibrating the display settings may resolve the issue. If connectivity problems arise, check the wiring and ensure that the control system is functioning correctly.
Applications of DIY LED Screens
DIY LED screens have a wide range of applications, making them a valuable addition to various settings. Understanding these applications can inspire creative uses for your own display.
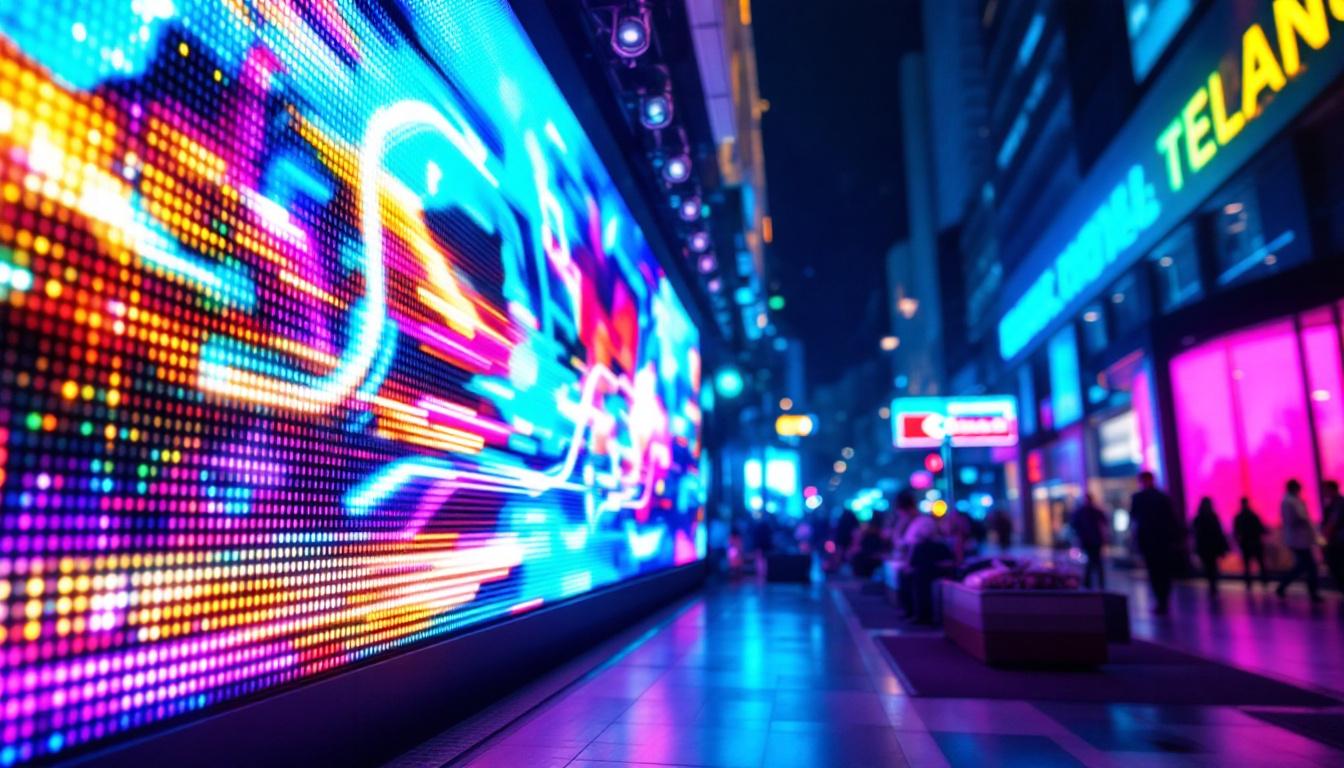
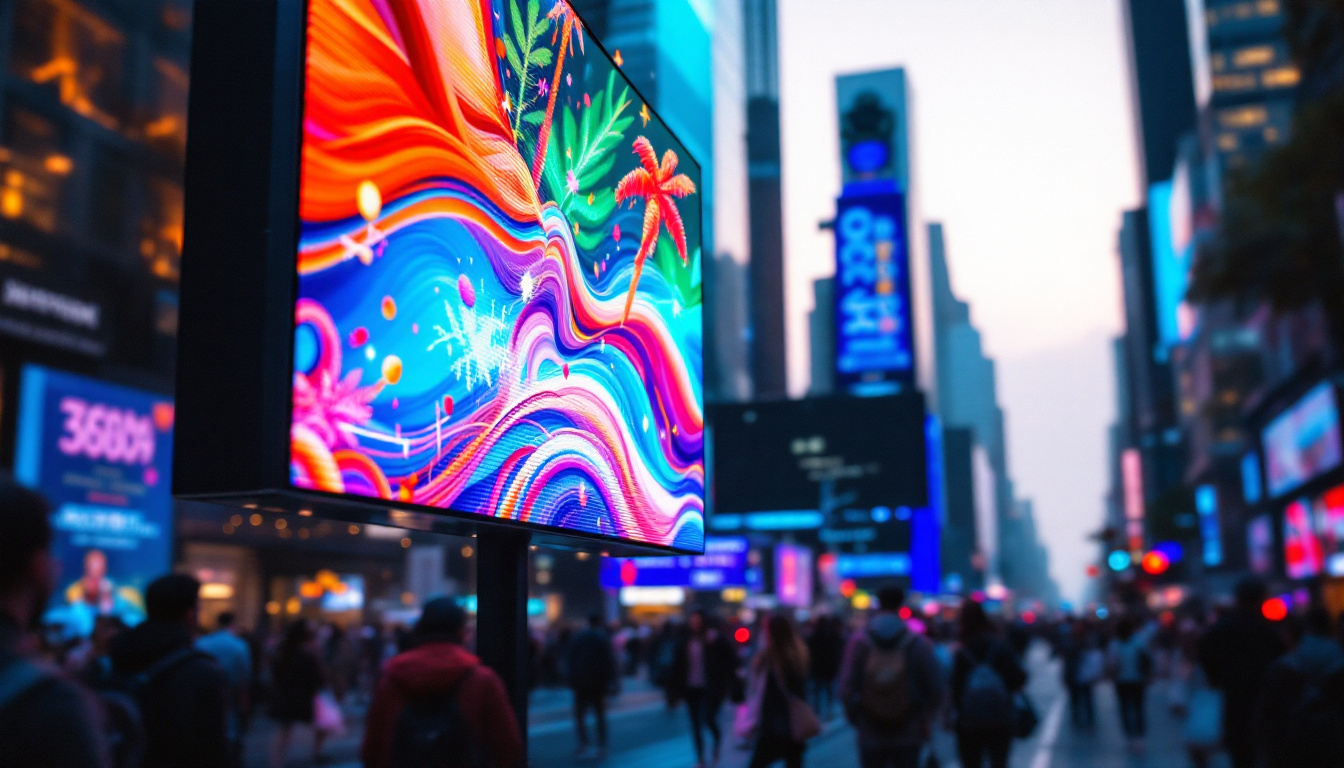
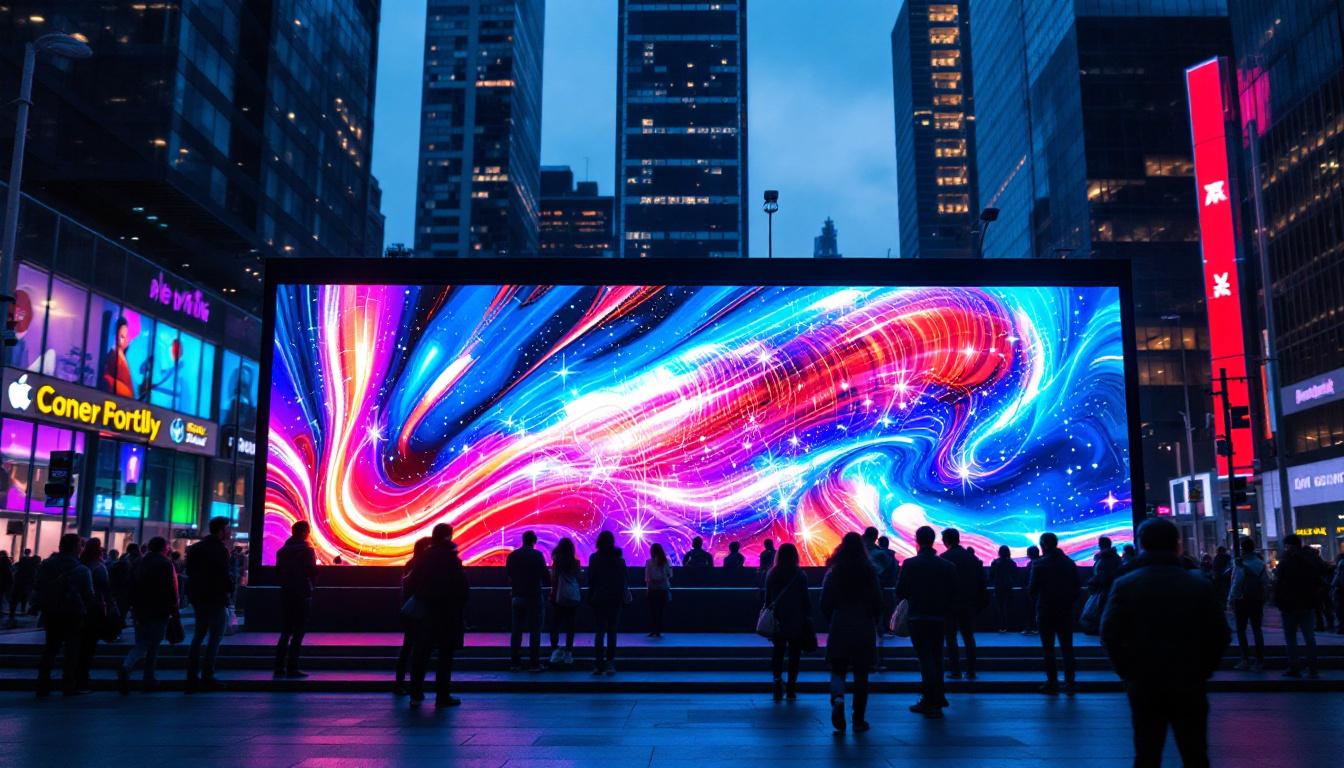
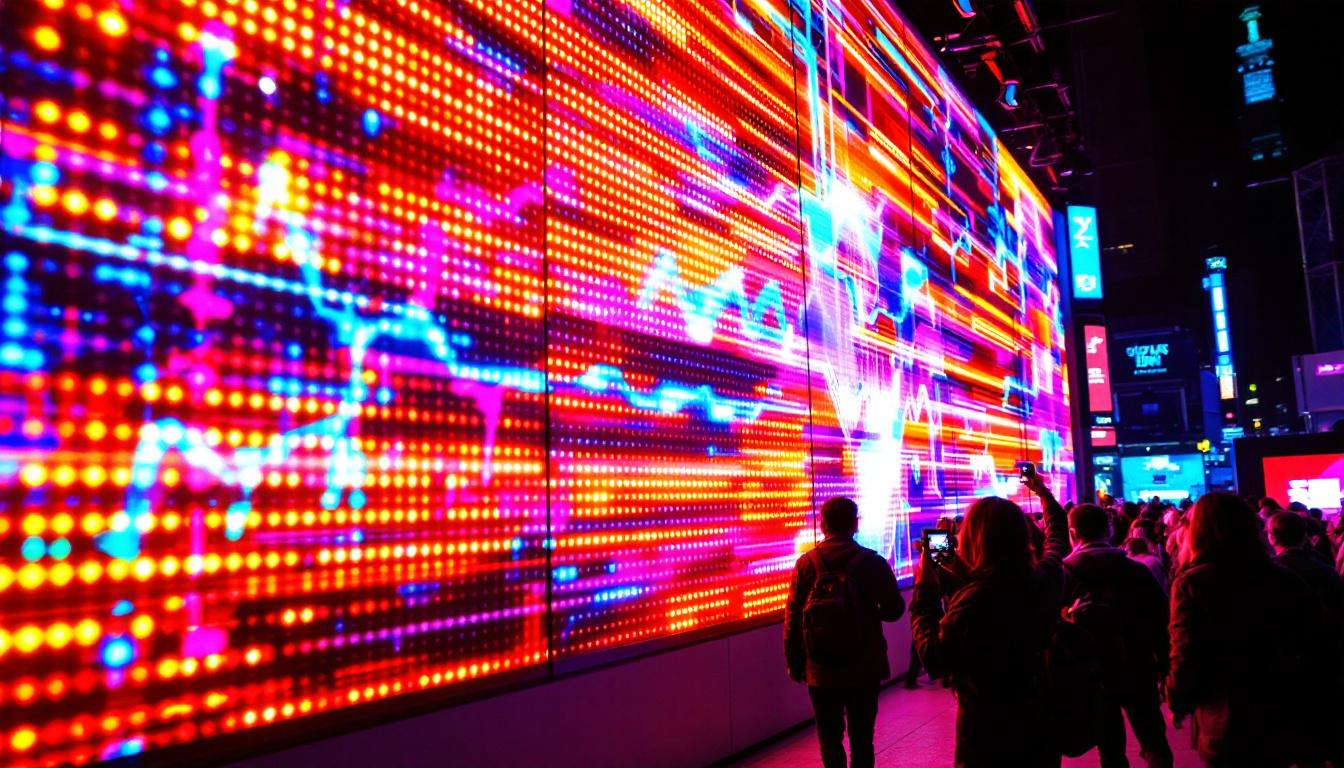
Advertising and Marketing
One of the most common uses for LED displays is in advertising and marketing. Businesses can showcase promotions, products, or services on vibrant screens that attract attention. DIY LED screens can be customized to fit any space, making them ideal for storefronts, trade shows, or events.
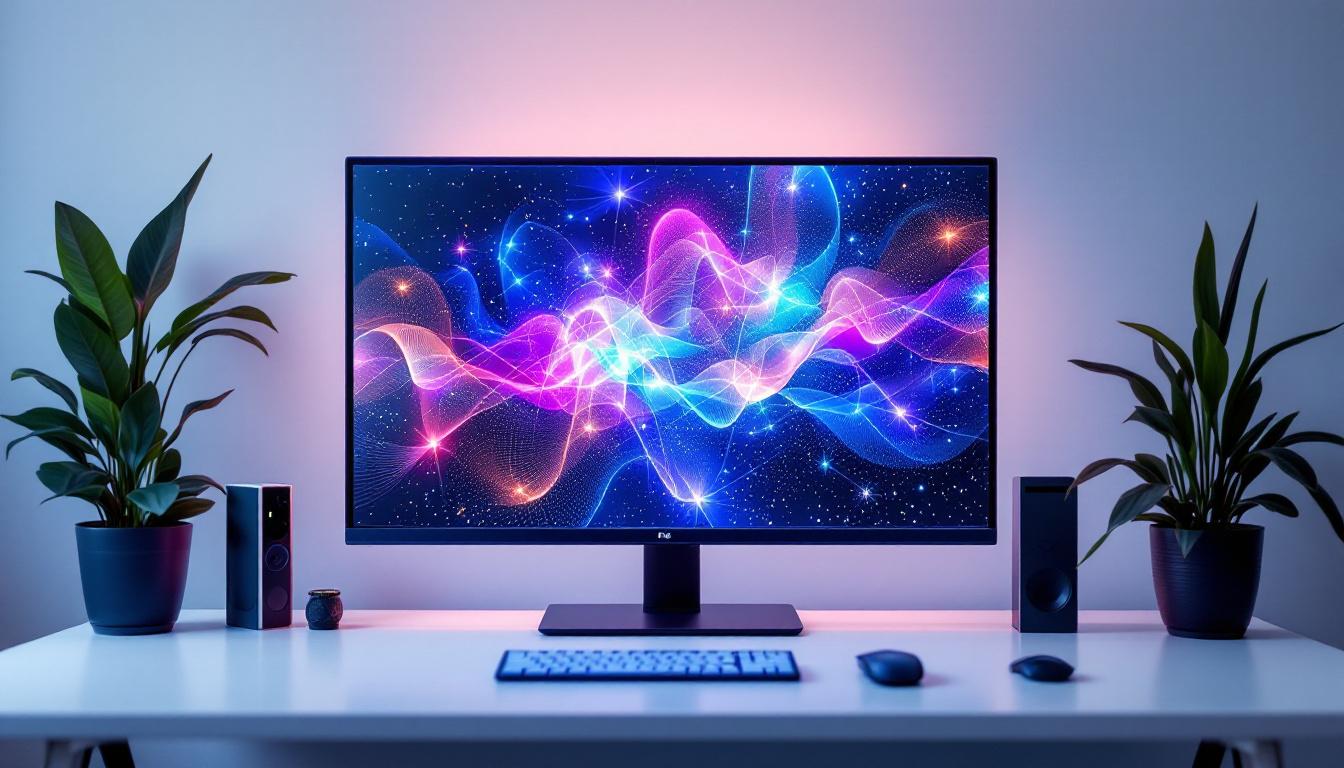
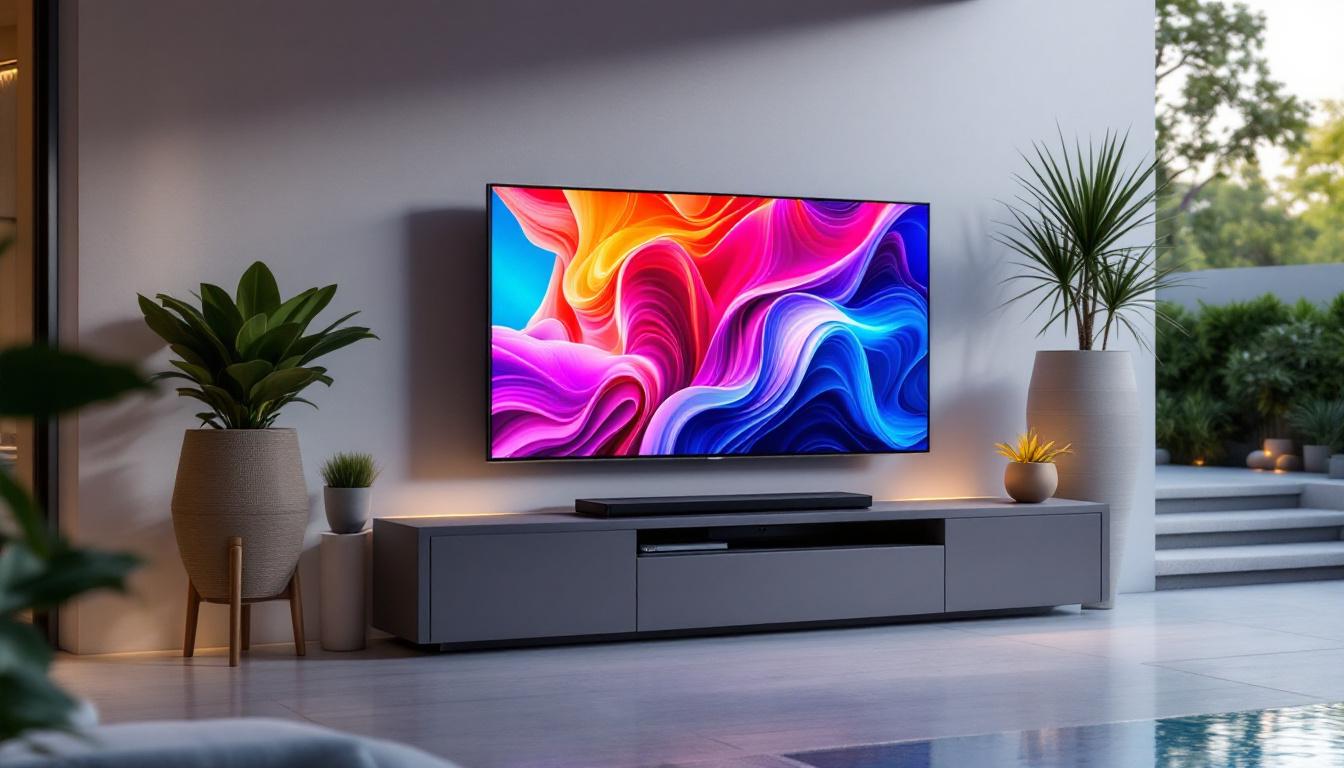
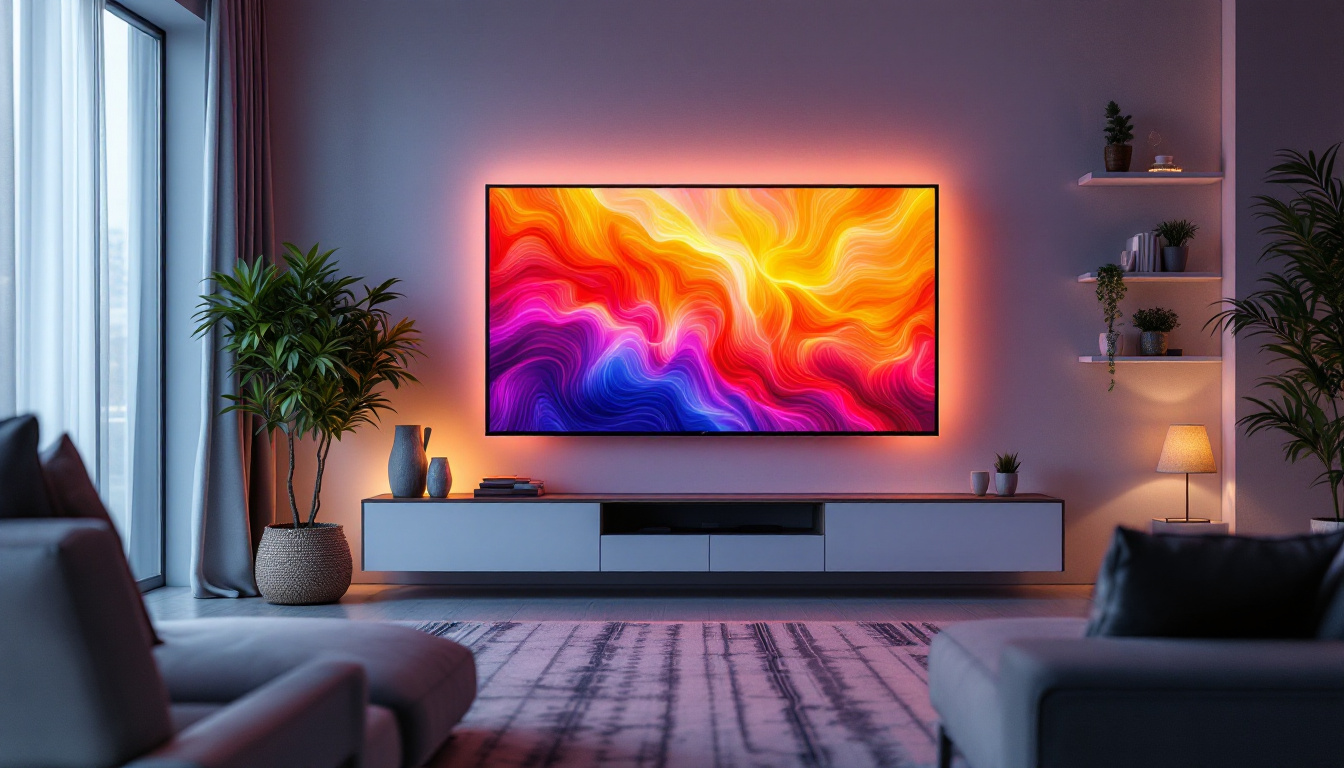
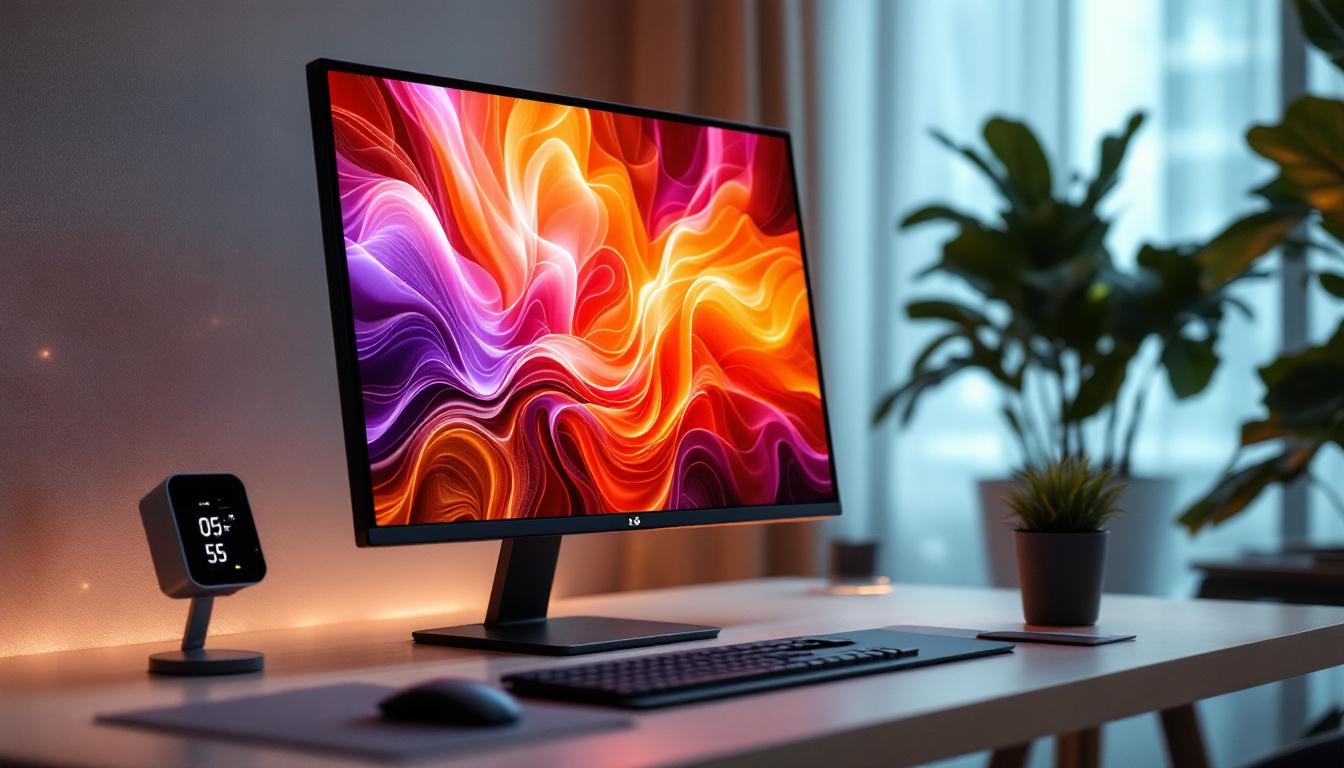
Home Entertainment
DIY LED screens are also popular for home entertainment setups. Whether for gaming, movie nights, or displaying art, a custom LED screen can enhance the viewing experience. With the ability to control content and settings, users can create a personalized entertainment environment.
Educational Purposes
In educational settings, LED displays can be used to present information in an engaging way. Schools and universities can utilize DIY screens for announcements, presentations, or interactive learning experiences. The flexibility of LED technology allows for a dynamic approach to education.
Conclusion
Creating a DIY LED screen can be a fulfilling project that combines creativity with technology. By understanding the components, assembly process, and programming, anyone can build a functional and visually striking display. With numerous applications ranging from advertising to home entertainment, the possibilities are endless. Embrace the world of LED technology and explore the potential of your own DIY LED screen.
Take Your LED Projects to the Next Level with LumenMatrix
Ready to transform your space with a dazzling LED display? LumenMatrix is at the forefront of LED display innovation, offering a wide array of solutions to bring your DIY projects to life. Whether you’re looking to enhance your brand’s visibility with an Outdoor LED Wall Display, captivate passersby with a Vehicle LED Display, or create an immersive experience with a Floor LED Display, we have the technology to make it happen. Elevate your visual communication and engage your audience like never before. Check out LumenMatrix LED Display Solutions today and start crafting your own mesmerizing visual narrative.