Adjusting the brightness on your LED monitor is a fundamental aspect of creating a comfortable and efficient viewing experience. Whether you’re working late into the night, gaming, or simply browsing the web, the right brightness level can reduce eye strain, improve image clarity, and even save energy. However, many users find themselves unsure about how to properly adjust their monitor’s brightness or why it matters in the first place.
This comprehensive guide will walk you through everything you need to know about adjusting the brightness on your LED monitor. From understanding the technology behind LED displays to step-by-step instructions on adjusting brightness settings, and tips for optimizing your display for different environments, this article covers it all.
Understanding LED Monitor Brightness
What Is Brightness on an LED Monitor?
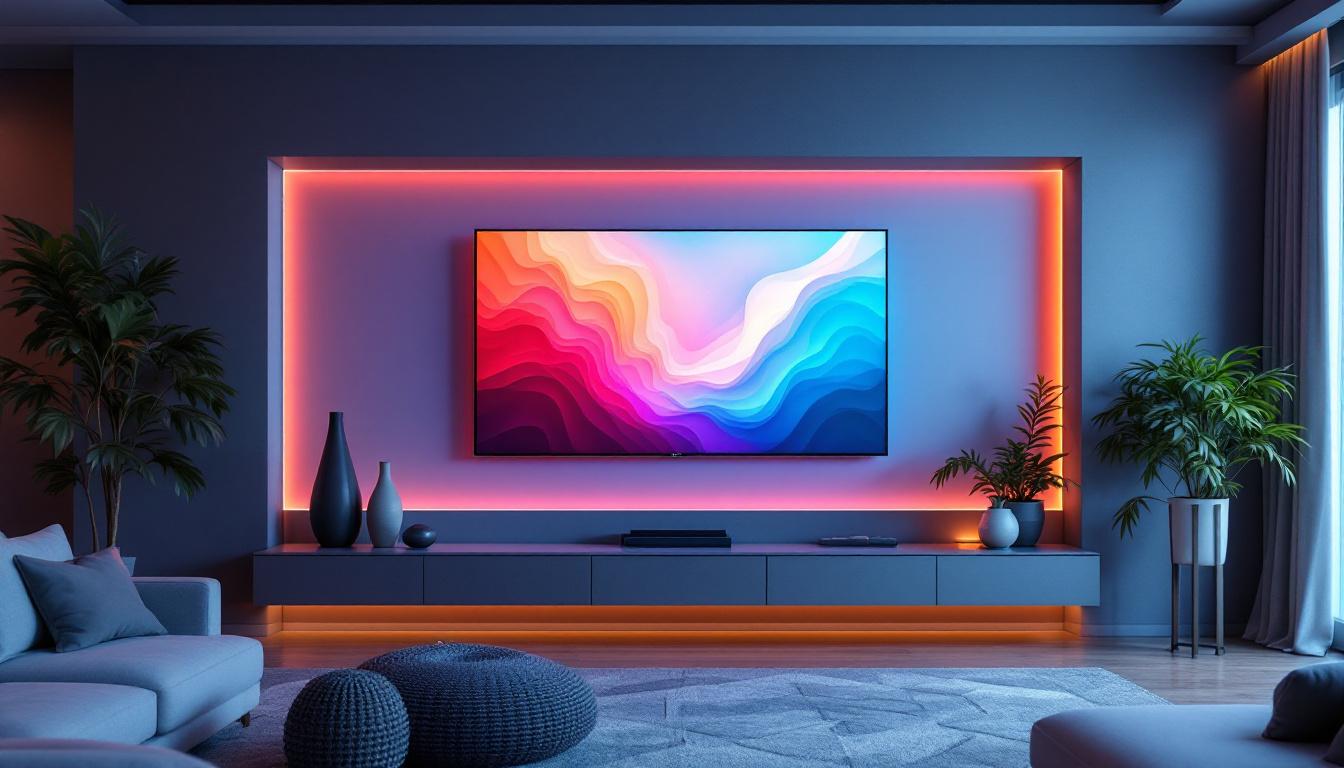
Brightness on an LED monitor refers to the amount of light the screen emits. It is typically measured in nits (candelas per square meter), which quantifies the luminance of the display. A higher brightness level means the screen appears more luminous, which can improve visibility in bright environments but may cause discomfort in darker settings.
LED monitors use light-emitting diodes (LEDs) as their backlighting source. Unlike older LCD monitors that used cold cathode fluorescent lamps (CCFLs), LED backlighting provides more consistent brightness, better energy efficiency, and often a thinner design. This technology allows for more precise control over brightness levels, enabling users to customize their viewing experience. Additionally, many modern LED monitors come equipped with features such as adaptive brightness, which automatically adjusts the screen’s luminance based on ambient light conditions, further enhancing usability and comfort.
Why Is Proper Brightness Important?
Setting the correct brightness level is crucial for several reasons:
- Eye Comfort: Excessive brightness can cause eye strain, headaches, and fatigue, especially during prolonged use. Conversely, too dim a screen can force your eyes to work harder to see details.
- Image Quality: Proper brightness enhances contrast and color accuracy, making images and text clearer and more vibrant.
- Energy Efficiency: Higher brightness settings consume more power. Adjusting brightness to an optimal level can reduce energy consumption and extend the lifespan of your monitor.
- Adaptability: Different environments require different brightness levels. For example, a bright office or outdoor setting demands higher brightness than a dimly lit room.
Moreover, the impact of brightness settings extends beyond mere comfort and energy savings; it can significantly affect productivity. In professional settings, such as graphic design or video editing, accurate brightness is essential for ensuring that colors are represented correctly. A monitor set to an inappropriate brightness level can lead to misjudgments in color grading or image editing, resulting in final products that do not meet the desired standards. Therefore, understanding how to calibrate your monitor’s brightness not only contributes to a more pleasant viewing experience but also plays a critical role in achieving professional results.
Another aspect to consider is the influence of screen technology on brightness perception. For instance, OLED monitors, which use organic compounds to emit light, can achieve deeper blacks and higher contrast ratios compared to traditional LED monitors. This difference in technology means that even at lower brightness levels, OLED displays can still deliver stunning visuals that feel vibrant and engaging. As technology continues to evolve, users may find themselves with more options that cater to their specific brightness needs, allowing for a more tailored and enjoyable viewing experience.
How to Adjust Brightness on Your LED Monitor
Using On-Screen Display (OSD) Controls
Most LED monitors come equipped with physical buttons or a joystick on the bezel that open an On-Screen Display (OSD) menu. This menu allows you to adjust various settings, including brightness.
Here’s a general step-by-step process:
- Locate the OSD Buttons: These are usually found on the bottom edge, side, or back of your monitor.
- Open the OSD Menu: Press the menu button to bring up the on-screen display.
- Navigate to Brightness Settings: Use the arrow keys or joystick to find the brightness or picture settings.
- Adjust Brightness: Increase or decrease the brightness level to your preference. Changes usually appear in real-time.
- Save and Exit: Confirm your settings and exit the menu.
Because menus vary by manufacturer and model, consult your monitor’s user manual for precise instructions. Popular brands like Dell, ASUS, LG, and Samsung often have intuitive OSD systems, but the layout can differ.
Adjusting Brightness via Operating System Settings
Modern operating systems provide tools to control monitor brightness, especially for built-in laptop displays and some external monitors connected via USB-C or DisplayPort.
- Windows: On Windows 10 and 11, you can adjust brightness by clicking the battery icon in the taskbar and moving the brightness slider. Alternatively, go to Settings > System > Display and adjust the brightness slider.
- macOS: Use the brightness keys on your keyboard or navigate to System Preferences > Displays to adjust brightness.
- Linux: Brightness controls vary by distribution and desktop environment but are often found in the system settings under display or power management.
Note that these OS-level controls primarily affect built-in displays or external monitors that support DDC/CI (Display Data Channel Command Interface). For many external LED monitors, physical OSD controls remain necessary.
Using Third-Party Software
For users who want more granular control or automation of brightness settings, third-party applications can be helpful. These programs often allow for scheduled brightness adjustments, adaptive brightness based on ambient light, or finer tuning beyond the monitor’s built-in options.
Some popular options include:
- f.lux: Automatically adjusts screen color temperature and brightness based on time of day to reduce eye strain.
- Monitorian (Windows): A lightweight tool that adjusts brightness for multiple monitors connected to a Windows PC.
- Dimmer: Allows you to dim your screen beyond the minimum brightness level set by your monitor.
Before using third-party software, ensure it is compatible with your monitor and operating system, and download it from reputable sources to avoid security risks.
Optimizing Brightness for Different Environments
Bright Rooms and Daylight Settings
In well-lit environments or rooms with significant natural light, increasing your monitor’s brightness helps maintain visibility and clarity. A brightness level between 250 and 350 nits is generally recommended for bright conditions. Some high-end monitors can reach 600 nits or more, which is beneficial for outdoor or direct sunlight use.
However, be cautious not to set brightness too high, as this can cause glare and discomfort. Positioning your monitor to avoid reflections and using an anti-glare screen protector can also improve visibility.
Dim Rooms and Nighttime Use
In darker environments, such as at night or in rooms with low ambient light, reducing brightness is essential to prevent eye strain and improve sleep quality. Bright screens in dark rooms can disrupt circadian rhythms by suppressing melatonin production.
Experts recommend keeping monitor brightness below 120 nits in such conditions. Additionally, enabling blue light filters or “night mode” settings can further reduce eye fatigue.
Calibrating Brightness with Ambient Light Sensors
Some modern monitors and laptops include ambient light sensors that automatically adjust brightness based on the surrounding light. This feature can provide a seamless viewing experience without manual adjustments.
If your device supports this, ensure the sensor is not obstructed and that automatic brightness is enabled in your system settings. While convenient, some users prefer manual control for more precise customization.
Common Issues and Troubleshooting Brightness Adjustment
Brightness Controls Not Working
Occasionally, users may find that brightness controls on their monitor or operating system do not respond. Possible causes include:
- Driver Issues: Outdated or corrupted graphics drivers can interfere with brightness controls. Updating your GPU drivers from the manufacturer’s website often resolves this.
- Monitor Connection: Using certain cables (like VGA or DVI) might limit brightness control capabilities. HDMI, DisplayPort, or USB-C connections generally offer better control.
- DDC/CI Disabled: Some monitors have DDC/CI disabled by default, preventing software-based brightness adjustments. Check your monitor’s OSD menu to enable this feature.
Screen Flickering or Uneven Brightness
If adjusting brightness causes flickering or uneven lighting, it may indicate hardware issues such as:
- Faulty backlight LEDs
- Power supply problems
- Monitor panel defects
In such cases, contacting the manufacturer or a professional technician is advisable.
Color Accuracy and Brightness
Adjusting brightness can affect color perception. For tasks requiring color precision, such as photo editing or graphic design, it’s important to calibrate your monitor using professional tools like colorimeters. Calibration software often includes brightness adjustment as part of the process to ensure accurate and consistent colors.
Additional Tips for Maintaining Optimal Display Brightness
Regularly Clean Your Monitor
Dust and smudges on your screen can reduce perceived brightness and clarity. Use a microfiber cloth and appropriate screen cleaner to keep your display clear.
Update Firmware and Drivers
Monitor manufacturers occasionally release firmware updates that improve performance and fix bugs related to brightness control. Similarly, keeping your graphics drivers up to date ensures compatibility and smooth operation.
Consider Ambient Lighting Solutions
Using bias lighting—soft lighting placed behind your monitor—can reduce eye strain by balancing the contrast between your screen and the surrounding environment. This technique can make brightness adjustments more comfortable.
Conclusion
Adjusting the brightness on your LED monitor is more than a simple preference; it’s a key factor in ensuring eye comfort, enhancing image quality, and optimizing energy consumption. By understanding how brightness works, using the right tools and settings, and tailoring your display to your environment, you can create a viewing experience that is both pleasant and productive.
Whether you rely on your monitor’s physical controls, operating system settings, or third-party software, the ability to fine-tune brightness empowers you to protect your vision and enjoy your digital content to the fullest. Remember to regularly check your settings and adapt them as your environment changes to maintain optimal comfort and performance.
Explore Cutting-Edge LED Display Solutions
Now that you understand the importance of adjusting your monitor’s brightness for optimal viewing, why not elevate your visual experience with LumenMatrix’s innovative LED display technology? LumenMatrix is at the forefront of creating immersive and dynamic visual solutions, from Indoor and Outdoor LED Wall Displays to specialized options like Vehicle and Sports LED Displays. Whether you’re looking to enhance your brand’s visibility or create engaging digital signage, LumenMatrix has the perfect LED display to meet your needs. Check out LumenMatrix LED Display Solutions and discover how you can transform your visual communication with clarity and impact.