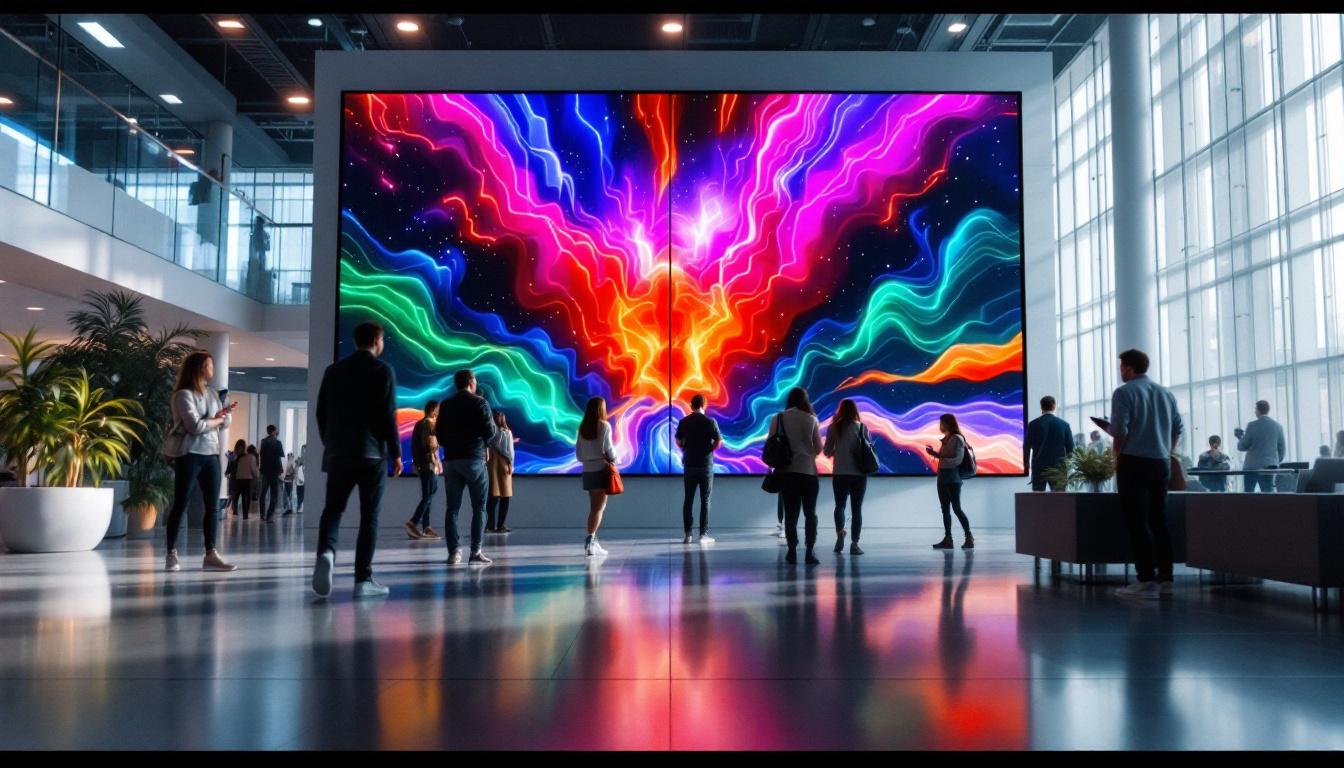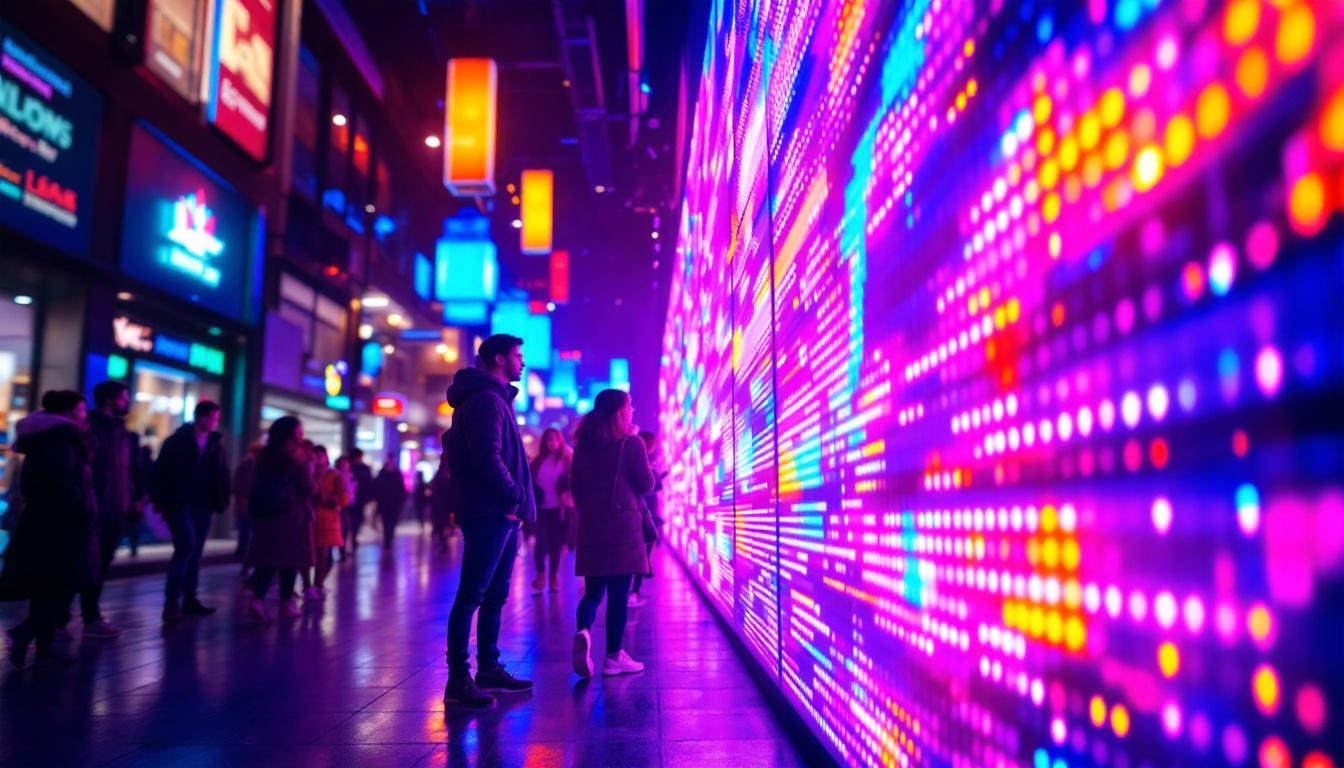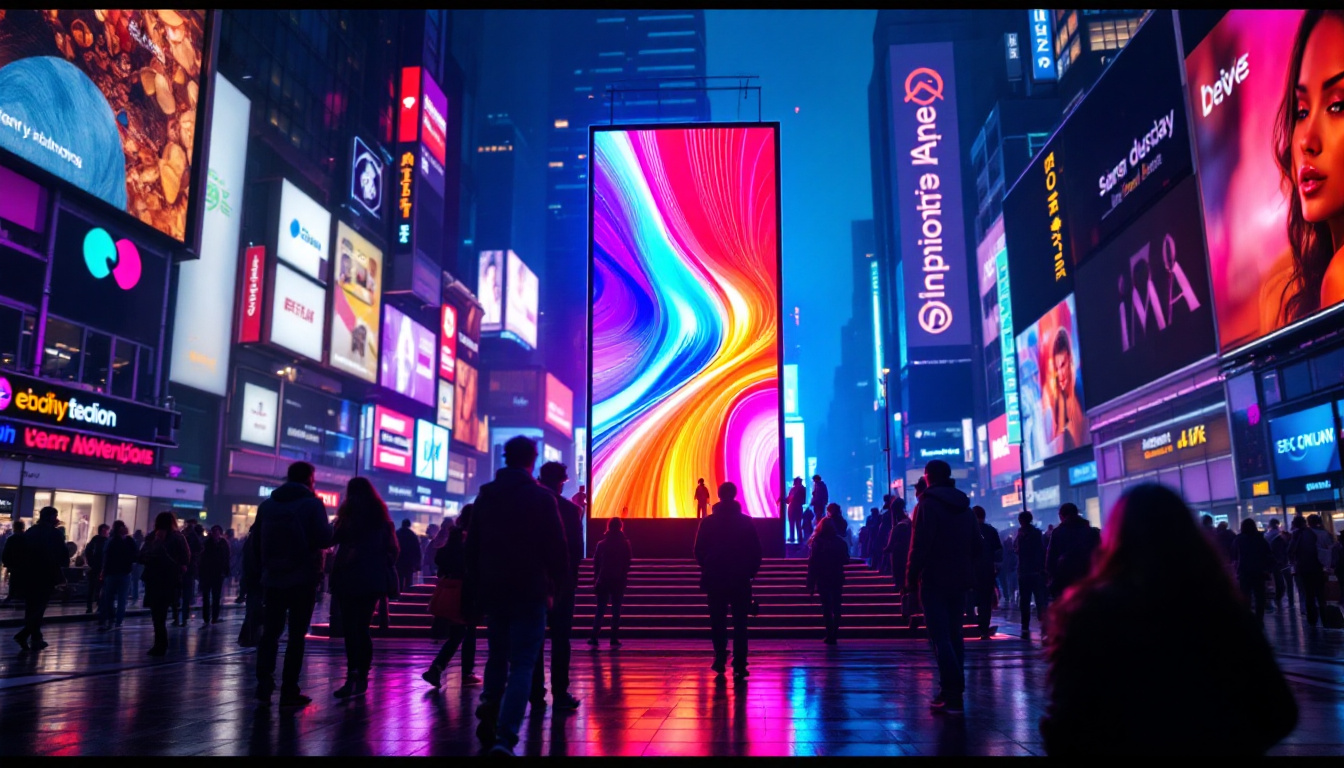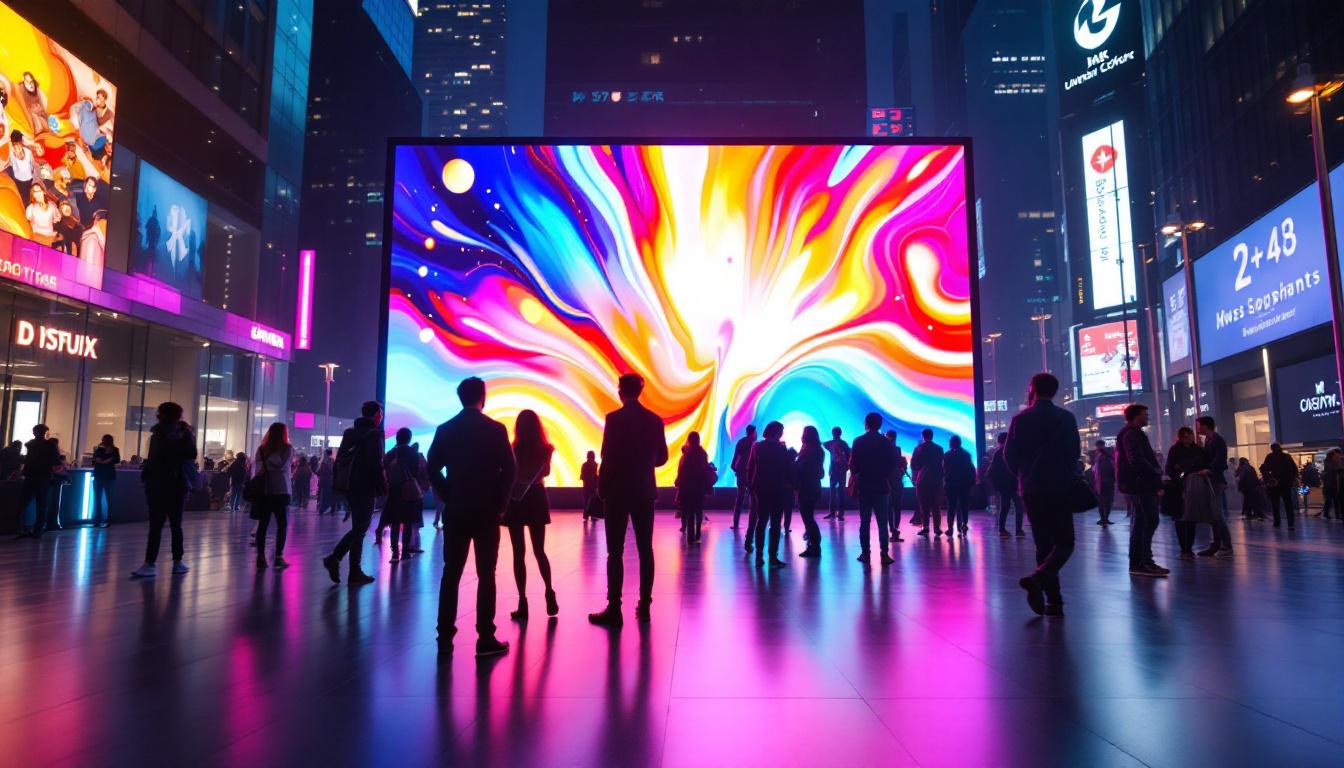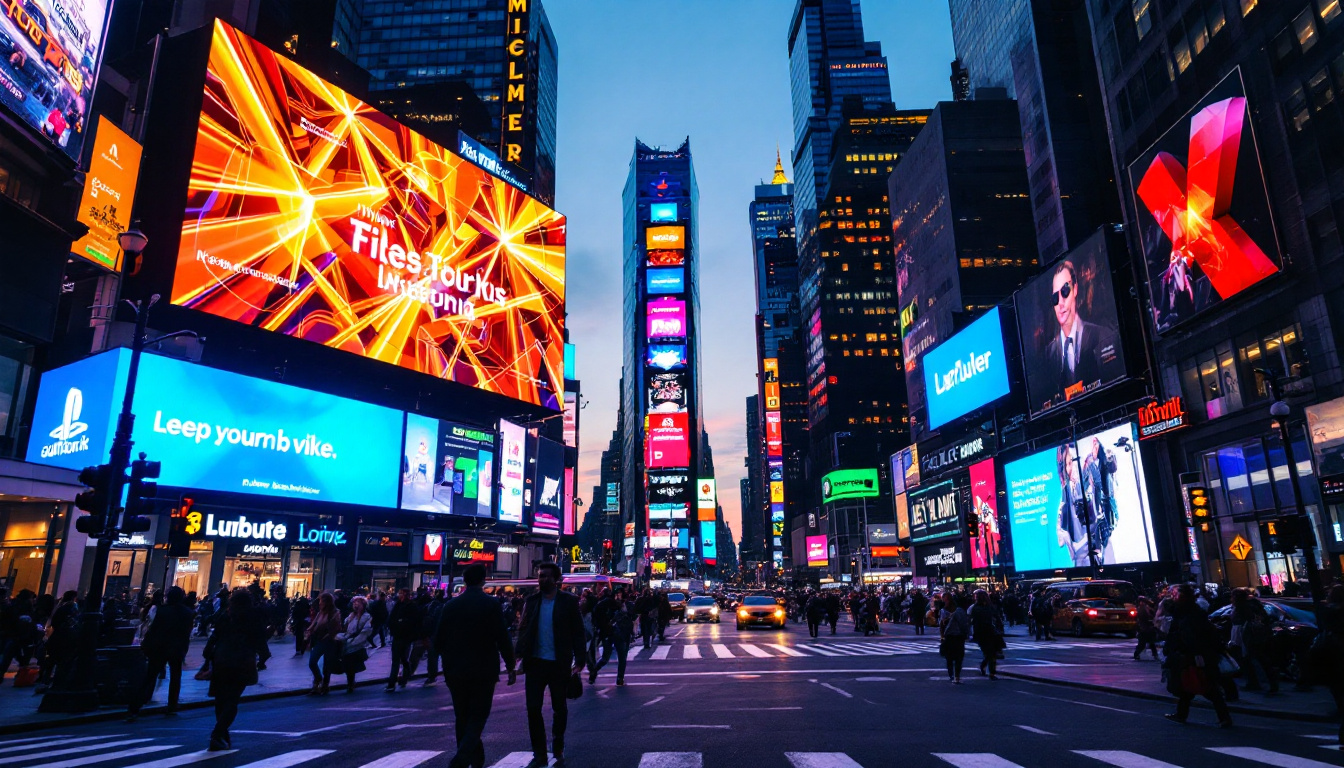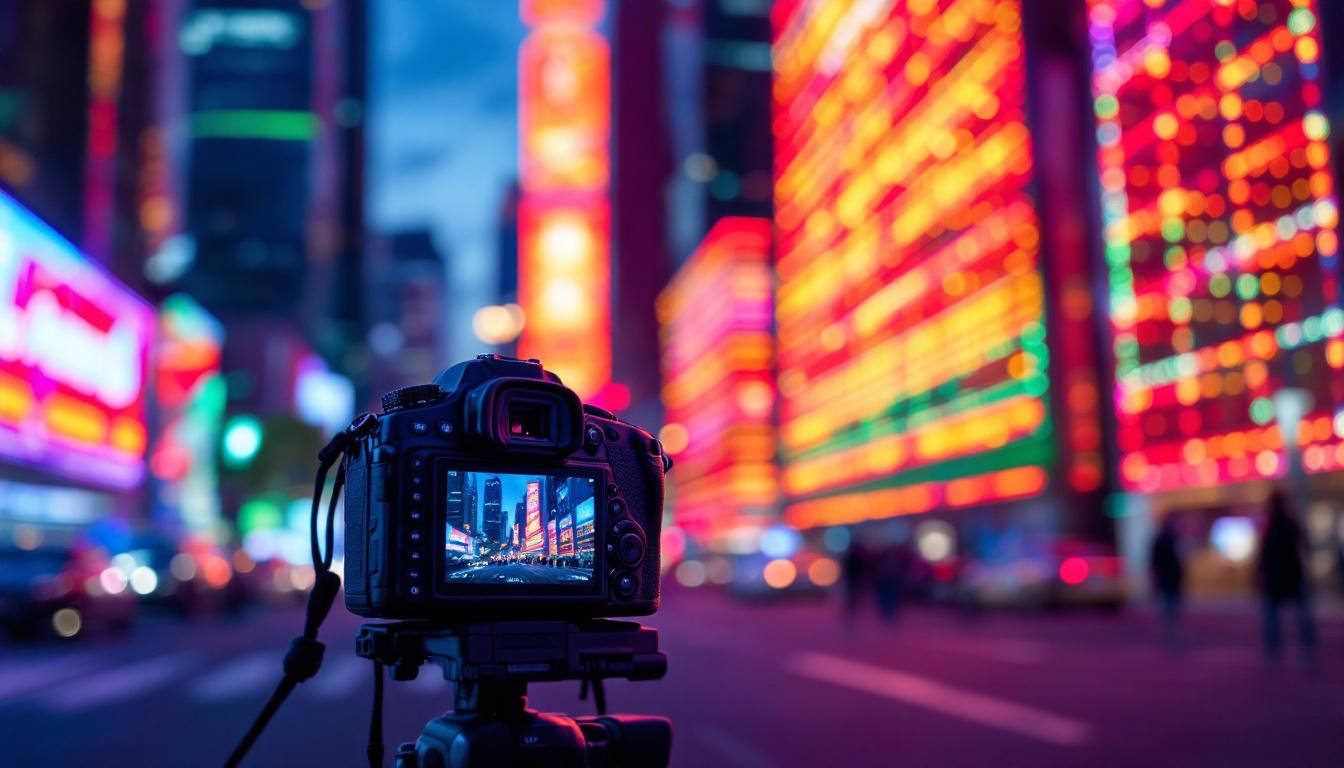
In today’s visually driven world, LED signs have become a ubiquitous part of urban landscapes, retail environments, and public spaces. Whether flashing vibrant advertisements, displaying crucial information, or capturing attention with dynamic visuals, LED displays are at the forefront of digital signage technology. However, when it comes to photographing these LED signs, especially with digital cameras, many encounter challenges that can obscure the true brilliance and clarity of the display. This article delves into the intricacies of LED displays, the science behind their digital photography, and practical tips to capture them effectively.
Understanding LED Displays: The Basics
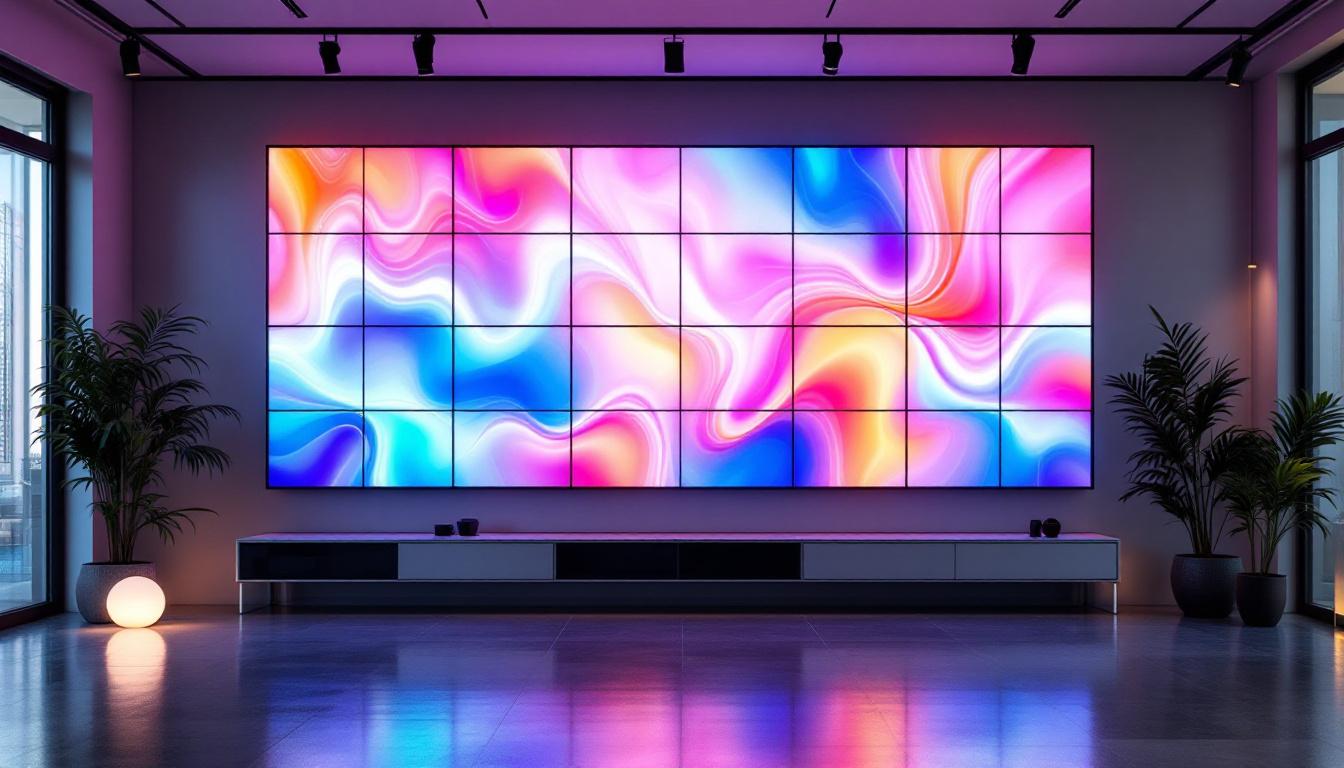
LED, or Light Emitting Diode, displays are composed of numerous tiny light sources arranged in a grid to create images and text. Unlike traditional LCD or plasma screens, LED displays emit their own light, offering higher brightness, better contrast, and improved visibility in various lighting conditions.
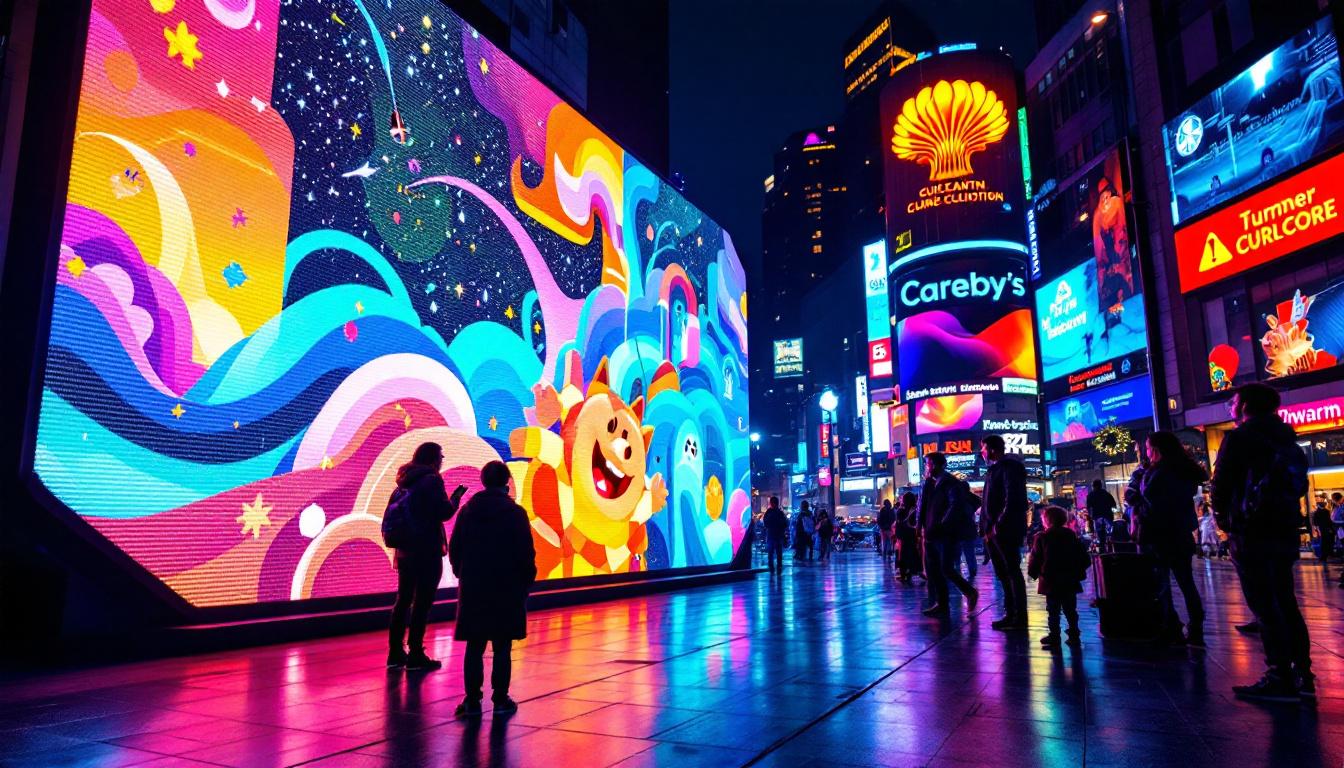
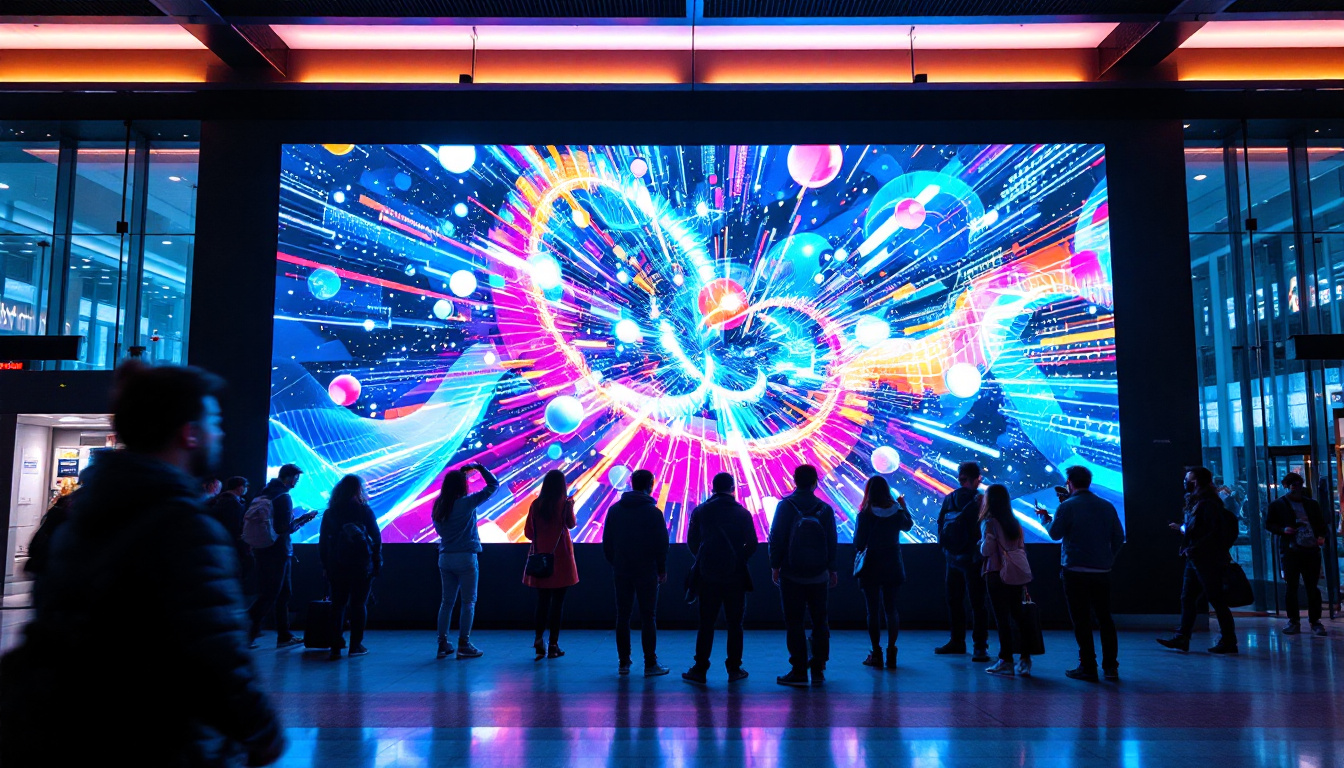
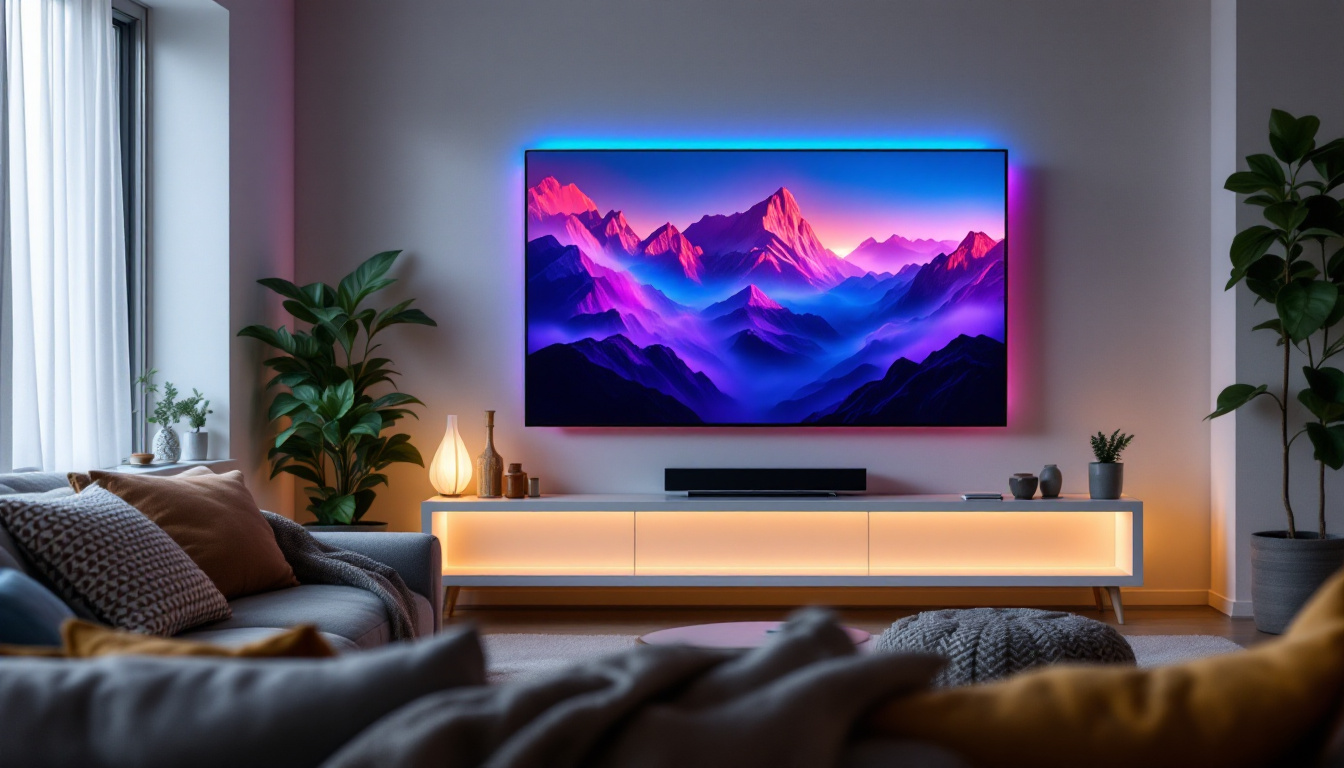
Modern LED signs come in various forms, including single-color, dual-color, and full-color (RGB) displays. Full-color LED displays use red, green, and blue diodes to produce a wide spectrum of colors through varying intensities of these primary colors. This versatility makes them ideal for dynamic content such as videos, animations, and high-resolution images.
The brightness of LED displays is measured in nits, with commercial outdoor signs often exceeding 5,000 nits to remain visible under direct sunlight. This intense brightness, while advantageous for human viewers, presents unique challenges when capturing these displays using digital cameras.
In addition to their brightness, LED displays are also known for their energy efficiency. Compared to traditional lighting technologies, LEDs consume significantly less power, which not only reduces operational costs but also minimizes environmental impact. This energy efficiency is especially beneficial for large-scale installations, such as billboards and stadium screens, where the power savings can be substantial over time. Furthermore, advancements in LED technology have led to the development of smart LED displays that can adjust their brightness based on ambient light conditions, further enhancing their energy-saving capabilities.
Another noteworthy aspect of LED displays is their durability and longevity. Unlike other display technologies that may suffer from burn-in or require frequent replacements, high-quality LED screens can last up to 100,000 hours of continuous use. This resilience makes them suitable for both indoor and outdoor applications, from retail signage to large public displays. Additionally, many manufacturers offer protective coatings and weatherproof designs to ensure that these displays can withstand harsh environmental conditions, including rain, snow, and extreme temperatures, thus providing a reliable solution for businesses and organizations looking to invest in long-term visual communication tools.
Why LED Signs Appear Different in Digital Camera Photos
The Flicker Effect and Refresh Rates
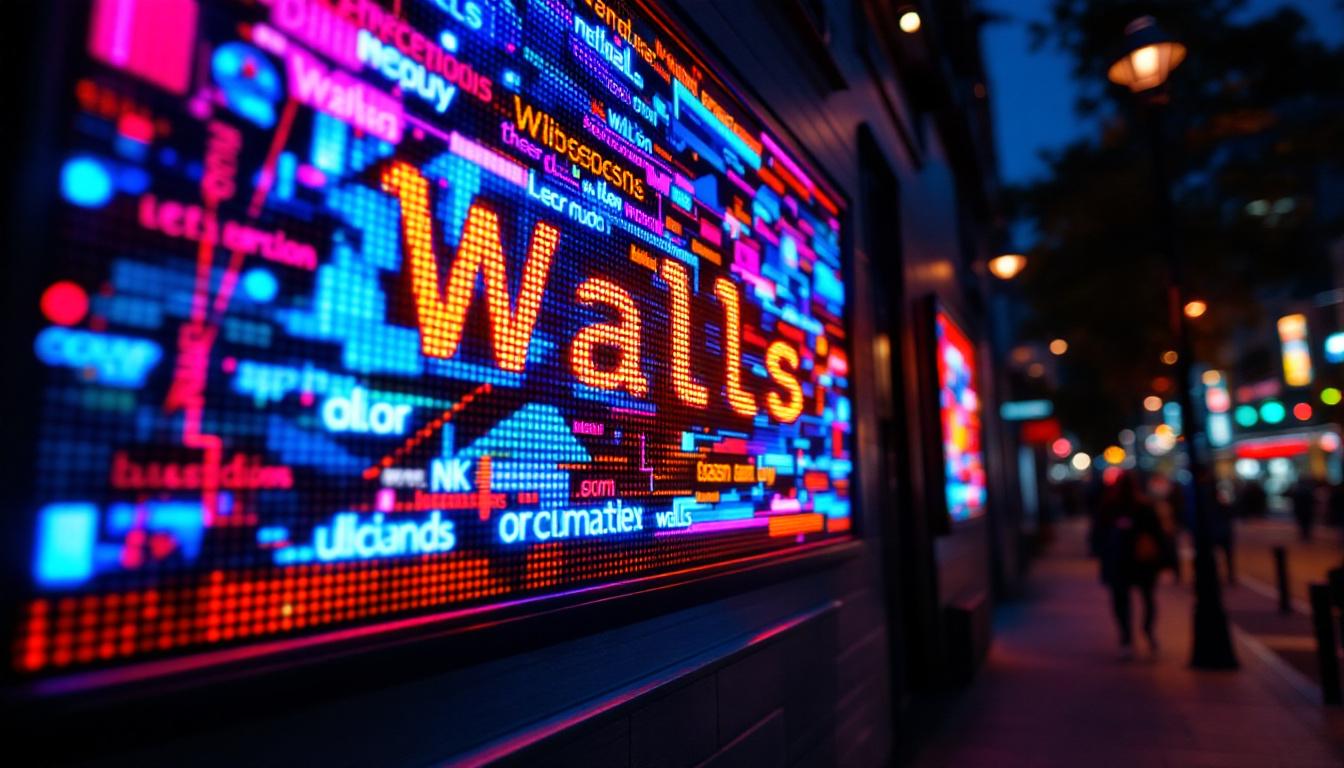
One of the most common reasons LED signs appear distorted or flickering in photos is due to their refresh rates. LED displays update their images multiple times per second, often at rates between 60 Hz and 240 Hz. Digital cameras, however, have their own shutter speeds and frame rates that may not synchronize with the LED’s refresh cycle.
When the camera’s shutter speed is out of sync with the LED’s refresh rate, it can capture partial frames of the display’s refresh cycle, resulting in banding, flickering, or dark horizontal lines in the image. This phenomenon is similar to the “wagon wheel effect” seen in videos where wheels appear to spin backward or freeze. The disparity between these rates can lead to a captivating yet frustrating challenge for photographers, especially when trying to capture the vibrant colors and dynamic visuals that LED signs are known for.
Furthermore, the ambient lighting conditions can exacerbate these issues. In low-light environments, the contrast between the bright LED display and the surrounding darkness can make flickering more pronounced. Photographers may find themselves experimenting with various settings, such as ISO and aperture, to find a balance that minimizes distortion while still allowing for a clear capture of the sign’s intended message. Understanding these interactions can help photographers better anticipate how their equipment will respond to the unique characteristics of LED displays.
Pulse Width Modulation (PWM) and Brightness Control
Many LED displays use PWM to control brightness by rapidly switching the LEDs on and off at varying intervals. This rapid switching is imperceptible to the human eye but can cause issues for digital cameras. If the camera’s exposure time coincides with the LED’s off-cycle, parts of the display may appear dimmer or flickering in the photo.
Understanding the role of PWM is crucial for photographers attempting to capture LED signs accurately. Adjusting camera settings to avoid exposure times that align with the PWM cycle can mitigate these effects. For instance, using a faster shutter speed can help ensure that the camera captures a complete cycle of the LED’s illumination, reducing the likelihood of capturing the display during its off-phase. Additionally, some photographers may opt to use specialized filters or post-processing techniques to correct for any remaining flicker or banding, enhancing the final image quality.
Moreover, the design and technology of the LED sign itself can influence how PWM is perceived in photographs. Different manufacturers may implement PWM differently, leading to variations in how flickering appears across various displays. This inconsistency can be particularly challenging for photographers who frequently shoot in urban environments, where a diverse array of LED signs can be found. By familiarizing themselves with the characteristics of specific displays, photographers can develop strategies to effectively capture their vibrancy while minimizing the visual artifacts that often accompany them.
Technical Challenges in Photographing LED Signs
Exposure and Dynamic Range
LED signs are often very bright, especially in outdoor environments or during nighttime. Capturing the full dynamic range of the scene—balancing the brightness of the LED sign with surrounding ambient light—can be difficult. Overexposure can wash out the LED content, while underexposure can render the surrounding environment too dark.
Using manual exposure settings and bracketing techniques can help photographers capture multiple images at different exposures, which can later be combined into a high dynamic range (HDR) image. This approach preserves detail in both the bright LED display and the darker surroundings.
Color Accuracy and White Balance
LED displays emit light with specific color temperatures that can vary depending on the diodes used and the display’s calibration. Cameras may struggle to reproduce these colors accurately, especially under mixed lighting conditions. Incorrect white balance settings can lead to color casts that misrepresent the LED sign’s true colors.
Photographers should consider shooting in RAW format to allow for post-processing adjustments to white balance and color grading. Additionally, using custom white balance settings or gray cards can improve color fidelity when photographing LED signs.
Best Practices for Capturing LED Sign Photos
Camera Settings to Minimize Flicker
To reduce flicker and banding effects, adjusting the camera’s shutter speed is essential. Generally, setting the shutter speed to match or be a multiple of the LED’s refresh rate (e.g., 1/60, 1/120, or 1/240 seconds) can synchronize the camera with the display’s update cycle.
Using a higher frame rate or continuous shooting mode can also increase the chances of capturing a flicker-free frame. Experimenting with different shutter speeds and reviewing images on-site helps identify the optimal settings for a particular LED sign.
Utilizing Tripods and Stabilization
Since slower shutter speeds may be necessary to capture LED signs without flicker, using a tripod or other stabilization methods is critical to avoid motion blur. This is especially important in low-light conditions or when shooting at night.
Image stabilization features in lenses or cameras can assist, but a stable platform remains the most reliable method for sharp images of LED displays.
Choosing the Right Time and Environment
Lighting conditions greatly impact the quality of LED sign photos. Shooting during dusk or dawn, when ambient light is balanced with the LED brightness, often yields the best results. Avoiding harsh midday sunlight reduces glare and reflections that can interfere with the display’s visibility.
Additionally, positioning the camera at an angle perpendicular to the LED display minimizes distortion and ensures uniform brightness across the frame.
Advanced Techniques and Equipment for LED Sign Photography
Using High-Speed Cameras and Specialized Sensors
Professional photographers and videographers sometimes employ high-speed cameras capable of capturing thousands of frames per second to analyze LED display behavior in detail. These cameras can reveal flicker patterns and refresh cycles invisible to the naked eye, aiding in technical diagnostics and display calibration.
Specialized sensors with adjustable shutter mechanisms also help synchronize image capture with LED refresh rates, producing flicker-free images and videos.
Post-Processing to Enhance LED Sign Photos
Post-processing software like Adobe Lightroom and Photoshop offers powerful tools to correct exposure, color balance, and sharpness in LED sign photos. Techniques such as noise reduction, contrast adjustment, and selective color correction can enhance image quality significantly.
For images affected by flicker or banding, frequency separation and cloning tools can sometimes reduce visible artifacts, though prevention through proper shooting techniques remains preferable.
The Future of LED Displays and Photography
As LED technology advances, displays are becoming more sophisticated with higher refresh rates, improved color accuracy, and adaptive brightness controls. These improvements will likely reduce flicker and PWM-related issues, making LED signs easier to photograph.
Simultaneously, camera technology continues to evolve, with sensors and processors better equipped to handle challenging lighting conditions and high-speed synchronization. Computational photography techniques may soon automate flicker reduction and color correction, further bridging the gap between human vision and digital capture.
For businesses and content creators, understanding the interplay between LED display technology and digital photography remains essential for producing compelling visual content that resonates both on-screen and in captured images.
Conclusion
LED signs are powerful tools for communication and advertising, offering vibrant and dynamic visuals that captivate audiences. However, photographing these displays with digital cameras requires a nuanced understanding of LED technology, camera mechanics, and environmental factors. By mastering shutter speed synchronization, exposure control, and color management, photographers can overcome common challenges such as flicker, banding, and color inaccuracies.
As both LED and camera technologies continue to advance, the ability to capture stunning, true-to-life images of LED signs will become increasingly accessible. Whether for marketing, documentation, or artistic purposes, a thoughtful approach to LED sign photography ensures that the brilliance of these digital displays is faithfully preserved in every photo.
Discover LumenMatrix’s Advanced LED Solutions
Ready to elevate your visual communication with the latest in LED technology? LumenMatrix is at the forefront of creating immersive and vibrant visual experiences through our comprehensive range of LED display solutions. From Indoor and Outdoor LED Wall Displays to innovative LED Sports and Floor Displays, our products are designed to captivate and engage your audience. Embrace the future of digital signage with LumenMatrix and transform your space into a dynamic visual spectacle. Check out LumenMatrix LED Display Solutions today and see the difference cutting-edge technology can make.