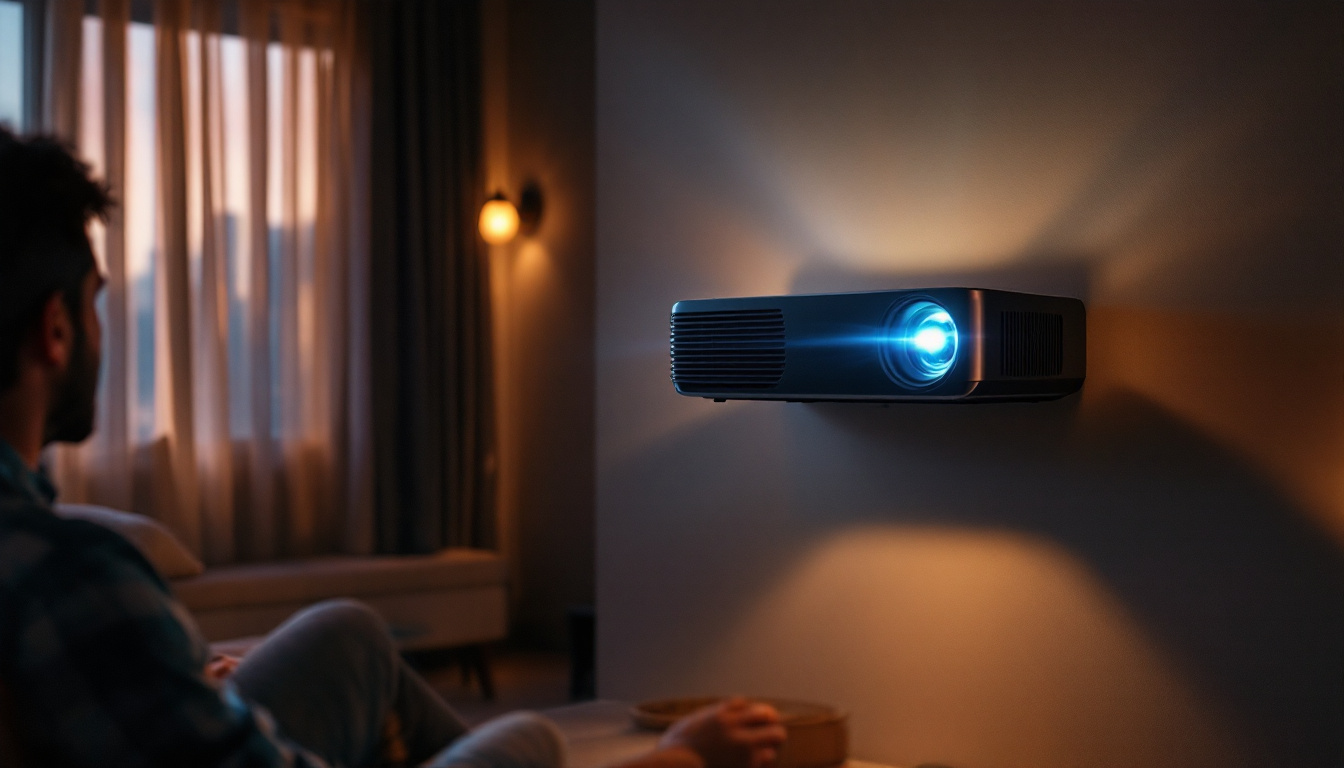
Mounting a projector to a wall can transform any space into a mini-theater, making it an ideal solution for home entertainment, business presentations, or educational purposes. With the advent of LED projectors, the quality of the display has significantly improved, providing vibrant colors and sharp images. This article will guide you through the process of mounting a projector to the wall, while also explaining the advantages of LED technology.
Understanding Projector Types
Before diving into the mounting process, it’s essential to understand the different types of projectors available. Projectors can generally be categorized into three main types: LCD, DLP, and LED. Each type has its unique characteristics that can influence the mounting process and the viewing experience.
LCD Projectors
Liquid Crystal Display (LCD) projectors use liquid crystals to produce images. They are known for their vibrant colors and sharp images, making them a popular choice for home theaters and classrooms. However, they can be bulkier compared to other types, which may affect the mounting options available. Additionally, LCD projectors typically have a wider color gamut, allowing for more accurate color reproduction, which is particularly beneficial for presentations that rely heavily on visual content. When considering an LCD projector, it’s also important to factor in the ambient light conditions of the room, as these projectors can sometimes struggle in brightly lit environments.
DLP Projectors
Digital Light Processing (DLP) projectors utilize a digital micromirror device to create images. These projectors are often more compact and lightweight than LCD models, offering greater flexibility in terms of mounting. DLP projectors are renowned for their high contrast ratios and smooth motion, making them ideal for fast-paced video content. One of the standout features of DLP technology is the “rainbow effect,” which can occur in some models due to the color wheel used in the projection process. This effect can be distracting for some viewers, so it’s worth testing a DLP projector in person to see if it meets your needs. Furthermore, DLP projectors generally require less maintenance than their LCD counterparts, as they do not have filters that need regular cleaning or replacement.
LED Projectors
LED projectors, which use light-emitting diodes as a light source, have gained popularity due to their energy efficiency and longevity. They offer excellent color accuracy and brightness, making them suitable for various environments. When mounting an LED projector, it’s crucial to consider its unique features, such as heat dissipation and lens placement. Unlike traditional lamp-based projectors, LED projectors can operate at lower temperatures, which can extend their lifespan significantly. Additionally, many LED projectors come equipped with built-in speakers and wireless connectivity options, enhancing their versatility for mobile presentations or casual movie nights. As the technology continues to evolve, newer models are also incorporating smart features, allowing users to stream content directly from their devices without the need for additional hardware.
Choosing the Right Location
Finding the perfect location for your projector is a critical step in the mounting process. The right spot will enhance the viewing experience and ensure optimal performance. Here are some factors to consider when selecting a location:
Viewing Distance
The distance between the projector and the screen will significantly impact the image quality. Most projectors have a specified throw distance, which is the distance required to project a clear image at a certain size. Measure the distance from where viewers will be seated to where the projector will be mounted, and ensure it aligns with the projector’s specifications.
Screen Size and Aspect Ratio
Different projectors support various screen sizes and aspect ratios. It’s essential to choose a wall space that accommodates the desired screen size while considering the aspect ratio. A common aspect ratio for home theaters is 16:9, while presentations may utilize a 4:3 ratio. Ensure the projector can fill the screen adequately without distortion.
Ambient Light Conditions
The amount of ambient light in the room can affect the projector’s performance. Ideally, the mounting location should allow for minimal light interference. Consider using blackout curtains or shades to control the light levels, ensuring that the projected image remains clear and vibrant.
Gathering Necessary Tools and Materials
Before starting the mounting process, gather all the necessary tools and materials. Having everything on hand will streamline the installation and reduce the likelihood of interruptions. Here’s a list of items typically required:
Tools
- Drill
- Screwdriver
- Level
- Tape measure
- Stud finder
- Pencil
Materials
- Projector mount
- Screws and anchors
- Cable management system (optional)
Ensure that the projector mount is compatible with your specific projector model. Most mounts come with adjustable features to accommodate different sizes and weights, providing a secure fit.
Mounting the Projector
With the location chosen and tools gathered, it’s time to mount the projector. Follow these steps for a successful installation:
Step 1: Mark the Mounting Location
Using a pencil, mark the desired height for the projector mount on the wall. This height should align with the center of the screen for optimal viewing. Use a level to ensure that the mark is straight, as an uneven mount can lead to distorted images.
Step 2: Locate the Studs
Using a stud finder, locate the wall studs behind the drywall. Mounting the projector to a stud will provide the necessary support and stability. If the studs are not in the ideal position, consider using wall anchors for added strength.
Step 3: Install the Mount
Attach the projector mount to the wall using the screws and anchors. Ensure that it is securely fastened and level. It’s important to double-check the alignment before proceeding, as adjustments can be challenging once the projector is mounted.
Connecting the Projector
Once the projector is securely mounted, the next step is to connect it to your video source. This process may vary depending on the type of projector and the devices being used.
Video Connections
Most projectors offer multiple input options, including HDMI, VGA, and USB. HDMI is the most common connection for modern devices, providing high-quality audio and video. Ensure that the cables are long enough to reach the projector from the source device while maintaining a tidy appearance.
Power Supply
Locate a nearby power outlet to connect the projector. If the outlet is not conveniently located, consider using an extension cord. However, ensure that the cord does not create a tripping hazard. For a cleaner look, consider installing a power outlet behind the projector for a seamless appearance.
Cable Management
To maintain a tidy setup, use a cable management system to conceal any visible wires. This not only enhances the aesthetic appeal but also ensures safety by preventing cables from becoming a tripping hazard. Various cable covers and clips are available to help organize the cables neatly along the wall.
Testing and Adjustments
After the projector is mounted and connected, it’s time to test the setup. This step is crucial to ensure that everything is functioning correctly and that the image quality meets expectations.
Image Alignment
Turn on the projector and display an image or video. Check the alignment of the image on the screen, making any necessary adjustments to the mount or projector settings. Most projectors come with keystone correction features that can help adjust the image shape if it appears distorted.
Focus and Zoom
Adjust the focus and zoom settings to ensure a clear and sharp image. This step may require some trial and error, especially if the projector is mounted at an unusual angle. Take the time to fine-tune these settings for the best viewing experience.
Sound Setup
If the projector has built-in speakers, test the audio quality. However, for a more immersive experience, consider connecting external speakers. This can significantly enhance the sound quality, making it more suitable for movies and presentations.
Maintaining Your Projector
Once the projector is successfully mounted and set up, regular maintenance is essential to ensure optimal performance and longevity. Here are some tips for maintaining your projector:
Cleaning the Lens
The projector lens can accumulate dust and fingerprints over time, affecting image quality. Use a microfiber cloth to gently clean the lens, avoiding harsh chemicals that could damage the surface. Regular cleaning will help maintain clarity and brightness.
Checking Bulb Life
LED projectors have a longer lifespan compared to traditional bulbs, but it’s still important to monitor the bulb’s life. Most projectors have a built-in indicator that alerts users when it’s time to replace the bulb. Keeping track of this will ensure uninterrupted viewing.
Software Updates
Many modern projectors come with firmware that may require updates. Check the manufacturer’s website periodically for any available updates that can enhance performance or add new features. Keeping the software up to date will ensure that the projector operates smoothly.
Conclusion
Mounting a projector to the wall is a straightforward process that can significantly improve the viewing experience in any setting. By understanding the different types of projectors, choosing the right location, and following the proper installation steps, anyone can create an impressive display. With the added benefits of LED technology, the quality of the viewing experience is better than ever.
Whether for home entertainment, business presentations, or educational purposes, a well-mounted projector can elevate any environment. With regular maintenance and care, the projector will continue to provide high-quality images for years to come.
Discover LumenMatrix LED Display Solutions
Ready to take your visual experience to the next level? LumenMatrix is at the forefront of LED display technology, offering a wide array of innovative solutions that can transform any space into a dynamic and engaging environment. From Indoor and Outdoor LED Wall Displays to specialized options like Vehicle, Sports, and Floor LED Displays, LumenMatrix has the perfect solution to meet your needs. Elevate your business presentations, educational sessions, or home entertainment with our cutting-edge LED displays. Check out LumenMatrix LED Display Solutions today and see the difference that premium quality and advanced technology can make.

