Planer boards are essential tools for anglers looking to maximize their fishing experience. They allow for the effective spreading of lines across a wide area, helping to target fish at varying depths and distances. In recent years, the integration of LED displays into planer boards has revolutionized how these tools are used, providing real-time feedback and enhancing the overall fishing experience. This article will explore the process of making your own planer boards, with a special focus on the incorporation of LED displays.
Understanding Planer Boards
Before diving into the construction of planer boards, it’s important to understand what they are and how they function. Planer boards are devices that help anglers to spread their fishing lines away from the boat, allowing for a wider coverage area. They are particularly useful when trolling for fish, as they can help to keep lines at different depths and distances from the boat. By utilizing planer boards, anglers can effectively target fish that may be lurking in various water columns, increasing their chances of a successful catch.
The Basics of Planer Board Design
A typical planer board consists of a buoyant body, a tow line, and a release mechanism for the fishing line. The buoyant body keeps the board afloat while the tow line connects it to the boat. The release mechanism allows the fishing line to detach from the board when a fish is hooked, ensuring a seamless fishing experience. This design not only helps in managing multiple lines but also minimizes tangles, which can be a common frustration during fishing trips.
The design of the board can vary significantly, with some anglers opting for simple, homemade versions while others invest in high-end commercial products. Regardless of the design, the key components remain the same, and understanding these will help in creating an effective planer board. Some advanced models even incorporate features like adjustable weights and fins that enhance tracking and stability, allowing for better performance in varying water conditions.
Materials Needed for DIY Planer Boards
Creating your own planer boards can be a rewarding project, and it requires a few essential materials. Here’s a list of what you will need:
- Buoyant material (foam or plastic)
- Wood or PVC for the body structure
- Fishing line
- Release clips
- Weights for stability
- LED display components (if integrating technology)
Choosing the right materials is crucial for ensuring that the planer board performs well on the water. The buoyant material should be lightweight yet durable, while the body structure should be sturdy enough to withstand the rigors of fishing. Additionally, considering the weather conditions and water type where you plan to fish can influence your material choices. For instance, if you’re fishing in saltwater, opting for corrosion-resistant materials will prolong the life of your planer boards.
Moreover, the assembly process can be an enjoyable experience, especially when done with friends or family. It allows for customization, where you can paint or decorate your boards to reflect your personal style. Some anglers even add reflective tape or bright colors to enhance visibility on the water, making it easier to track their boards from a distance. This attention to detail not only contributes to the aesthetics but can also play a role in safety and functionality during fishing outings.
Step-by-Step Guide to Building Planer Boards
Now that the basics are covered, it’s time to get into the nitty-gritty of building your own planer boards. Follow these steps to create a functional and efficient board.
Step 1: Designing the Board
Begin by sketching out your design. Decide on the dimensions of your planer board based on your fishing needs. A typical size ranges from 18 to 24 inches in length. Make sure to include a section for the buoyant material and a space for the release mechanism.
Once the design is finalized, gather all the materials. It’s advisable to have everything ready before starting the assembly process to ensure a smooth workflow. Consider using lightweight materials such as high-density foam or balsa wood, as these will enhance buoyancy without adding unnecessary weight. You might also want to think about the color of your board; bright colors can make it easier to spot from a distance, especially in choppy waters.
Step 2: Assembling the Body
Cut the wood or PVC to the desired dimensions based on your design. If using wood, sand the edges to prevent splinters and ensure a smooth surface. Attach the buoyant material securely to the body using waterproof adhesive. This will provide the necessary flotation for the board.
Next, drill holes for the release clips and attach them according to your design. These clips are essential for holding the fishing line in place until a fish is hooked. Ensure that they are positioned correctly to allow for easy release. You may also want to consider adding a small flag or marker on top of the board, which can help you keep track of its location when out on the water, especially during busy fishing days when multiple lines are in play.
Step 3: Adding Weights and Stability
To ensure that your planer board tracks properly in the water, adding weights is crucial. Attach small weights to the bottom of the board, ensuring they are evenly distributed. This will help the board to maintain stability and prevent it from tipping over.
Once the weights are in place, test the board in a controlled environment, such as a pool or calm water, to ensure it floats correctly and tracks straight. Pay attention to how the board responds to different speeds and angles; this will give you valuable insight into its performance. If you notice any instability, consider adjusting the weight distribution or adding additional buoyant material to balance it out. Remember, a well-balanced planer board not only improves your fishing experience but also enhances your chances of a successful catch.
Incorporating LED Displays into Planer Boards
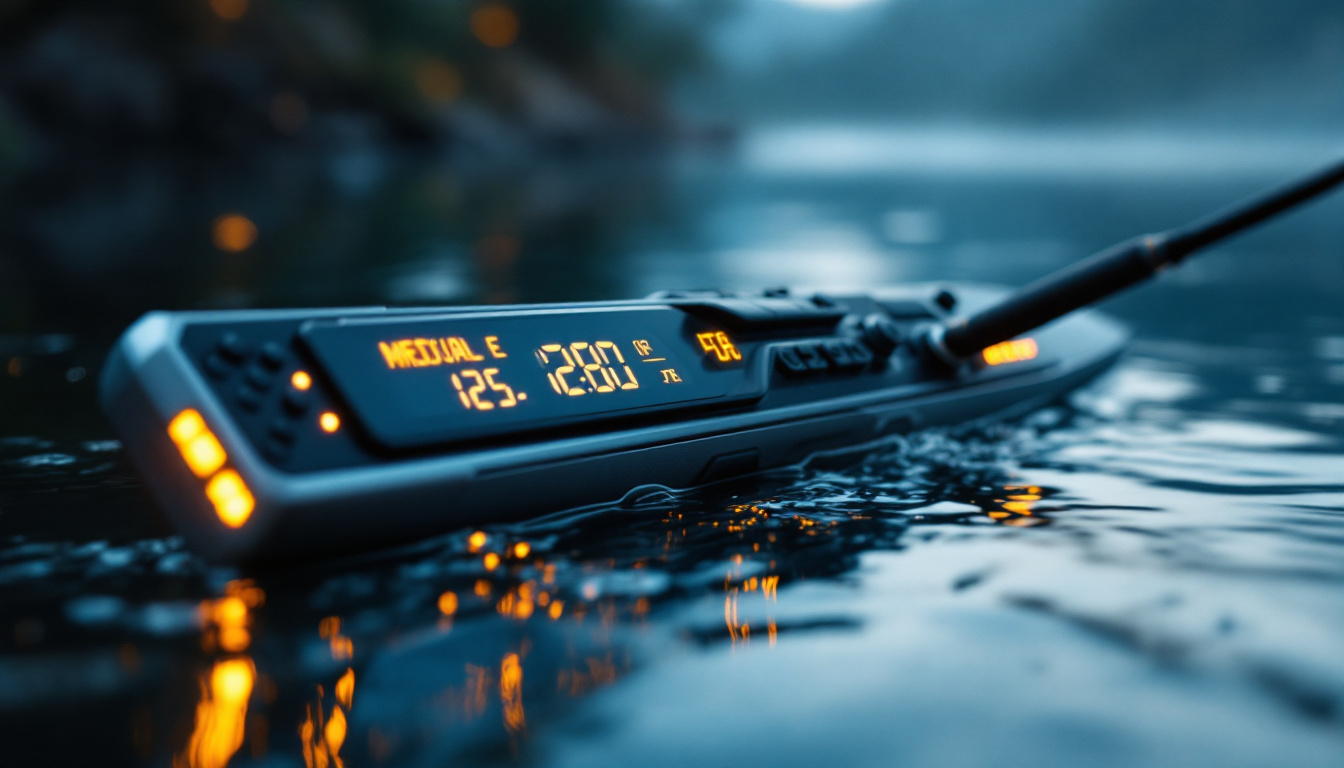
The integration of LED displays into planer boards can significantly enhance their functionality. These displays can provide real-time information about the depth of the line, the speed of the boat, and even the temperature of the water, all of which are valuable data points for anglers.
Choosing the Right LED Components
When selecting LED components for your planer board, consider the following:
- LED display type (digital or analog)
- Power source (battery-operated or solar-powered)
- Size and visibility of the display
Choosing the right components will ensure that the display is functional and easy to read while out on the water. It’s essential to select a power source that will last throughout your fishing trips.
Wiring and Installation
Once you have your LED components, the next step is wiring them into the planer board. Begin by carefully following the manufacturer’s instructions for the LED display. Connect the power source to the display and ensure that all connections are secure.
Drill a small hole in the body of the planer board to run the wires through. This will keep the wiring protected and prevent it from getting snagged while fishing. Make sure to seal any openings to keep water out of the board.
Testing the LED Display
After installation, it’s crucial to test the LED display to ensure it functions correctly. Power on the display and check all readings. It’s advisable to run the planer board in a controlled environment before taking it out on the water. This will help identify any issues that need to be addressed.
Ensure that the display is visible in various lighting conditions, as fishing often occurs during early morning or late evening hours. Adjust the brightness settings if necessary to improve visibility.
Tips for Using Planer Boards Effectively
Once your planer boards are built and equipped with LED displays, it’s time to put them to use. Here are some tips to maximize their effectiveness:
Understanding Trolling Techniques
Planer boards work best when combined with effective trolling techniques. Familiarize yourself with the different trolling methods, such as slow trolling and high-speed trolling, to determine which works best for your fishing conditions. Adjust the speed of the boat to ensure that the lines are presented at the optimal depth.
Experiment with different distances between the boards and the boat to find the sweet spot for attracting fish. This may require some trial and error, but it will pay off in the long run.
Monitoring Conditions
Utilize the data provided by the LED display to adjust your fishing strategy. Keep an eye on the water temperature and depth readings, as these can help determine where fish are likely to be located. If the display indicates that the temperature is dropping, consider adjusting your trolling depth accordingly.
Additionally, pay attention to the speed of the boat. The LED display can help you maintain a consistent speed, which is crucial for effective trolling.
Regular Maintenance
To ensure the longevity of your planer boards, regular maintenance is essential. After each fishing trip, inspect the boards for any signs of wear or damage. Clean the boards to remove any debris or saltwater residue that may have accumulated.
If the LED display shows any signs of malfunction, address the issue immediately. Regular checks will help prevent larger problems down the line and ensure that your equipment is always ready for use.
Conclusion
Building your own planer boards with integrated LED displays can enhance your fishing experience significantly. By understanding the design and assembly processes, as well as how to effectively use these boards, anglers can increase their chances of success on the water. With a bit of creativity and technical know-how, DIY planer boards can be both functional and innovative, making fishing trips more enjoyable and productive.
Whether you are a seasoned angler or just starting, the ability to customize your tools to fit your needs is invaluable. Embrace the challenge of creating your own planer boards and enjoy the benefits they bring to your fishing adventures.
Enhance Your Fishing Experience with LumenMatrix
Ready to take your angling to the next level? LumenMatrix offers a wide array of LED display solutions that can transform your fishing expeditions. From our innovative LED Sports Display to Custom LED Displays tailored for your specific needs, our technology is designed to improve your visibility and success on the water. Discover how LumenMatrix can elevate your planer boards and more by checking out our LED Display Solutions today.

