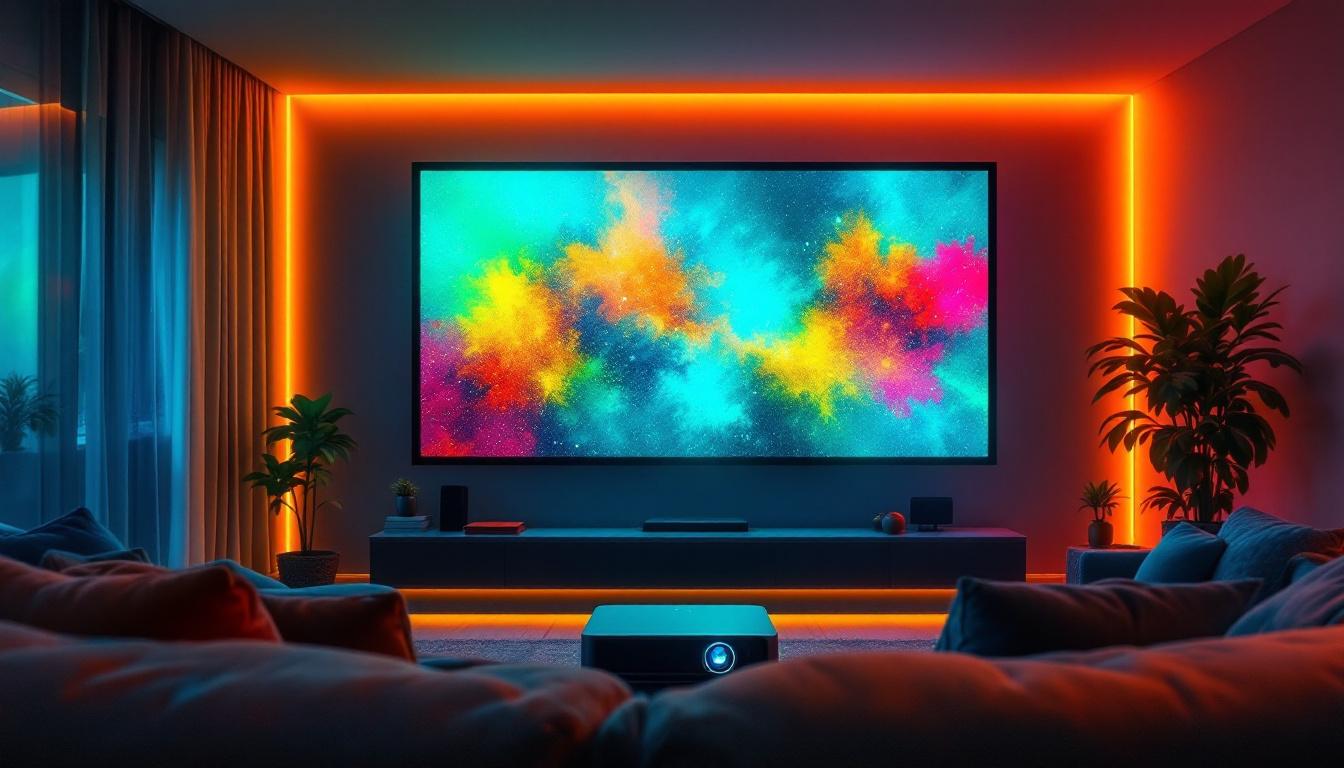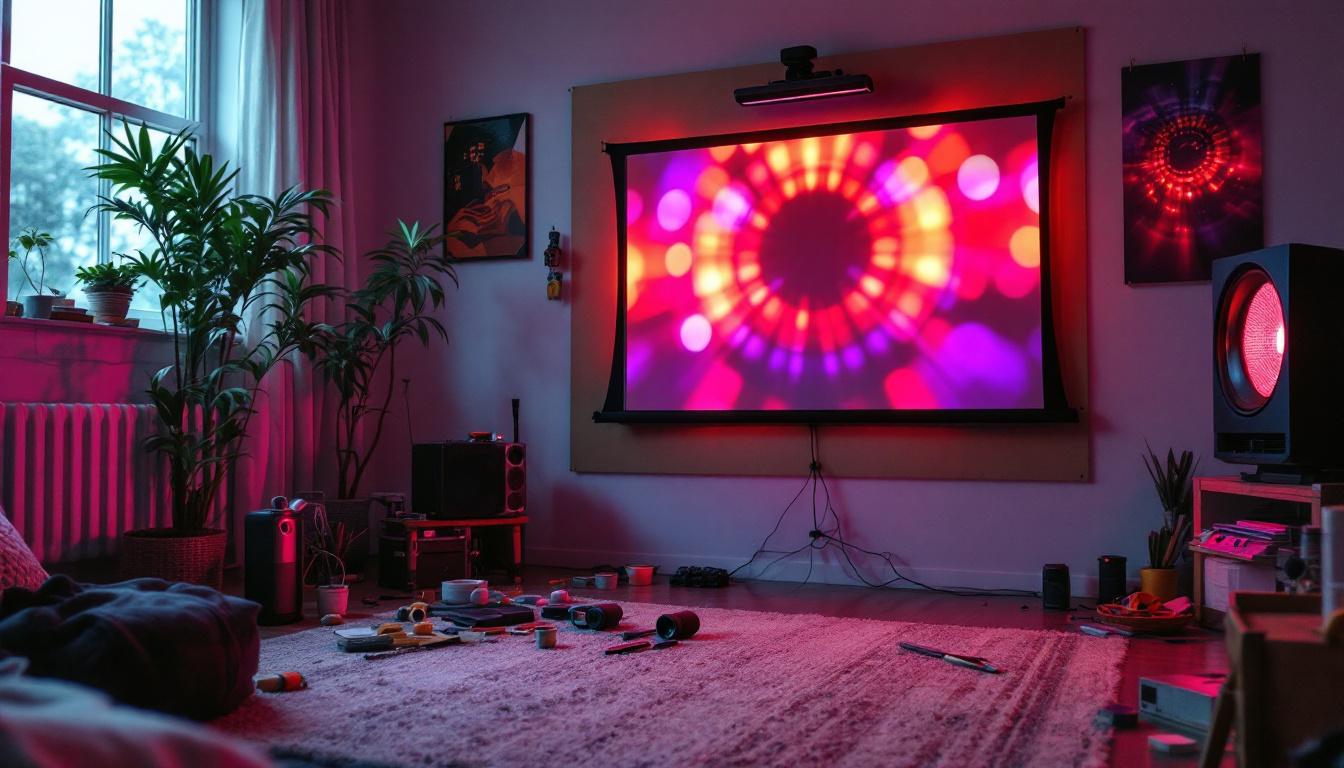
In recent years, the landscape of visual display technology has evolved dramatically. Traditional projector screens, once the staple of home theaters and conference rooms, are now sharing the stage with cutting-edge LED displays. These displays offer vibrant colors, superior brightness, and flexible installation options that can redefine how we experience projected content. This article explores how to build a projector screen using LED display technology, breaking down the components, design considerations, and practical steps to create a high-quality viewing surface tailored to your needs.
The Evolution of Projector Screens: From Fabric to LED
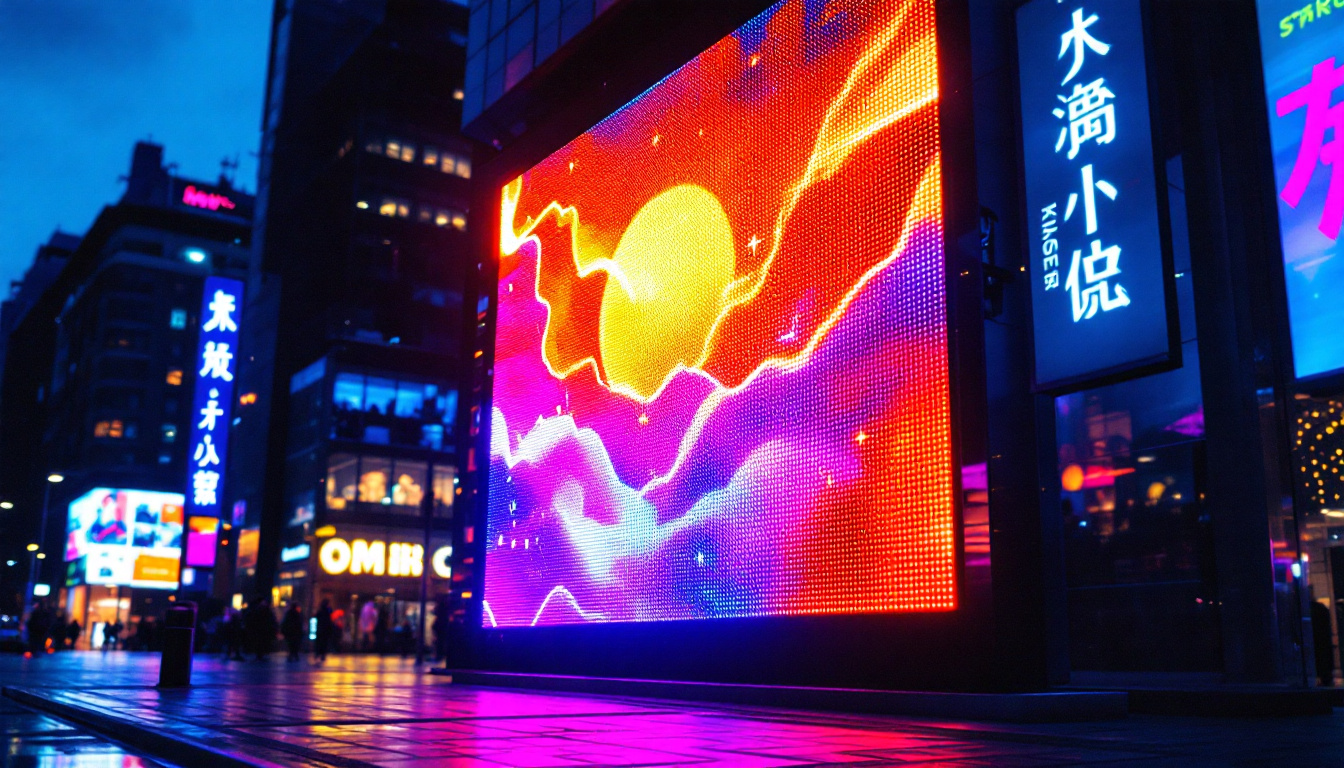
Projector screens have traditionally been made from specially coated fabrics designed to reflect projected light uniformly. While these screens have served well for decades, they come with limitations such as ambient light sensitivity, limited brightness, and fixed size constraints. LED displays, on the other hand, utilize arrays of light-emitting diodes to create images directly, eliminating the need for external projection.
According to a 2023 report by MarketsandMarkets, the global LED display market is expected to grow at a compound annual growth rate (CAGR) of 12.4% from 2023 to 2028, driven by demand in commercial, entertainment, and residential sectors. This growth highlights the increasing adoption of LED technology as a superior alternative to traditional projection methods.
Understanding this shift is crucial for anyone considering building or upgrading their projector screen setup. LED displays offer advantages such as enhanced brightness, better contrast ratios, and the ability to produce true blacks—qualities that are difficult to achieve with conventional projection screens.
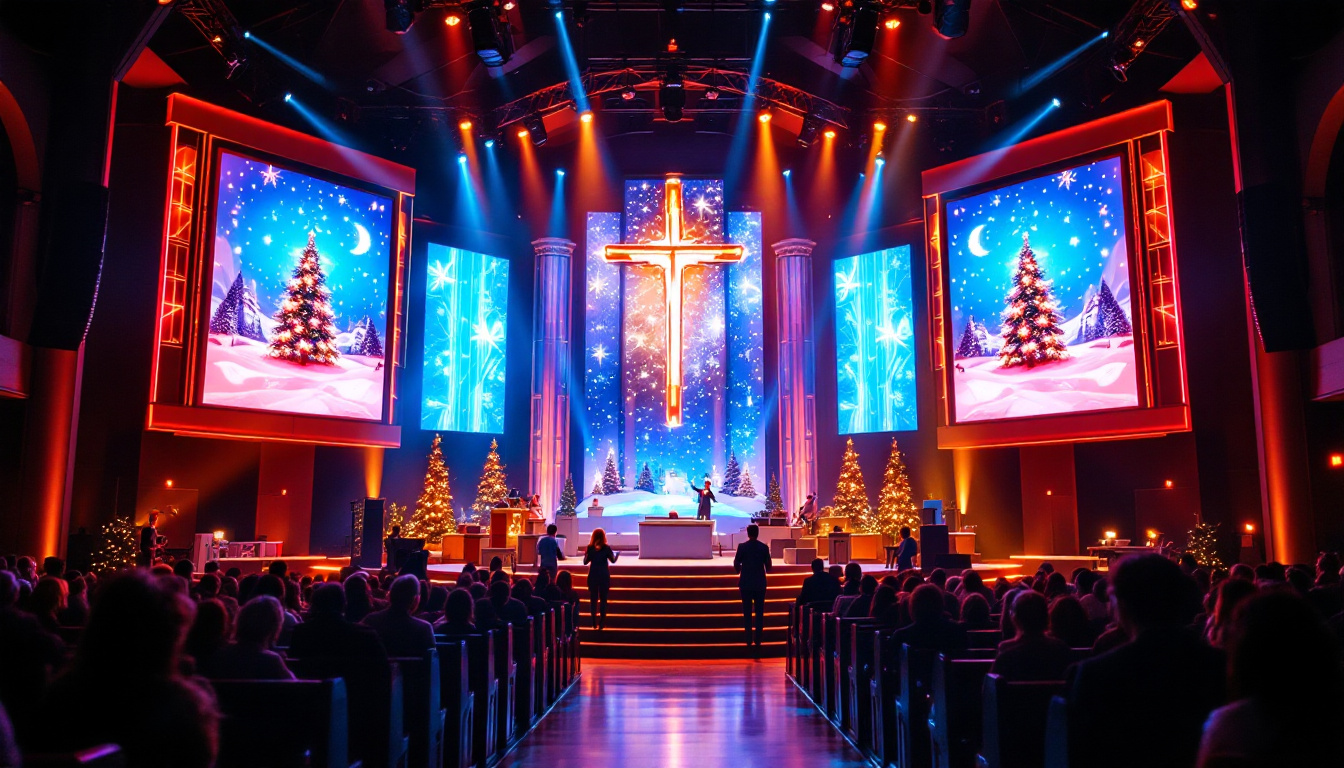
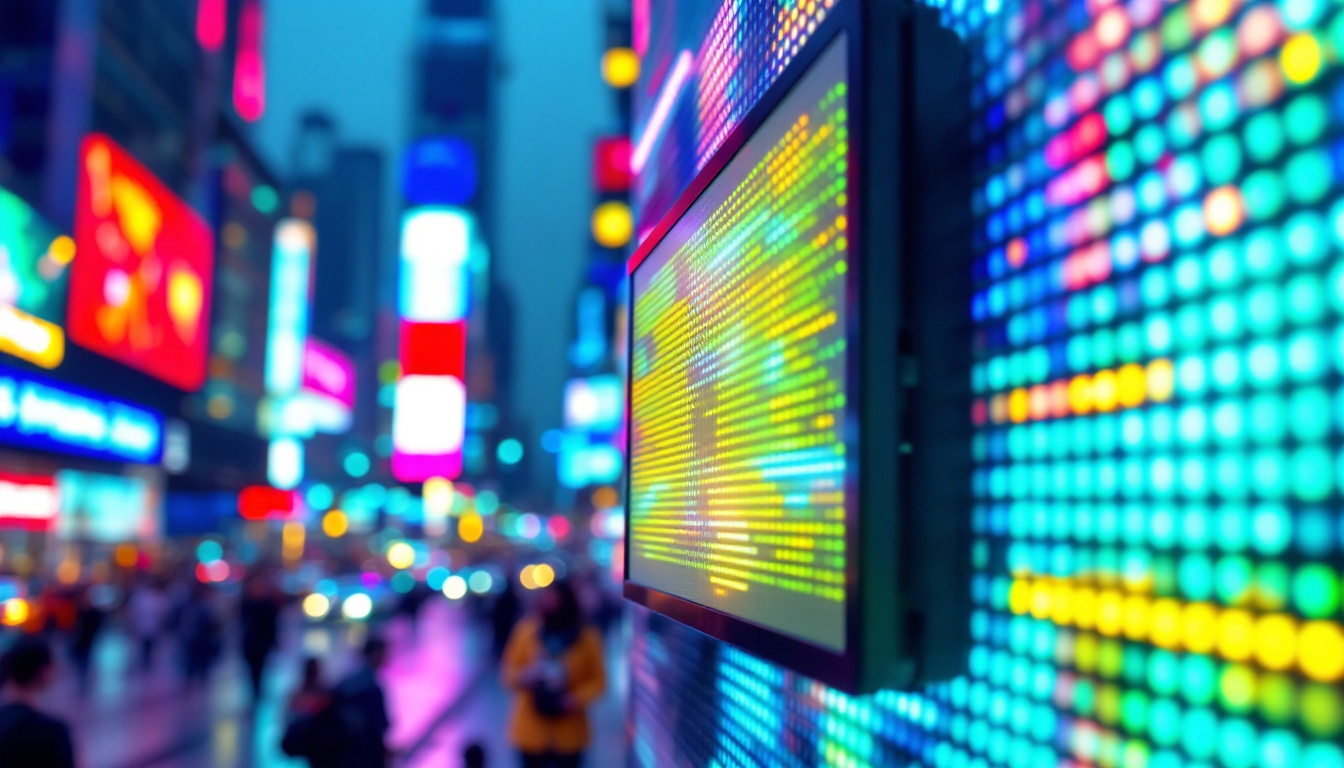
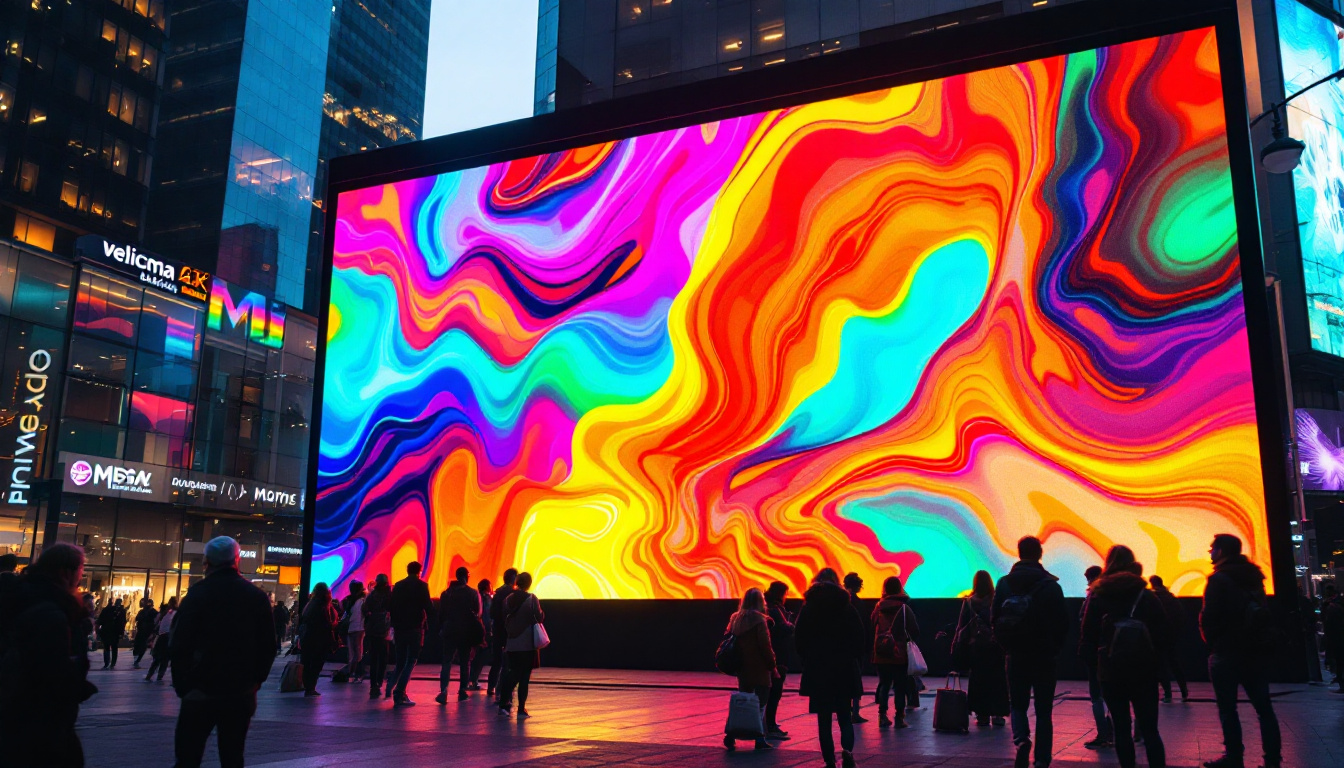
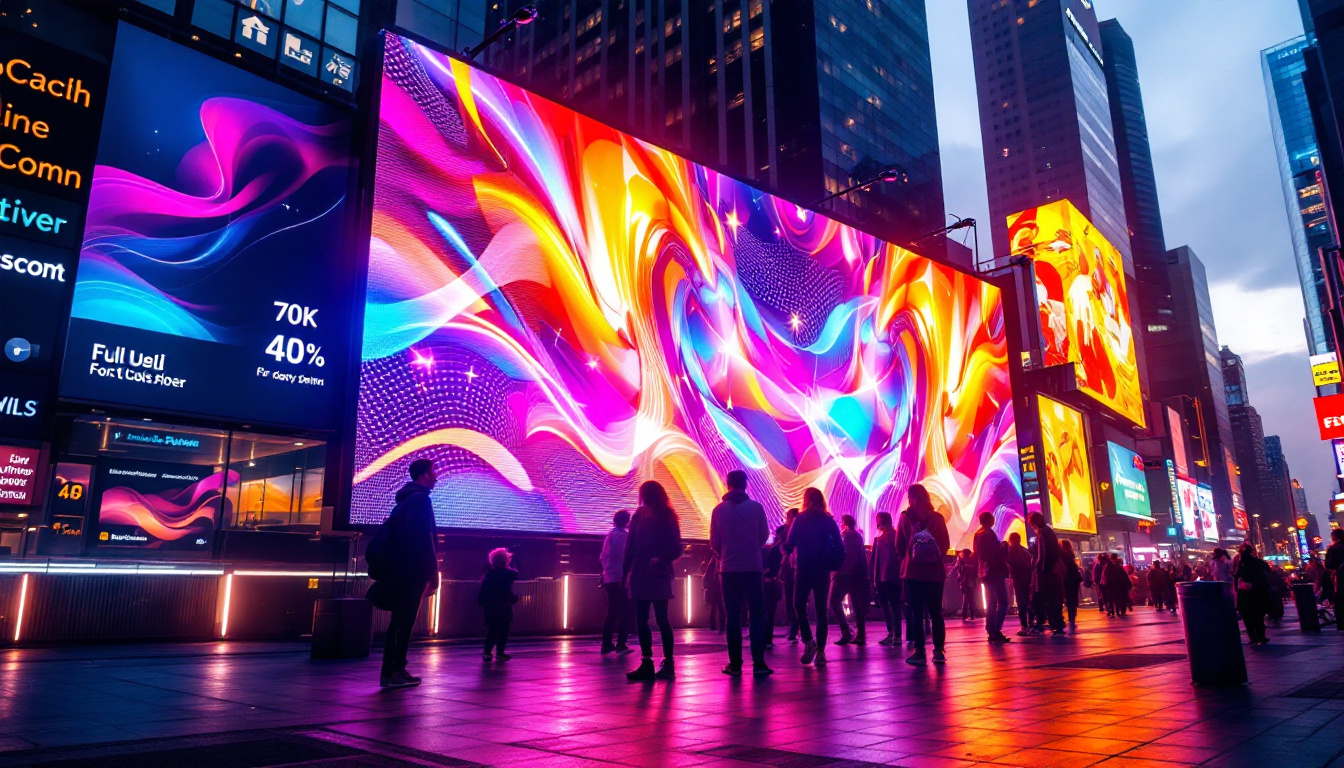
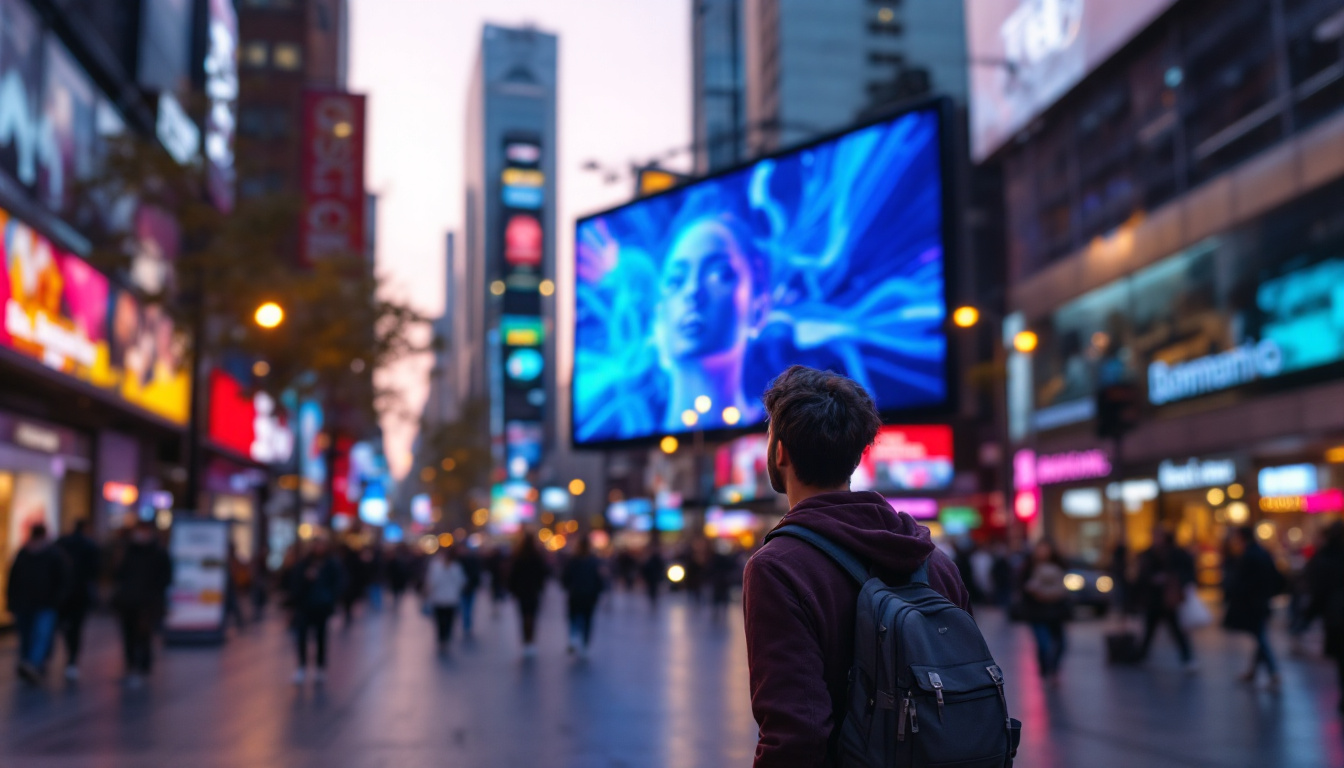
Moreover, the flexibility of LED technology allows for a range of sizes and configurations, catering to diverse environments—from small home theaters to large-scale outdoor events. Unlike traditional screens that require a specific viewing distance and angle, LED displays can be viewed from various perspectives without significant loss of quality. This adaptability makes them increasingly popular in venues such as sports arenas and concert halls, where audience placement can vary widely.
Additionally, the longevity and durability of LED screens contribute to their appeal. With lifespans often exceeding 50,000 hours, these displays require less frequent replacement compared to traditional projector setups, which can suffer from bulb degradation over time. This not only reduces maintenance costs but also aligns with sustainability initiatives, as fewer resources are consumed in manufacturing and disposing of projector bulbs. As technology continues to advance, the integration of smart features into LED displays, such as wireless connectivity and interactive capabilities, further enhances their functionality and user experience, paving the way for innovative applications in education, business presentations, and immersive entertainment experiences.
Understanding LED Display Technology
What is an LED Display?
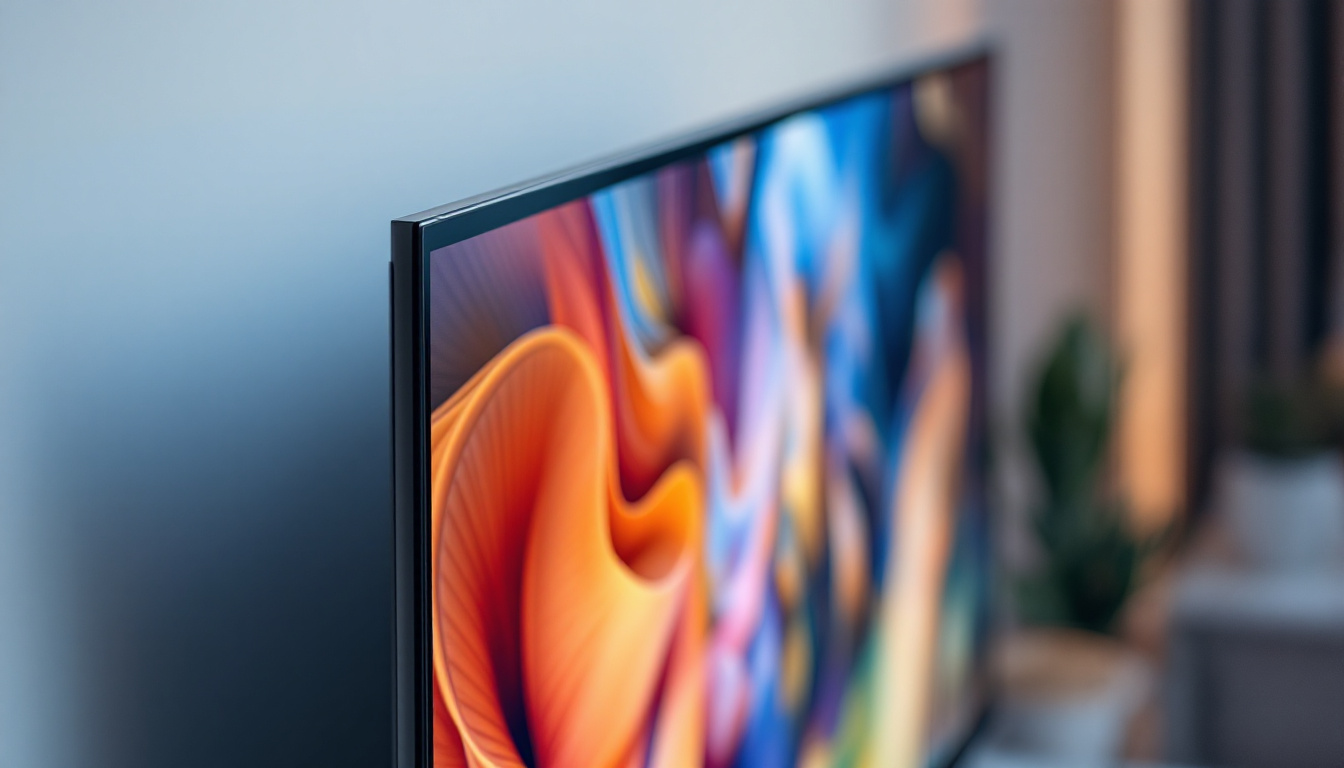
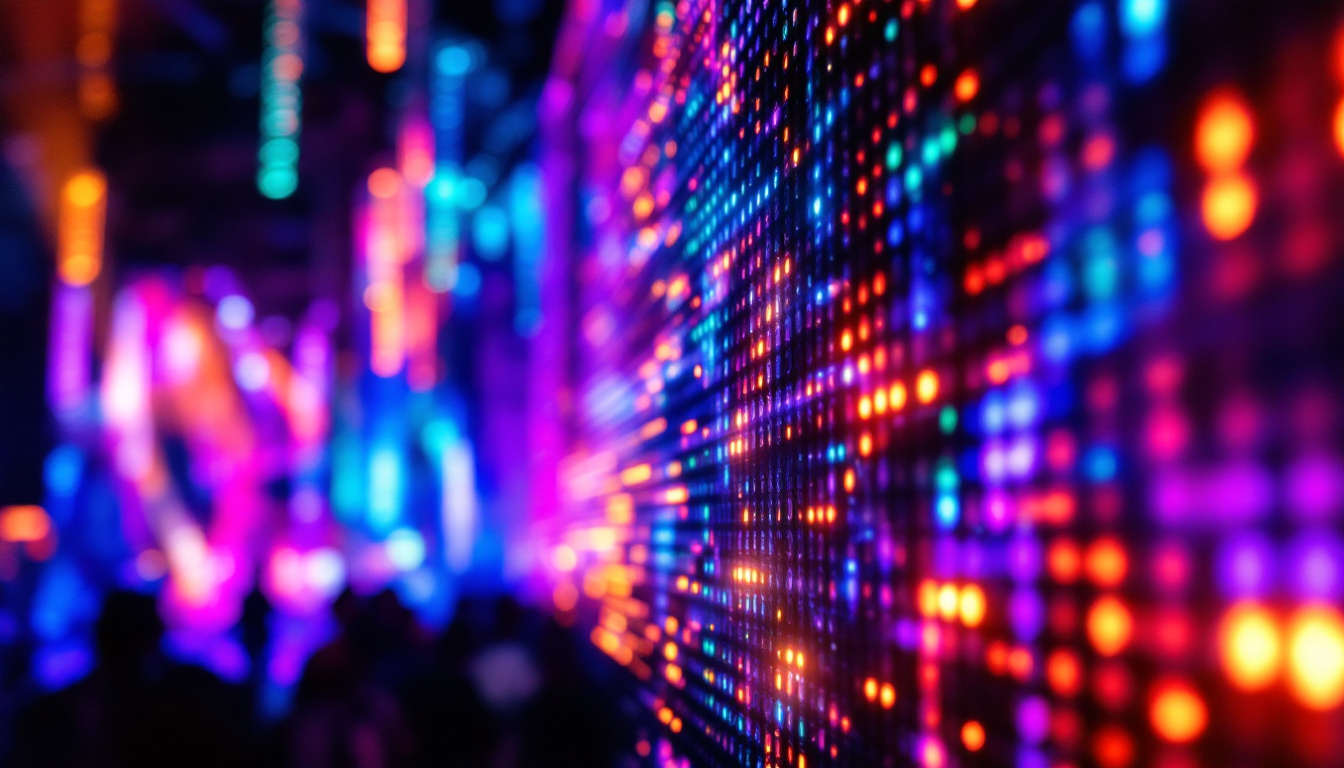
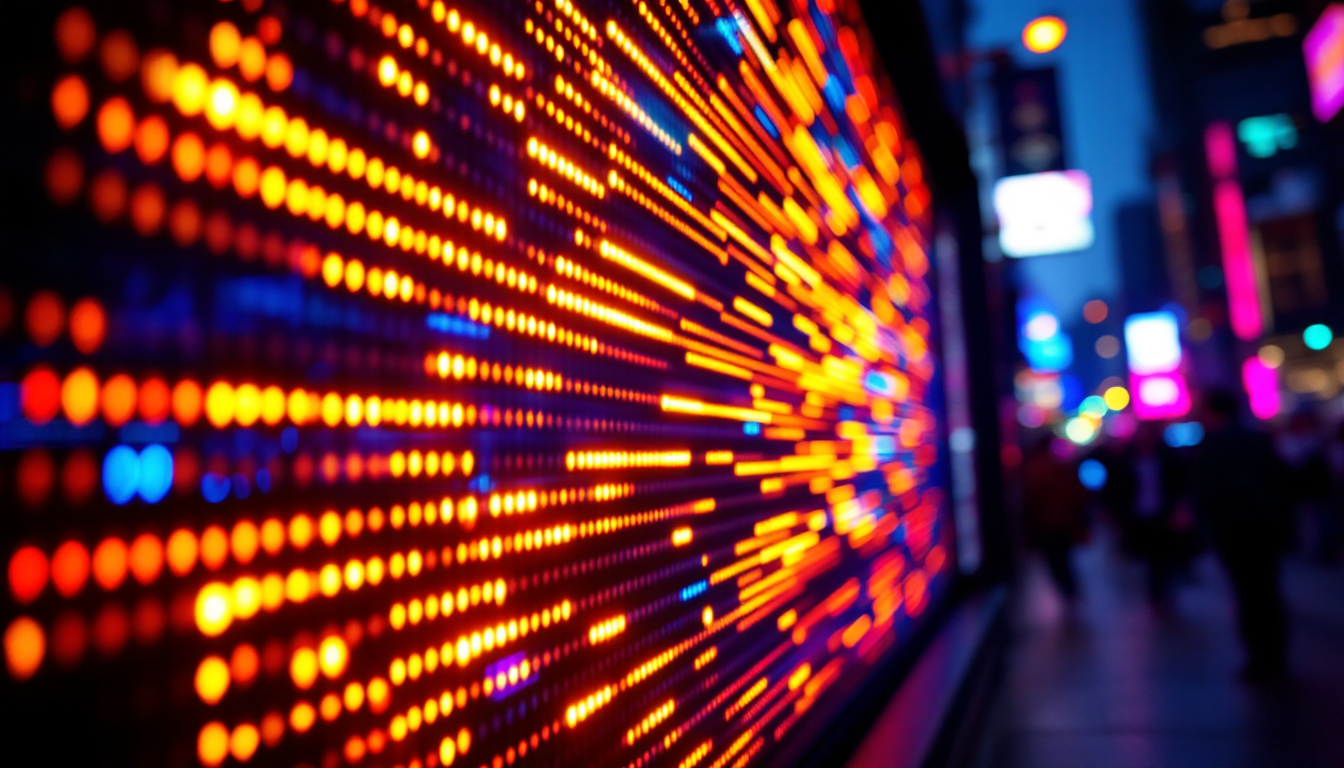
An LED display consists of a matrix of tiny light-emitting diodes that illuminate individually to form images. These diodes can be arranged in various configurations, including surface-mounted devices (SMD) and through-hole LEDs, each offering different pixel densities and viewing angles.
Unlike projection screens, which rely on external light sources, LED displays are self-illuminating. This means they can deliver consistent brightness regardless of ambient lighting conditions, making them ideal for environments where controlling light is challenging.
Types of LED Displays Suitable for Projector Screens
When building an LED-based projector screen, selecting the right type of LED panel is critical. The two main categories are:
- Indoor LED Displays: These panels offer high pixel density and are designed for close viewing distances. They typically feature smaller pixel pitches (the distance between adjacent LEDs), resulting in sharper images.
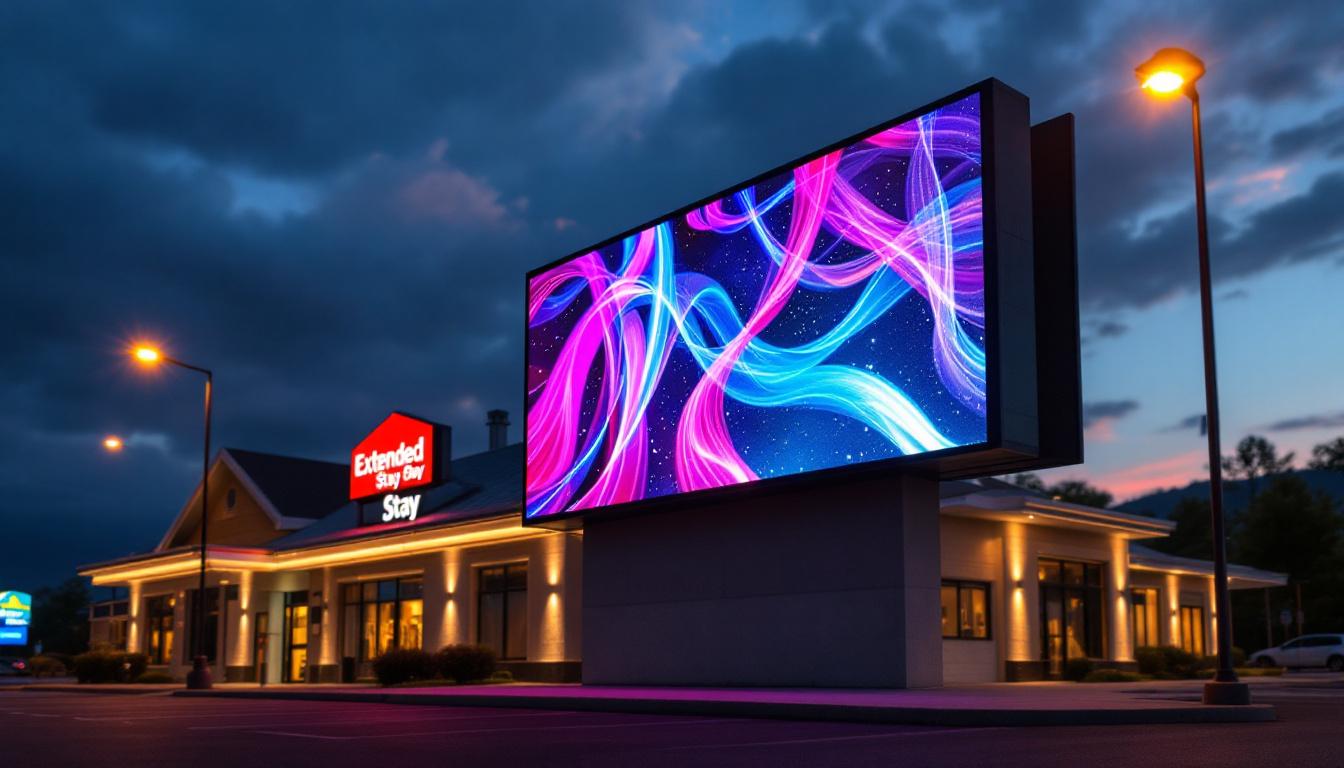
- Outdoor LED Displays: Built to withstand weather conditions, these displays have higher brightness levels but lower pixel densities, making them less suitable for close-range viewing.
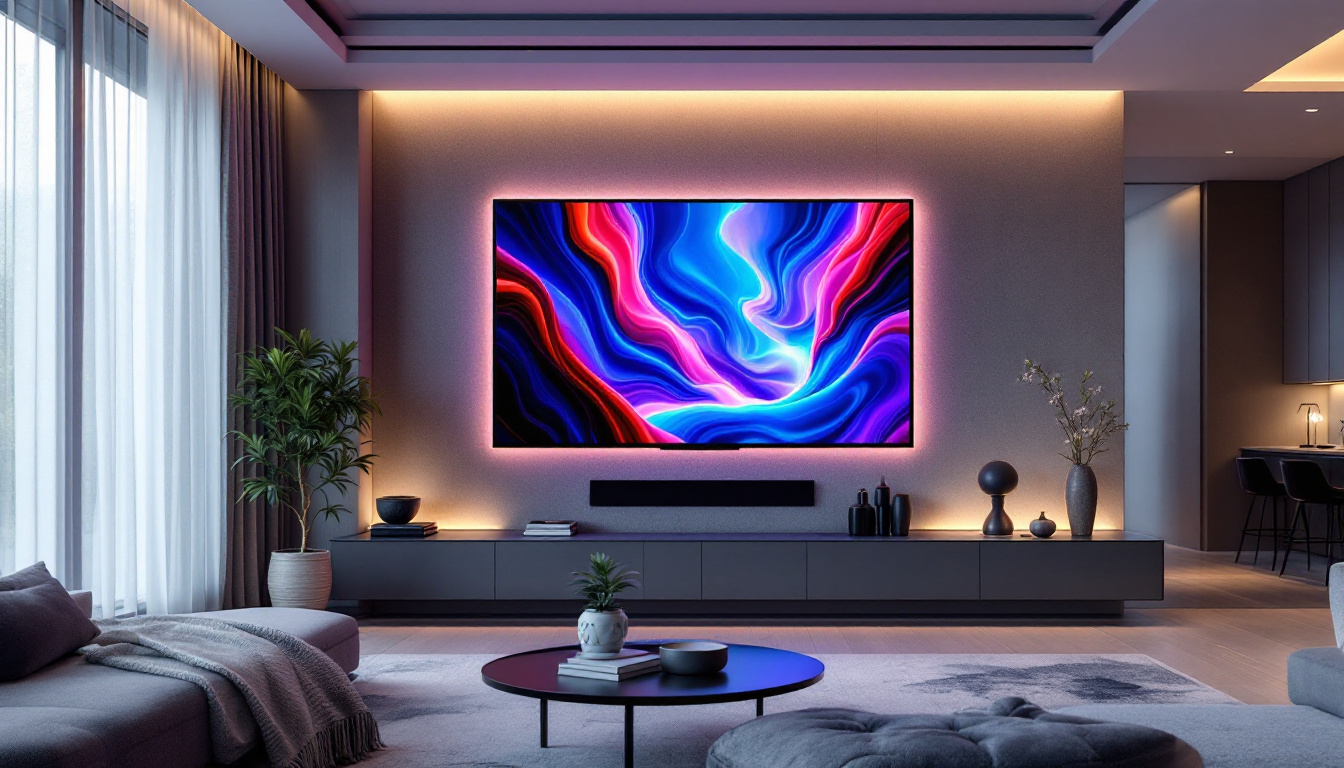
For a home theater or conference room application, indoor LED displays with a pixel pitch between 1.2mm and 2.5mm are generally recommended to ensure crisp image quality.
Planning Your LED Projector Screen Build
Determining Screen Size and Resolution
Before purchasing components, it’s essential to define the desired screen size and resolution. The size depends on the room dimensions and viewing distance. As a general rule, the optimal viewing distance is approximately 1.5 to 2.5 times the diagonal screen size.
For example, a 100-inch diagonal screen is ideal for viewing distances between 12.5 and 20 feet. Resolution should align with the content you plan to display—full HD (1920×1080) is a minimum standard, while 4K (3840×2160) is becoming increasingly popular for high-end applications.
Calculating Pixel Pitch and Panel Quantity
The pixel pitch determines the number of LEDs per unit area and directly affects image clarity. Smaller pixel pitches yield higher resolution but increase cost.
To calculate the required number of LED panels, divide the total screen width and height by the dimensions of each panel. For instance, if each panel measures 500mm x 500mm and your target screen size is 2.5m x 1.5m, you will need 5 panels across and 3 panels vertically, totaling 15 panels.
Power and Connectivity Considerations
LED displays require stable power supplies and data connections. Ensure your power source can handle the total wattage of all panels combined, plus a margin for safety. Data connectivity typically involves LED controllers and processors that manage input signals from computers or media players.
Modern LED controllers support multiple input formats, including HDMI, DisplayPort, and DVI, allowing seamless integration with various content sources.
Step-by-Step Guide to Building Your LED Projector Screen
1. Acquiring Materials and Components
The essential components for building an LED projector screen include:
- Indoor LED display panels with the desired pixel pitch
- LED display controller and processor
- Power supply units capable of handling the total load
- Mounting frame or structure
- Signal cables (HDMI, Ethernet, or proprietary LED cables)
- Cooling system (optional, depending on panel specifications)
When sourcing panels, choose reputable manufacturers with proven quality and support. Panels with IP30 ratings are suitable for indoor use, offering protection against dust and accidental contact.
2. Constructing the Mounting Frame
The frame must be sturdy and precisely aligned to ensure a flat, seamless display surface. Aluminum extrusion frames are popular due to their lightweight and modular nature. The frame should accommodate the total dimensions of the LED panels plus any necessary gaps for wiring and ventilation.
Use laser levels and measuring tools to maintain alignment during assembly. A misaligned frame can cause image distortion and reduce the overall visual quality.
3. Installing LED Panels
Attach each LED panel securely to the frame using mounting brackets or screws provided by the manufacturer. Ensure that panels are flush against each other to minimize visible seams.
Connect power and data cables carefully, following the wiring diagram supplied with the panels. Most LED modules connect in a daisy-chain configuration, where data flows from one panel to the next.
4. Connecting the Controller and Power Supply
The LED controller acts as the brain of the display, processing incoming video signals and distributing them to the panels. Connect the controller to your media source using HDMI or other compatible inputs.
Power supplies should be connected to each panel or group of panels as specified. Use appropriately rated cables and ensure all connections are secure to prevent voltage drops or shorts.
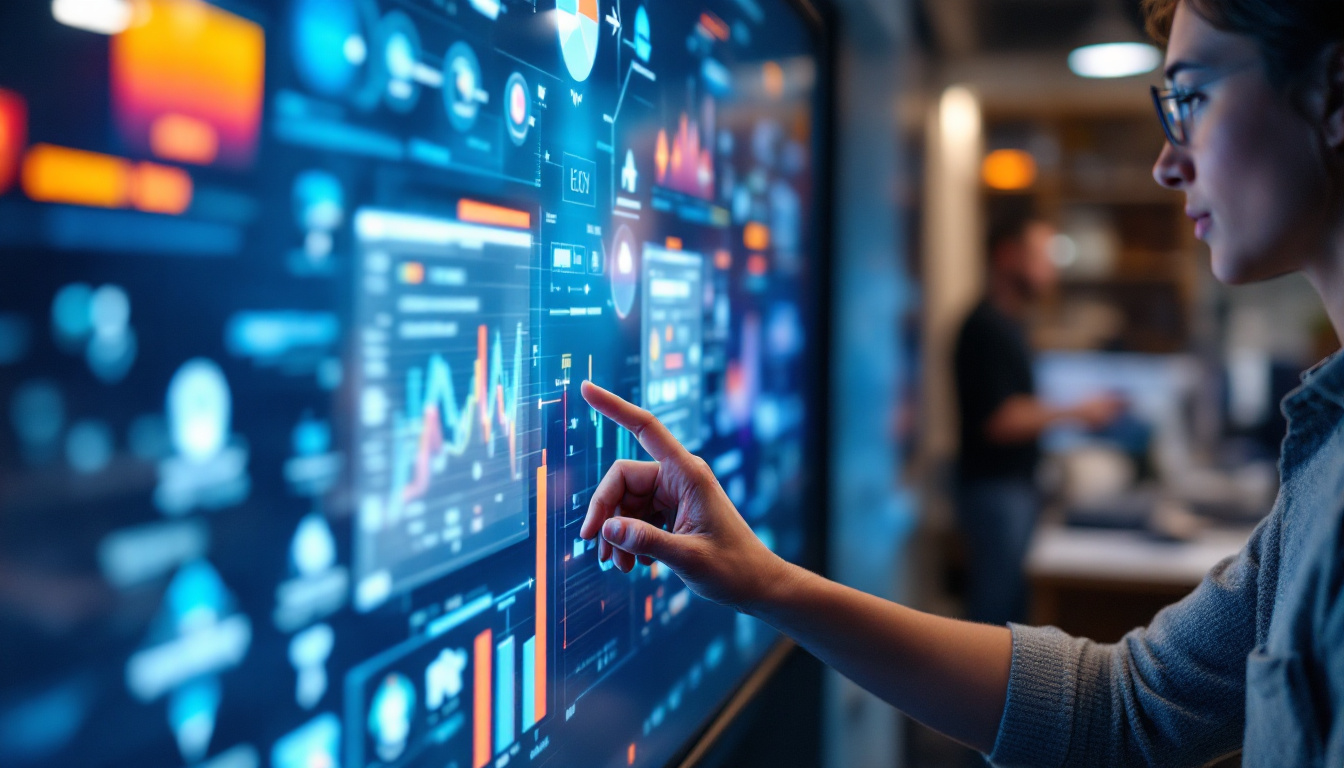
5. Configuring and Calibrating the Display
Once assembled, use the LED control software to configure the display settings. This includes defining the screen resolution, adjusting brightness and contrast, and calibrating color balance.
Calibration is critical to achieving uniform image quality across the entire screen. Many software tools offer test patterns and color adjustment features to assist with this process.
Advantages of LED Displays Over Traditional Projector Screens
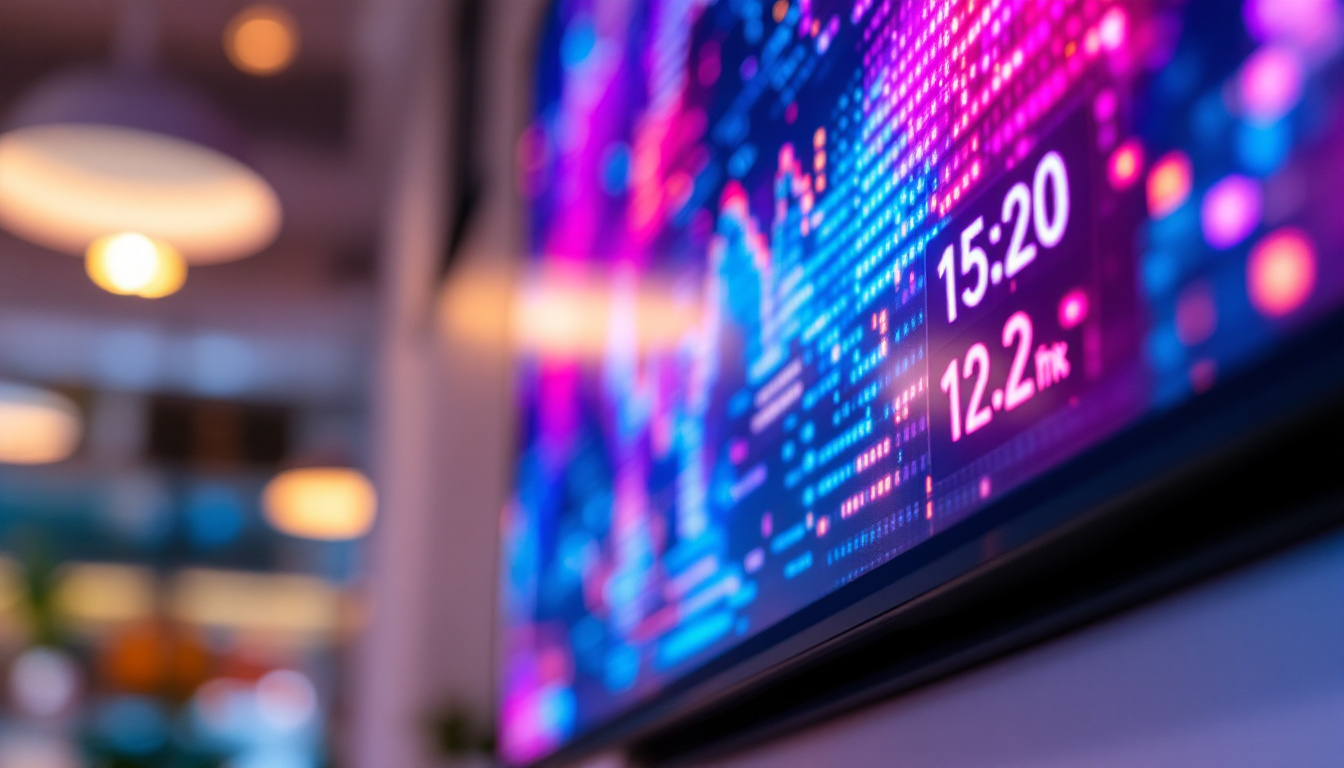
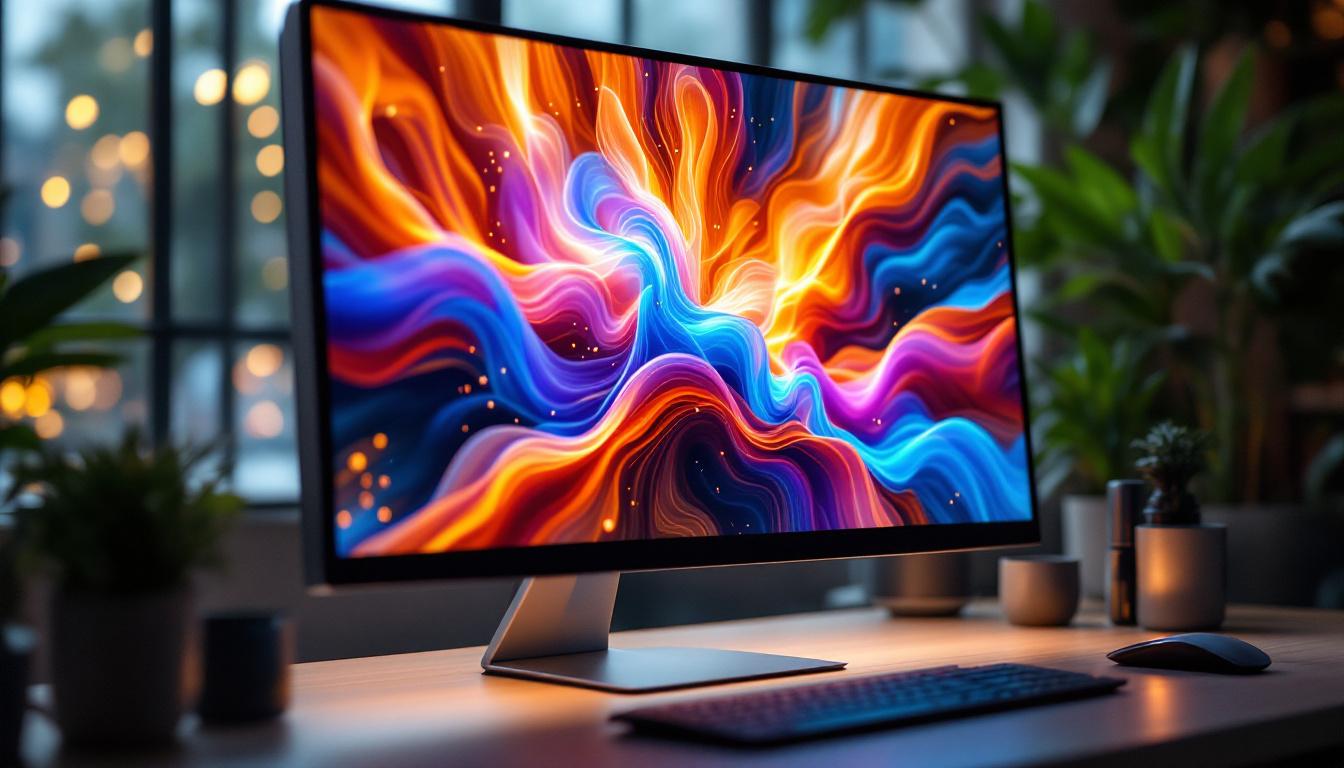
Superior Brightness and Contrast
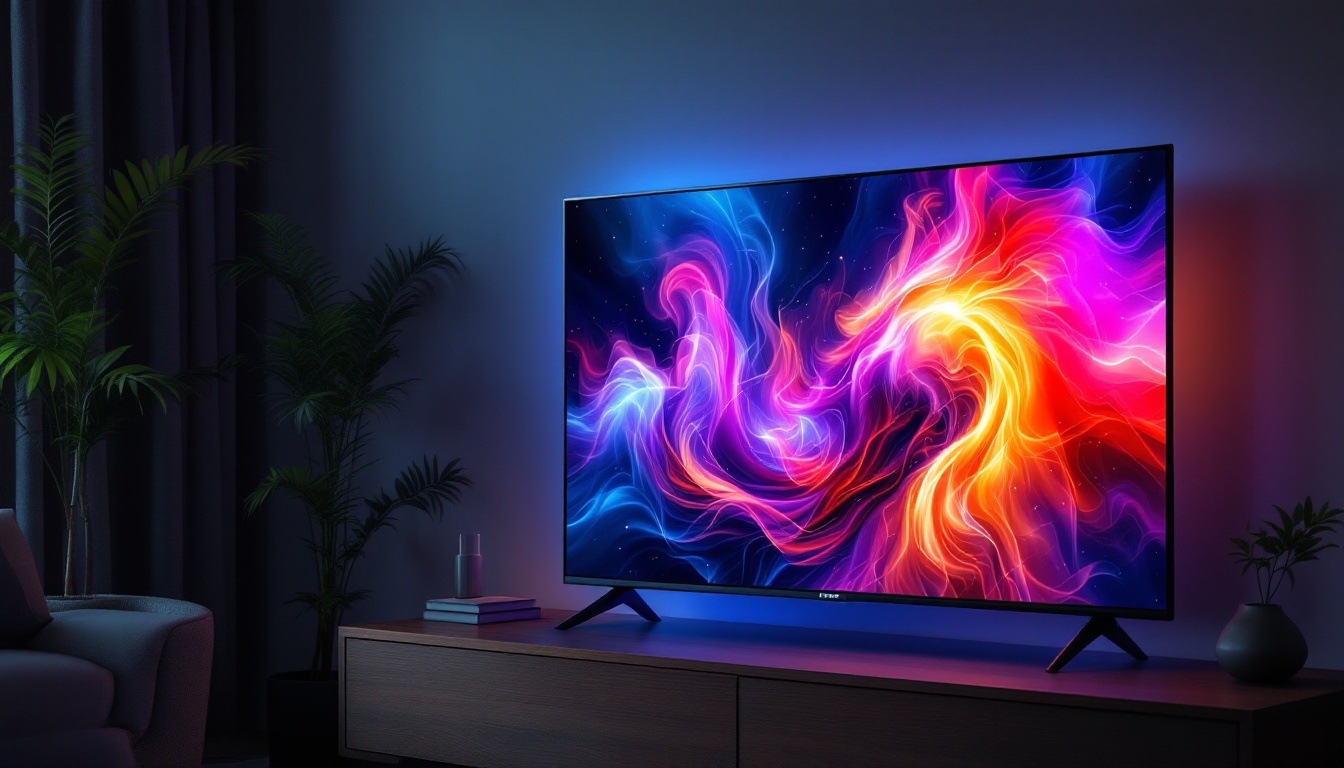
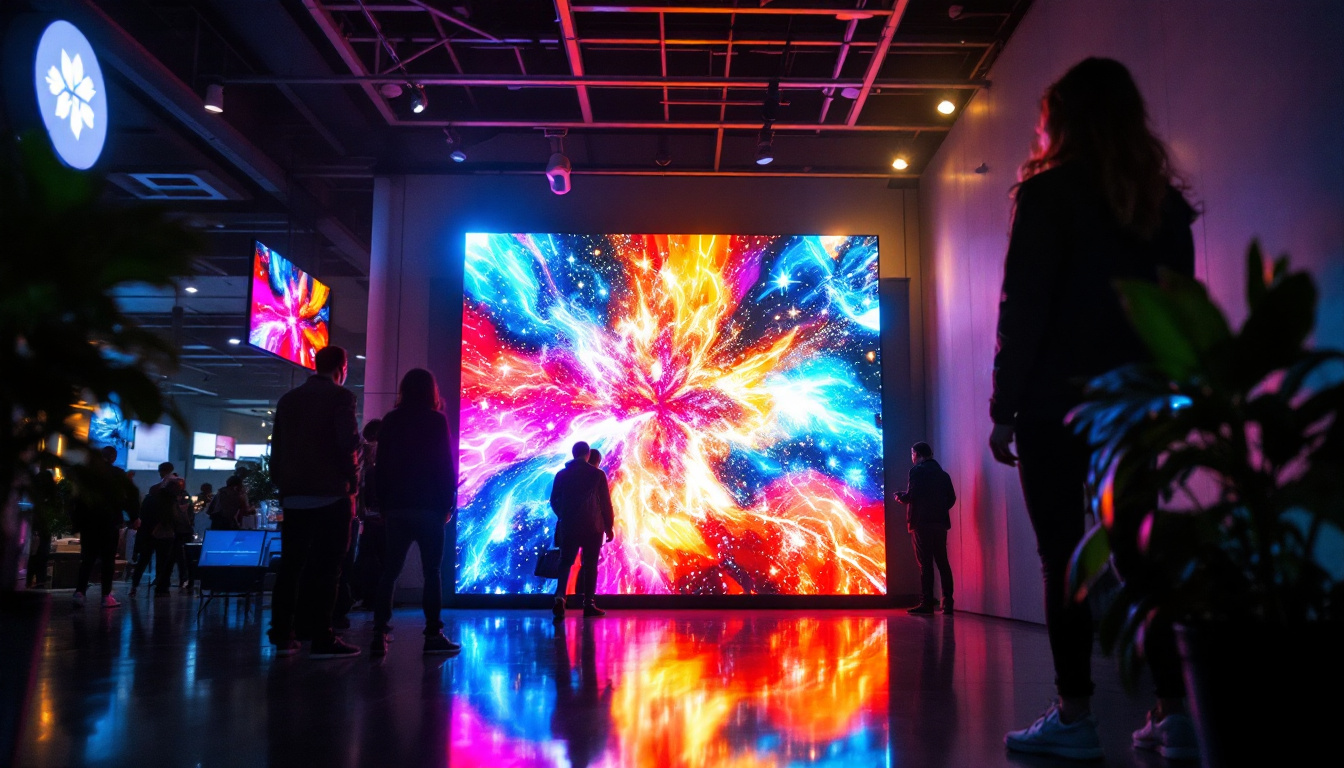
LED displays can achieve brightness levels exceeding 1,000 nits, far surpassing the typical 200-300 nits of projector screens. This makes them ideal for environments with ambient light, such as conference rooms and retail spaces.
Additionally, the ability of LEDs to turn off individual pixels results in true blacks and high contrast ratios, enhancing image depth and realism.
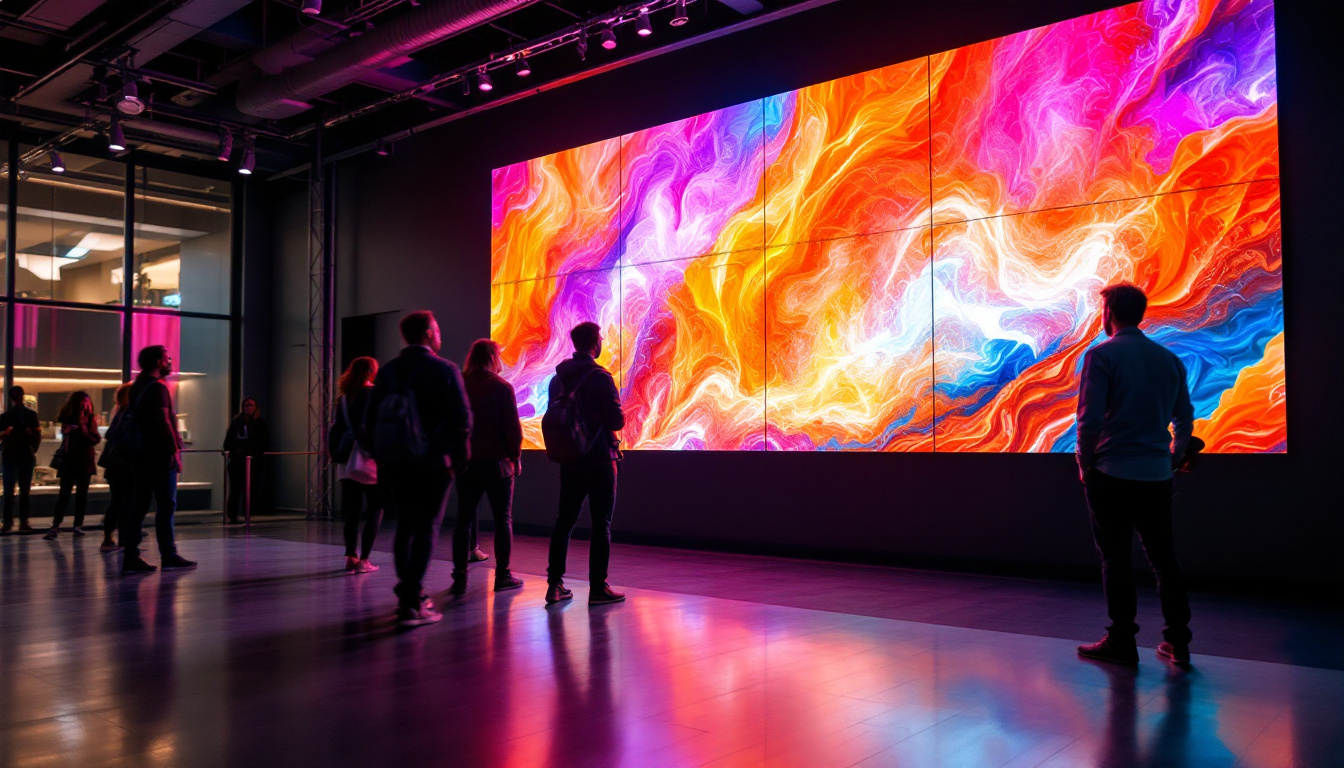
Flexible Installation and Scalability
LED displays can be customized to virtually any size or shape by combining multiple panels. This modularity allows for creative installations, including curved or irregularly shaped screens that are impossible with traditional projection.
Lower Maintenance and Longer Lifespan
Unlike projectors, which require bulb replacements and regular cleaning, LED panels have longer lifespans (often exceeding 100,000 hours) and minimal maintenance needs. This reduces long-term operational costs.
Challenges and Considerations When Building an LED Projector Screen
Initial Cost Investment
While LED technology offers many benefits, the upfront cost can be significantly higher than traditional projector and screen setups. High-resolution panels, controllers, and power supplies contribute to the initial expenditure.
However, when factoring in reduced maintenance and superior performance, many users find the investment worthwhile.
Technical Expertise Required
Building and configuring an LED display requires a certain level of technical knowledge, particularly in electronics and video signal management. For complex installations, consulting with professionals or hiring experienced technicians is advisable.
Heat Management
LED panels generate heat during operation, and inadequate ventilation can lead to overheating and reduced lifespan. Designing the mounting frame to allow airflow or incorporating cooling fans may be necessary, especially for large or high-brightness displays.
Conclusion: Is an LED Projector Screen Right for You?
Building a projector screen using LED display technology offers a compelling alternative to traditional projection methods. With superior brightness, flexibility, and image quality, LED screens can elevate viewing experiences in both residential and commercial settings.
Careful planning, component selection, and assembly are essential to maximize the benefits of LED displays. While the initial investment and technical requirements may be higher, the long-term advantages in performance and durability make LED projector screens a future-proof choice for modern visual presentations.
Whether upgrading a home theater, outfitting a conference room, or designing a digital signage solution, understanding how to build and configure an LED projector screen empowers users to harness the full potential of this transformative technology.
Discover the Future of Visual Display with LumenMatrix
Ready to take the next step in visual innovation? LumenMatrix is at the forefront of LED display technology, offering a wide array of solutions that transform any space into a dynamic visual experience. From captivating Indoor LED Wall Displays to versatile Outdoor LED Wall Displays, and from engaging LED Sports Displays to revolutionary Transparent LED Displays, our products are designed to make your message shine. Elevate your visual presentations and create unforgettable experiences with LumenMatrix. Check out LumenMatrix LED Display Solutions today and see your vision come to life.