Ceiling tiles have become a popular choice for both residential and commercial spaces, providing an elegant and functional solution for enhancing interior aesthetics. Among the various options available, 12×12 ceiling tiles stand out due to their versatility and ease of installation. This article will guide you through the process of installing these tiles, specifically focusing on those designed for LED displays.
Understanding 12×12 Ceiling Tiles
Before diving into the installation process, it is essential to understand what 12×12 ceiling tiles are and their benefits. These tiles are typically made from materials such as PVC, mineral fiber, or metal, and they come in various designs and finishes. The 12×12 size makes them ideal for creating a seamless look across a ceiling, especially when combined with LED lighting.
Benefits of 12×12 Ceiling Tiles
One of the primary advantages of using 12×12 ceiling tiles is their ease of installation. Unlike traditional drywall or plaster ceilings, ceiling tiles can be installed quickly, often without the need for professional help. Additionally, they are lightweight, making them easier to handle and install.
Moreover, these tiles can significantly improve the acoustics of a room, absorbing sound and reducing noise levels. This feature is particularly beneficial in spaces like offices, schools, and restaurants where a quieter environment is desired. The sound-absorbing properties of certain tiles can also enhance the overall comfort of a space, allowing for better concentration and communication among individuals.
Types of 12×12 Ceiling Tiles
There are several types of 12×12 ceiling tiles available in the market, each catering to different aesthetic and functional needs. For instance, acoustic tiles are designed to minimize sound reverberation, while decorative tiles can enhance the visual appeal of a space. These decorative options can range from classic patterns to modern designs, allowing homeowners and business owners to express their unique style.
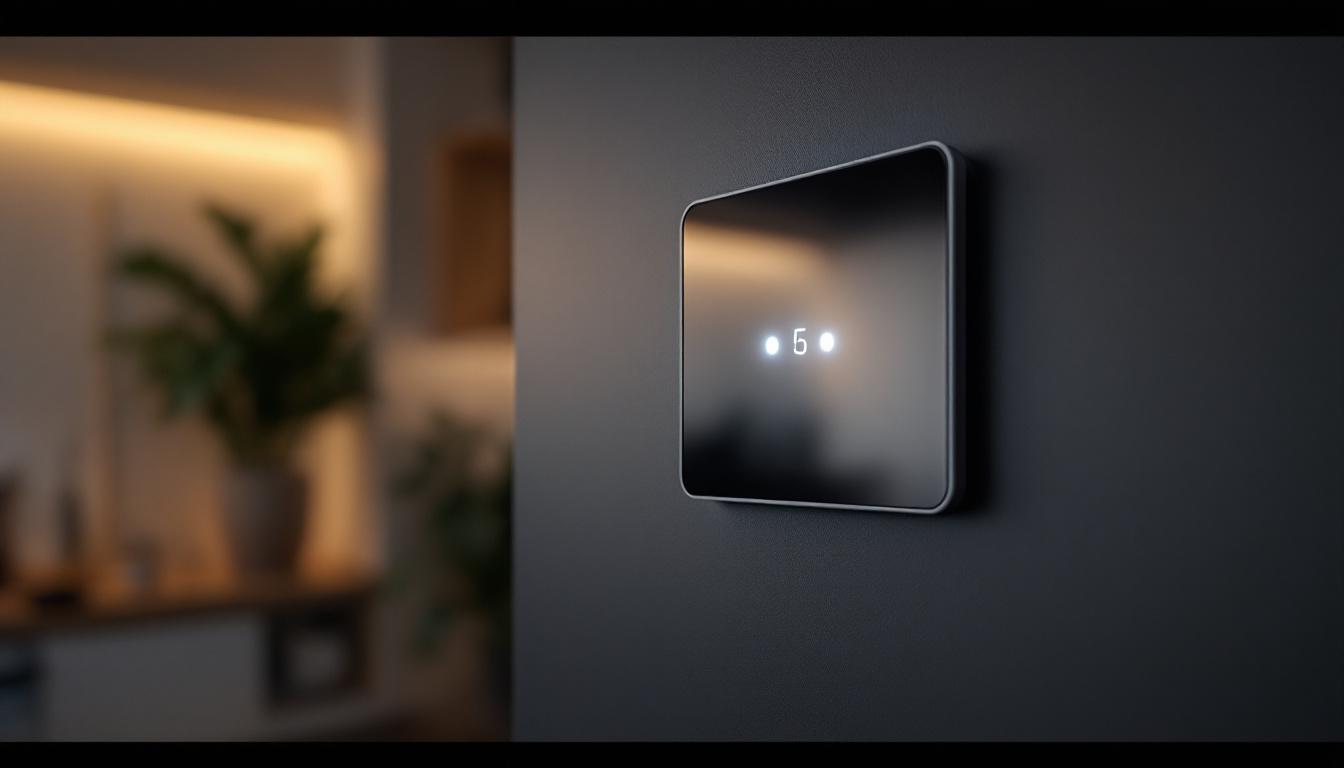
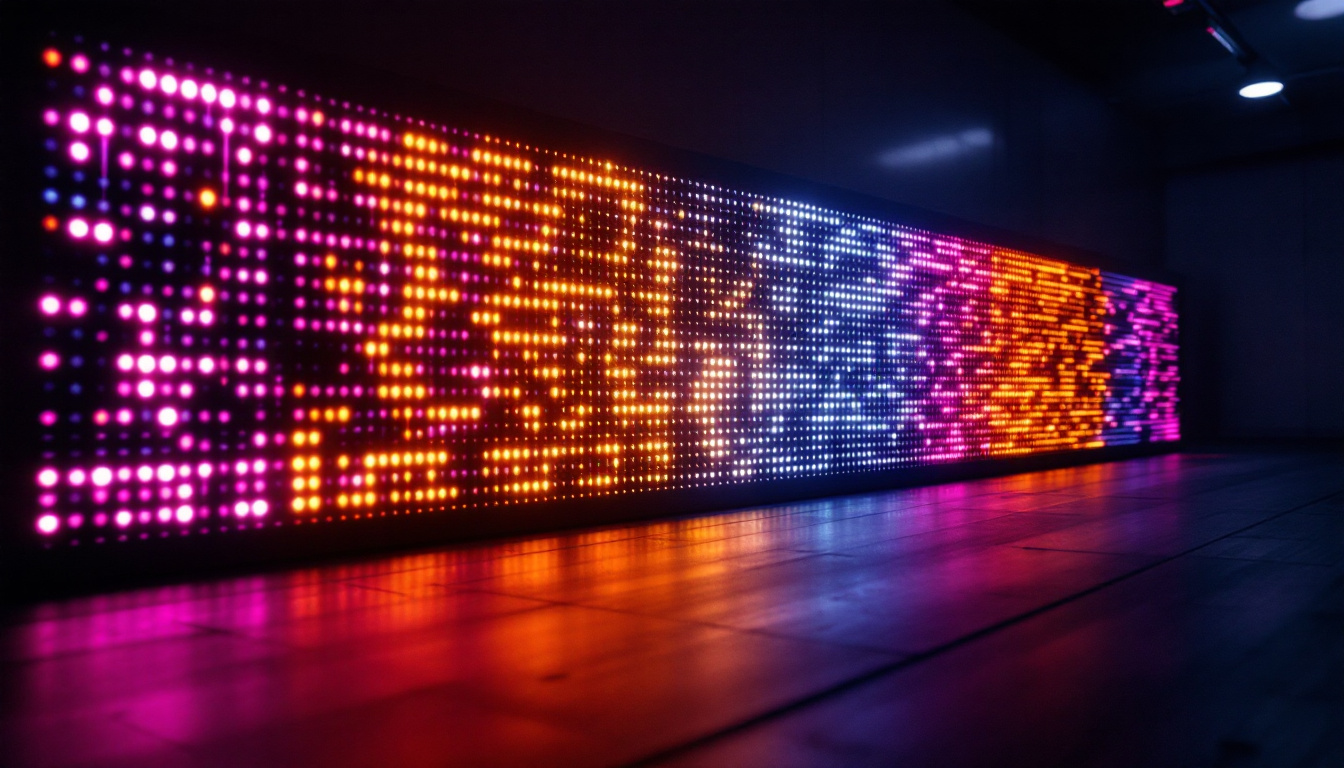
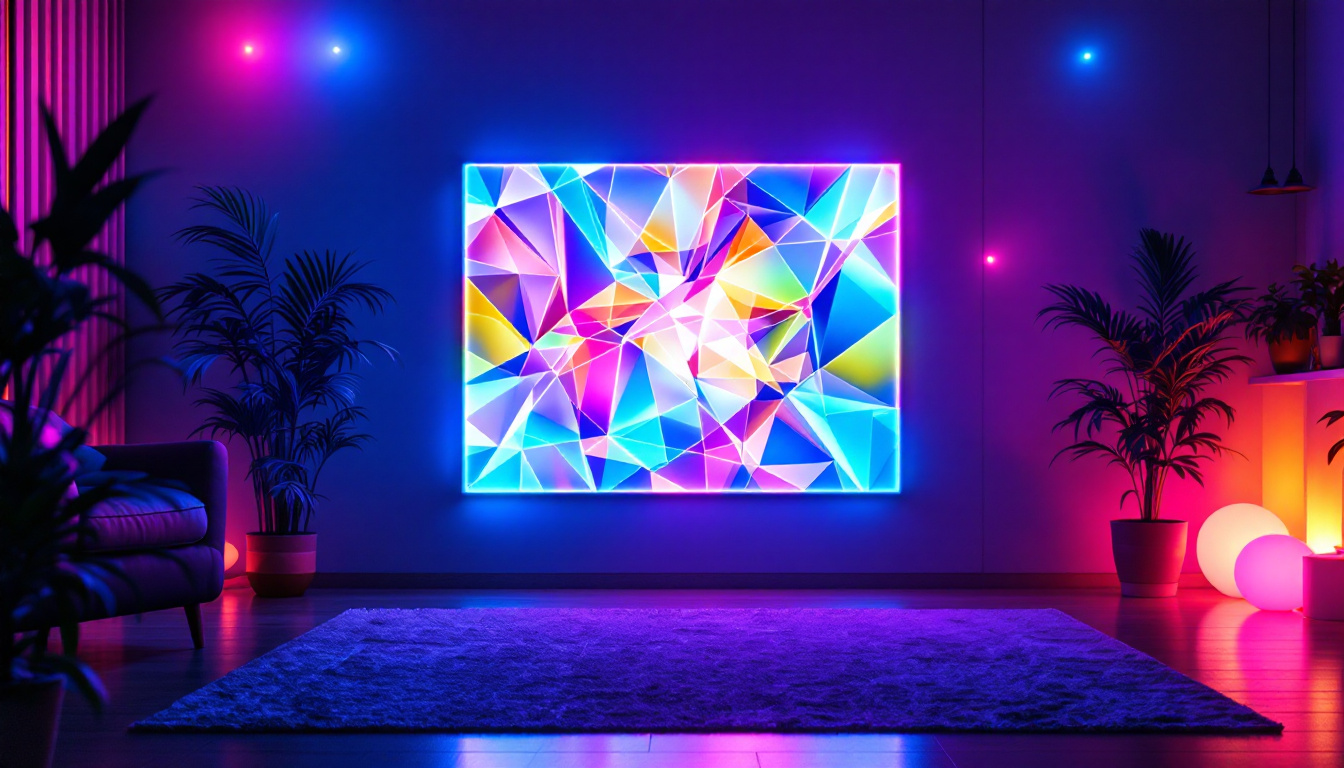
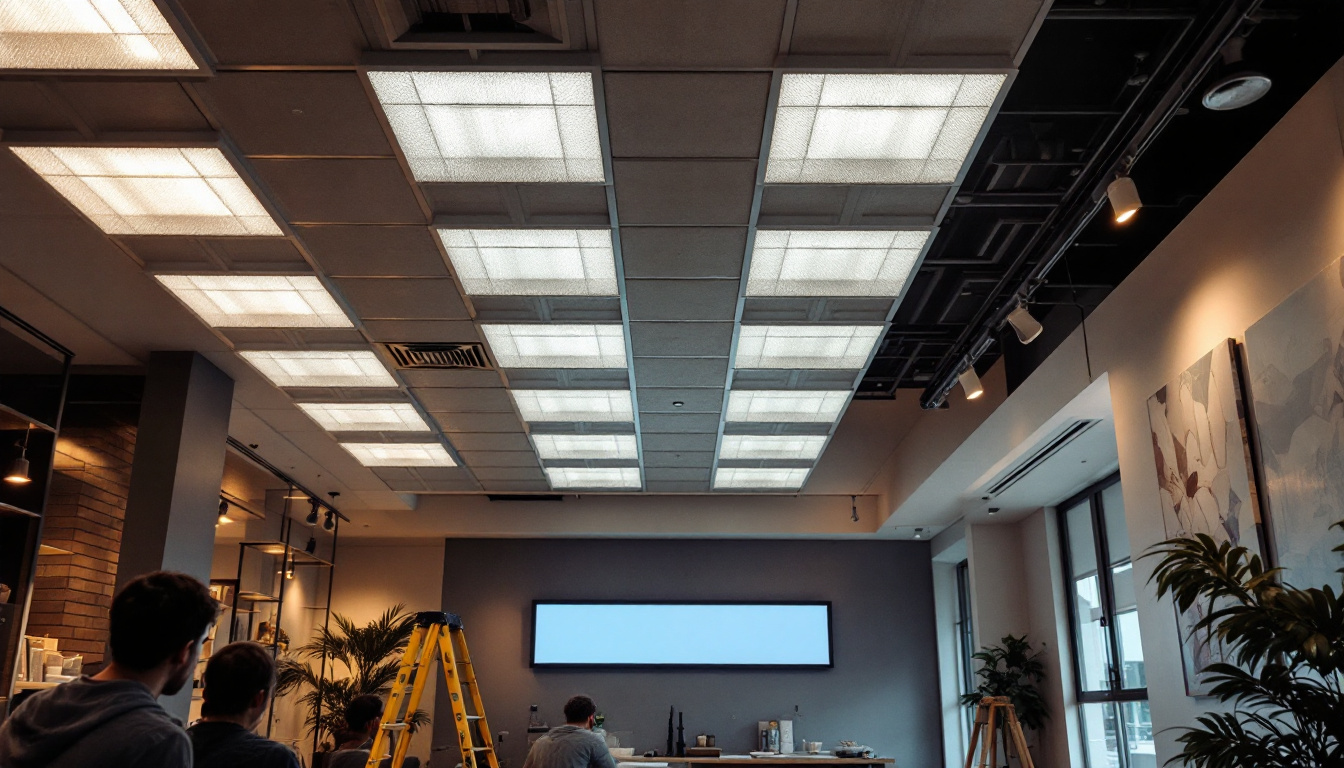
When it comes to LED displays, certain tiles are specifically designed to accommodate lighting fixtures. These tiles often have cutouts or are made from materials that allow for better light diffusion, ensuring that the LED lights shine brightly and evenly across the ceiling. Additionally, some tiles are treated with reflective coatings that can amplify the brightness of the lighting, creating an inviting atmosphere that enhances the overall ambiance of the room. This is particularly useful in retail spaces where product visibility is key to attracting customers.
Furthermore, the versatility of 12×12 ceiling tiles extends beyond aesthetics and functionality. They can also be used in various applications, from residential homes to commercial buildings. In basements, for example, these tiles can help conceal ductwork and plumbing while providing a clean and finished look. In commercial settings, they can be utilized in conference rooms to create a professional environment that fosters collaboration and creativity. The adaptability of these tiles makes them a popular choice for many different types of projects, allowing for customization to suit any design vision.
Preparing for Installation
Proper preparation is key to a successful installation. Before starting, gather all necessary tools and materials. This includes the ceiling tiles, adhesive or grid system, a utility knife, a measuring tape, a level, and a straight edge. Ensuring that you have everything on hand will streamline the process and minimize interruptions.
Measuring the Space
Begin by measuring the dimensions of the room where the ceiling tiles will be installed. Accurate measurements are crucial to determine how many tiles will be needed and whether any adjustments are required for lighting fixtures or vents. Use a measuring tape to find the length and width of the ceiling, and calculate the total area.
Once the measurements are taken, sketch a layout of the ceiling. This will help visualize how the tiles will fit together and identify any areas that may require cutting. Mark the center of the room, as this will serve as a reference point for the installation.
Choosing the Right Adhesive
The choice of adhesive is vital for the durability and longevity of the installation. Depending on the type of ceiling tiles, different adhesives may be recommended. For lightweight tiles, a simple construction adhesive may suffice, while heavier tiles may require a more robust adhesive or a grid system.
Always refer to the manufacturer’s instructions for the best adhesive options. This ensures that the tiles will adhere properly and remain securely in place over time.
Installation Process
Once preparations are complete, it’s time to start the installation process. This section will outline the steps involved in installing 12×12 ceiling tiles for an LED display.
Step 1: Prepare the Ceiling
Before installing the tiles, ensure that the ceiling surface is clean and free from dust, grease, or any other contaminants. If the ceiling has any existing fixtures, such as lights or vents, they should be accounted for in the layout. Remove any old tiles or coverings if necessary.
For ceilings that are not perfectly level, consider using a leveling compound to create a smooth surface. This will help the tiles adhere better and will result in a more professional finish.
Step 2: Install the Grid System (if applicable)
If using a grid system, begin by installing the main runners. These are the long metal strips that will support the tiles. Use the level to ensure they are straight and evenly spaced according to your layout plan. Secure them to the ceiling using appropriate anchors and screws.
Once the main runners are in place, install the cross tees, which will create a framework for the tiles. Make sure to follow the manufacturer’s guidelines for spacing, as this will affect the overall appearance and stability of the ceiling.
Step 3: Cutting the Tiles
After the grid is installed, it’s time to cut the tiles to fit around the edges and any fixtures. Measure the space carefully and mark the tiles where cuts need to be made. A utility knife is typically sufficient for cutting most ceiling tiles, but for tougher materials, a saw may be necessary.
Always wear safety goggles when cutting tiles to protect your eyes from any debris. Take your time during this step to ensure accurate cuts, as this will contribute to a polished final look.
Step 4: Installing the Tiles
Begin installing the tiles by placing them into the grid system or applying adhesive as per the manufacturer’s instructions. If using adhesive, apply it evenly on the back of each tile and press firmly against the ceiling. For grid systems, simply lay the tiles into place, ensuring they fit snugly without gaps.
As you work, periodically check that the tiles are level and aligned. Adjust as necessary to maintain a consistent appearance across the ceiling. If installing tiles with LED cutouts, ensure that the lighting fixtures are properly positioned and secured.
Finishing Touches
Once all the tiles are installed, it’s time to add the finishing touches. This includes sealing any gaps, cleaning the tiles, and ensuring that the LED lights are functioning correctly.
Sealing Gaps
Inspect the edges of the tiles for any visible gaps. Depending on the type of tiles used, a caulk or trim may be applied to create a seamless finish. This not only enhances the aesthetic appeal but also helps to prevent dust accumulation.
Use a caulking gun to apply a thin bead of caulk along the edges, smoothing it with a finger or a tool for a neat finish. Allow the caulk to dry completely before proceeding to the next step.
Cleaning the Tiles
After installation, clean the tiles to remove any dust or adhesive residue. A damp cloth or sponge is typically sufficient for this task. Avoid using harsh chemicals that could damage the tiles or affect their finish.
Once cleaned, allow the tiles to dry completely before turning on any LED lights. This will ensure that the installation looks pristine and ready for use.
Testing the LED Display
Finally, turn on the LED lights to test their functionality. Ensure that they illuminate evenly across the ceiling and that there are no flickering or dead spots. Adjust the positioning of the lights if necessary to achieve optimal brightness and coverage.
With the lights functioning correctly, the installation is complete. Enjoy the enhanced ambiance and functionality that 12×12 ceiling tiles bring to your space.
Maintenance Tips
Maintaining your newly installed ceiling tiles is essential for their longevity and appearance. Regular cleaning and inspections will help keep them looking fresh and functional.
Regular Cleaning
Dust and dirt can accumulate on ceiling tiles over time, so it’s important to clean them regularly. Use a soft cloth or a vacuum with a brush attachment to gently remove dust. For deeper cleaning, a damp cloth with mild soap can be used, but avoid soaking the tiles.
For tiles that are particularly stained or dirty, check the manufacturer’s recommendations for cleaning solutions that are safe to use. This will help avoid damaging the tiles while ensuring they remain in good condition.
Inspecting for Damage
Periodically inspect the ceiling tiles for any signs of damage, such as cracks or warping. This is especially important in areas with high humidity or temperature fluctuations. If any tiles are found to be damaged, replace them promptly to maintain the integrity of the ceiling.
Additionally, check the LED lights and fixtures for any issues. Regularly replacing bulbs and ensuring that wiring is secure will help prevent future problems and maintain the overall functionality of the ceiling display.
Conclusion
Installing 12×12 ceiling tiles for an LED display can transform the look and feel of a room, providing both aesthetic appeal and functional benefits. By following the outlined steps, from preparation to installation and maintenance, achieving a professional finish is entirely possible. With the right tools, materials, and a little patience, anyone can successfully enhance their space with these versatile ceiling tiles.
Whether for a home, office, or commercial setting, the combination of ceiling tiles and LED lighting creates an inviting atmosphere that is sure to impress. Embrace the possibilities that come with this installation and enjoy the benefits for years to come.
Illuminate Your Space with LumenMatrix
Ready to elevate your environment with the sleek integration of 12×12 ceiling tiles and advanced LED technology? LumenMatrix is at the forefront of creating immersive visual experiences that captivate and engage. From vibrant Indoor LED Wall Displays to dynamic Floor LED Displays and beyond, our solutions are crafted to transform your space and bring your vision to life. Don’t just take our word for it; check out LumenMatrix LED Display Solutions and see how we can illuminate your world with unparalleled clarity and innovation.