Video walls have become a popular choice for various applications, from advertising to entertainment and information dissemination. With the advancement of technology, LED displays have emerged as a leading option for creating stunning video walls. This article delves into the essentials of making a video wall, focusing on LED displays, their components, and the steps involved in setting one up.
Understanding Video Walls
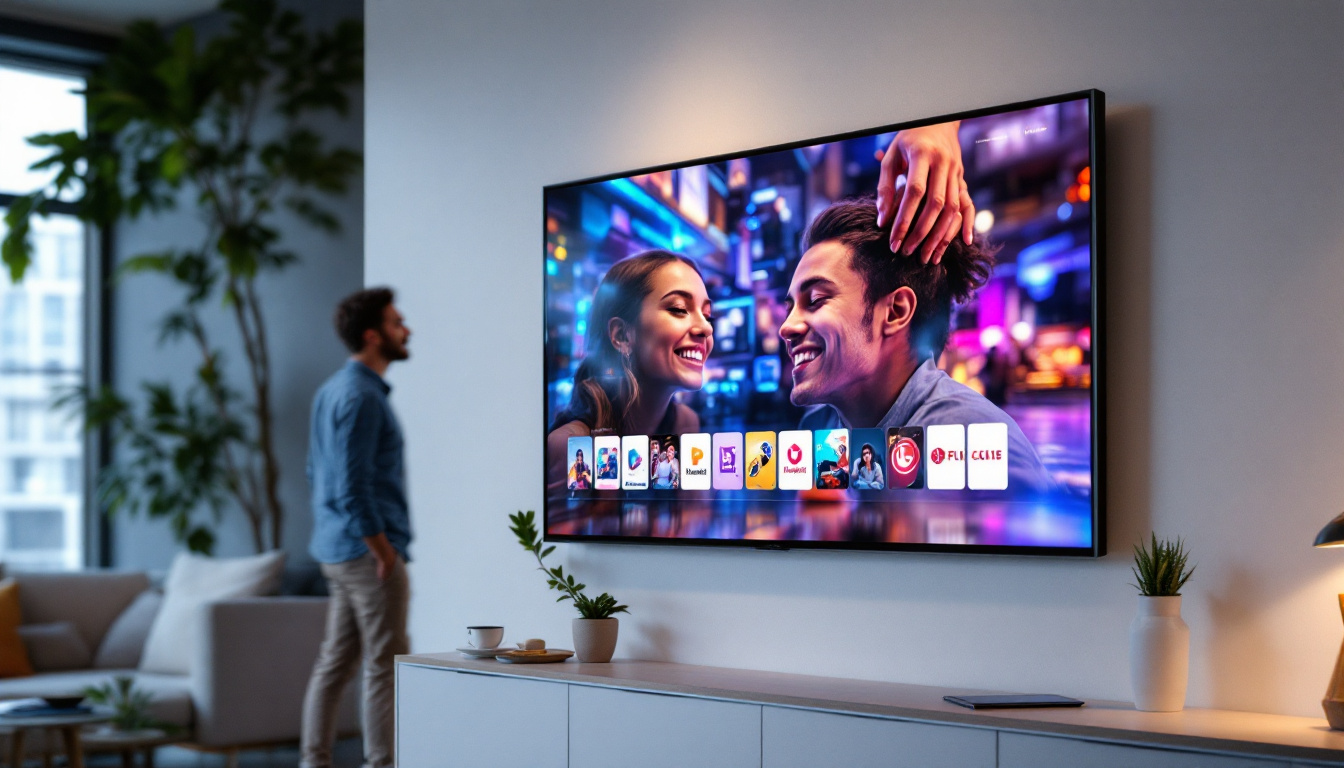
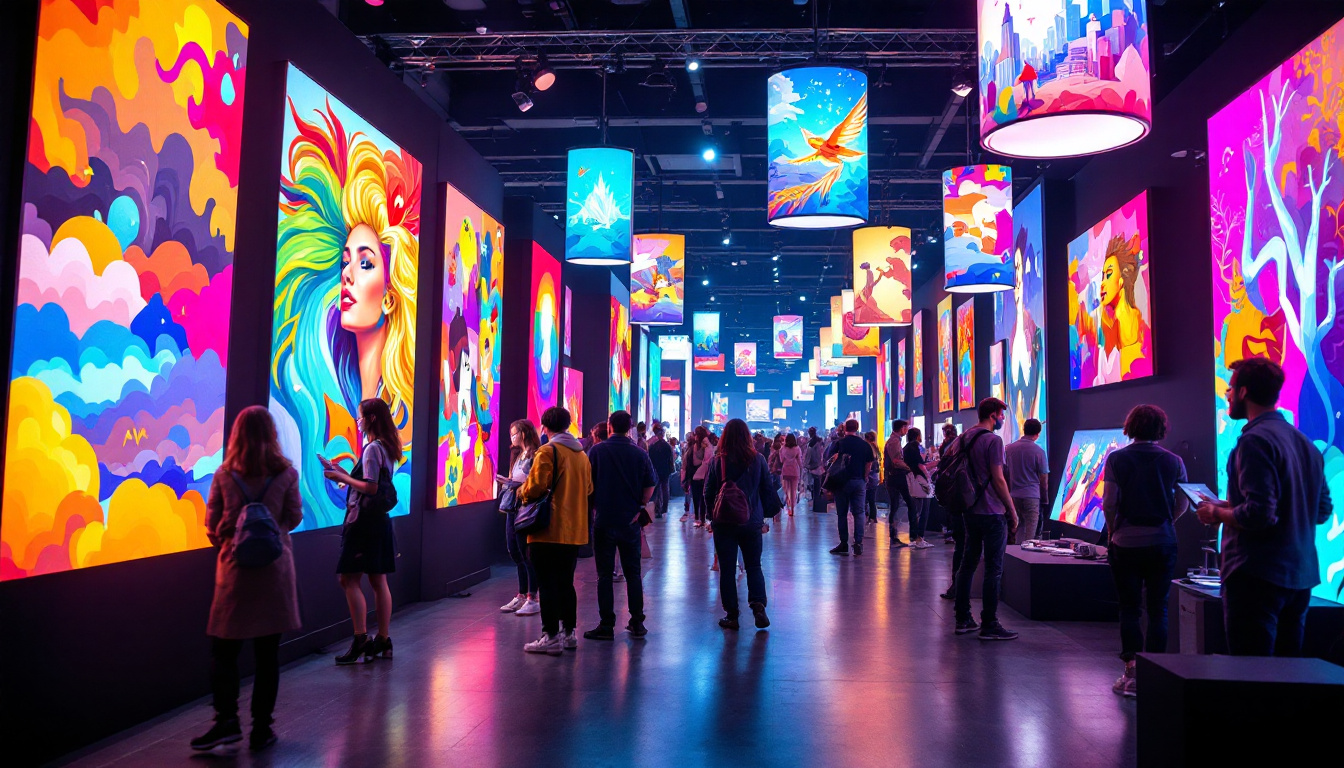
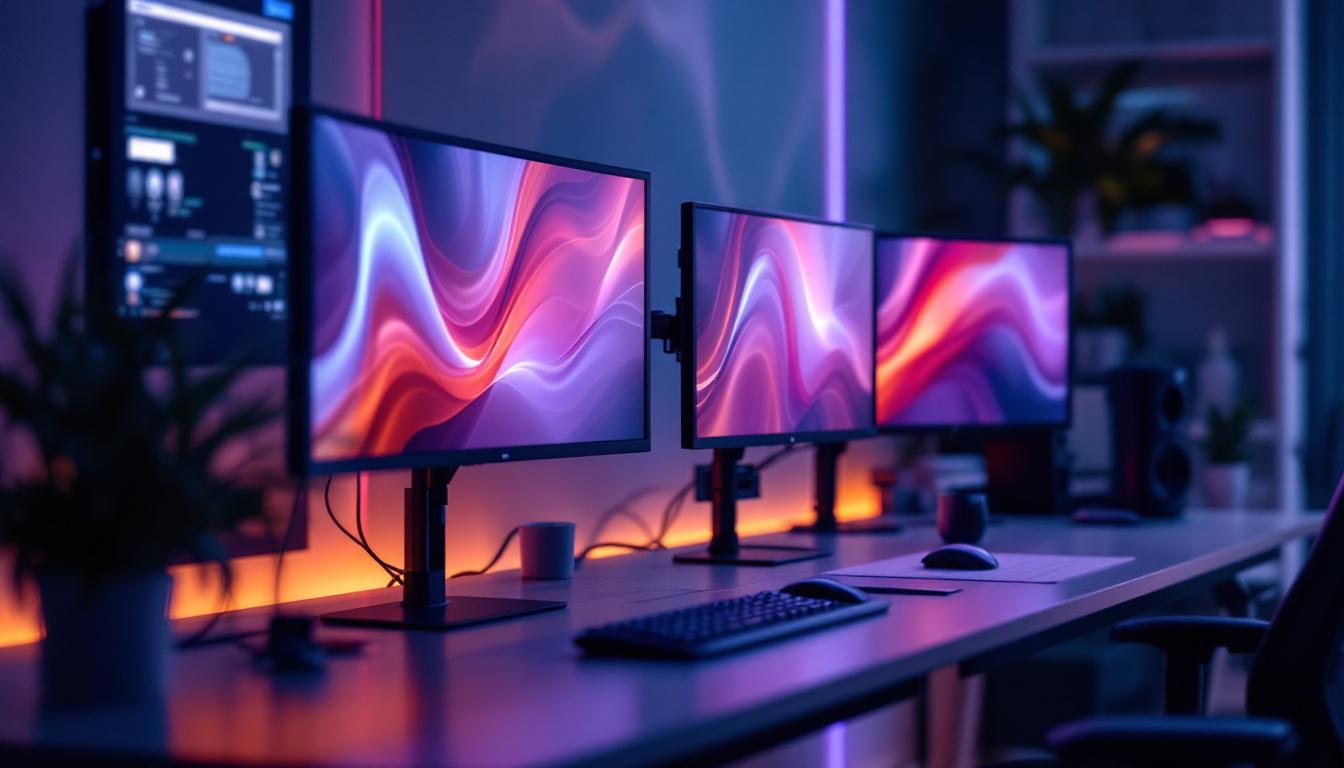
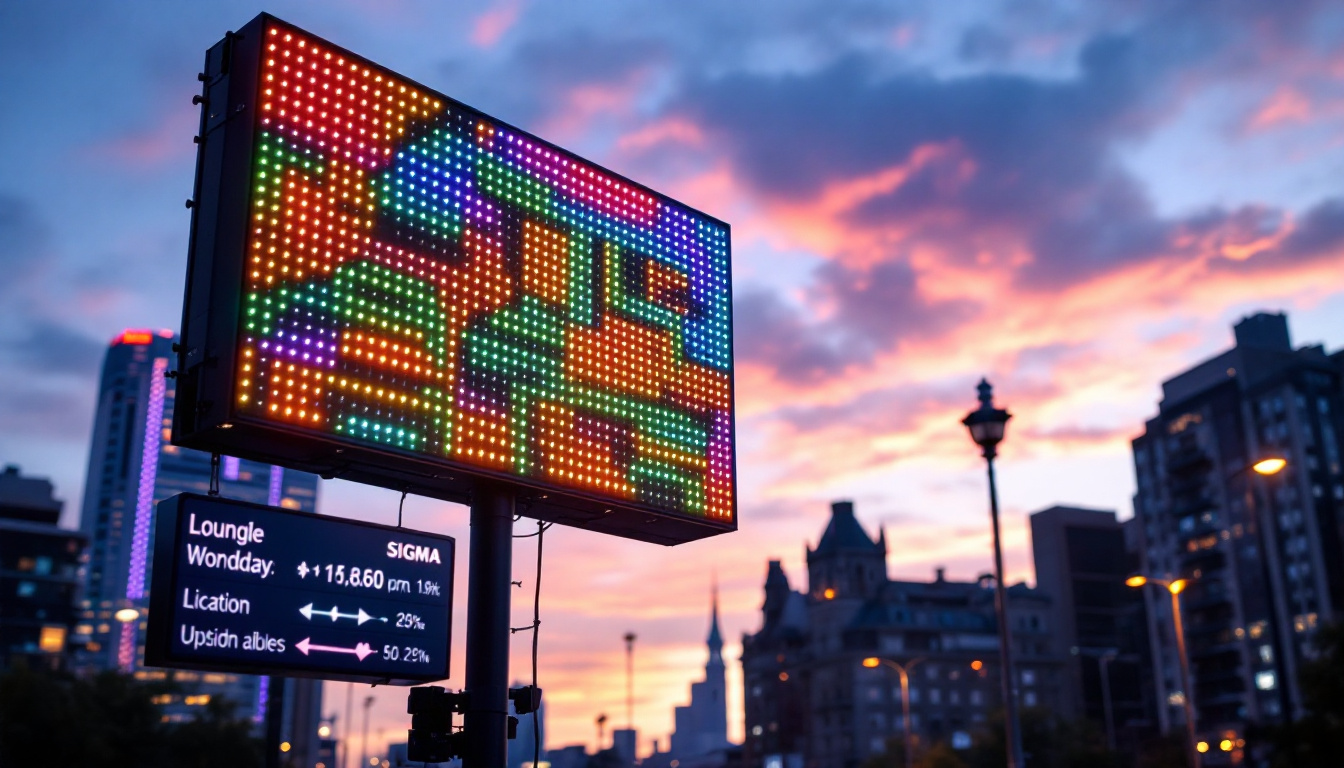
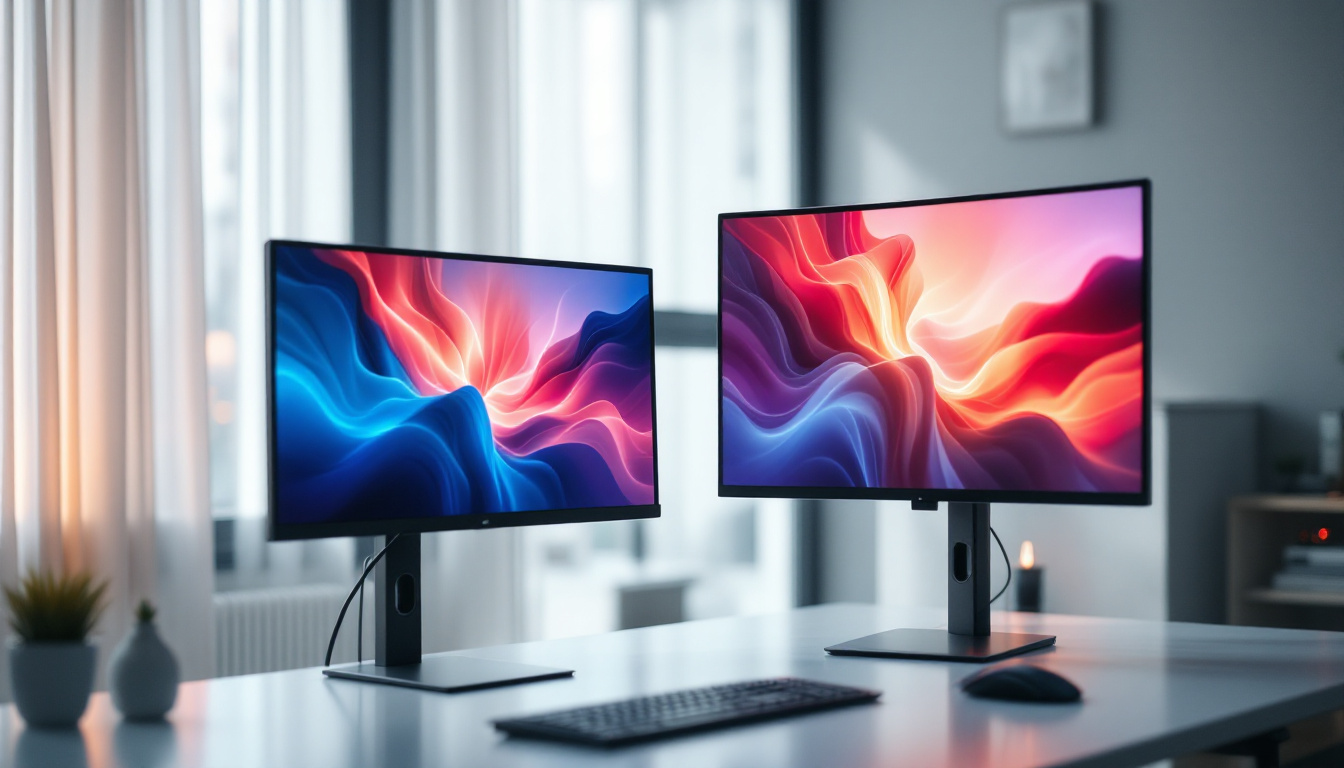
A video wall is a large display area made up of multiple screens or panels that work together to present a single cohesive image or video. These setups are often used in control rooms, retail environments, and event spaces, providing an immersive experience for viewers. The choice of technology, particularly LED displays, plays a crucial role in the overall effectiveness of a video wall.
What is an LED Display?
LED (Light Emitting Diode) displays utilize semiconductor technology to emit light when an electric current passes through them. This technology has several advantages over traditional display methods, including higher brightness, lower power consumption, and the ability to create larger screens without compromising image quality.
LED displays can be categorized into two main types: direct view and rear-projection. Direct view LED displays are made up of individual LED modules that are arranged to form a large screen, while rear-projection displays use projectors to display images on a screen from behind. The direct view method is more commonly used in video walls due to its superior brightness and color accuracy.
Benefits of Using LED Displays for Video Walls
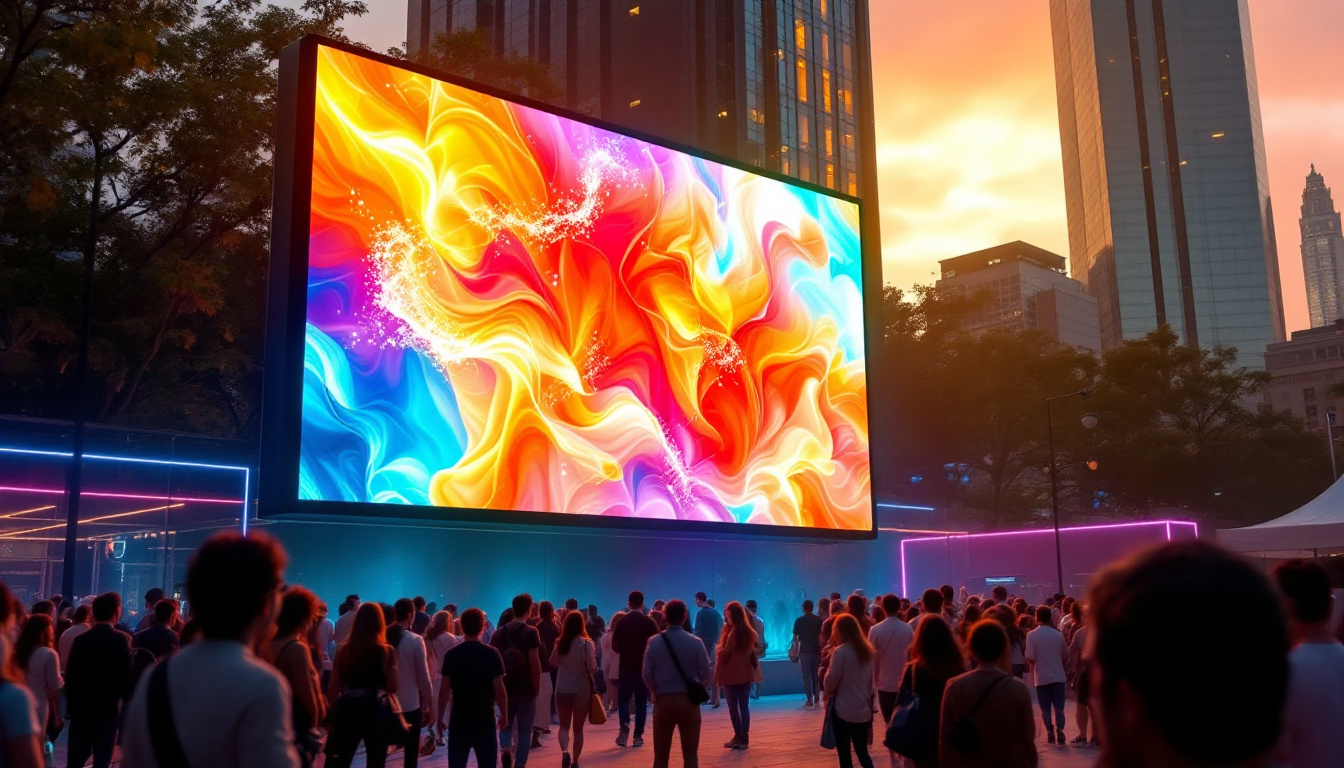
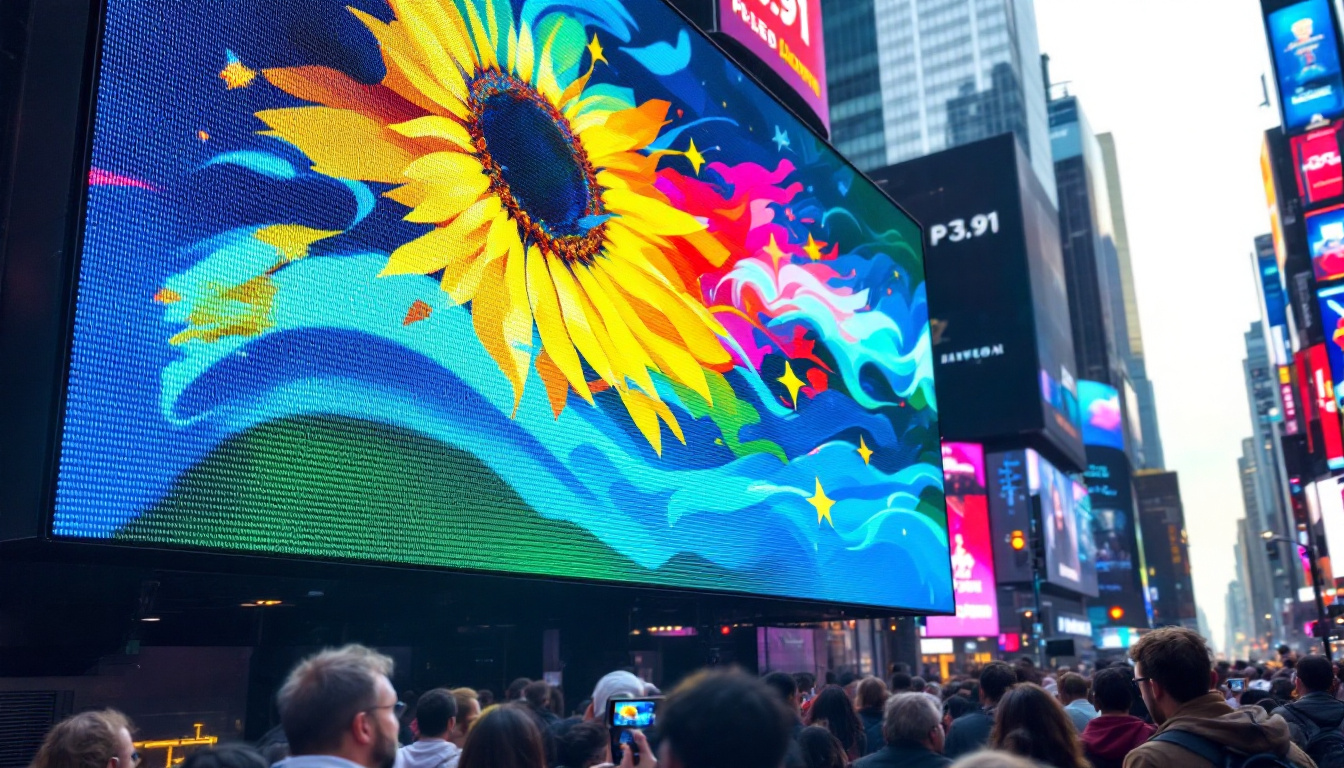
LED displays offer numerous benefits that make them an ideal choice for video walls. One of the primary advantages is their exceptional brightness, which allows them to be viewed in various lighting conditions without losing image quality. This makes them suitable for both indoor and outdoor applications.
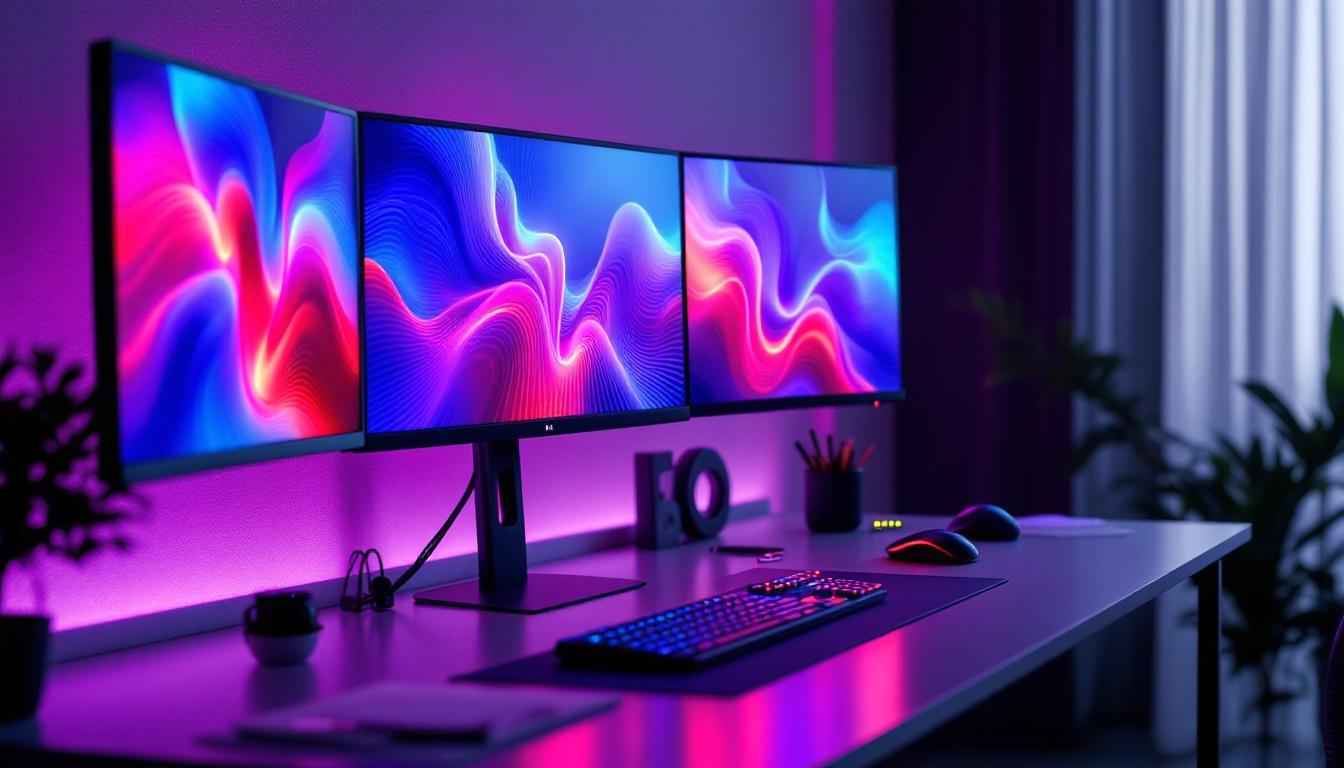
Another significant benefit is their modular design, which enables easy customization. Users can create video walls of any size and shape by combining different LED panels. Additionally, LED displays have a longer lifespan compared to other technologies, reducing maintenance costs over time.
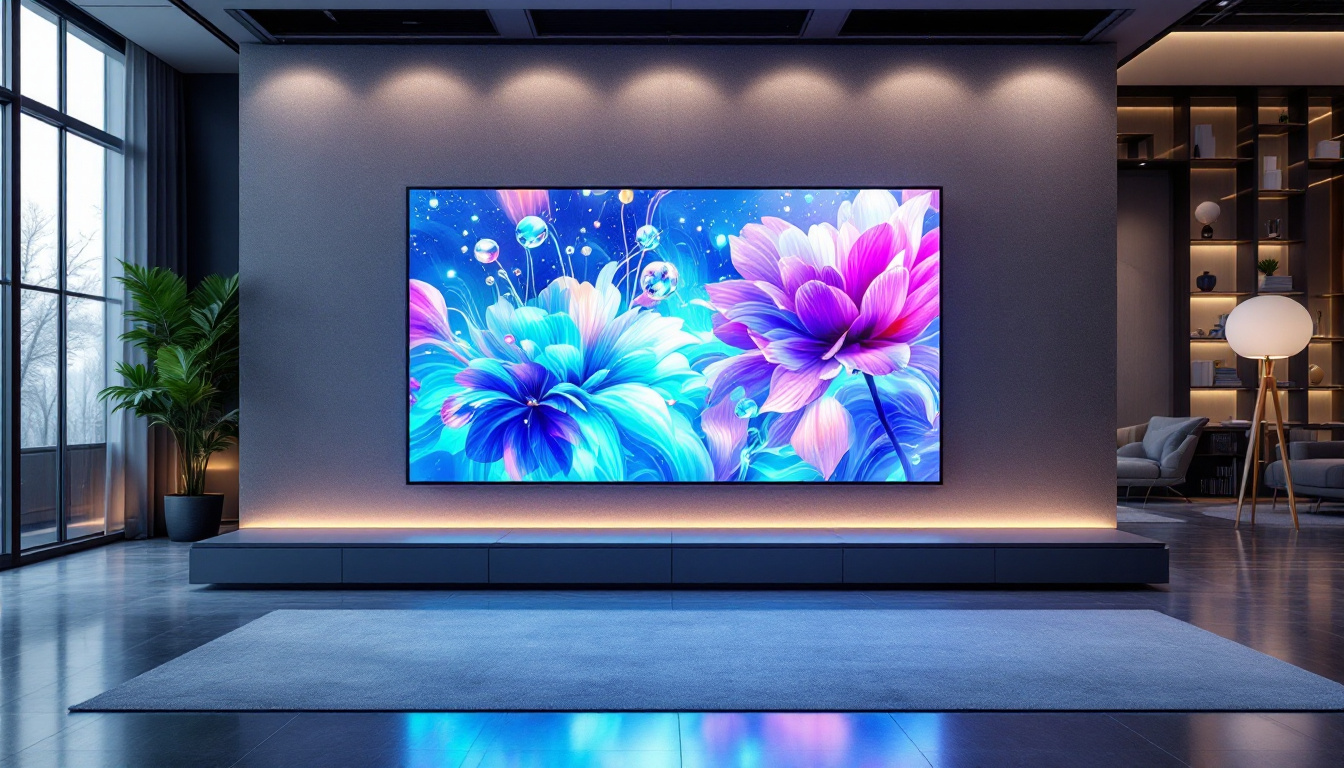
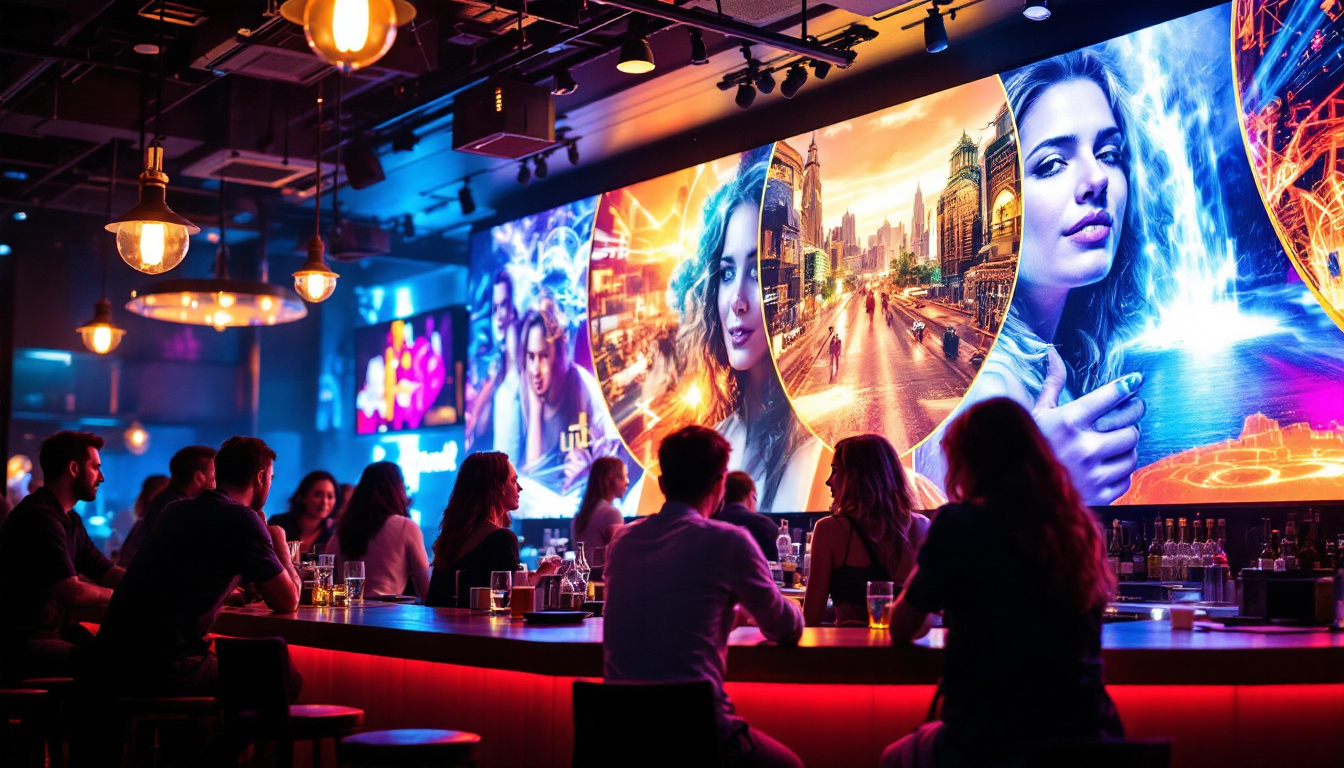
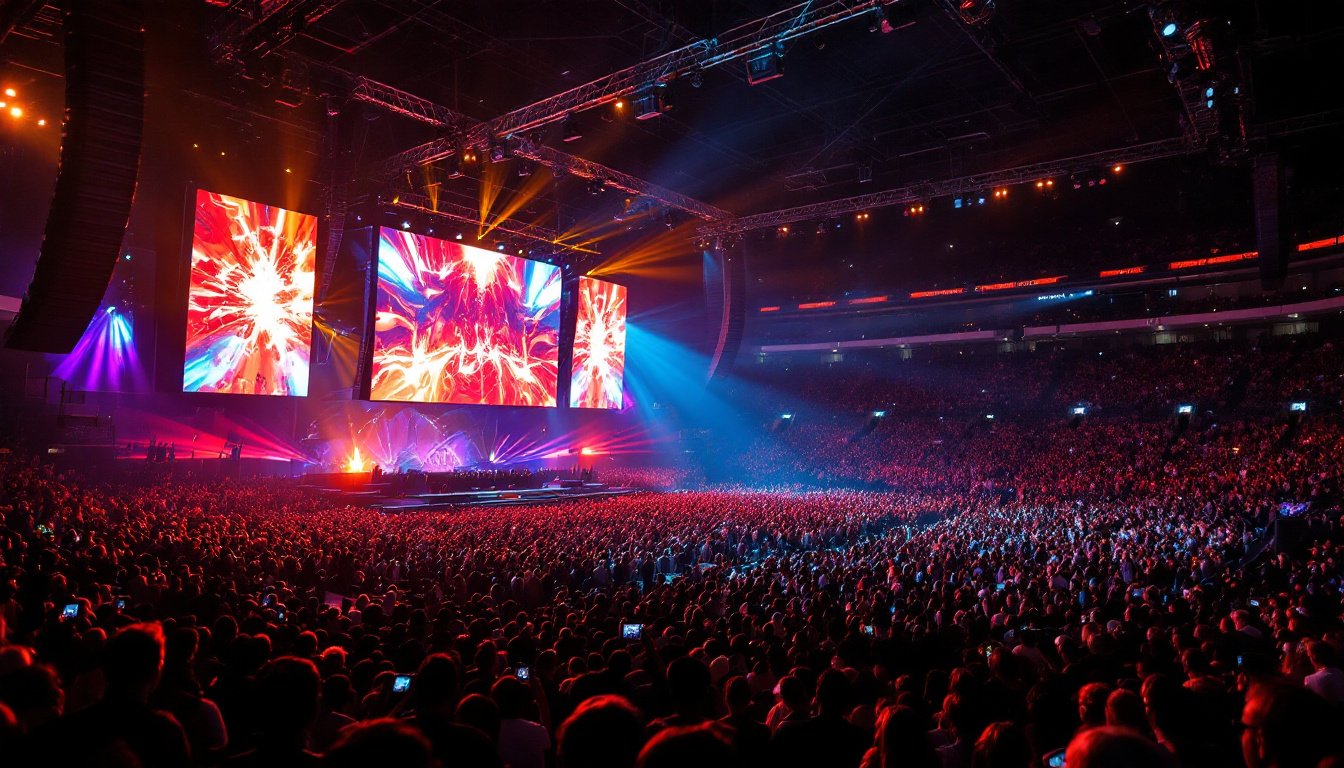
Moreover, LED displays are known for their vibrant color reproduction and high contrast ratios, which enhance the overall viewing experience. This is particularly beneficial in environments where visual impact is crucial, such as during live events or in advertising. The ability to display dynamic content, including animations and real-time data, further amplifies their effectiveness in capturing audience attention. Furthermore, advancements in LED technology have led to improved pixel density, allowing for closer viewing distances without noticeable pixelation, making them versatile for various applications.
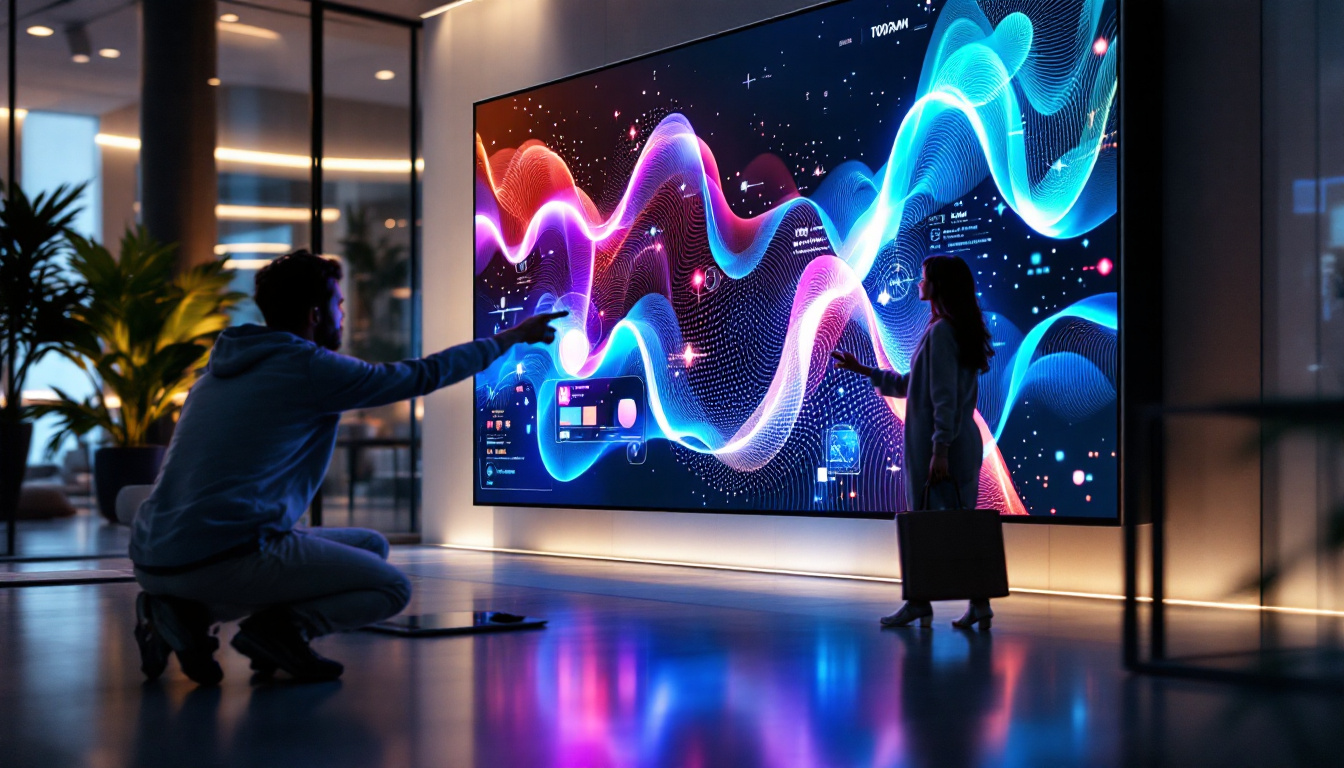
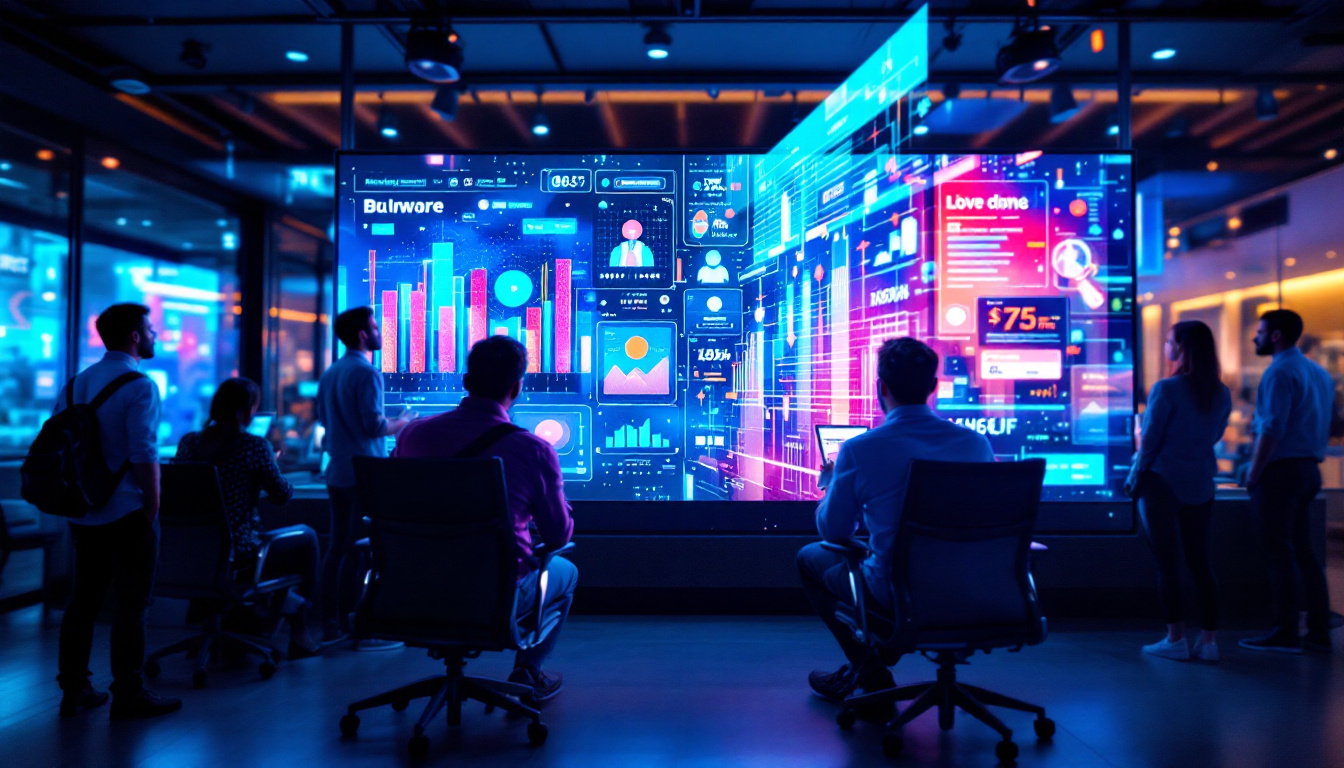
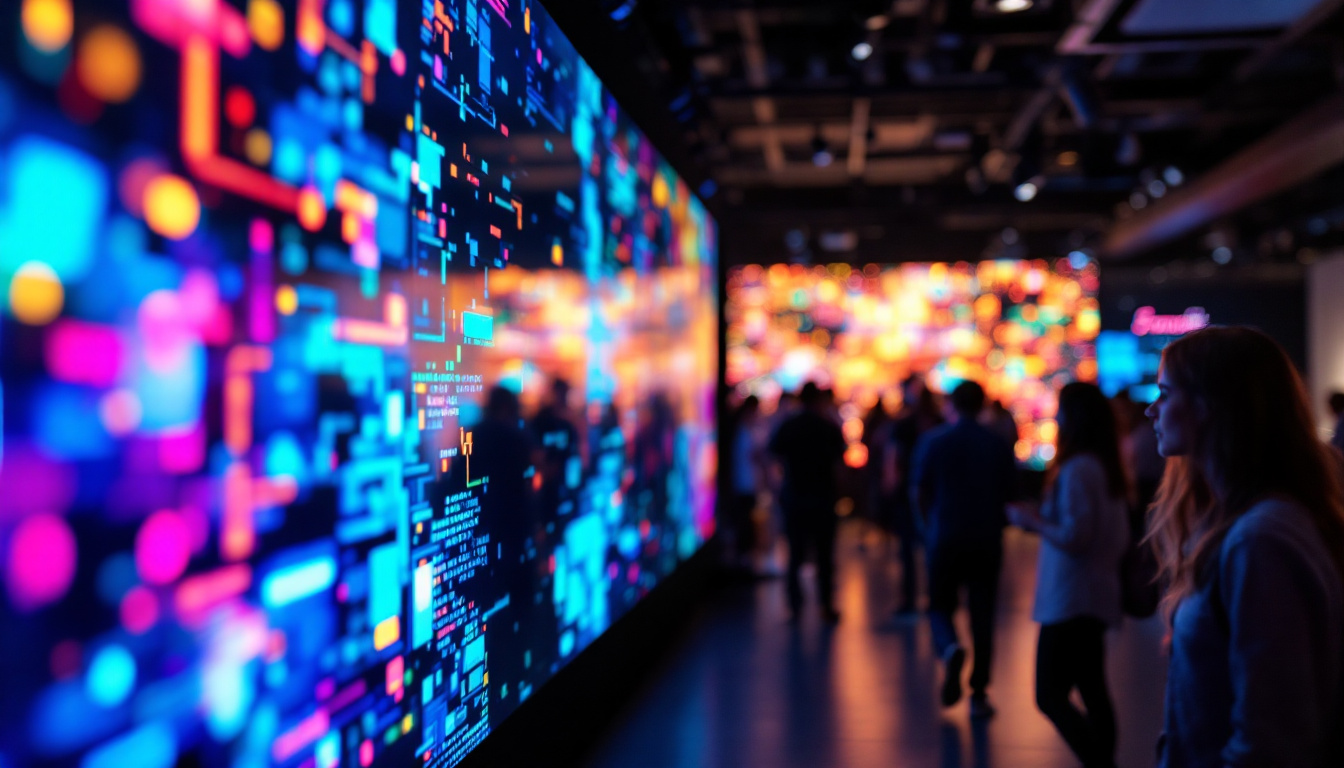
In addition to their visual advantages, LED video walls are increasingly being integrated with smart technology. This integration allows for interactive features, such as touch capabilities and responsive content that can adapt based on viewer engagement. For instance, in retail settings, video walls can display targeted advertisements based on customer demographics or behaviors, creating a more personalized shopping experience. This level of interactivity not only enhances user engagement but also provides valuable data insights for businesses looking to optimize their marketing strategies.
Components of a Video Wall
Creating a video wall requires several key components, each playing a vital role in the overall functionality and performance of the setup. Understanding these components is essential for anyone looking to design and implement a video wall.
LED Panels
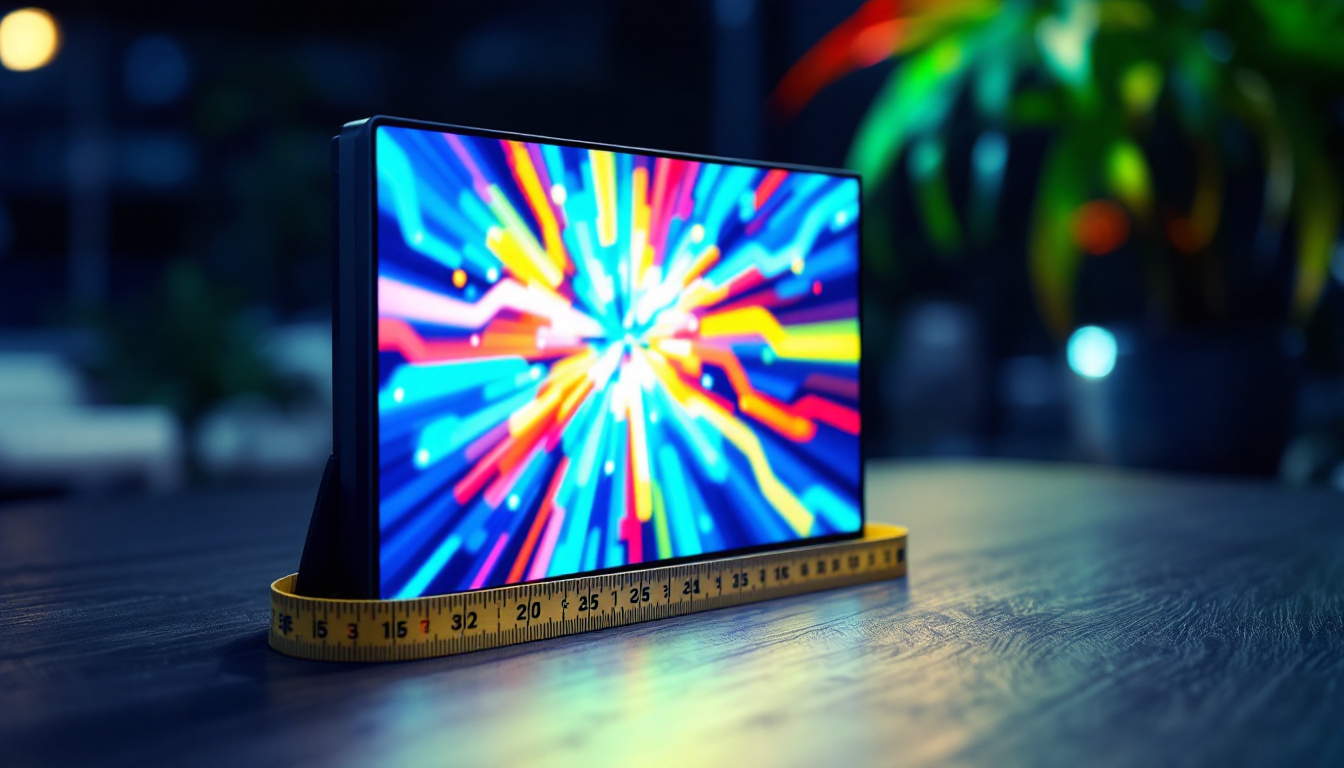
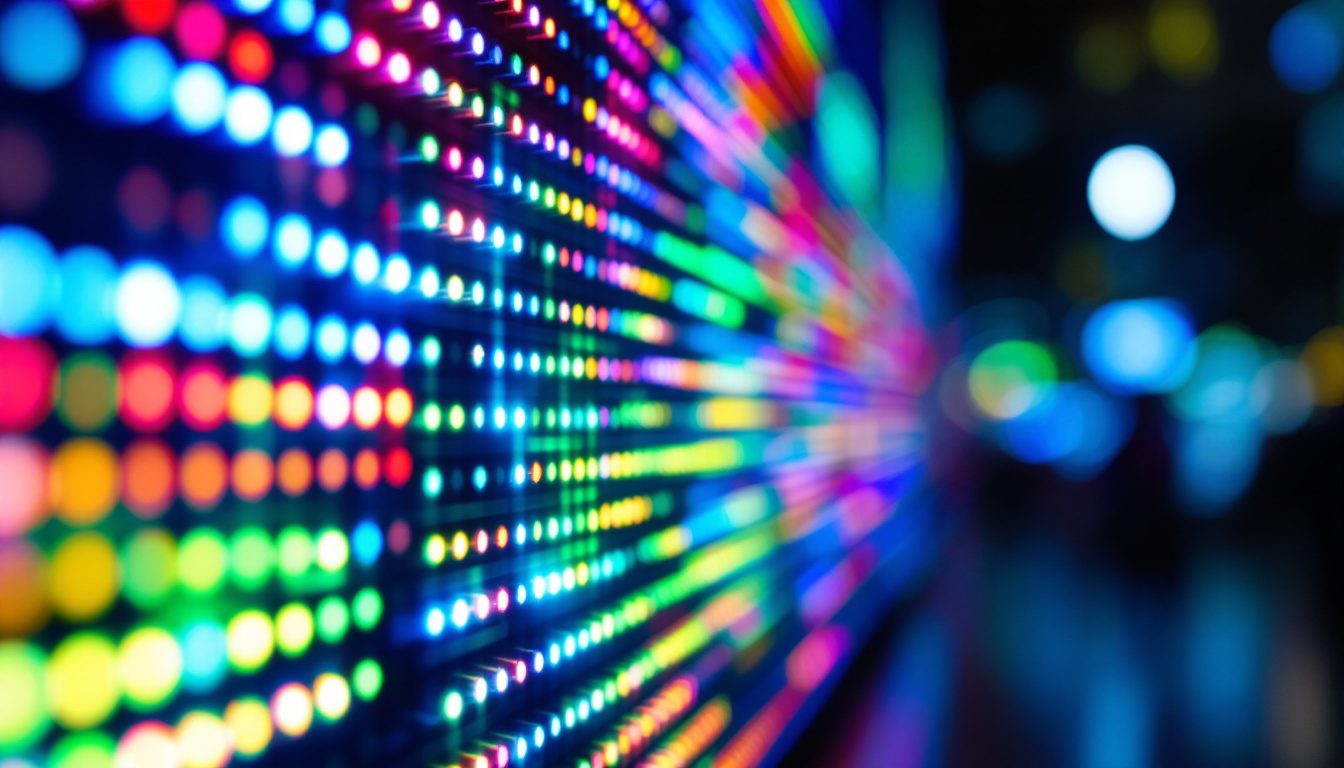
The most critical component of a video wall is the LED panels themselves. These panels come in various sizes and resolutions, allowing for flexibility in design. When selecting LED panels, it’s essential to consider the pixel pitch, which refers to the distance between individual pixels. A smaller pixel pitch results in higher resolution and image clarity, making it ideal for close viewing distances.
Video Processing Equipment
Video processing equipment is necessary to manage the content displayed on the video wall. This equipment takes input from various sources, such as computers, cameras, or media players, and processes the signals to ensure they are displayed correctly across the multiple screens. High-quality video processors can also provide features like scaling, cropping, and image adjustment to enhance the overall viewing experience.
Mounting and Structural Support
Proper mounting and structural support are crucial for the stability and safety of a video wall. Depending on the size and weight of the LED panels, various mounting solutions may be required, such as wall mounts, floor stands, or custom-built frames. Ensuring that the structure can support the weight and dimensions of the video wall is essential to prevent accidents and damage.
Steps to Create a Video Wall
Creating a video wall involves several steps, from planning and design to installation and configuration. Each step is important to ensure a successful implementation that meets the desired goals and requirements.
Step 1: Define the Purpose and Location
Before diving into the technical aspects, it’s essential to define the purpose of the video wall and its intended location. Understanding the primary function—whether for advertising, information display, or entertainment—will guide the selection of components and design. Additionally, considering the location helps determine factors such as size, brightness, and viewing distance.
Step 2: Design the Video Wall Layout
Once the purpose and location are established, the next step is to design the layout of the video wall. This includes deciding on the number of panels, their arrangement, and the overall dimensions. A well-thought-out design ensures that the video wall is visually appealing and functional.
It may be helpful to create a mock-up or use design software to visualize the final product. This stage also involves planning for cable management and power supply to ensure a clean and organized installation.
Step 3: Select the Right Components
With the design in place, the next step is selecting the appropriate components. This includes choosing the right LED panels based on resolution and pixel pitch, as well as video processing equipment that can handle the desired input sources. It’s also crucial to consider the mounting solutions that will provide adequate support for the video wall.
Installation Process
The installation process is a critical phase in creating a video wall. Proper installation ensures that all components are securely in place and functioning correctly. Here are the key steps involved in the installation process.
Step 4: Prepare the Installation Site
Before installing the video wall, it’s essential to prepare the site. This includes ensuring that the wall or structure where the video wall will be mounted is suitable for the weight and dimensions of the panels. Additionally, checking for proper electrical outlets and network connections is vital to avoid complications during installation.
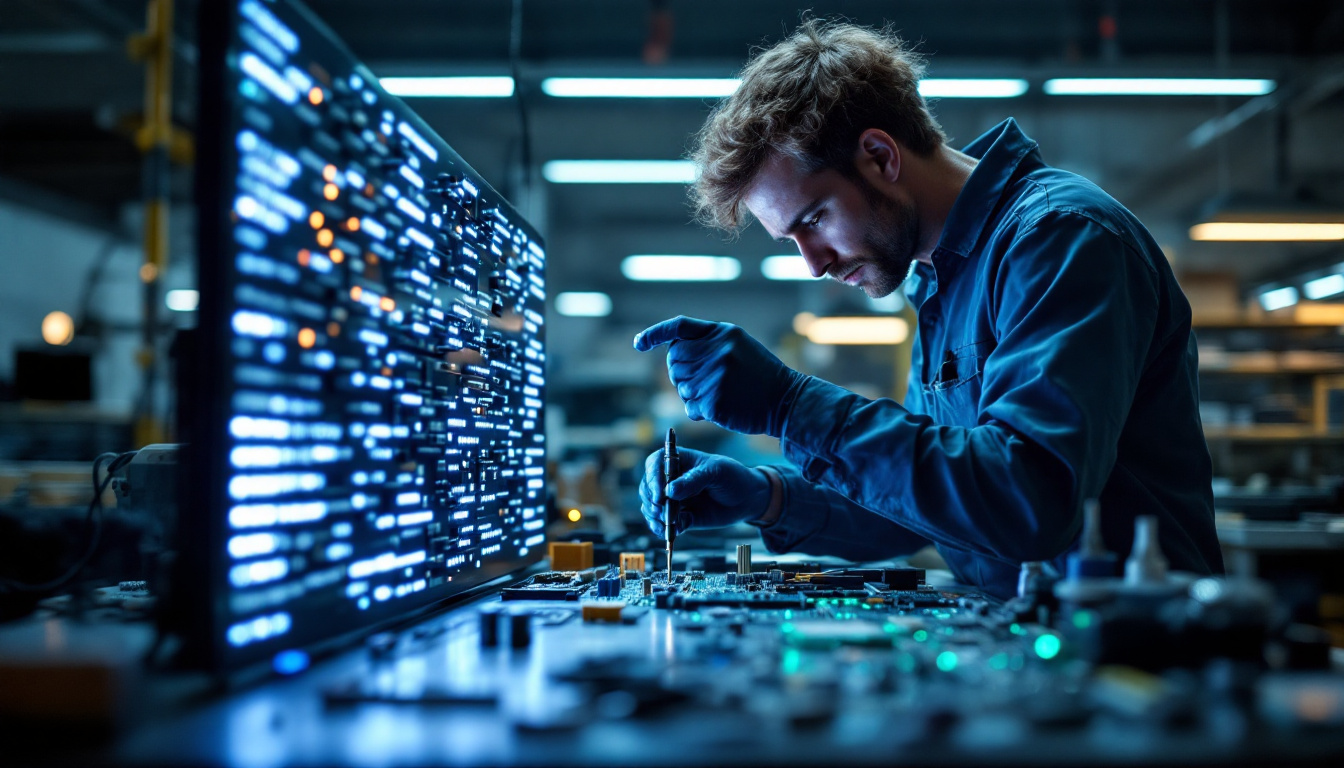
Step 5: Mount the LED Panels
Once the site is prepared, the next step is to mount the LED panels according to the design layout. Following the manufacturer’s guidelines is crucial to ensure that the panels are securely attached and aligned correctly. This may involve using brackets, screws, or other mounting hardware.
During this phase, it’s important to double-check the alignment of the panels to ensure a seamless display. Any misalignment can result in noticeable gaps or inconsistencies in the image, detracting from the overall experience.
Step 6: Connect the Video Processing Equipment
After mounting the panels, the next step is to connect the video processing equipment. This involves linking the input sources to the video processor and then connecting the processor to the LED panels. Proper cable management is essential to avoid clutter and potential damage to the cables.
Once all connections are made, it’s important to power on the system and check for any issues. This stage may involve troubleshooting to ensure that all components are communicating effectively and displaying the intended content.
Configuration and Calibration
Once the installation is complete, the next phase is configuration and calibration. This step is crucial for ensuring that the video wall delivers optimal performance and image quality.
Step 7: Configure the Video Wall Settings
Configuration involves setting up the video processor to manage how content is displayed across the video wall. This includes adjusting settings such as resolution, aspect ratio, and input sources. Depending on the complexity of the setup, this may require specialized software provided by the video processor manufacturer.
Step 8: Calibrate the Display
Calibration is essential for achieving uniform brightness and color across all panels. This process may involve adjusting individual panel settings to ensure consistency in color temperature and brightness levels. Some advanced video processors come equipped with calibration tools to assist in this process.
Regular calibration is recommended to maintain optimal performance, especially in environments where lighting conditions may change frequently.
Content Management for Video Walls
Once the video wall is set up and calibrated, the next step is managing the content displayed on it. Effective content management is crucial for keeping the audience engaged and ensuring that the video wall serves its intended purpose.
Choosing the Right Content
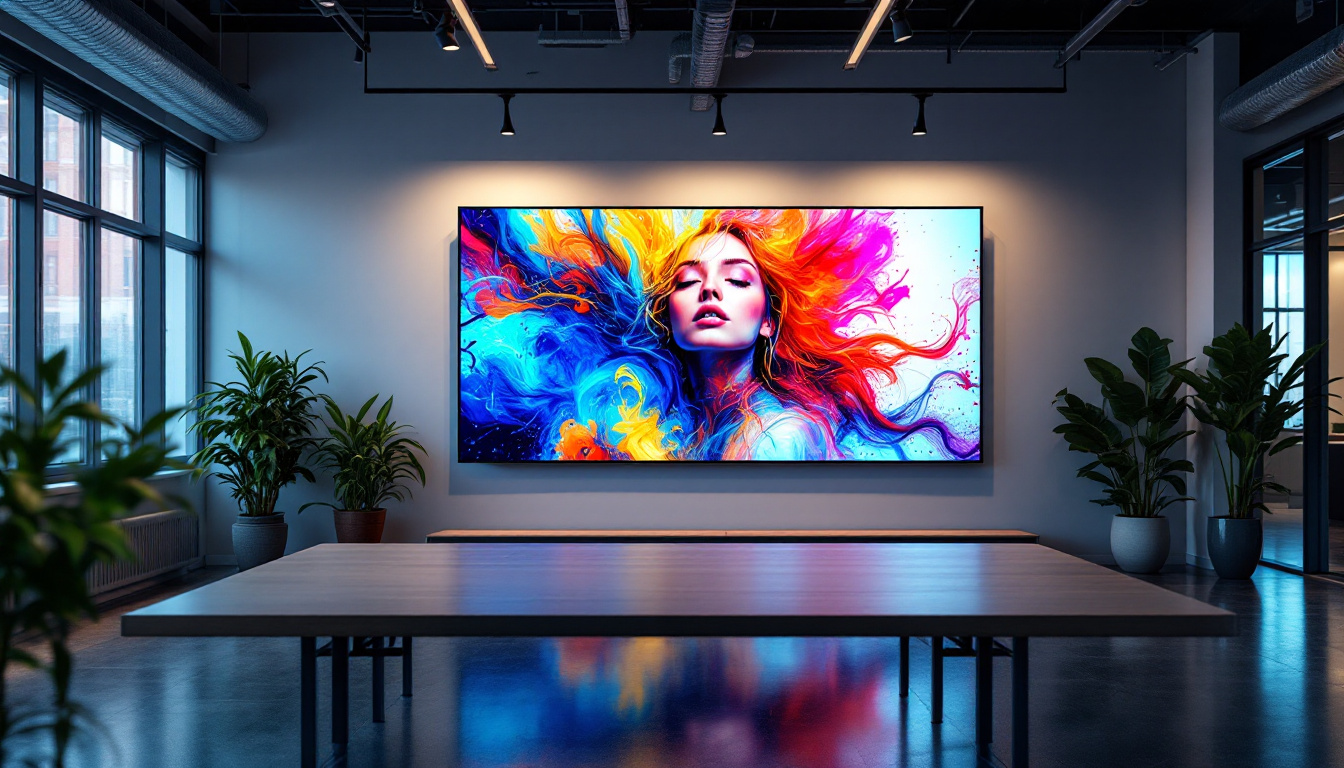
The type of content displayed on a video wall can significantly impact its effectiveness. High-quality visuals, engaging videos, and relevant information are essential for capturing the audience’s attention. Depending on the purpose of the video wall, content may include advertisements, live feeds, or interactive displays.
Content Management Systems (CMS)
A Content Management System (CMS) is a software application that allows users to create, manage, and schedule content for the video wall. A robust CMS can streamline the process of updating content, ensuring that the video wall remains fresh and relevant. Many CMS solutions also offer features like analytics, enabling users to track viewer engagement and optimize content accordingly.
Regular Updates and Maintenance
To keep the video wall functioning optimally, regular updates and maintenance are essential. This includes updating content, checking for software updates, and performing routine hardware inspections. Establishing a maintenance schedule can help prevent issues and ensure the longevity of the video wall.
Conclusion
Creating a video wall using LED displays involves careful planning, selection of components, and a thorough installation process. By understanding the essential elements and following the outlined steps, anyone can successfully implement a video wall that enhances communication and engagement. Whether for commercial use or artistic expression, video walls have the potential to transform spaces and captivate audiences.
As technology continues to evolve, the possibilities for video walls will expand even further, offering exciting opportunities for creativity and innovation. Investing in a well-designed video wall can yield significant returns, making it a valuable asset for any organization or event.
Discover LumenMatrix LED Display Solutions
Ready to elevate your space with a dynamic video wall? LumenMatrix specializes in cutting-edge LED display modules that are perfect for any application. Whether you’re looking to enhance brand visibility, create an immersive environment, or communicate with impact, our range of solutions, including Indoor and Outdoor LED Wall Displays, Vehicle LED Displays, and more, are designed to captivate and engage. Experience the future of visual communication with LumenMatrix. Check out LumenMatrix LED Display Solutions today and transform your message into a visual masterpiece.