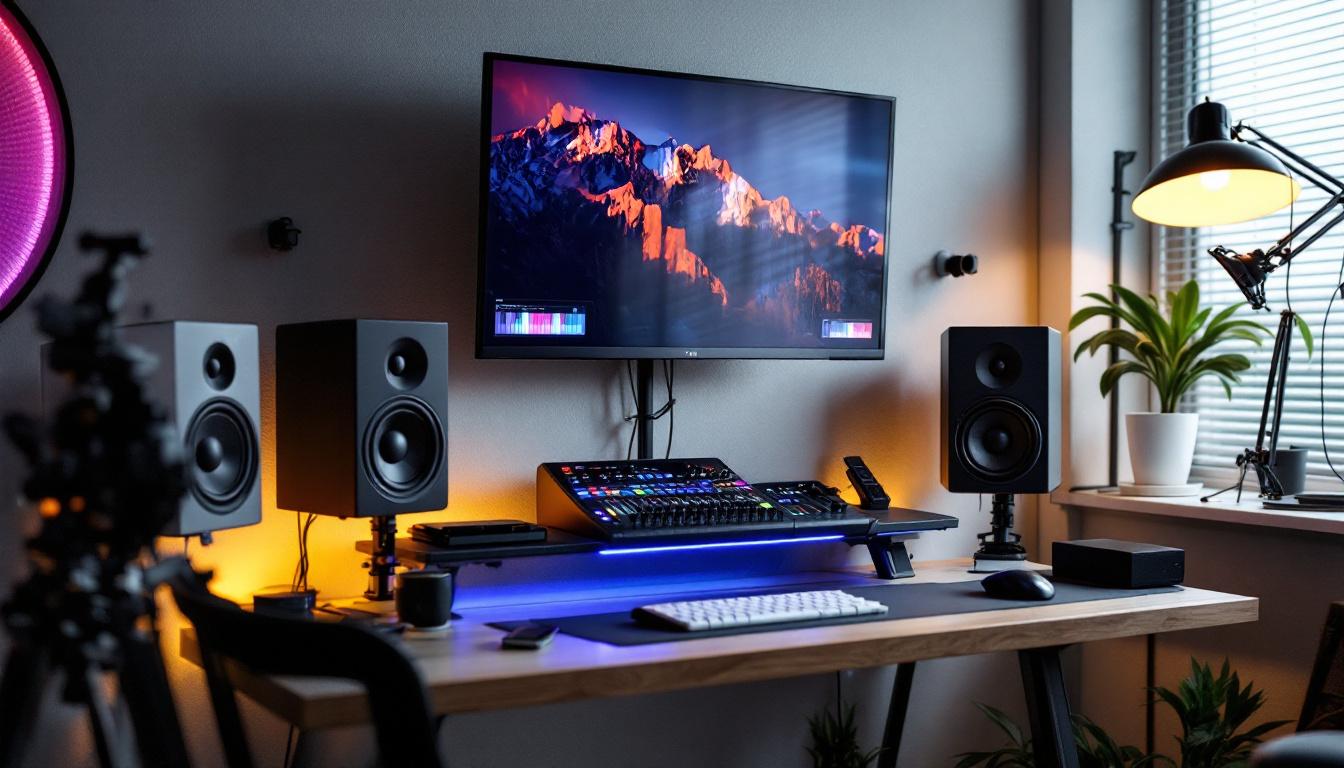
In the realm of professional audio production and home studio setups, the placement and mounting of studio monitors are crucial for achieving accurate sound reproduction. With the rise of advanced LED displays integrated into modern studio monitors, understanding how to mount these monitors on walls without compromising their performance has become increasingly important. This article delves into the essentials of wall-mounting studio monitors equipped with LED displays, exploring the technical considerations, acoustic implications, and practical installation tips to help you optimize your listening environment.
Understanding Studio Monitors with LED Displays
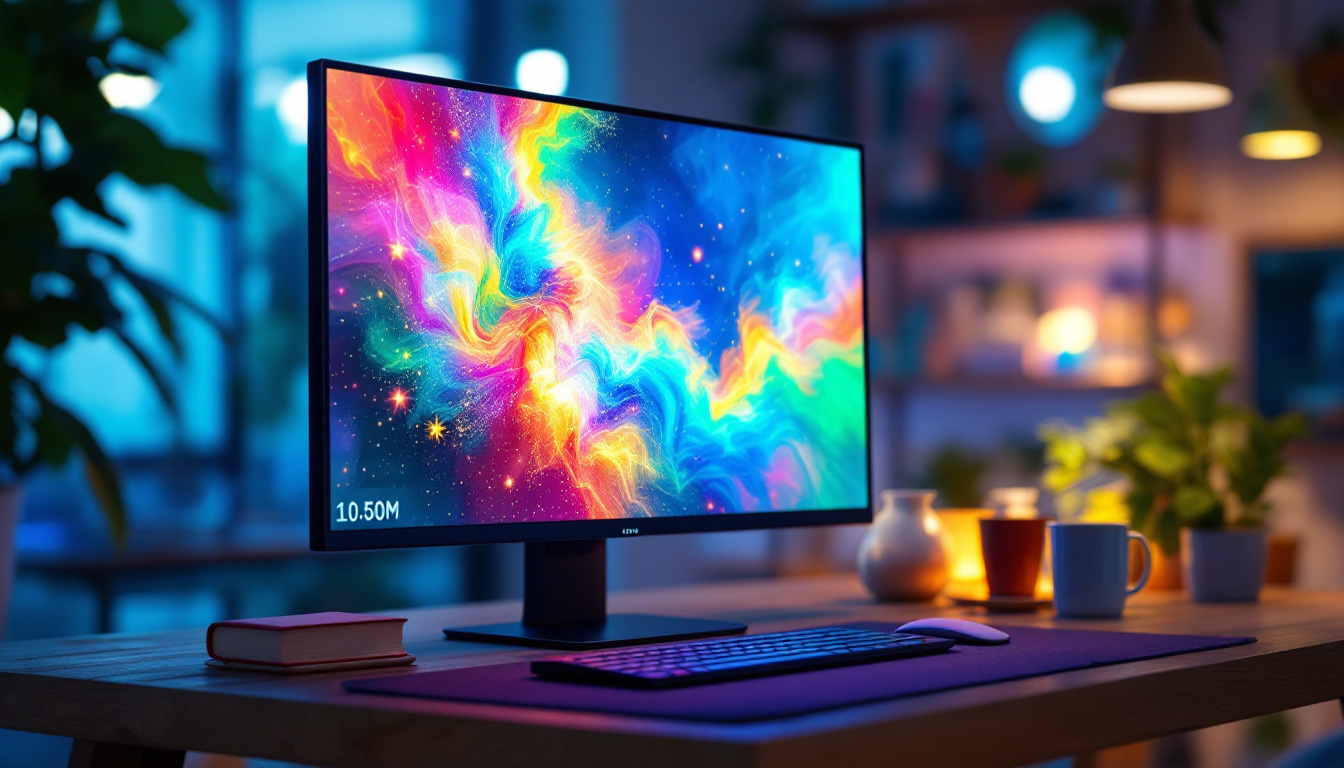
Studio monitors are designed to provide a flat frequency response, enabling producers, engineers, and musicians to hear an uncolored representation of their audio. In recent years, many manufacturers have integrated LED displays into studio monitors to provide real-time visual feedback, such as volume levels, EQ settings, and input source information. These LED indicators enhance user interaction and streamline workflow, especially in complex studio environments.
However, the inclusion of LED displays adds a layer of complexity when it comes to mounting these monitors. Unlike traditional passive monitors, LED-equipped monitors require careful consideration of power supply, ventilation, and accessibility to controls, all of which can be affected by wall mounting. Ensuring that the monitors are positioned correctly not only optimizes sound quality but also guarantees that the LED displays remain visible from the listening position, which is crucial for making quick adjustments during a recording or mixing session.
The Role of LED Displays in Studio Monitors
LED displays serve multiple functions in modern studio monitors. They can indicate power status, signal presence, clipping warnings, and even display customizable settings such as room correction profiles or preset EQ curves. This visual feedback is invaluable in a busy studio, allowing quick adjustments without needing to consult external devices or software. The integration of these displays reflects a growing trend towards user-friendly interfaces in audio equipment, making it easier for both novice and experienced users to navigate complex settings.
For example, the KRK Rokit G4 series features an LCD screen that shows EQ settings and volume levels, while Yamaha’s HS series includes LED indicators for signal and peak levels. These displays enhance usability but also demand that the monitors be mounted in a way that keeps the displays visible and unobstructed. Additionally, some models offer customizable display options, allowing users to tailor the information shown based on their specific workflow needs. This flexibility can significantly improve the efficiency of the mixing process, as users can focus on the most relevant data at a glance, reducing the cognitive load during intense sessions.
Acoustic Considerations When Mounting Studio Monitors on Walls
Sound accuracy is paramount in any studio environment, and the physical placement of monitors directly influences the quality of audio reproduction. Wall mounting studio monitors, especially those with LED displays, requires balancing acoustic performance with practical installation needs.
Impact of Wall Reflections on Sound Quality
When studio monitors are mounted on walls, sound waves reflect off the wall surfaces, potentially causing comb filtering, phase cancellation, and frequency response anomalies. These reflections can distort the perceived sound, leading to inaccurate mixing decisions.
To mitigate these effects, it is essential to position the monitors at an optimal distance from the wall—typically at least 6 to 12 inches (15 to 30 cm)—to reduce early reflections. Using wall mounts with adjustable arms can help achieve this spacing while maintaining a clean and ergonomic setup. Additionally, acoustic treatment on the walls, such as absorption panels or diffusers, can further enhance sound quality by minimizing unwanted reflections and creating a more controlled listening environment. This treatment not only improves the accuracy of the monitors but also contributes to a more pleasant and immersive experience for the listener.
Maintaining Optimal Listening Position
Wall mounting can sometimes restrict the ability to angle monitors precisely towards the listener’s ears. The ideal setup involves creating an equilateral triangle between the two monitors and the listener’s head, with the tweeters at ear level. Adjustable mounts that allow tilt, swivel, and rotation are crucial to maintain this geometry when monitors are affixed to walls.
Additionally, the height of the LED display should be considered so that it remains easily visible without requiring the listener to look away from the mixing console or workstation. It’s also beneficial to evaluate the overall room acoustics and furniture layout, as these factors can influence sound dispersion and listener comfort. For instance, ensuring that the listener is seated in a position that minimizes interference from nearby surfaces, such as desks or shelves, can significantly enhance the clarity and detail of the audio being monitored. This holistic approach to studio design not only optimizes the technical aspects of sound reproduction but also fosters a conducive environment for creativity and productivity.
Technical Requirements for Mounting LED-Equipped Studio Monitors
Mounting studio monitors with integrated LED displays involves more than just securing the speakers to the wall. Several technical factors must be addressed to ensure functionality, safety, and longevity.
Power and Connectivity Considerations
Unlike passive monitors, active studio monitors with LED displays require a reliable power source. When wall mounting, it’s important to ensure that power cables can reach outlets safely without creating trip hazards or unsightly cable runs. Using cable management solutions such as raceways or in-wall conduits can maintain a clean appearance.
Additionally, audio input cables (XLR, TRS, or RCA) must be routed carefully to avoid interference and signal degradation. Balanced cables are recommended to minimize noise, especially when cables run longer distances along walls. Consideration should also be given to the potential for electromagnetic interference (EMI) from nearby electronic devices. Keeping power and audio cables separated can help mitigate this risk, ensuring that the audio signal remains pristine and free from unwanted noise.
Ventilation and Heat Dissipation
LED displays and the internal amplifiers in active monitors generate heat during operation. Proper ventilation is essential to prevent overheating, which can damage components or reduce the lifespan of the monitor. When mounting on walls, ensure that the monitor’s vents are not obstructed by the mounting bracket or the wall itself.
Some manufacturers specify minimum clearance requirements around the monitors; adhering to these guidelines is critical. Using mounts that hold the monitor slightly away from the wall can facilitate airflow and heat dissipation. Additionally, it may be beneficial to consider the room’s overall temperature and humidity levels, as these can also affect the performance and longevity of the monitors. In particularly warm environments, supplemental cooling solutions, such as small fans or air circulation systems, might be necessary to maintain an optimal operating temperature.
Weight and Mounting Hardware Selection
Studio monitors vary in weight, and those with built-in LED displays and additional electronics may be heavier than traditional models. Selecting the appropriate wall mount hardware rated for the monitor’s weight is essential for safety and stability.
Heavy-duty wall anchors, studs, or masonry anchors should be used depending on the wall material. It is advisable to consult the monitor’s user manual and mounting hardware specifications to ensure compatibility and secure installation. Furthermore, the mounting angle can also play a significant role in sound quality. Tilting the monitors slightly downward towards the listening position can enhance the audio experience, making it crucial to choose a mount that allows for such adjustments. This consideration not only improves sound projection but also ensures that the LED displays are easily visible from the intended listening area, enhancing both functionality and aesthetic appeal.
Practical Tips for Installing Wall-Mounted Studio Monitors
Successful wall mounting of LED-equipped studio monitors combines technical knowledge with practical installation strategies. The following tips can help achieve a professional and functional setup.
Choose the Right Mounting Location
Select a wall that allows for symmetrical placement of monitors relative to the listening position. Avoid corners or walls with reflective surfaces that can cause acoustic issues. Ideally, the monitors should be mounted at ear level when seated at the mixing desk.
Use Adjustable Wall Mounts
Invest in wall mounts that provide tilt, swivel, and rotation adjustments. This flexibility allows fine-tuning of the monitor’s angle to achieve the best stereo imaging and maintain visibility of the LED displays.
Ensure Proper Cable Management
Plan cable routes before installation to avoid interference and maintain a tidy workspace. Use cable clips, conduits, or raceways to secure cables along the wall. Labeling cables can also aid in troubleshooting and future adjustments.
Test Acoustic Performance Post-Installation
After mounting, perform listening tests and use acoustic measurement tools such as room analyzers or software like Room EQ Wizard. This process helps identify any issues caused by reflections or placement and guides further adjustments.
Case Study: Wall-Mounting LED-Equipped Monitors in a Professional Studio
In a recent professional studio renovation, a mid-sized mixing room was outfitted with LED-equipped studio monitors mounted on walls to maximize floor space. The monitors featured integrated LCD displays showing real-time EQ and volume data.
The installation team selected adjustable wall mounts with a 12-inch extension arm, allowing the monitors to be pulled forward from the wall and angled precisely. Power and audio cables were routed through in-wall conduits, maintaining a clean aesthetic. Acoustic panels were installed on adjacent walls to control reflections.
Post-installation measurements showed a reduction in early reflections by 15% compared to previous desk-mounted setups, and the engineers reported improved workflow efficiency due to the visibility of LED displays and unobstructed workspace.
Conclusion
Mounting studio monitors with LED displays on walls offers both aesthetic and practical benefits, particularly in optimizing space and improving workflow in professional and home studios. However, it requires careful attention to acoustic principles, technical requirements, and installation best practices to maintain sound accuracy and monitor functionality.
By understanding the role of LED displays, addressing power and ventilation needs, and selecting appropriate mounting hardware, audio professionals can create an effective and visually appealing monitoring environment. With thoughtful planning and execution, wall-mounted LED-equipped studio monitors can enhance both the listening experience and studio productivity.
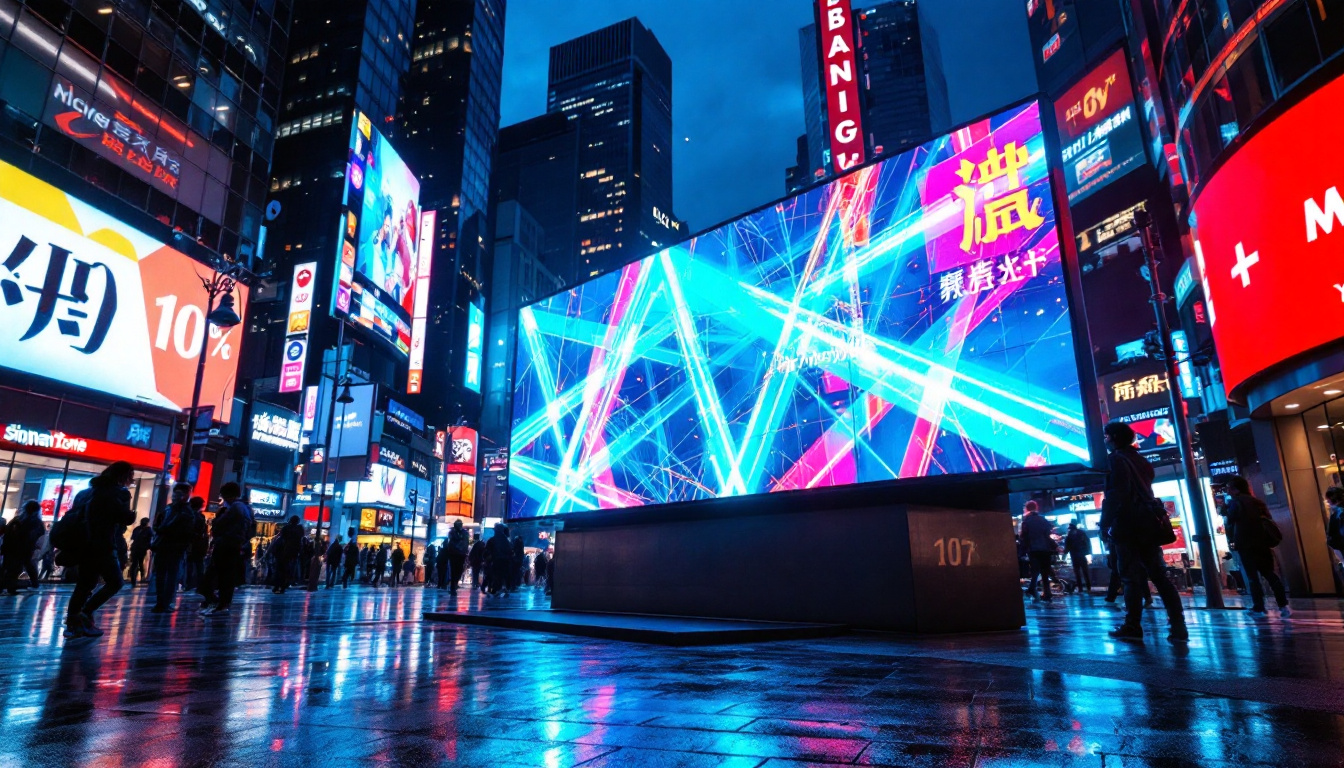
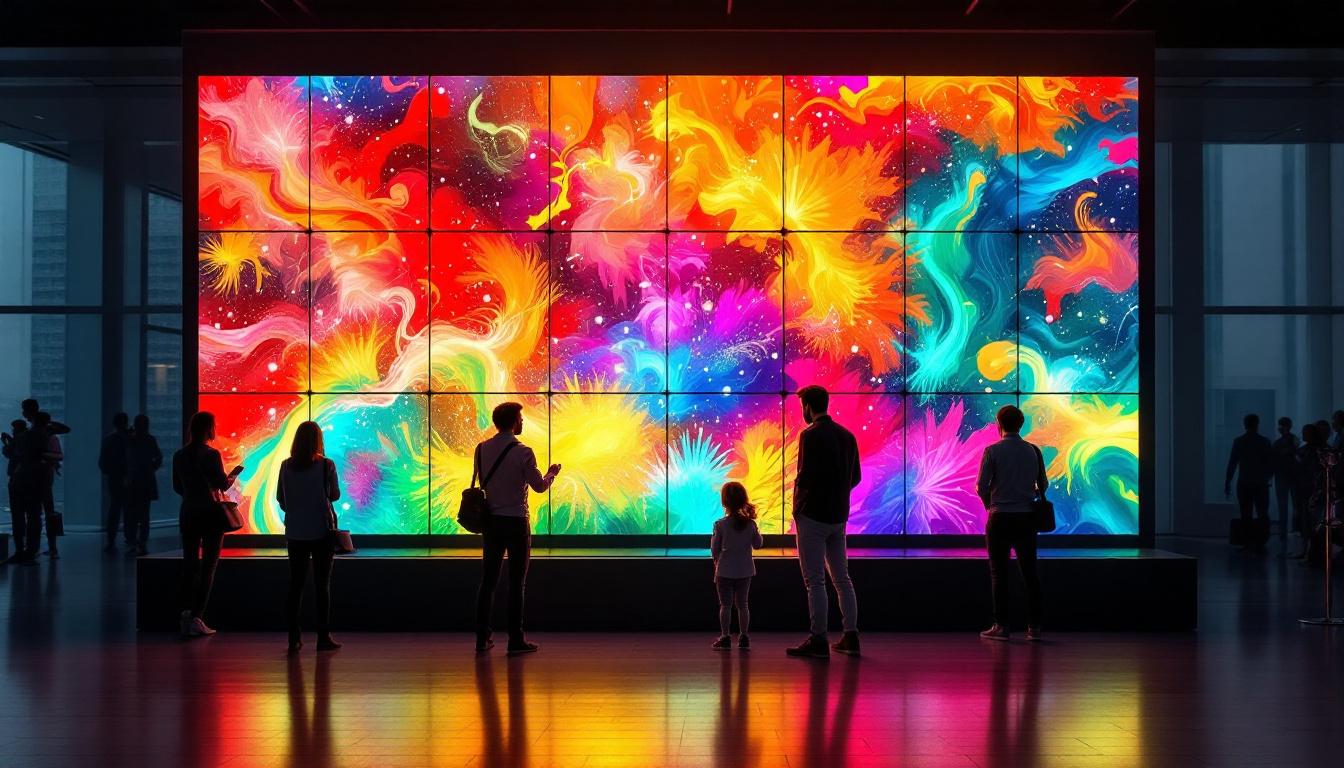
Enhance Your Studio with LumenMatrix LED Displays
Ready to take your studio environment to the next level? LumenMatrix is at the forefront of LED display technology, offering a wide range of innovative solutions that can transform your space. Whether you’re looking for Indoor LED Wall Displays for a control room, Custom LED Displays for a unique studio setup, or any other LED display solution, LumenMatrix has you covered. Elevate your audio production and create a visually stunning studio with our cutting-edge displays. Check out LumenMatrix LED Display Solutions today and experience the perfect synergy of sound and sight.