In the evolving landscape of architectural design and building information modeling (BIM), Revit remains a cornerstone software for professionals worldwide. One of its powerful features is the ability to create detailed schedules, which are essential for project management, cost estimation, and coordination. Among the many elements that can be scheduled in Revit, LED displays have become increasingly relevant, especially as smart buildings and digital signage integrate more seamlessly into architectural projects.
This article delves into the nuances of scheduling LED displays within Revit, explaining what LED displays are in the context of BIM, why their scheduling matters, and how to effectively create and manage these schedules to optimize project outcomes.
Understanding LED Displays in Architectural Projects
What Are LED Displays?
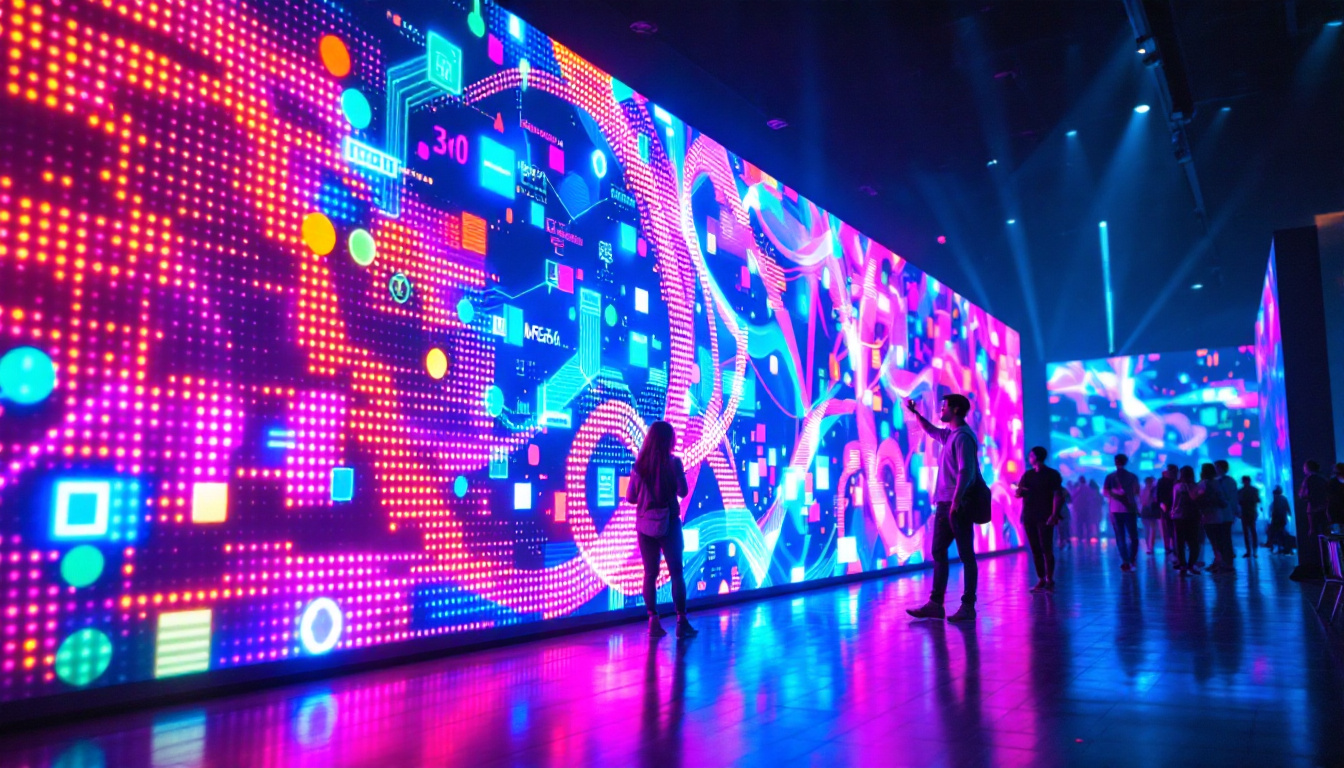
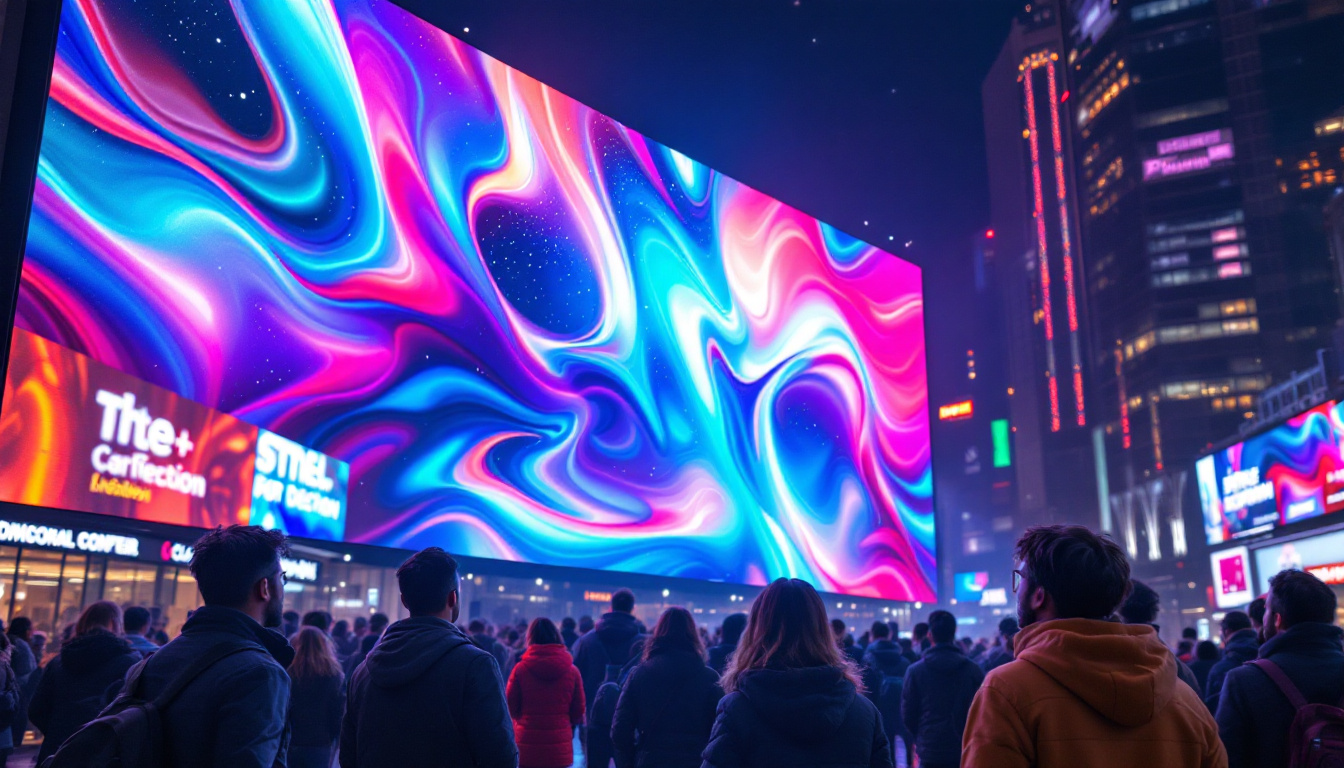
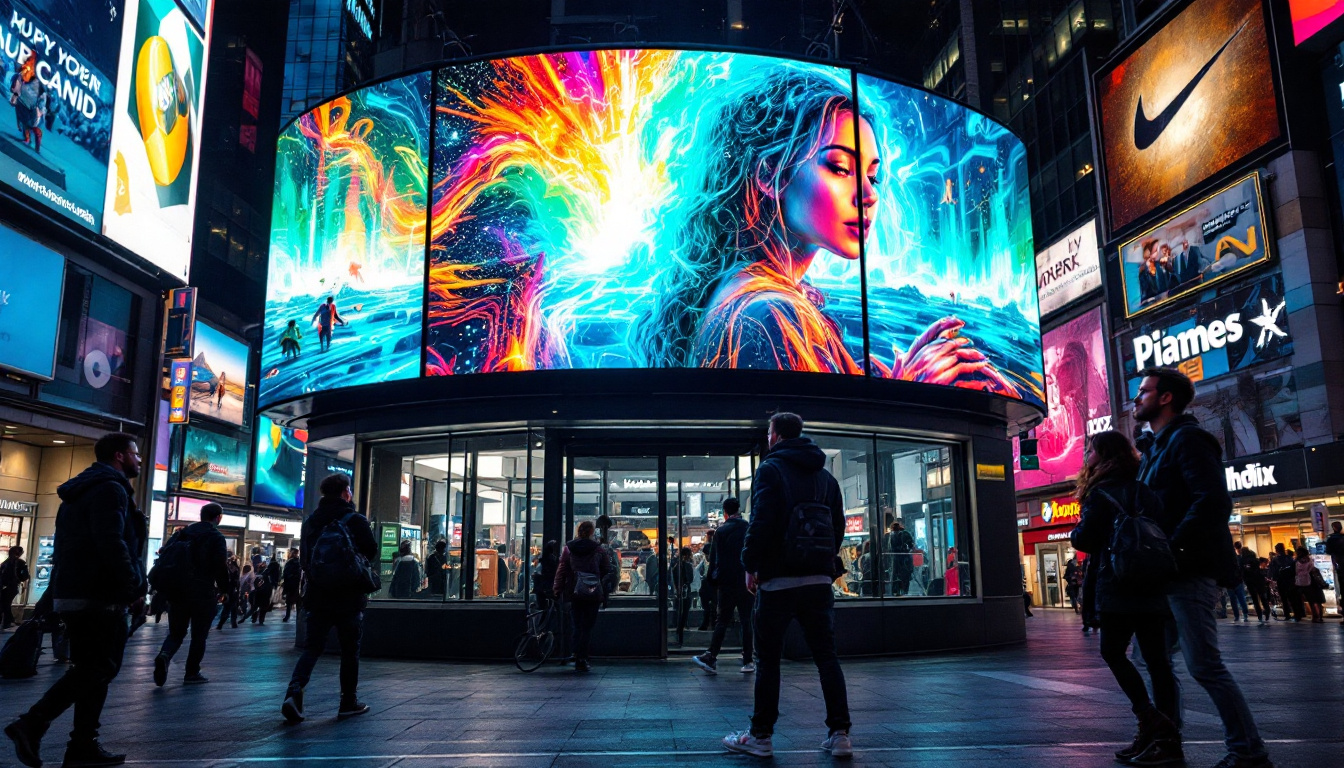
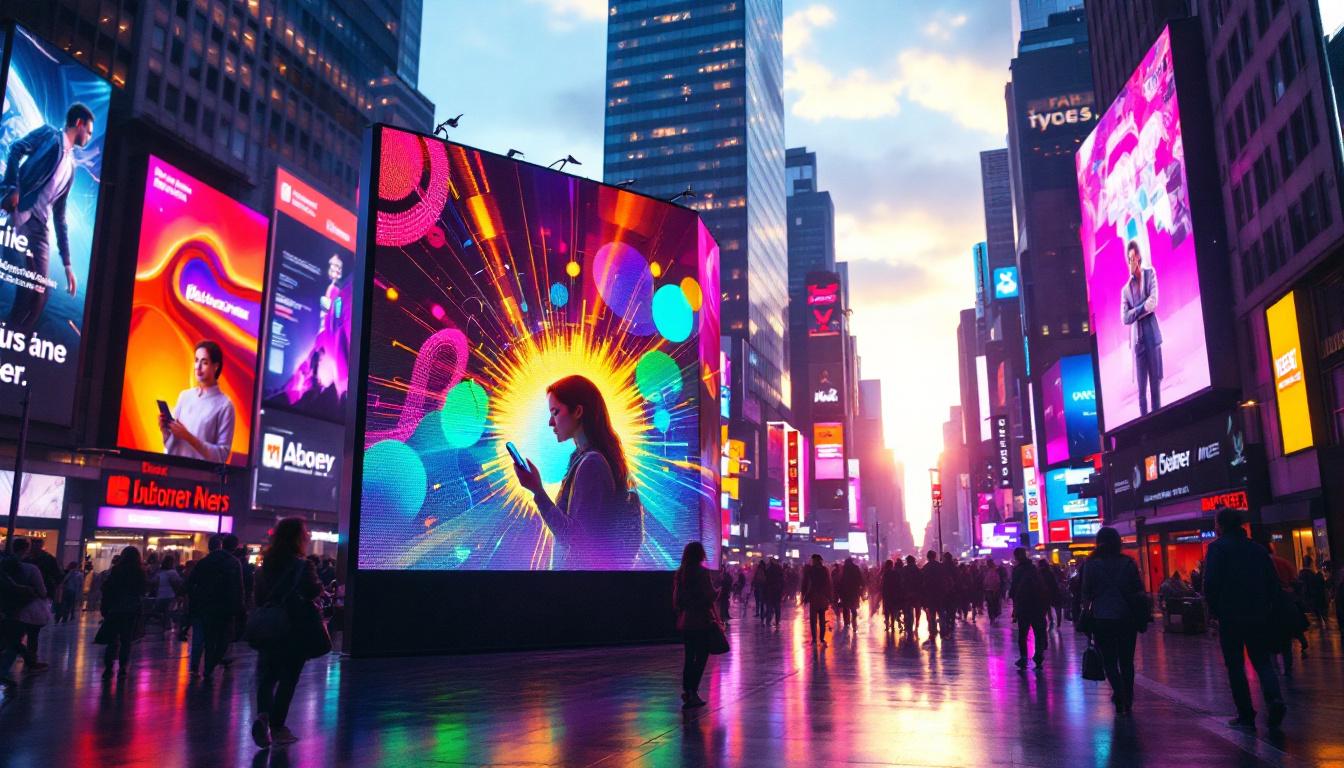
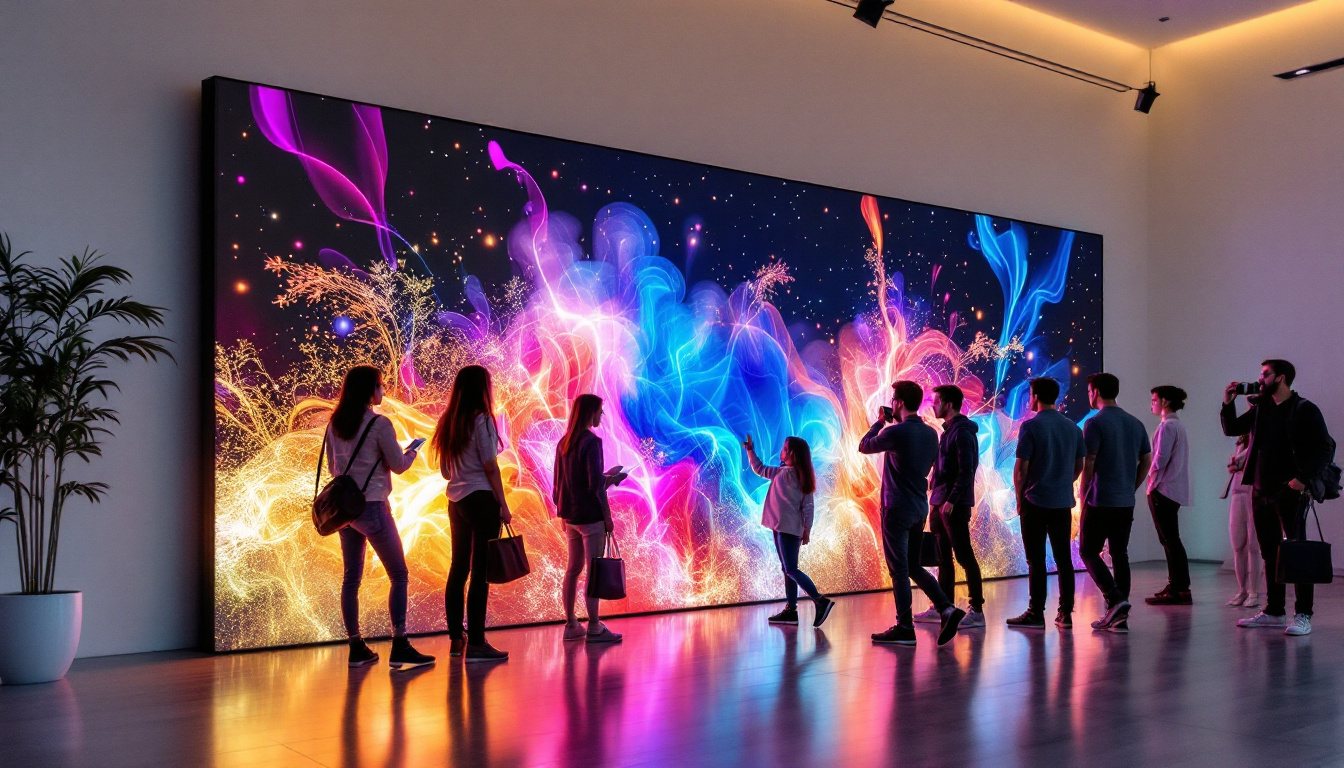
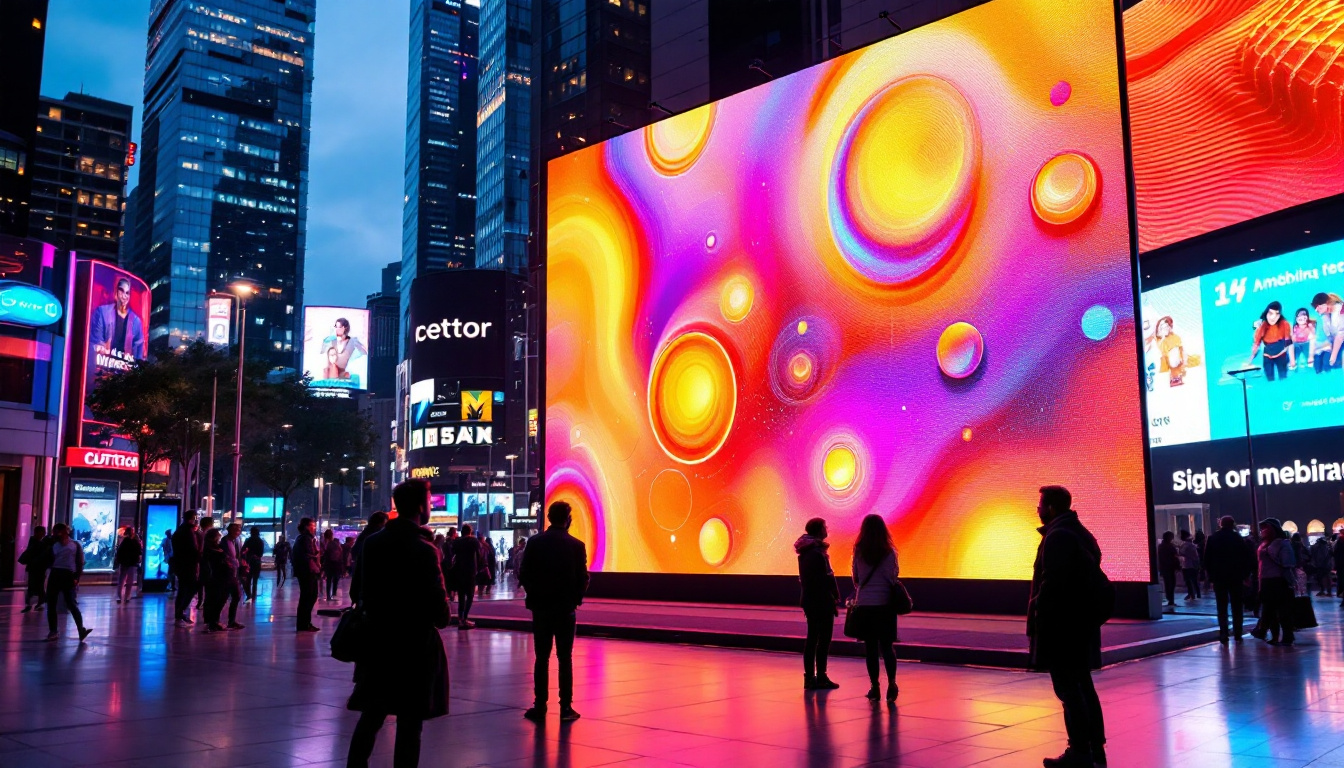
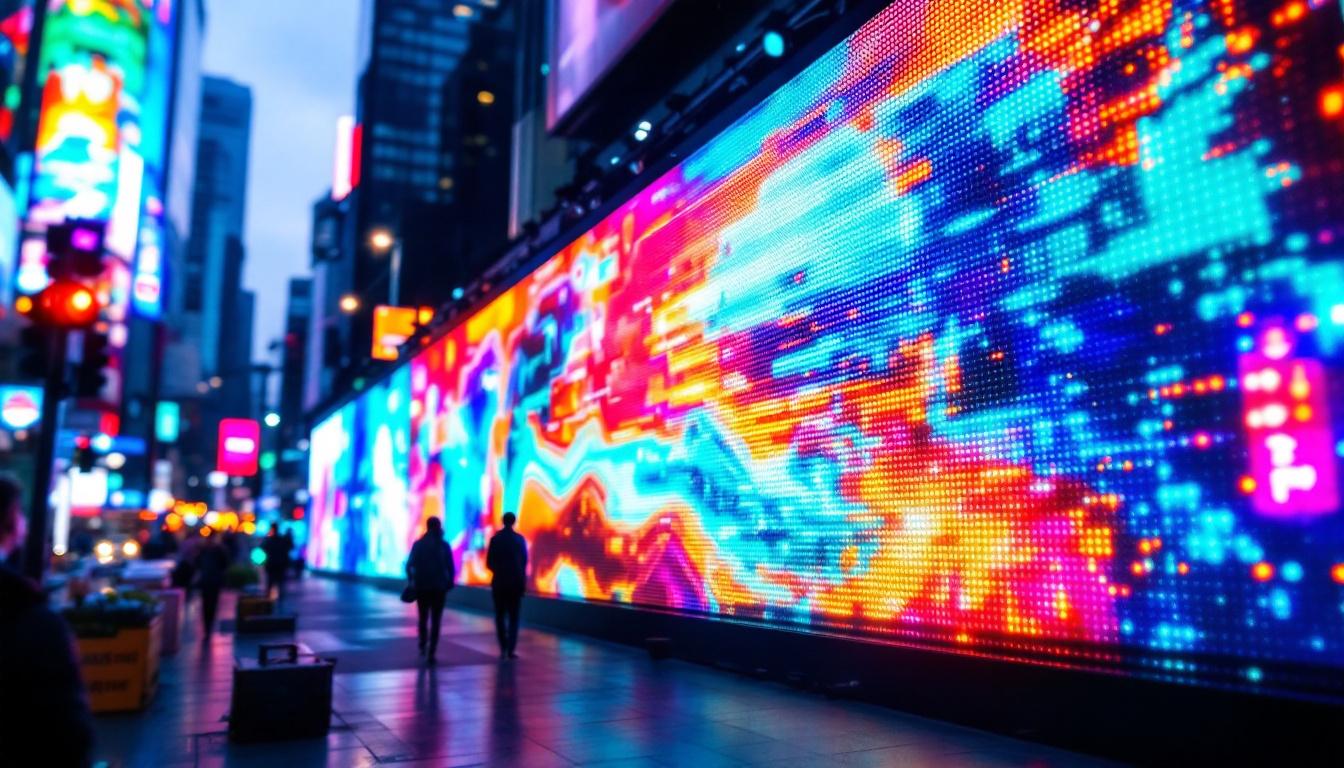
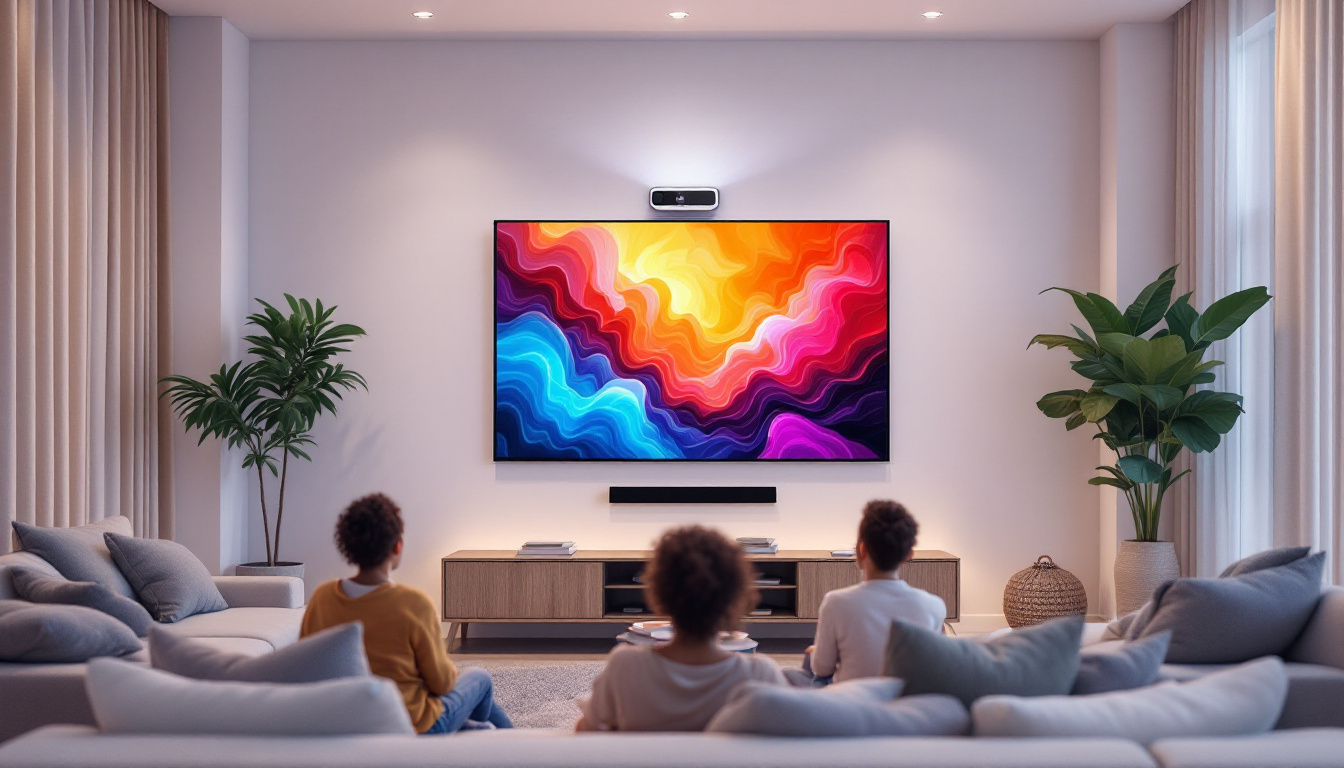
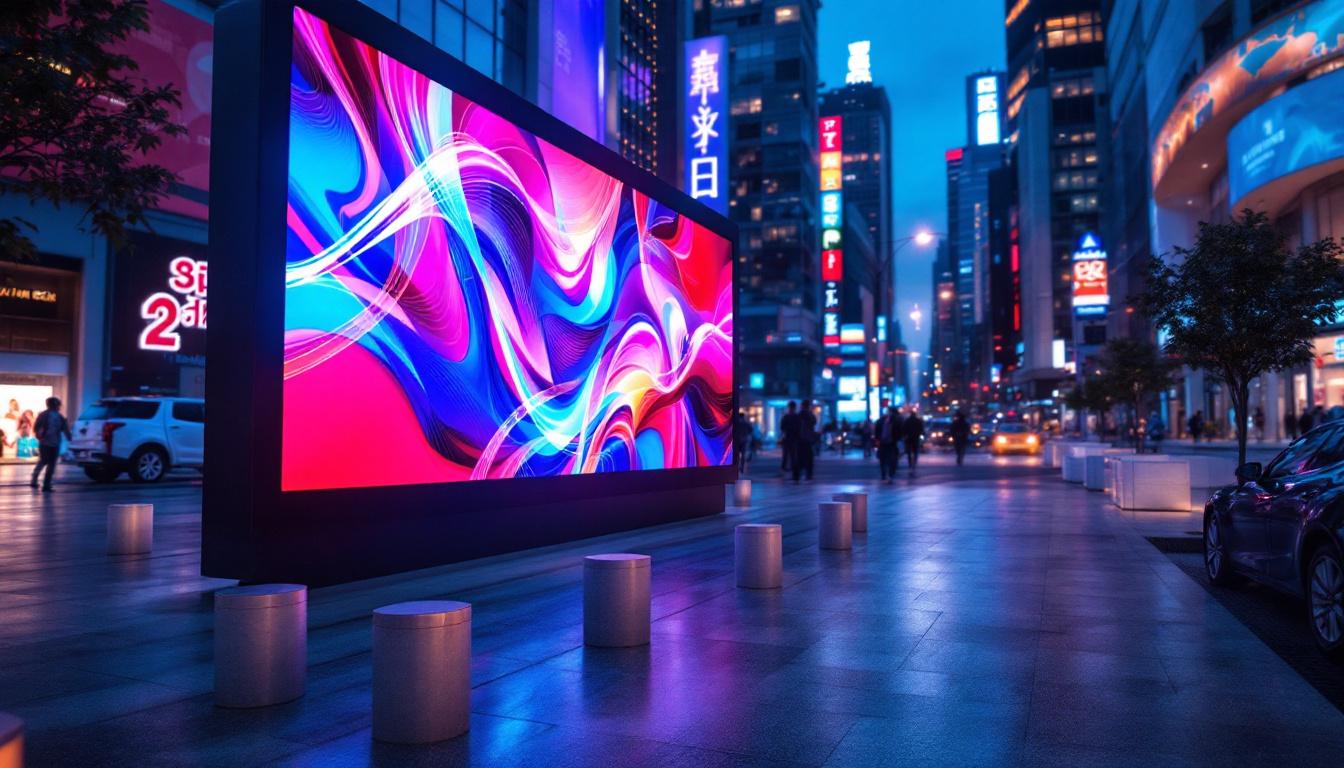
LED (Light Emitting Diode) displays are digital screens that use light-emitting diodes to present images, videos, or information. In architectural and commercial projects, LED displays serve various purposes—from advertising and wayfinding to interactive information panels and ambient lighting features. Their energy efficiency, brightness, and versatility make them a preferred choice for both indoor and outdoor applications.
In the context of building design, LED displays are often integrated into facades, lobbies, conference rooms, and public spaces. Their specifications, such as size, resolution, pixel pitch, and power consumption, are critical factors that influence both the design and operational aspects of a building. The ability to customize the content displayed on these screens allows for dynamic visual storytelling, enhancing the overall user experience. For instance, a retail store might use LED displays to showcase promotional videos, while a corporate office could display real-time data or branding messages, creating a vibrant and engaging environment.
Additionally, the integration of LED displays can contribute to the sustainability goals of a project. Many modern LED systems are designed to be energy-efficient, consuming significantly less power than traditional lighting solutions. This not only reduces operational costs but also minimizes the carbon footprint of the building. Furthermore, advancements in technology have led to the development of eco-friendly LED options that utilize recyclable materials and have longer lifespans, aligning with the growing emphasis on sustainable architecture.
Why Schedule LED Displays in Revit?
Scheduling LED displays within Revit provides a structured way to document and manage these elements throughout the project lifecycle. A schedule acts as a comprehensive list that captures key parameters of each LED display component, enabling architects, engineers, and project managers to track quantities, specifications, and installation details efficiently.
Moreover, with the increasing integration of smart building technologies, having accurate and up-to-date schedules for LED displays supports better coordination with electrical, mechanical, and IT disciplines. It also facilitates budgeting, procurement, and maintenance planning, ensuring that LED installations align with project requirements and client expectations. By utilizing Revit’s capabilities, teams can visualize how these displays will interact with other building systems, such as lighting and HVAC, ensuring that the overall design is cohesive and functional.
In addition, scheduling LED displays in Revit allows for enhanced collaboration among project stakeholders. As the design evolves, any changes made to the LED display specifications can be easily updated in the schedule, providing all team members with real-time information. This transparency helps to mitigate potential conflicts during the construction phase, as everyone is working from the same set of data. Furthermore, it can streamline the approval process with clients, as they can see detailed layouts and specifications directly within the model, facilitating informed decision-making throughout the project. This level of detail not only improves efficiency but also enhances the overall quality of the final installation.
Creating an LED Display Schedule in Revit
Step 1: Define LED Display Families
Before scheduling, LED displays must be represented as Revit families. These families encapsulate the physical and technical characteristics of the LED units, such as dimensions, manufacturer details, power ratings, and mounting types. Creating or sourcing accurate LED display families is essential for meaningful scheduling.
Many manufacturers provide BIM content libraries with ready-to-use LED display families, which can be imported into Revit projects. Alternatively, custom families can be created to match specific project requirements, ensuring that all relevant parameters are included as instance or type parameters.
Step 2: Insert LED Displays into the Model
Once the families are available, LED displays are placed in the project model at their designated locations. Proper placement is crucial not only for visual representation but also for spatial coordination with other building elements. Using work planes and reference planes helps maintain accuracy during insertion.
At this stage, users should input or verify parameter values for each LED display instance, such as model number, pixel pitch, and power consumption. These details form the basis of the schedule data.
Step 3: Create the LED Display Schedule
To generate a schedule, navigate to the “View” tab in Revit and select “Schedules” followed by “Schedule/Quantities.” Choose the LED display family category or the specific family type used. This action opens the schedule properties dialog, where parameters to include in the schedule can be selected.
Key parameters to consider for an LED display schedule include:
- Type and Instance Names
- Dimensions (Height, Width, Depth)
- Pixel Pitch
- Resolution
- Power Consumption (Watts)
- Manufacturer and Model Number
- Location or Room
- Quantity
Including calculated parameters, such as total power consumption per display or cumulative area, can add value to the schedule for analysis and reporting.
Step 4: Customize and Format the Schedule
Revit schedules are highly customizable. Users can sort, filter, and group LED display entries to improve readability and focus on specific aspects. For example, grouping displays by floor or zone helps stakeholders understand distribution and density.
Conditional formatting can highlight LED displays exceeding certain power thresholds or those requiring special installation considerations. Adding calculated fields, such as total wattage per floor, supports energy management discussions.
Applications and Benefits of LED Display Scheduling
Project Coordination and Clash Detection
Integrating LED display schedules with other building systems enhances coordination efforts. For instance, electrical engineers can use the schedule to plan power distribution and circuiting, while IT teams can prepare for data connectivity needs. This integration reduces the risk of clashes and last-minute changes.
Scheduling also aids in clash detection workflows by providing precise location and dimension data, which can be cross-referenced with other model elements to identify potential conflicts early in the design phase.
Cost Estimation and Procurement
Accurate LED display schedules enable precise quantity take-offs, which are critical for budgeting and procurement. Knowing the exact number and specifications of displays helps procurement teams source the correct products and negotiate better pricing.
Additionally, schedules can be linked to cost databases or external estimating software, streamlining the cost estimation process and reducing errors associated with manual data entry.
Maintenance and Facility Management
Post-construction, LED display schedules serve as valuable documentation for facility managers. They provide quick access to product specifications, warranty information, and location details, facilitating maintenance planning and troubleshooting.
In smart buildings, schedules can be integrated with building management systems (BMS) to monitor performance and energy consumption, supporting sustainability goals and operational efficiency.
Best Practices for Managing LED Display Schedules in Revit
Maintain Parameter Consistency
Ensuring that LED display families use consistent parameter names and data types across projects is vital. This consistency enables easier data aggregation and comparison, especially in large or multi-phase projects.
Standardizing parameters also simplifies collaboration among multidisciplinary teams, as everyone refers to the same data structure.
Regularly Update Schedules
Design changes, specification updates, and site conditions can affect LED display selections and placements. Regularly updating schedules to reflect these changes keeps project documentation accurate and reliable.
Setting up workflows for schedule review at key project milestones helps maintain data integrity and supports informed decision-making.
Leverage Revit’s Export Capabilities
Revit schedules can be exported to Excel or other formats for further analysis, reporting, or integration with other project management tools. Utilizing these capabilities enhances communication with clients, contractors, and suppliers.
Exported schedules can also be used to create visual dashboards or incorporated into presentations, adding clarity and professionalism to project deliverables.
Challenges and Considerations
Complexity of LED Display Specifications
LED displays come in a wide range of configurations, and capturing all relevant technical details in Revit families can be challenging. Some specifications, like color calibration or software compatibility, may not be easily represented in standard parameters.
Collaborating with manufacturers and specialists during family creation ensures that critical data is included and accurately represented.
Coordination Across Disciplines
LED displays intersect architectural, electrical, and IT domains, requiring close coordination. Misalignment in scheduling or parameter definitions can lead to conflicts or installation issues.
Establishing clear communication protocols and shared data standards helps mitigate these risks and fosters a collaborative project environment.
Keeping Up with Technological Advances
The LED display industry evolves rapidly, with frequent innovations in technology and standards. Keeping Revit content and schedules up-to-date with the latest products and specifications demands ongoing attention.
Regularly reviewing BIM libraries and engaging with manufacturers ensures that projects benefit from current technology and best practices.
Conclusion
Scheduling LED displays in Revit is a crucial practice that supports efficient design, coordination, and management of modern architectural projects. By understanding the nature of LED displays, creating accurate families, and leveraging Revit’s scheduling tools, professionals can enhance project clarity and control.
As buildings become smarter and more digitally integrated, the importance of detailed and dynamic LED display schedules will only grow. Embracing best practices and addressing challenges proactively ensures that projects deliver both aesthetic appeal and functional excellence.
Ultimately, mastering LED display scheduling in Revit empowers teams to create innovative, sustainable, and well-coordinated environments that meet the demands of today’s built world.
Discover LumenMatrix’s Advanced LED Display Solutions
Ready to take your architectural projects to the next level with cutting-edge LED display technology? Explore LumenMatrix’s comprehensive range of LED display solutions, from vibrant Indoor and Outdoor LED Wall Displays to innovative Custom and All-in-One LED Displays. Elevate your design with our LED Sports Displays, LED Poster Displays, and more, each designed to create immersive visual experiences and enhance brand visibility. Check out LumenMatrix LED Display Solutions today and see how we can help you share your message with impact and clarity.