Light Emitting Diodes (LEDs) have revolutionized the way we illuminate spaces, create displays, and design electronic devices. Their energy efficiency, long lifespan, and versatility make them a preferred choice in countless applications, from home lighting to large-scale digital billboards. One fundamental aspect of working with LEDs is understanding how to connect them properly, especially in series configurations. This article delves into the principles of connecting LEDs in series, the advantages and challenges of this method, and practical guidance on designing LED displays using series connections.
Understanding LED Basics and Electrical Characteristics
Before exploring series connections, it’s essential to grasp the fundamental electrical properties of LEDs. An LED is a semiconductor device that emits light when an electric current passes through it. Unlike incandescent bulbs, LEDs require a specific forward voltage and current to operate efficiently and safely. This unique property is what makes LEDs not only energy-efficient but also versatile for various applications, from simple indicator lights to complex display systems.
Forward Voltage and Current
Each LED has a characteristic forward voltage (VF), typically ranging from 1.8V to 3.3V depending on the color and type. For example, red LEDs generally have a forward voltage of about 1.8V to 2.2V, while blue and white LEDs tend to have higher forward voltages around 3.0V to 3.3V. The forward current (IF) is usually around 20mA for standard indicator LEDs, but this can vary for high-power or specialized LEDs. Understanding these parameters is crucial because they determine how LEDs behave in a circuit. Applying too much voltage or current can damage the LED, while insufficient current results in dim or non-functional LEDs. Moreover, the thermal management of LEDs is another critical aspect; excessive heat can lead to reduced efficiency and a shorter lifespan, necessitating proper heat sinking in high-power applications.
Why Connect LEDs in Series?
Connecting LEDs in series means linking them end-to-end so the current flows through each LED sequentially. This setup has distinct advantages:
- Uniform Current: The same current flows through all LEDs, ensuring consistent brightness.
- Reduced Wiring Complexity: Fewer wires are needed compared to parallel connections, simplifying circuit design.
- Voltage Distribution: The supply voltage is divided among the LEDs, which can be advantageous when using higher voltage power sources.
However, series connections also have limitations. If one LED fails open, the entire string stops working. Additionally, the total forward voltage is the sum of each LED’s forward voltage, which requires a power supply capable of delivering the combined voltage. It’s also worth noting that the temperature coefficient of each LED can affect performance; as the temperature increases, the forward voltage drop may decrease, potentially leading to uneven brightness if not properly managed. This is particularly important in applications where LEDs are subjected to varying thermal conditions, such as in automotive lighting or outdoor displays.
Furthermore, when designing circuits with series-connected LEDs, it’s essential to consider the use of current-limiting resistors or constant current drivers to protect the LEDs from fluctuations in power supply. These components help maintain the desired forward current, ensuring that each LED operates within its specified range, thus maximizing efficiency and longevity. Understanding these nuances not only enhances the performance of LED circuits but also opens up possibilities for creative lighting solutions in both commercial and residential settings.
How to Connect LEDs in Series: Step-by-Step Guide
Connecting LEDs in series involves careful consideration of voltage, current, and safety components like resistors. The following steps outline the process:
1. Determine the Number of LEDs and Their Forward Voltages
Calculate the total forward voltage by adding the forward voltages of all LEDs in the series. For instance, if you have five red LEDs with a forward voltage of 2V each, the total forward voltage will be 10V.
This total voltage must be less than the power supply voltage to ensure proper operation. For example, a 12V power supply can comfortably drive five red LEDs in series.
It’s also important to consider the color of the LEDs, as different colors have varying forward voltages. Blue and white LEDs typically have higher forward voltages, often around 3V to 3.5V. This means that when planning your circuit, you should always check the specifications for each LED type to ensure your calculations are accurate and that they will operate safely within the voltage limits.
2. Select an Appropriate Power Supply
The power supply voltage should be higher than the total forward voltage of the LED string to accommodate the voltage drop across the current-limiting resistor and ensure stable operation. The current rating of the power supply must match or exceed the desired LED current, typically 20mA for standard LEDs.
When selecting a power supply, it’s also wise to consider the type of power source you are using. For instance, if you are working with a battery, the voltage may drop as the battery discharges. In such cases, it may be beneficial to choose a power supply that exceeds the minimum voltage requirement by a small margin to account for this drop over time, ensuring consistent brightness throughout the life of the battery.
3. Calculate the Current-Limiting Resistor Value
LEDs require a resistor to limit the current and prevent damage. The resistor value (R) can be calculated using Ohm’s Law:
R = (VSupply - VTotal Forward) / IWhere:
- VSupply is the power supply voltage
- VTotal Forward is the sum of the forward voltages of the LEDs
- I is the desired current through the LEDs (in amperes)
For example, with a 12V supply, five red LEDs (2V each), and 20mA current:
R = (12V - 10V) / 0.02A = 2V / 0.02A = 100ΩKeep in mind that resistors come in standard values, so you may need to select the closest available resistor. Using a slightly higher resistor value will reduce the current and can help prolong the life of the LEDs, while a lower value may increase brightness but could risk damaging the LEDs if the current exceeds their rated capacity.
4. Connect the LEDs and Resistor in Series
Wire the LEDs end-to-end, ensuring the anode (positive lead) of one LED connects to the cathode (negative lead) of the next. Then, connect the resistor in series with the LED string, typically on the positive side to limit current before it reaches the LEDs.
When soldering or connecting the LEDs, ensure that the connections are secure and that there are no short circuits. Using heat shrink tubing or electrical tape can help insulate exposed connections, preventing accidental shorts that could damage your components. Additionally, consider using a breadboard for prototyping, as it allows for easy adjustments and testing before finalizing your circuit.
5. Test the Circuit
Before finalizing the setup, test the LED string with the power supply. Check for uniform brightness and ensure no LED is overheating. If the LEDs are dim or too bright, adjust the resistor value accordingly.
During testing, it’s also a good idea to monitor the temperature of the LEDs. If any LED feels excessively hot, this may indicate that the current is too high, and you should increase the resistor value. Additionally, observe the color consistency among the LEDs; variations in brightness or color can indicate issues with the connections or mismatched LED specifications. Taking the time to ensure everything is functioning properly will lead to a more reliable and visually appealing final project.
Designing LED Displays Using Series Connections
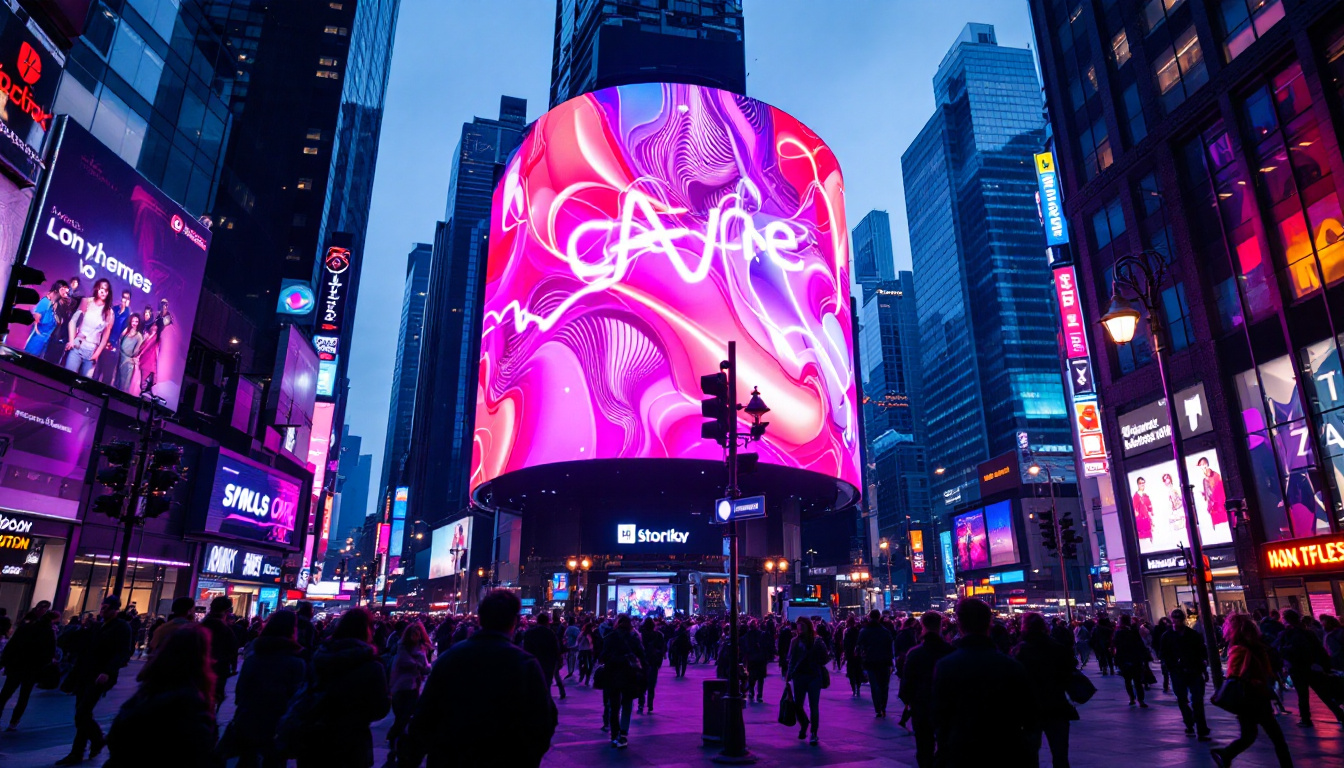
LED displays, such as digital billboards, scoreboards, and signage, often use arrays of LEDs arranged in complex patterns. Understanding series connections is vital in designing these displays for optimal performance and reliability.
The Role of Series Connections in LED Matrices
LED matrices are grids of LEDs controlled to display images or text. These matrices can be wired in series, parallel, or a combination (series-parallel) to balance voltage and current requirements.
Series connections in LED matrices help reduce current draw, which is beneficial when using limited current power supplies. However, the total voltage increases with each LED added in series, necessitating higher voltage supplies or segmented series strings.
Balancing Voltage and Current in Large Displays
For large LED displays, designers often use series strings of LEDs connected in parallel groups. This approach allows the use of manageable voltages while distributing current evenly.
For instance, a display might use strings of 10 LEDs in series, each string connected in parallel with others. Each string requires its own current-limiting resistor to ensure consistent brightness and prevent current imbalances.
Addressing Common Challenges in Series LED Displays
One challenge with series LED connections is that if one LED fails open, the entire string stops working. To mitigate this, some designs incorporate parallel bypass resistors or use LEDs with built-in fail-safe features.
Additionally, variations in LED forward voltage due to manufacturing tolerances can cause uneven brightness. Selecting LEDs from the same batch and testing forward voltages helps maintain uniformity.
Practical Tips for Connecting LEDs in Series
Use Appropriate Resistors and Power Supplies
Always calculate and use the correct resistor value to prevent excessive current. Using a power supply with adjustable voltage and current limits can provide flexibility and safety during testing and operation.
Consider LED Polarity Carefully
LEDs are polarized components, meaning they only conduct current in one direction. Ensure the anode and cathode are connected correctly in the series chain to avoid circuit failure.
Test Incrementally
When building long LED strings, test the circuit incrementally by adding a few LEDs at a time. This approach helps identify issues early and prevents damage to multiple LEDs.
Account for Voltage Drops and Wiring Losses
In longer series strings, wiring resistance and connections can introduce voltage drops. Use thicker wires and secure connections to minimize losses and maintain consistent brightness.
Conclusion: Mastering Series LED Connections for Effective Displays
Connecting LEDs in series is a fundamental technique that offers efficiency and simplicity in many lighting and display applications. By understanding the electrical characteristics of LEDs, calculating appropriate resistor values, and carefully designing the circuit, it is possible to create reliable, bright, and energy-efficient LED displays.
Whether designing a small indicator panel or a large-scale digital billboard, mastering series connections equips engineers and hobbyists alike with the knowledge to optimize LED performance and longevity. With careful planning and attention to detail, series-connected LEDs can illuminate projects with brilliance and precision.
Explore Cutting-Edge LED Solutions with LumenMatrix
Ready to bring your lighting projects to life with unparalleled brightness and precision? LumenMatrix is at the forefront of LED display technology, offering a wide array of innovative solutions tailored to your needs. From captivating Indoor LED Walls to dynamic Outdoor LED Displays, and from versatile Vehicle LED Displays to engaging LED Sports Displays, our products are designed to revolutionize visual communication. Dive into the world of advanced LED displays and discover how our Custom LED and All-in-One LED Display solutions can enhance your brand’s visibility. Experience the future of digital signage today by visiting LumenMatrix LED Display Solutions.