In today’s multimedia-driven world, the demand for high-quality visual displays is greater than ever. Whether for home theaters, corporate presentations, or educational environments, choosing the right display technology and installing it correctly can make all the difference. Projector screens and LED displays are two popular options, each with unique benefits and installation requirements. This comprehensive guide will walk you through how to install a projector screen effectively and provide an in-depth explanation of LED displays, helping you make an informed decision for your visual setup.
Understanding the Basics: Projector Screens vs. LED Displays
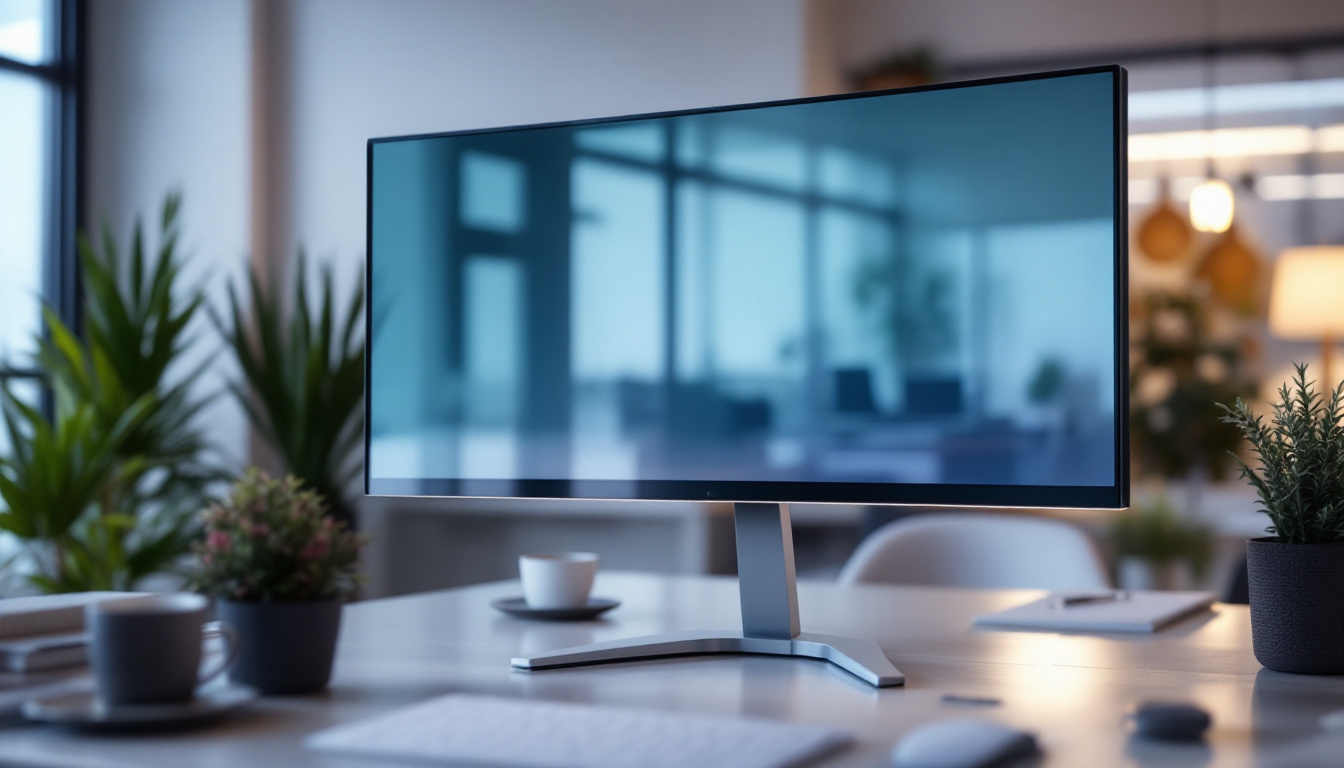
What is a Projector Screen?
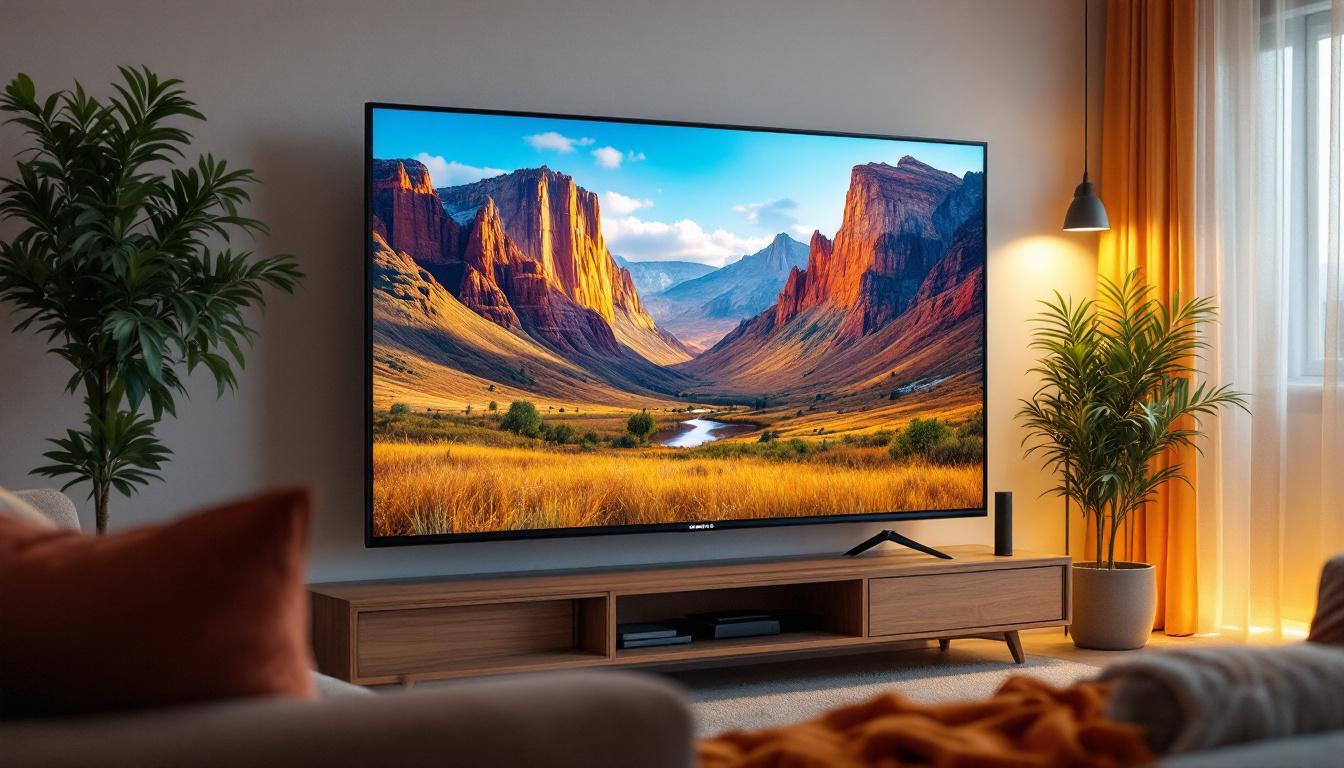
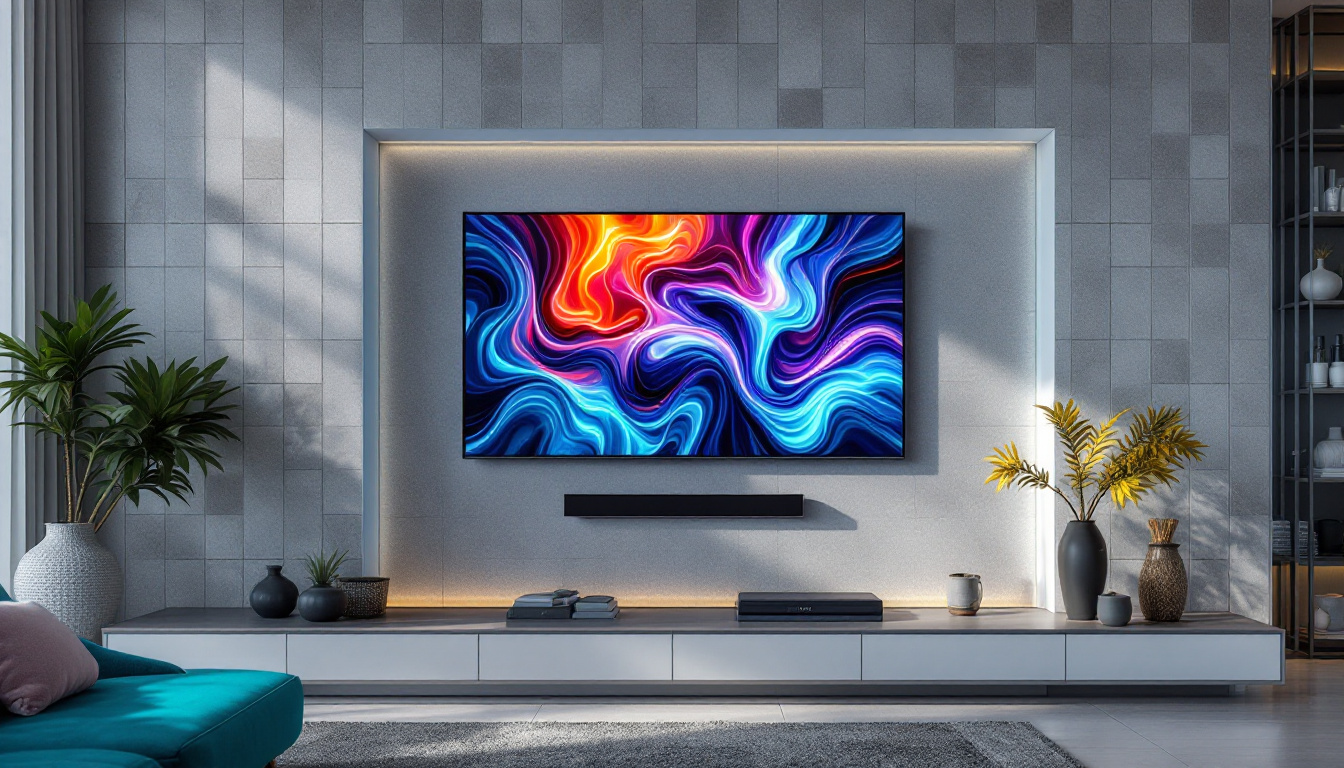
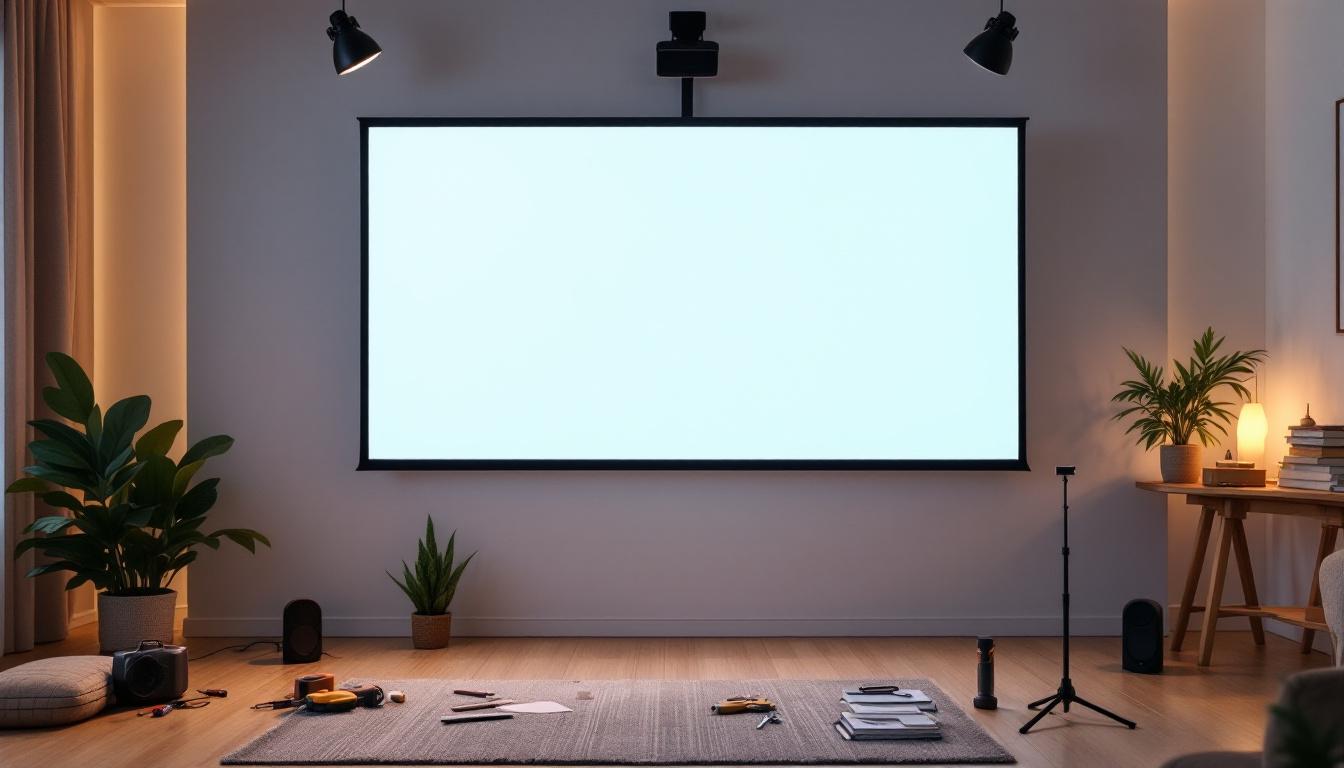
A projector screen is a surface designed to display images projected from a projector. These screens come in various materials, sizes, and types, including fixed-frame, retractable, and portable options. The quality of the screen significantly impacts the clarity, brightness, and color accuracy of the projected image.
Projector screens are widely used in home theaters, classrooms, and conference rooms due to their flexibility and relatively low cost. They rely on an external projector to produce the image, which means the overall setup includes both the projector and the screen. The choice of screen material, such as matte white, glass bead, or high-gain, can drastically alter the viewing experience, affecting how light is reflected and how colors are rendered. For instance, a high-gain screen can enhance brightness in darker environments, making it ideal for home theaters, while a matte screen is often preferred in classrooms for its wide viewing angles.
Moreover, the installation of a projector screen can be tailored to the specific needs of the space. Fixed-frame screens are typically mounted permanently, providing a sleek and professional look, while retractable screens offer the convenience of being hidden when not in use. Portable screens are perfect for presentations on the go, allowing users to set up a viewing area in various locations without permanent fixtures. This adaptability makes projector screens a popular choice for diverse applications, from casual movie nights to formal business presentations.
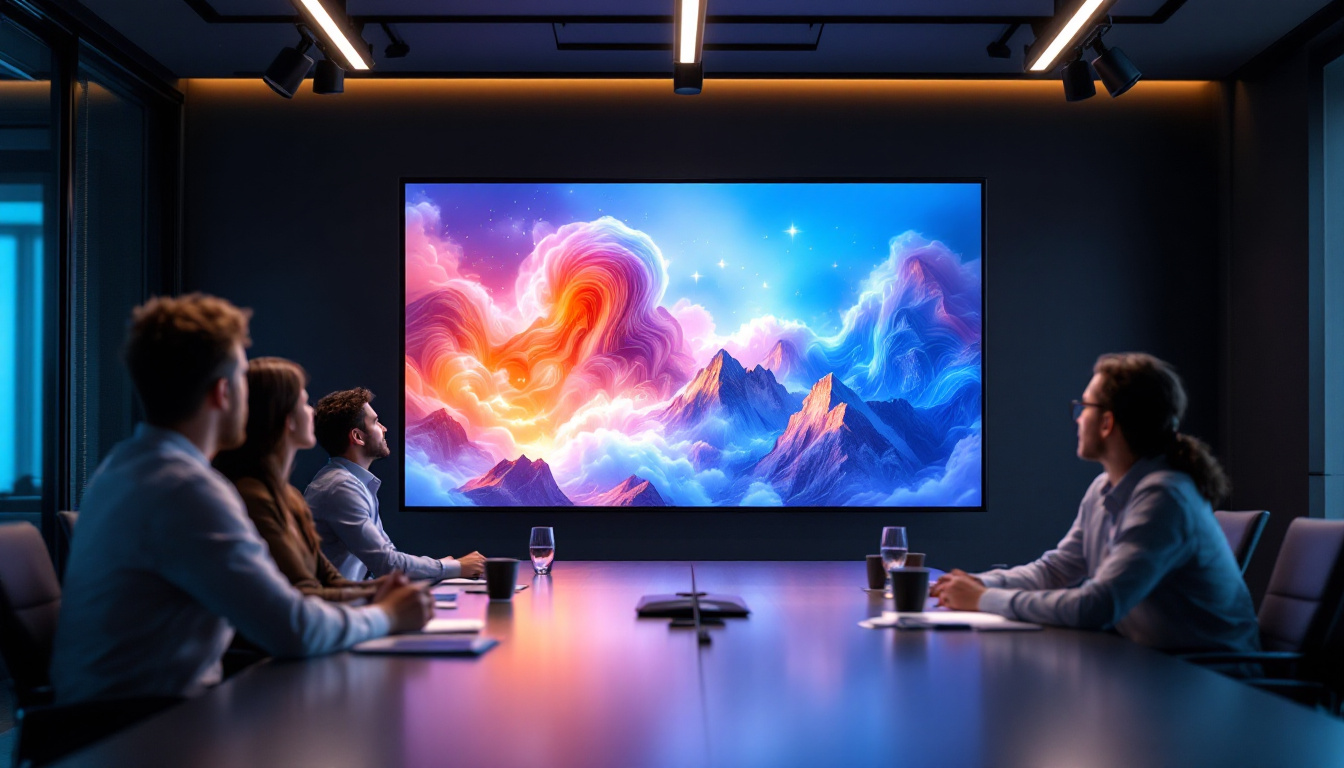
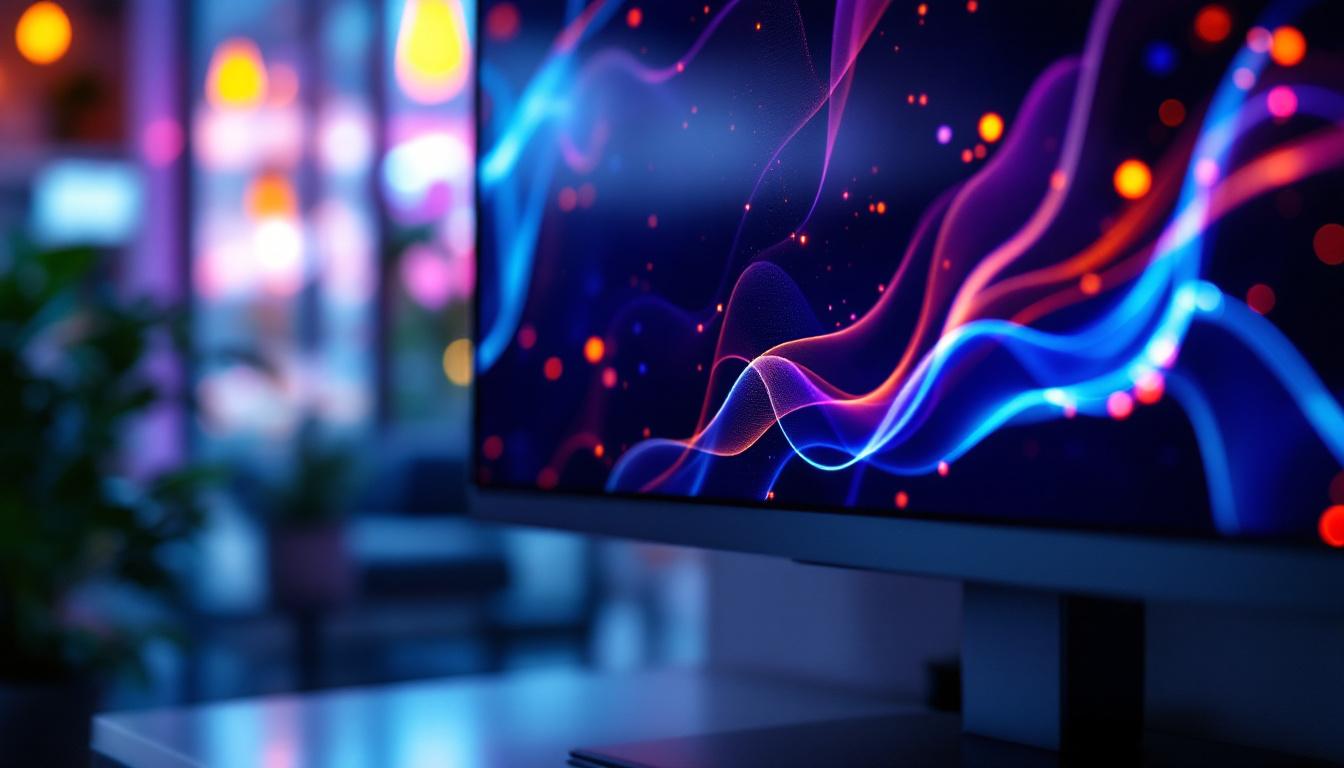
What is an LED Display?
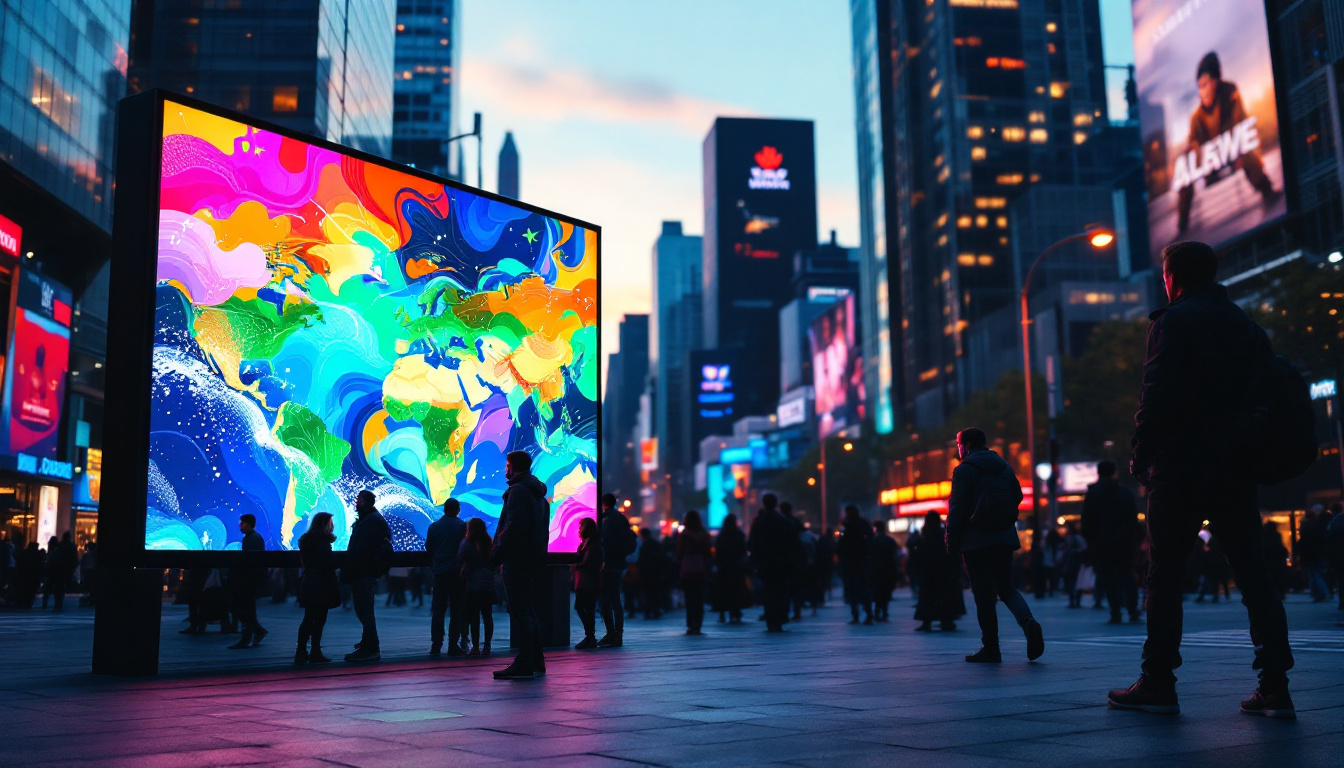
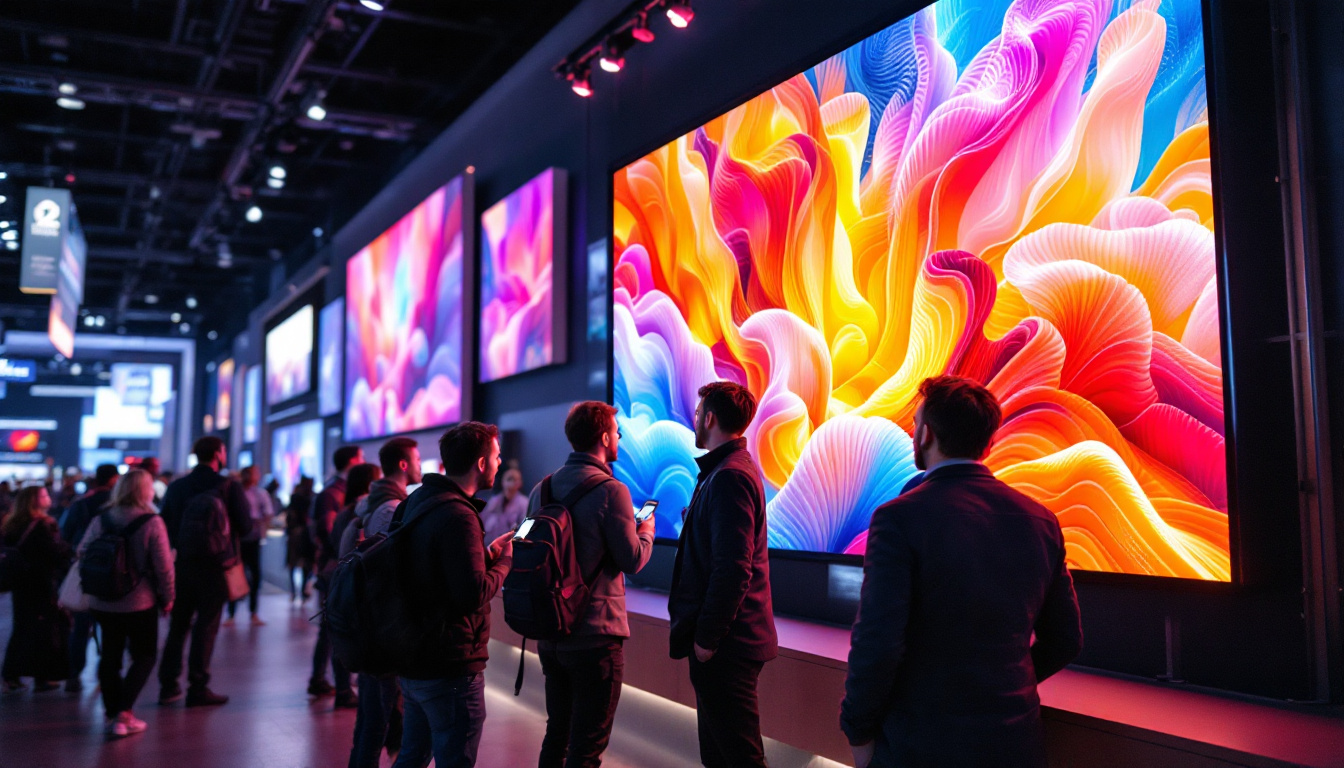
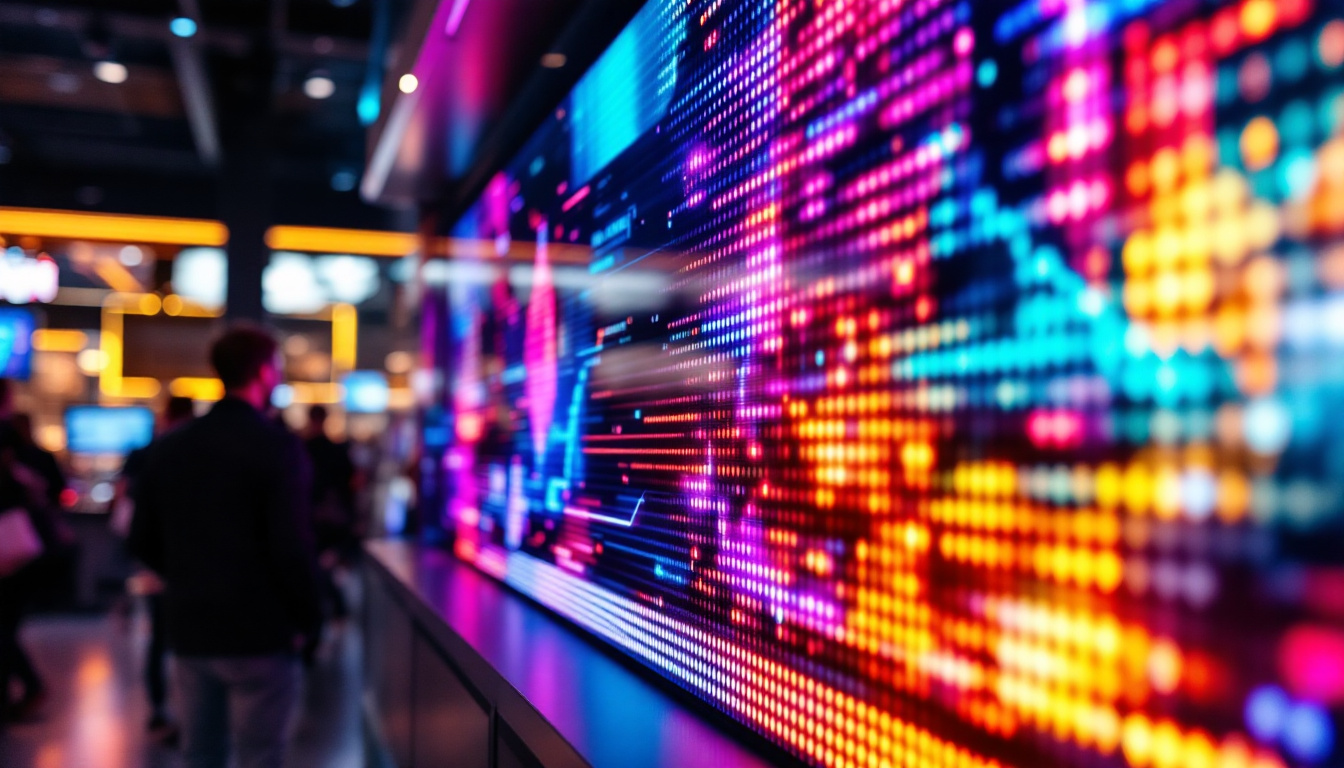
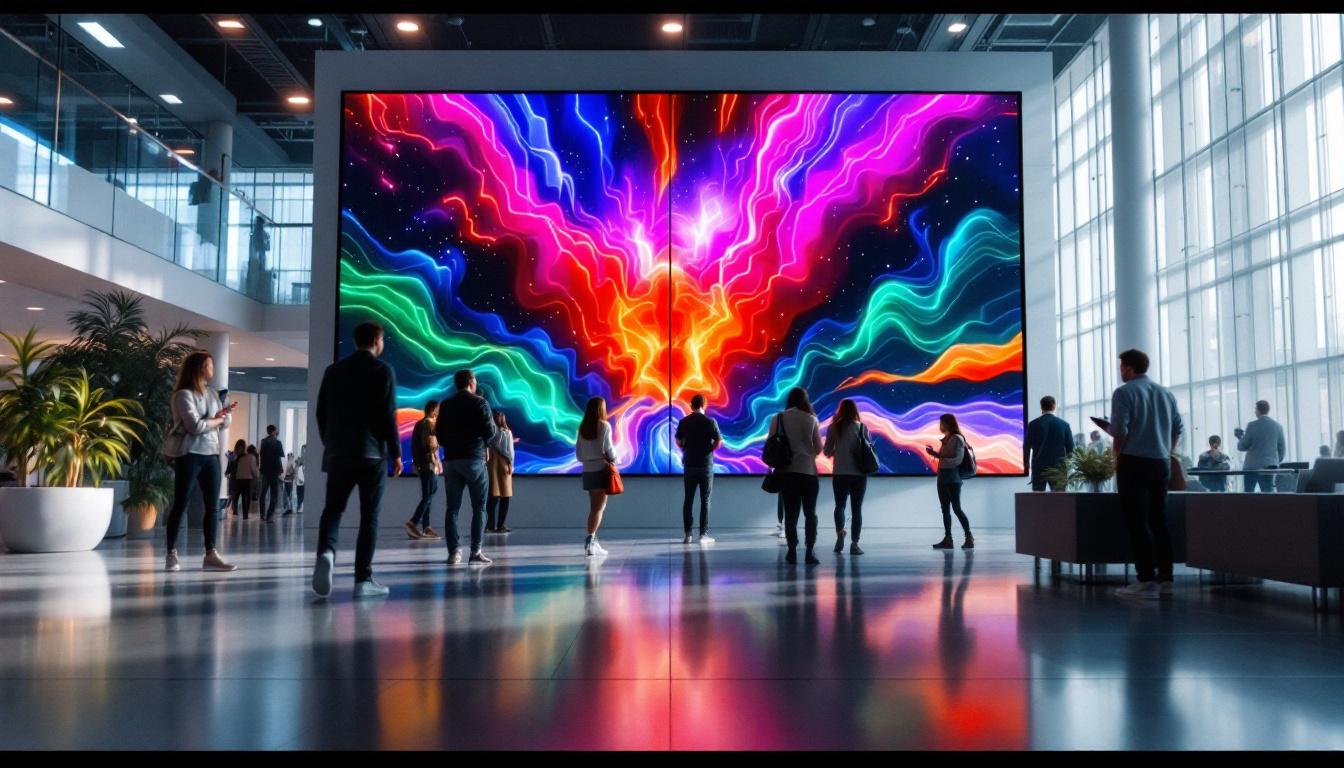
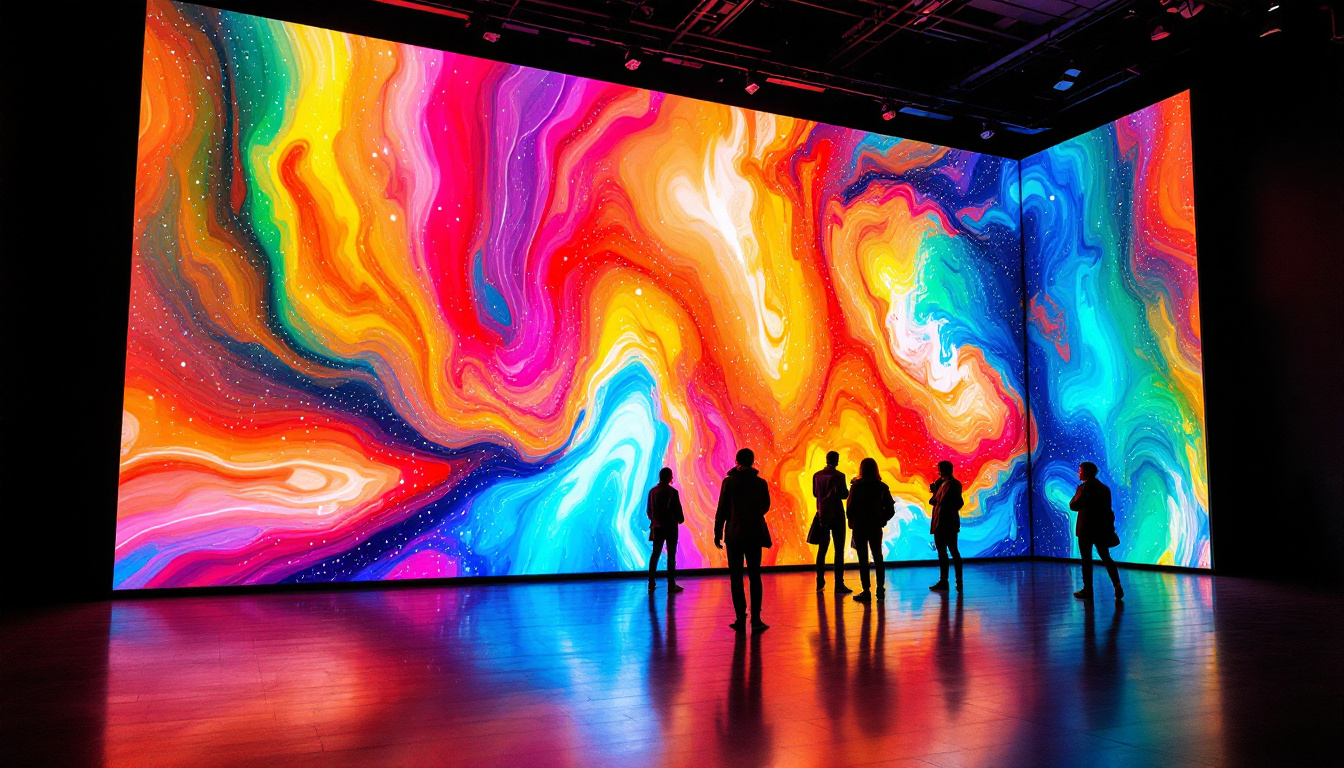
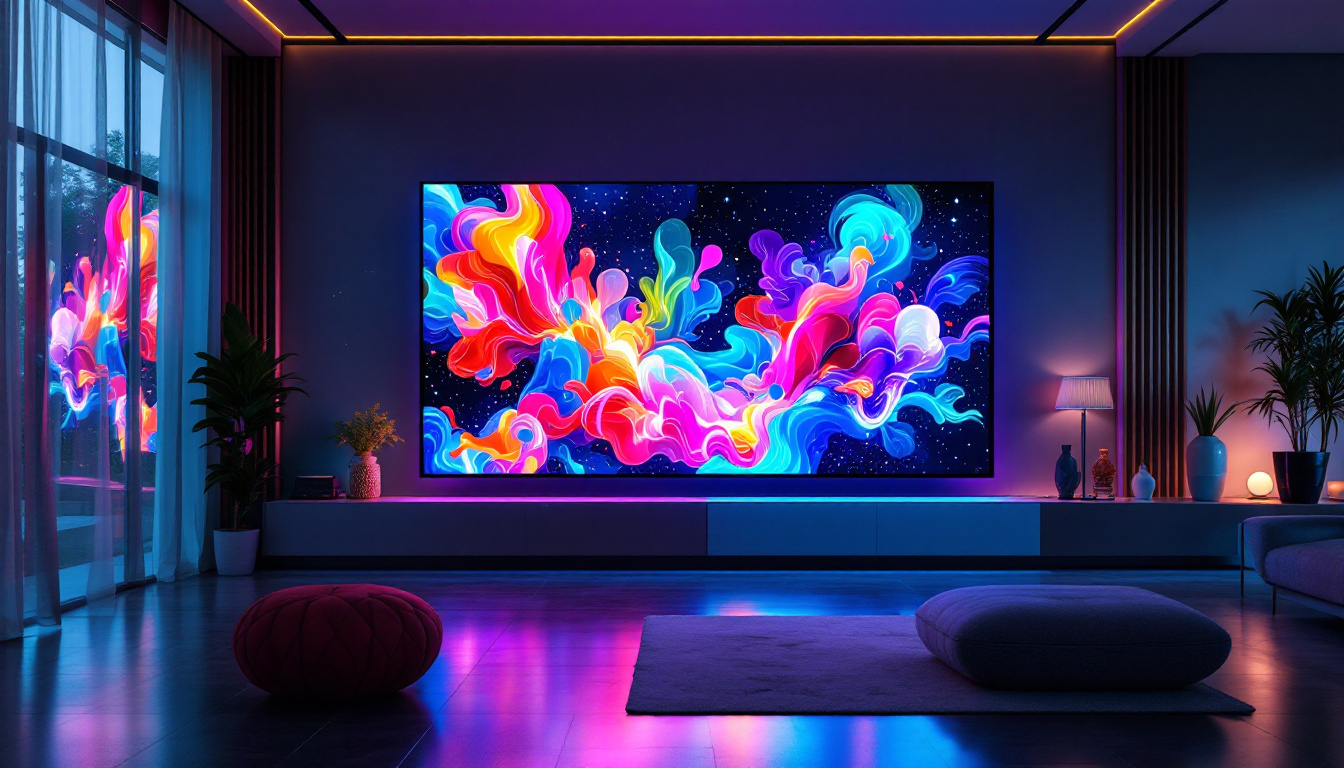
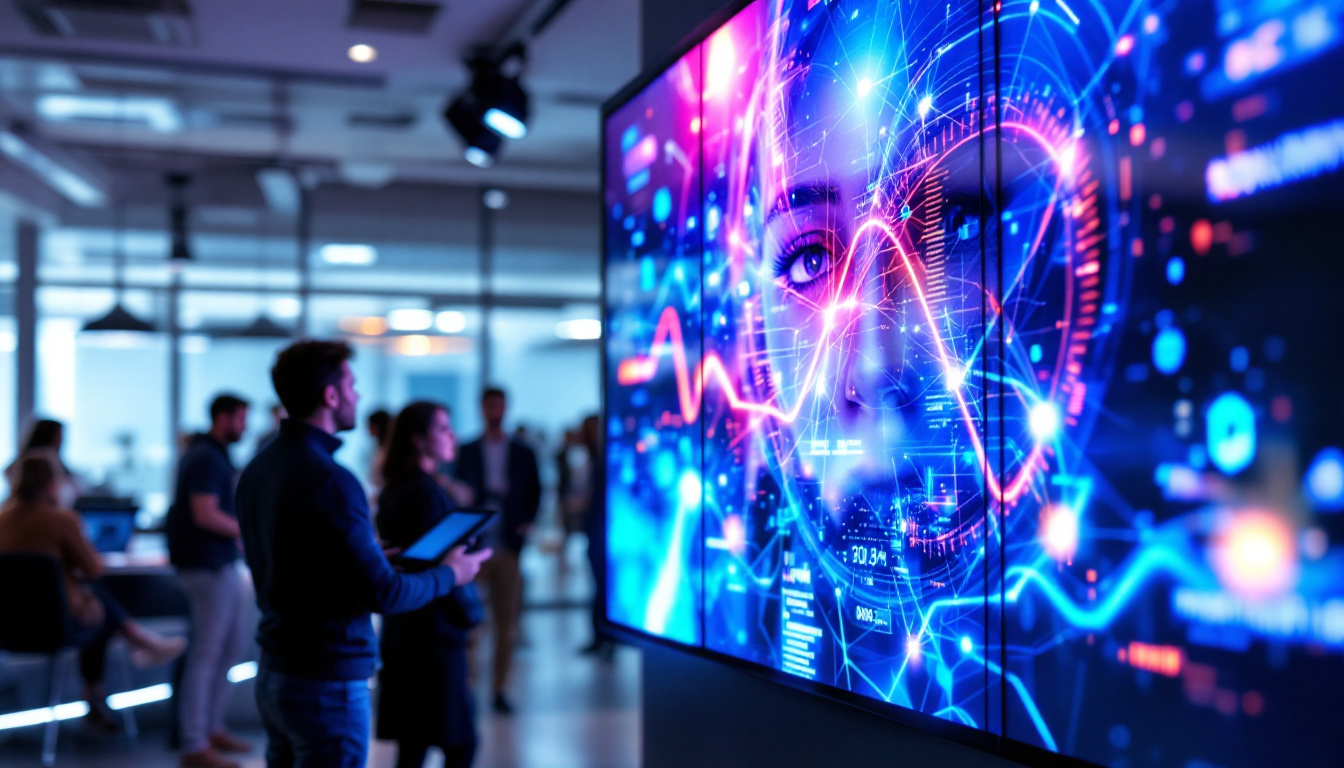
LED (Light Emitting Diode) displays are self-illuminating screens made up of thousands of tiny LED modules. Unlike projector screens, LED displays do not require an external light source; each pixel emits its own light. This results in higher brightness, better contrast ratios, and vibrant colors, even in well-lit environments.
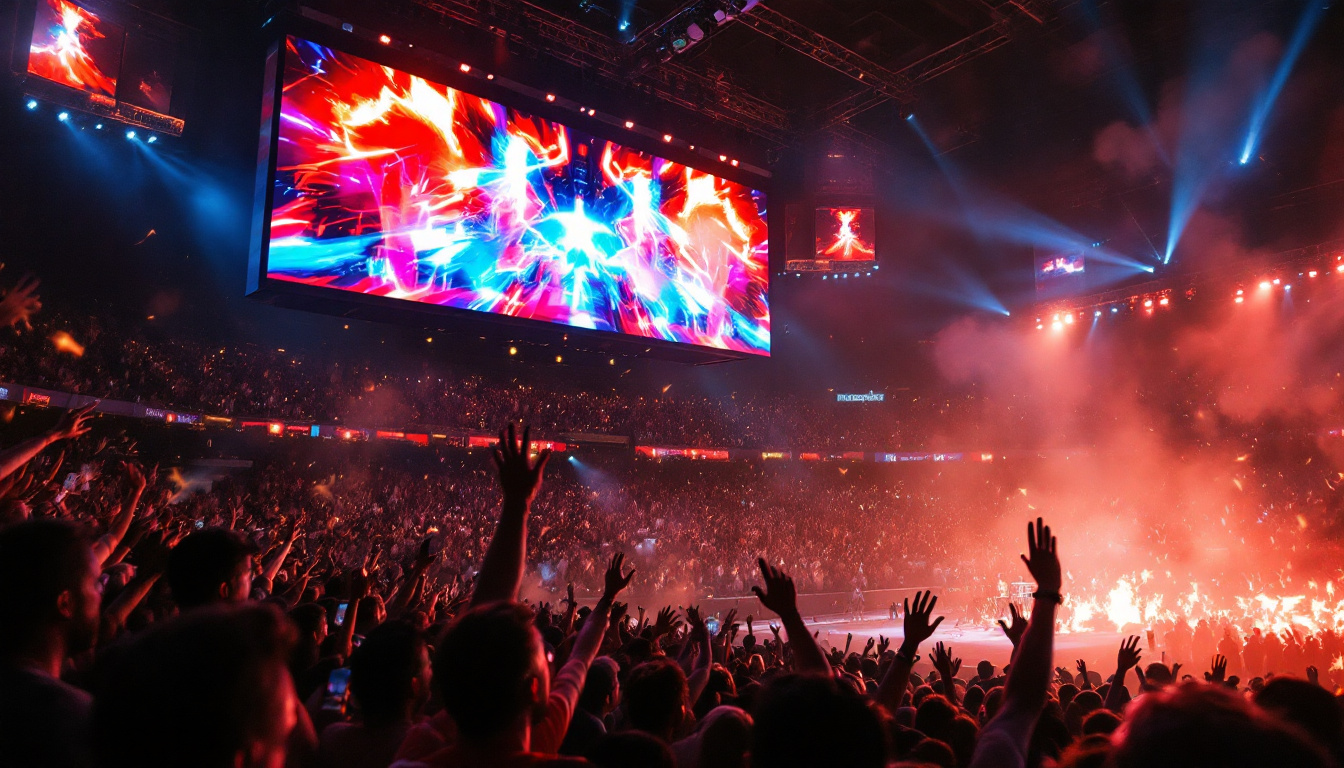
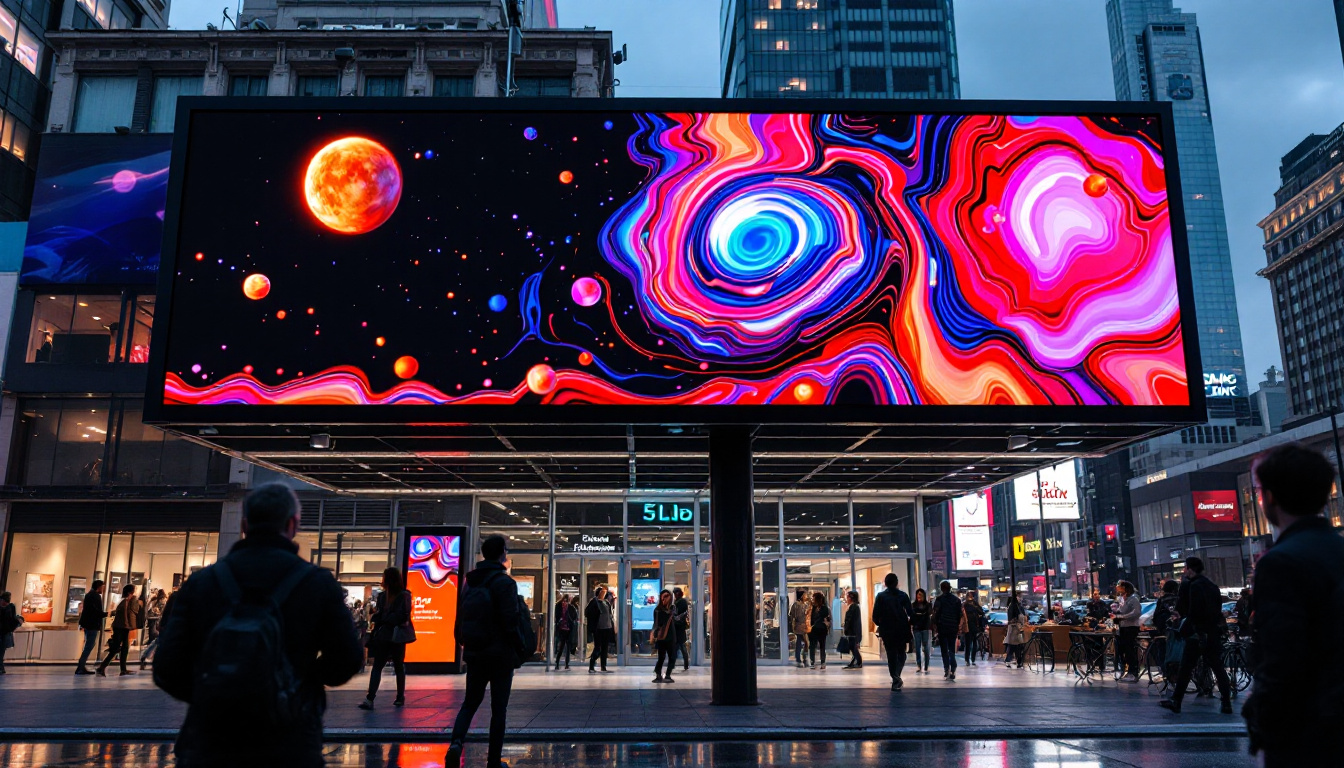
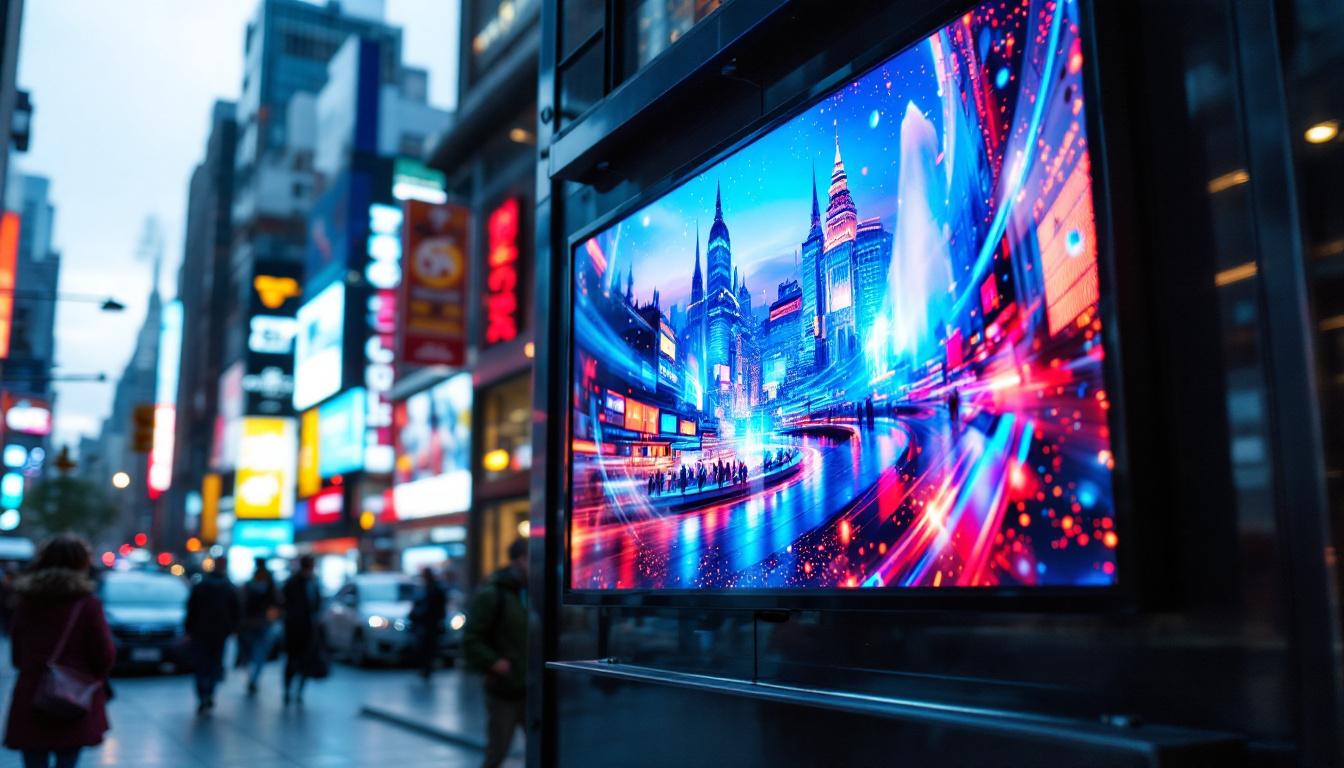
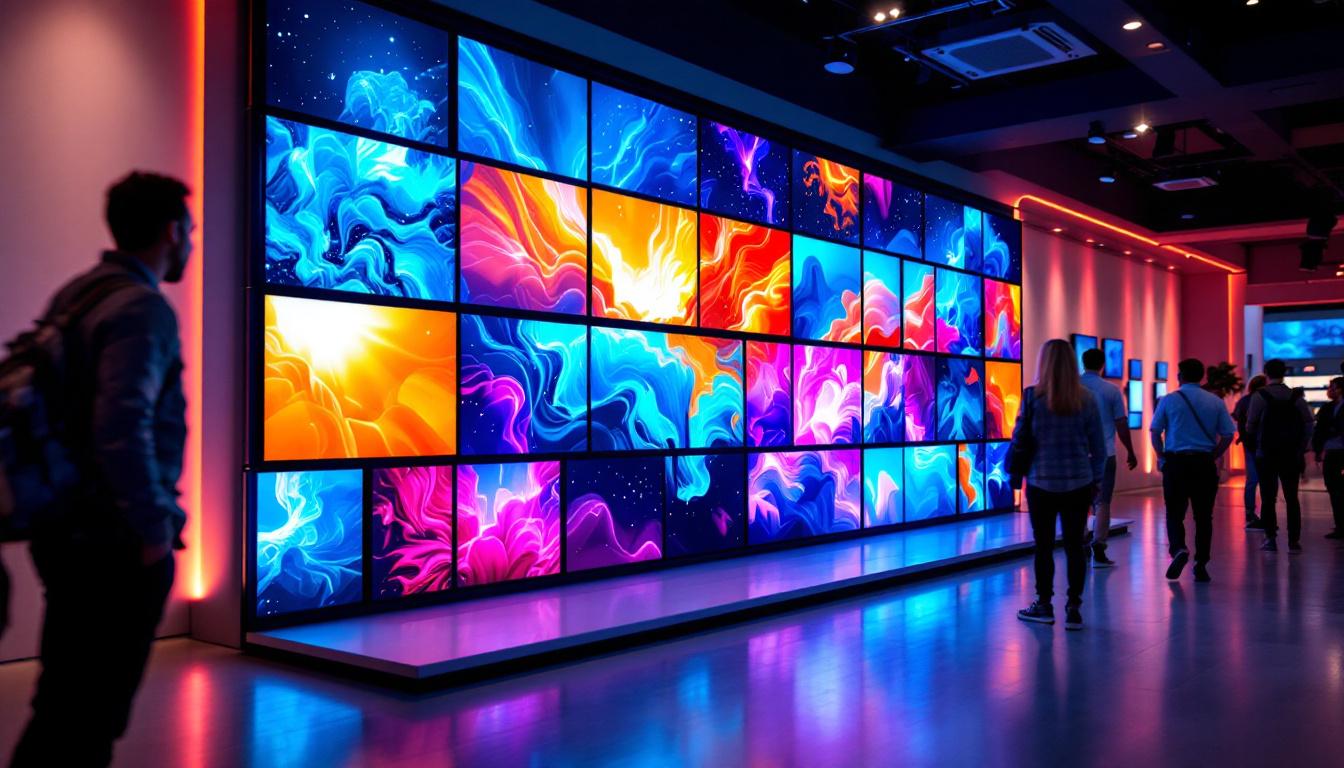
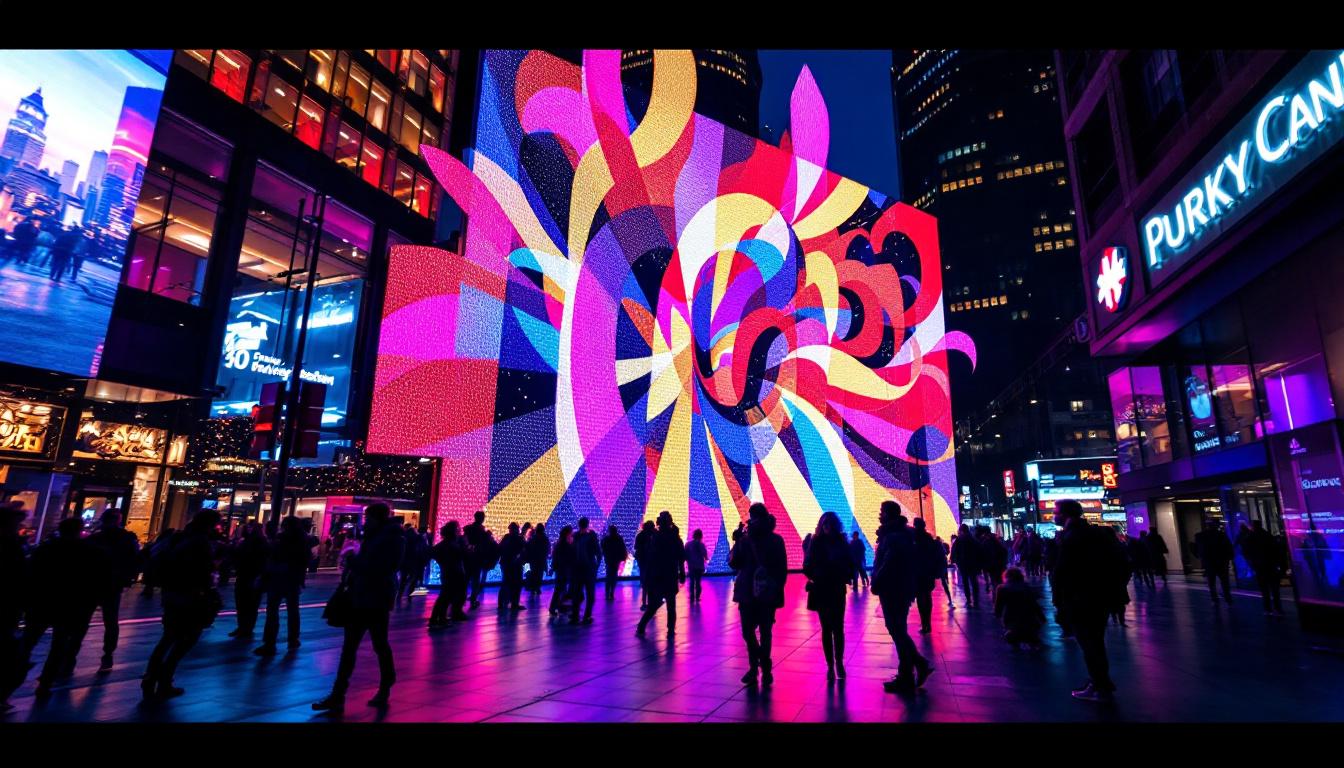
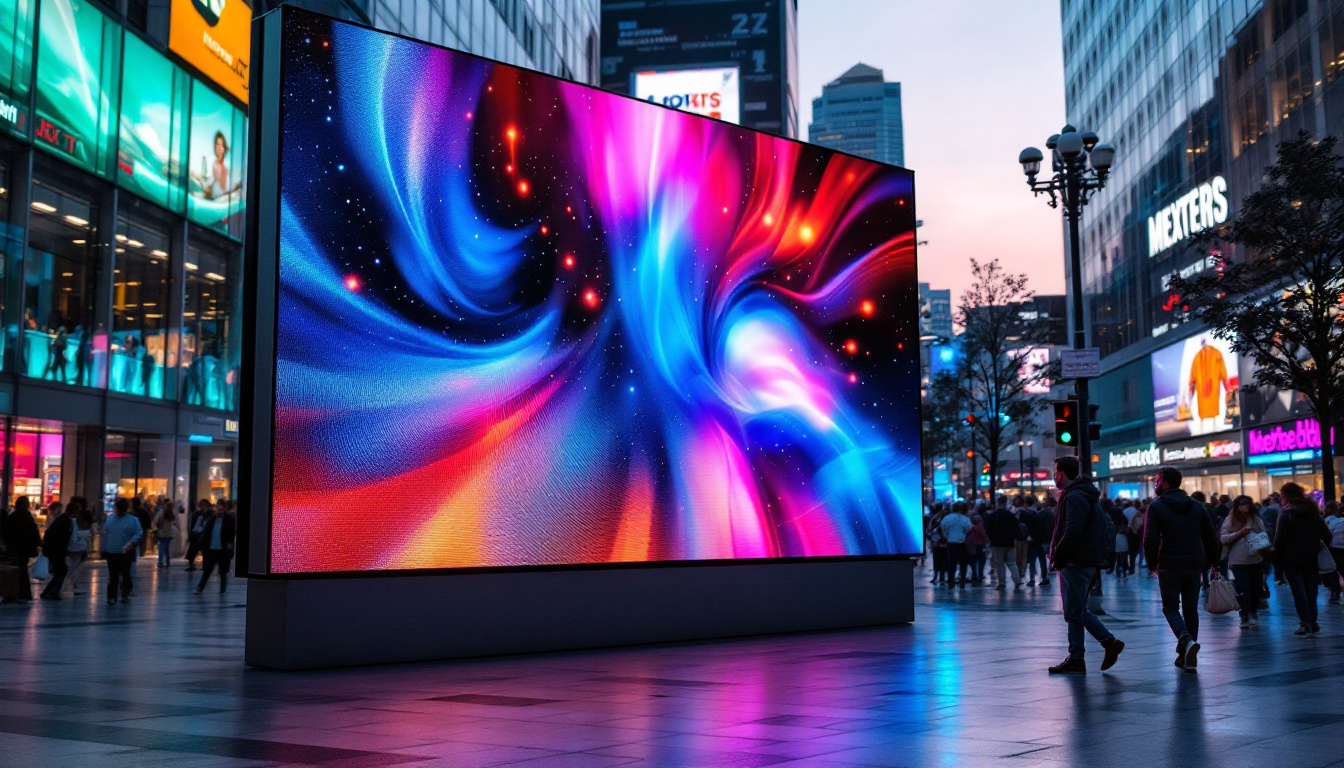
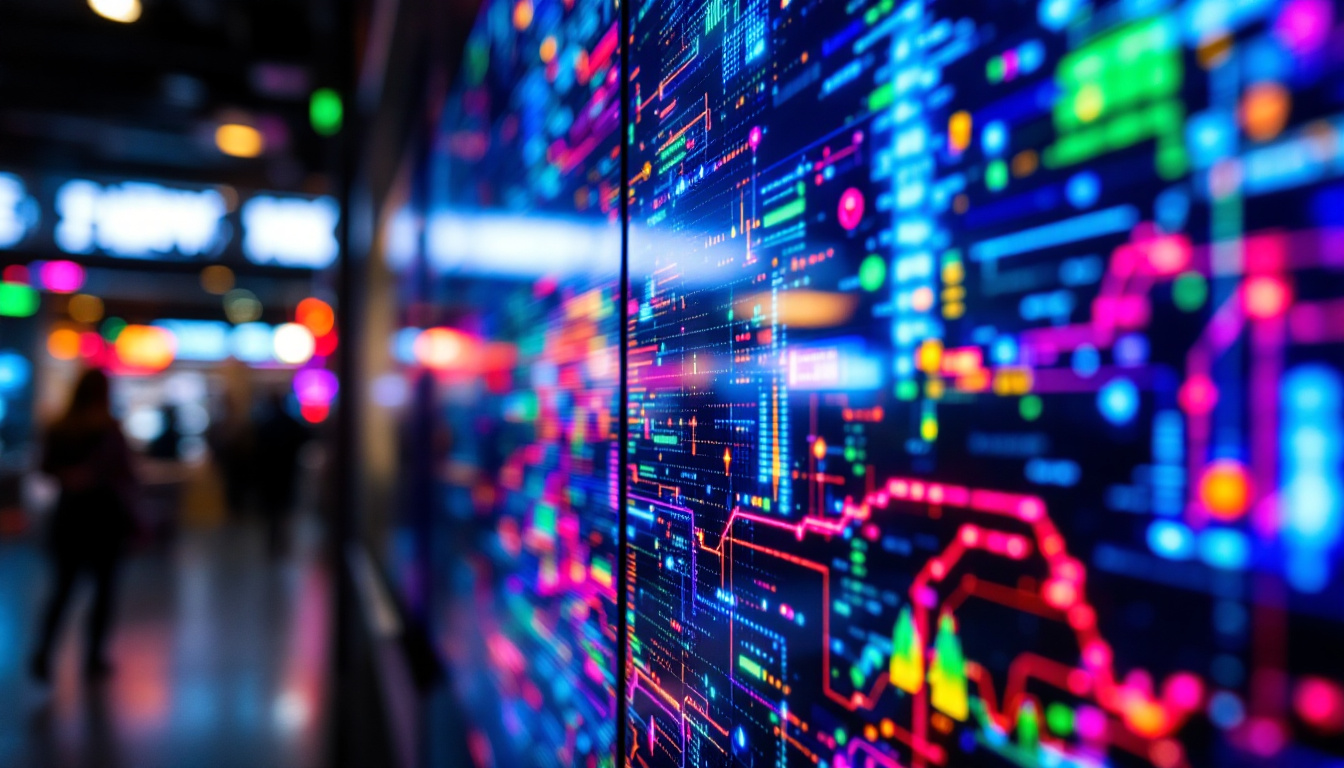
LED displays are increasingly popular in commercial settings, such as digital signage, large event screens, and modern conference rooms. They offer superior durability and can be customized in size and shape, making them a versatile alternative to traditional projection systems. The modular design of LED displays allows for seamless integration into various environments, enabling installations that can be curved or shaped to fit specific architectural features. This flexibility is particularly advantageous for creative advertising and immersive experiences in venues like shopping malls or sports arenas.
Furthermore, LED technology has advanced significantly, with innovations such as microLED and miniLED displays pushing the boundaries of resolution and color accuracy. These advancements allow for ultra-high-definition images that are crisp and detailed, making them ideal for applications requiring precision, such as medical imaging or high-end video production. The longevity of LED displays also means lower maintenance costs over time, as they typically have a longer lifespan compared to traditional projection setups, making them a wise investment for businesses looking to enhance their visual communication strategies.
How to Install a Projector Screen: Step-by-Step Guide
Step 1: Choose the Right Location
Before installation, selecting an appropriate location is crucial. The screen should be positioned where viewers have an unobstructed line of sight and where ambient light can be controlled. Ideally, the wall should be flat, smooth, and large enough to accommodate the screen size.
Consider the projector’s throw distance—the distance between the projector and the screen—to ensure the image fits perfectly. Most projector manufacturers provide throw distance calculators or charts to help with this measurement. Additionally, think about the seating arrangement in the room; a tiered seating setup can enhance viewing experiences in larger spaces, while a simple layout may suffice for smaller rooms. Take note of any potential obstructions, such as furniture or decor, that may interfere with the viewing experience.
Step 2: Select the Appropriate Screen Type and Size
Projector screens come in various types, including fixed-frame, pull-down, electric motorized, and portable. Fixed-frame screens offer a taut, flat surface ideal for permanent installations, while motorized screens provide convenience for multi-use spaces.
Screen size should be chosen based on room dimensions and viewing distance. A common guideline is that the screen width should be approximately two-thirds of the viewing distance. For example, if viewers sit 9 feet away, a 6-foot-wide screen is appropriate. Additionally, consider the aspect ratio of the content you plan to display. Standard screens are typically 16:9 for widescreen formats, while 4:3 screens are better suited for older content. Choosing the right aspect ratio will enhance the viewing experience and prevent any unwanted cropping of the image.
Step 3: Gather Necessary Tools and Materials
Typical tools required for installation include a drill, level, measuring tape, stud finder, screwdriver, and appropriate mounting hardware. For motorized screens, electrical wiring and a power source will also be necessary.
Ensuring you have all tools and components on hand before starting will streamline the installation process and reduce errors. It may also be beneficial to have a helper during installation, especially for larger screens, as this can make aligning and mounting the screen much easier. Additionally, consider using a drop cloth or protective covering on the floor to prevent any damage or scratches during the installation process.
Step 4: Mount the Screen Frame or Housing
Using a stud finder, locate wall studs to securely anchor the screen. Mark the mounting points with a pencil, and use a level to ensure the screen will be perfectly horizontal. Drill pilot holes and attach the mounting brackets or frame according to the manufacturer’s instructions.
For ceiling-mounted screens, ensure the ceiling material can support the weight, and use appropriate anchors or toggle bolts if necessary. It’s also a good idea to check for any electrical wiring or plumbing that may be hidden behind the wall or ceiling before drilling, as this can prevent costly repairs later. Once the screen is mounted, step back and visually inspect the alignment to ensure it meets your expectations before finalizing the installation.
Step 5: Attach and Adjust the Screen Surface
For fixed-frame screens, the screen material is often pre-stretched and attached to the frame. For retractable screens, carefully pull down the screen and secure it in place. Motorized screens should be tested to confirm smooth operation and proper alignment.
Once installed, adjust the screen tension or position to remove any wrinkles or distortions, ensuring a flat and smooth viewing surface. It can be helpful to have someone assist you during this step, as they can provide feedback on the screen’s appearance from various angles. Additionally, consider the viewing height; the center of the screen should ideally be at eye level when seated, which can enhance comfort and reduce neck strain during extended viewing sessions.
Step 6: Calibrate the Projector
After the screen installation, set up the projector at the correct throw distance and height. Use the projector’s keystone correction and zoom features to align the image perfectly with the screen edges.
Adjust brightness, contrast, and color settings on the projector to optimize image quality based on ambient lighting conditions and screen material. Take the time to run a few test images or videos to evaluate the overall picture quality. If possible, consider using calibration tools or software to achieve the best results, as this can significantly enhance the viewing experience. Remember that different types of content may require different settings, so be prepared to make adjustments based on what you plan to watch or present.
Advantages and Considerations of LED Displays
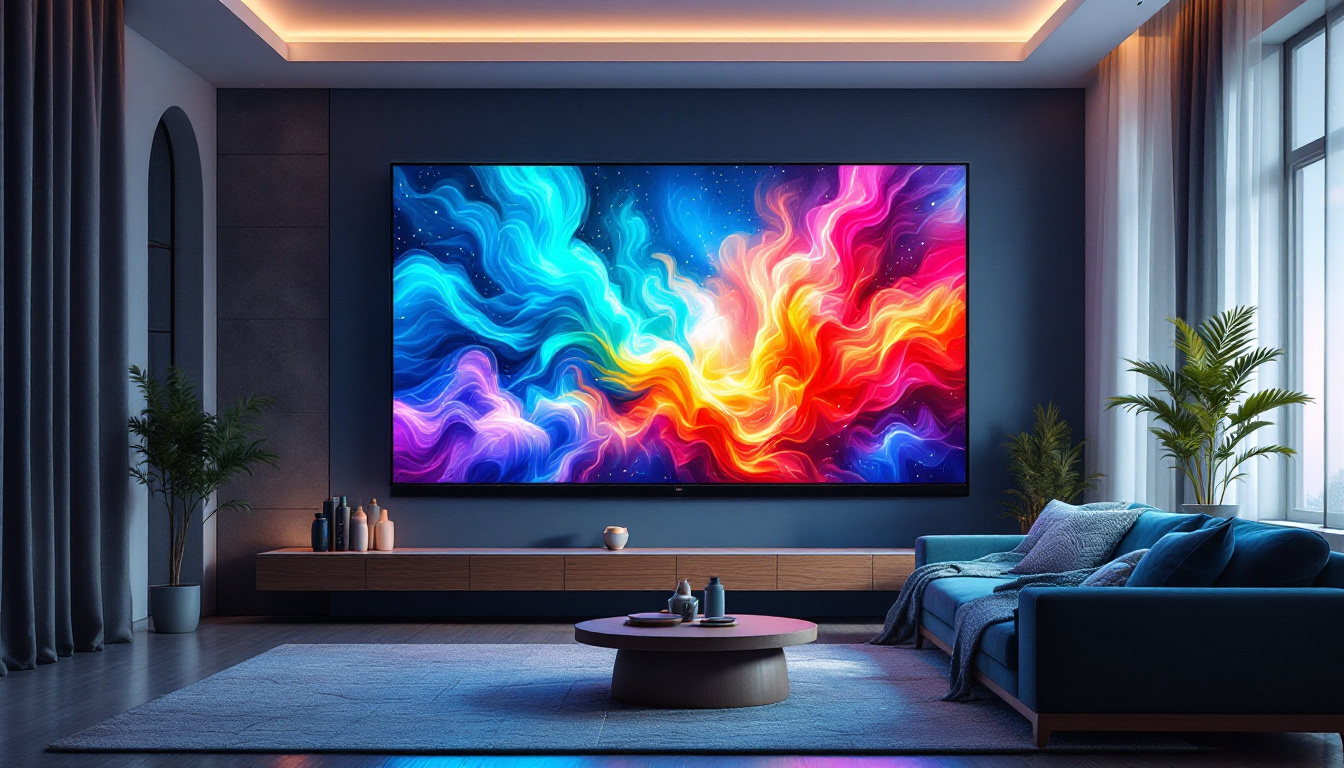
Brightness and Visibility
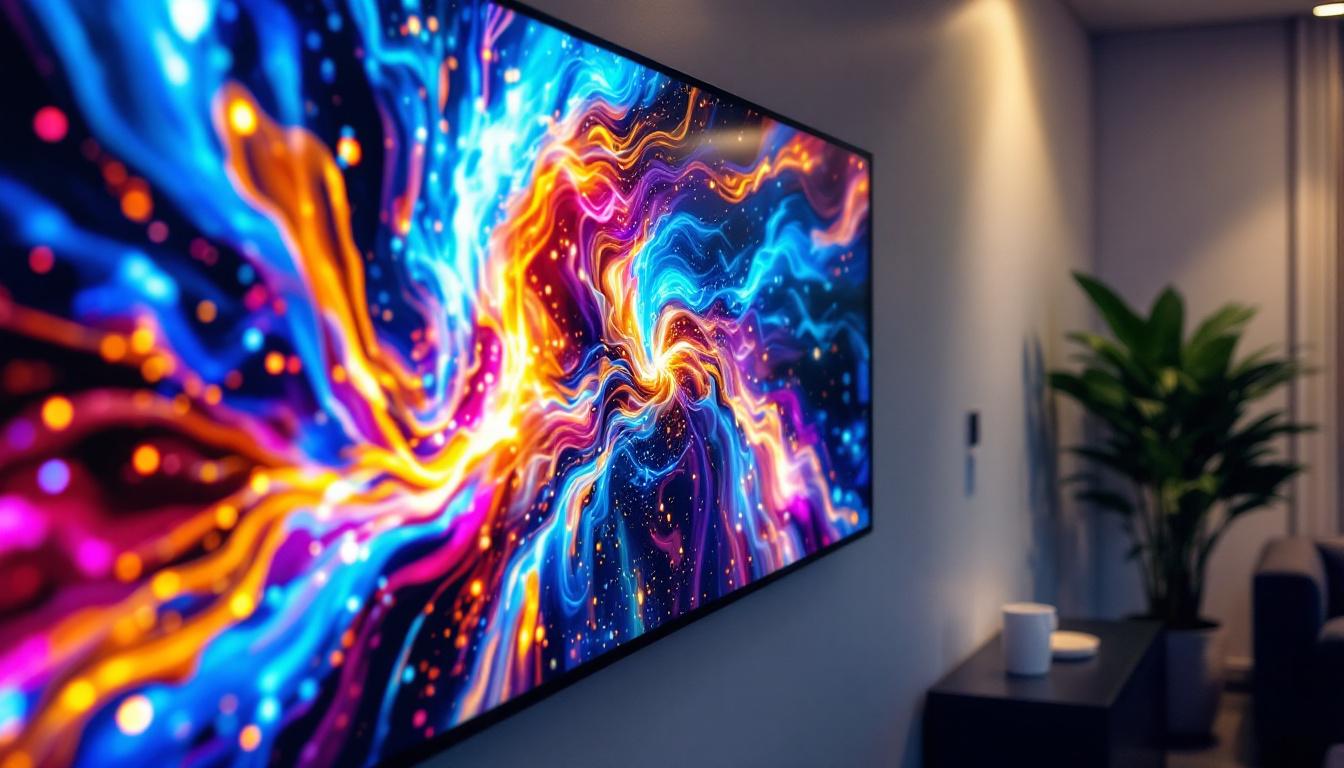
One of the most significant advantages of LED displays is their superior brightness. While projector screens often struggle in bright rooms, LED displays maintain clear visibility even in direct sunlight or well-lit environments. This makes them ideal for outdoor events, retail spaces, and large conference halls.
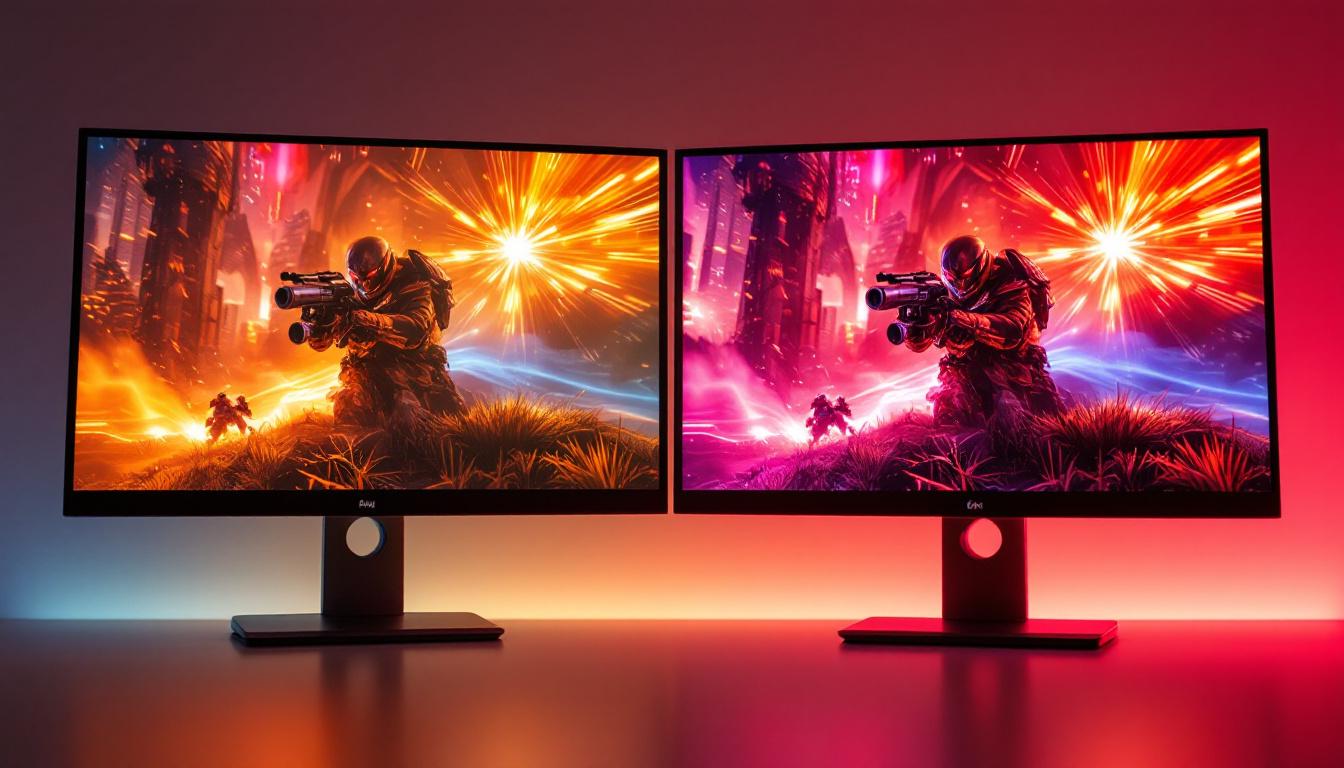
Color Accuracy and Contrast
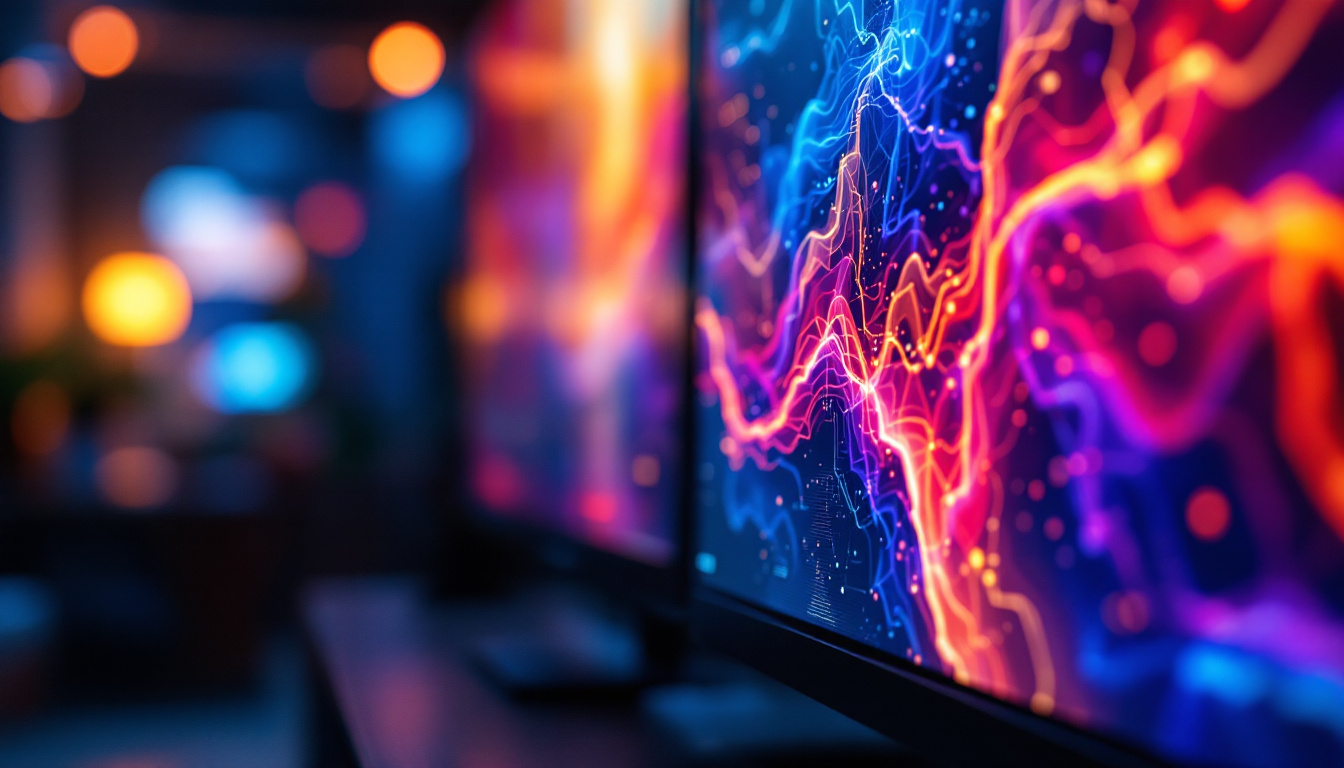
LED technology offers exceptional color reproduction and contrast ratios. Each LED pixel can be individually controlled, producing deep blacks and vibrant colors that projectors sometimes cannot match due to ambient light interference and screen limitations.
Installation Flexibility and Durability
LED displays can be configured in various sizes and shapes, from small video walls to massive stadium screens. Their modular design allows for easy scaling and maintenance. Additionally, LED panels are durable and resistant to damage from environmental factors, making them suitable for both indoor and outdoor use.
Cost and Energy Consumption
While LED displays generally have a higher upfront cost compared to projector systems, their longevity and low maintenance can offset this over time. Energy consumption varies by model, but modern LED displays are designed to be energy-efficient, often consuming less power than high-lumen projectors.
Key Factors to Consider When Choosing Between Projector Screens and LED Displays
Purpose and Environment
Consider the primary use of your display. For home theaters or small conference rooms where controlled lighting is possible, projector screens offer a cost-effective and immersive experience. For large venues, outdoor events, or spaces with high ambient light, LED displays provide unmatched brightness and durability.
Budget Constraints
Projector setups typically require less initial investment, with many quality projectors and screens available under $1,000. In contrast, LED displays can range from several thousand to tens of thousands of dollars depending on size and resolution.
Installation Complexity
Projector screens are generally easier and quicker to install, especially fixed-frame or pull-down models. LED displays require professional installation, including electrical work and precise panel alignment, which can add to the overall cost and time.
Maintenance and Longevity
Projectors require periodic lamp replacements and calibration, while projector screens may need cleaning or re-stretching over time. LED displays have longer lifespans (often exceeding 100,000 hours) and require minimal maintenance, though individual LED modules may need occasional replacement.
Conclusion: Making the Right Choice for Your Visual Display Needs
Installing a projector screen correctly can transform any space into a captivating visual environment, offering flexibility and affordability. Understanding the installation process—from selecting the right location to calibrating the projector—ensures optimal performance and viewer satisfaction.
On the other hand, LED displays represent the cutting edge of display technology, delivering unparalleled brightness, color accuracy, and durability. While they require a higher investment and more complex installation, their benefits make them an excellent choice for demanding environments and large-scale applications.
Ultimately, the decision between a projector screen and an LED display should be guided by your specific needs, budget, and environment. By carefully evaluating these factors and following best practices for installation, you can achieve a stunning visual experience that meets your expectations and enhances your space.
Explore Cutting-Edge LED Display Solutions with LumenMatrix
Ready to elevate your visual experience with the latest in LED display technology? LumenMatrix is at the forefront of innovation, offering a wide array of LED display solutions tailored to your needs. From Indoor and Outdoor LED Wall Displays to specialized options like Vehicle, Sports, and Floor LED Displays, our products are designed to captivate and engage your audience. Discover the transformative power of Custom, All-in-One, and Transparent LED Displays and see how our commitment to revolutionizing visual communication can help your business stand out. Check out LumenMatrix LED Display Solutions today and take the first step towards creating unforgettable visual experiences.