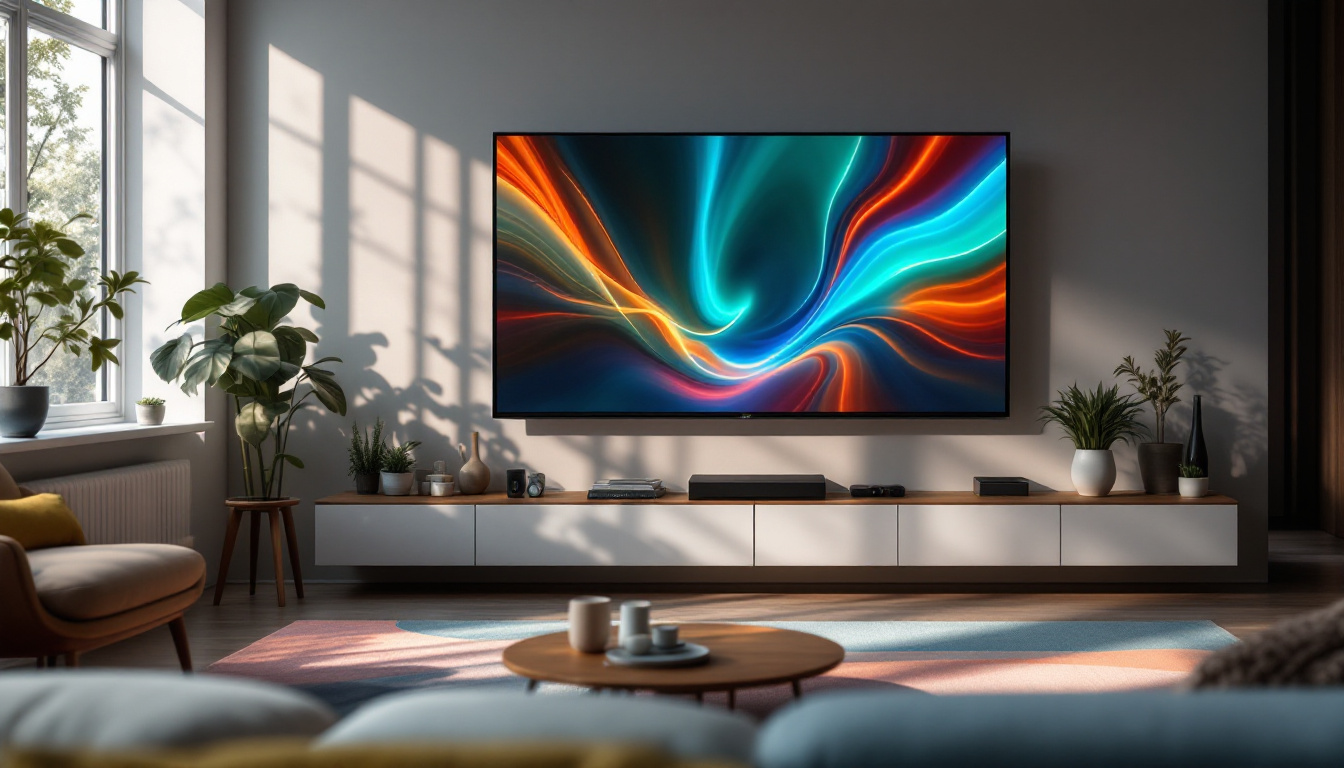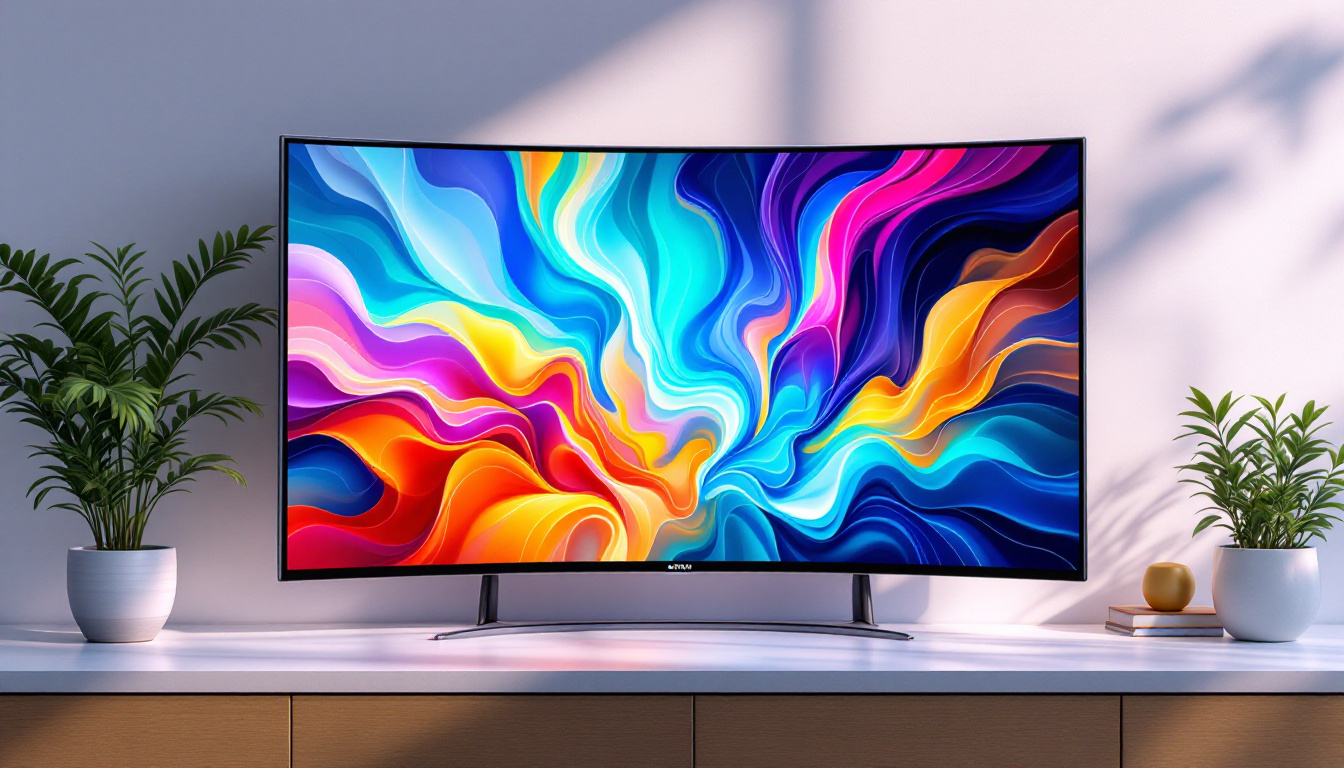
65 Inch TV Wall Mount Installation: LED Display Explained
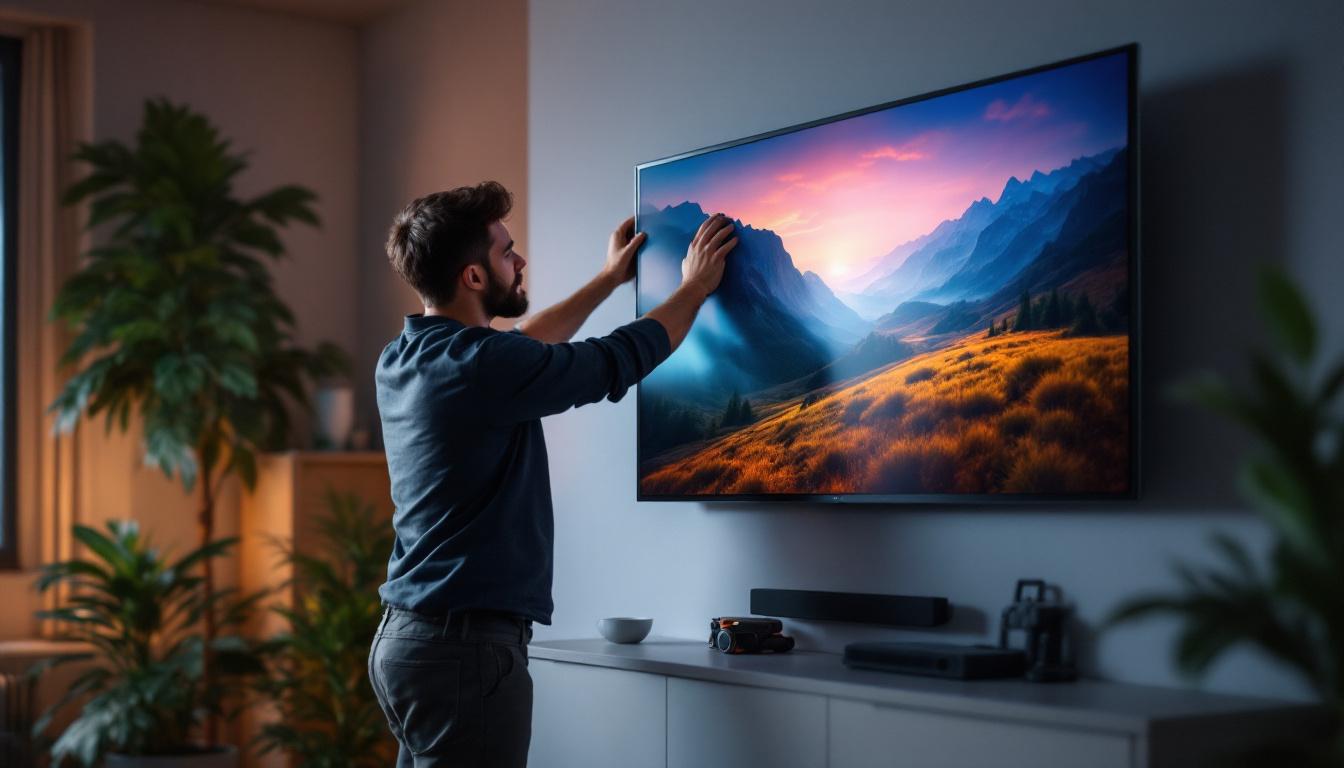
Installing a 65 inch TV on the wall is a popular choice for homeowners seeking a sleek, modern entertainment setup. With the rise of LED display technology, these large screens offer stunning picture quality and energy efficiency, making them ideal for living rooms, home theaters, and even office spaces. However, mounting such a sizable and valuable device requires careful planning and understanding of both the TV’s specifications and the mounting process.
This comprehensive guide will explore the essentials of 65 inch TV wall mount installation, focusing on LED display technology, mounting options, safety considerations, and tips to achieve a professional finish. Whether upgrading your current setup or installing a new display, this article will provide the knowledge needed to make informed decisions and ensure a secure, visually pleasing installation.
Understanding LED Displays on 65 Inch TVs
What is an LED Display?
LED, or Light Emitting Diode, displays have become the standard technology for modern televisions, including 65 inch models. Unlike older LCD TVs that use cold cathode fluorescent lamps (CCFL) for backlighting, LED TVs utilize an array of LEDs to illuminate the screen. This change offers several advantages:
- Improved Brightness and Contrast: LED backlighting provides more precise control over brightness levels, resulting in deeper blacks and more vibrant colors.
- Energy Efficiency: LEDs consume less power compared to traditional CCFL backlights, reducing electricity usage and heat output.
- Slimmer Design: LED technology allows for thinner panels, making wall mounting easier and more aesthetically pleasing.
In addition to these benefits, LED displays also contribute to a more immersive viewing experience. The enhanced color accuracy and dynamic range provided by LED technology make it ideal for watching high-definition content, such as movies and sports. Furthermore, many LED TVs come equipped with advanced image processing technologies that can upscale lower-resolution content, ensuring that everything you watch looks its best. This is particularly important for 65 inch TVs, where larger screen sizes can magnify imperfections in the image quality.
Types of LED Backlighting
Understanding the types of LED backlighting is crucial when selecting a 65 inch TV and planning its installation. The two main types are:
- Edge-Lit LED: LEDs are placed along the edges of the screen, with light guided across the display by light guides. This design enables ultra-thin TVs but may have uneven brightness in some cases.
- Full-Array LED: LEDs are distributed evenly behind the entire screen, providing superior brightness uniformity and local dimming capabilities for enhanced contrast.
For wall mounting, full-array LED TVs tend to be slightly thicker but offer better picture quality, while edge-lit models are slimmer and lighter, simplifying installation. Additionally, full-array LED TVs often feature local dimming technology, which allows certain areas of the screen to dim independently, enhancing the contrast ratio and making dark scenes appear more detailed. This is particularly beneficial for cinematic experiences where shadows and highlights play a crucial role in storytelling. On the other hand, edge-lit models may be more suitable for those who prioritize a sleek design and are willing to compromise slightly on picture performance.
When choosing between these two types, consider your viewing habits and the environment in which the TV will be placed. For instance, if you often watch TV in a bright room, an edge-lit model may struggle to deliver the same level of performance as a full-array model, which can better handle varying lighting conditions. Understanding these nuances can help you make a more informed decision, ensuring that your investment in a 65 inch TV meets your specific needs and preferences.
Choosing the Right Wall Mount for a 65 Inch TV
Types of Wall Mounts
Selecting an appropriate wall mount is essential for securely supporting a 65 inch LED TV. The main types of mounts include:
- Fixed Mounts: These hold the TV flat against the wall with no movement. They are typically the most affordable and provide a clean look but offer no flexibility in viewing angles.
- Tilting Mounts: Allow the TV to tilt vertically, which is useful for reducing glare and adjusting the viewing angle when the TV is mounted higher than eye level.
- Full-Motion (Articulating) Mounts: Provide the most flexibility, enabling the TV to tilt, swivel, and extend away from the wall. Ideal for rooms where multiple viewing positions are common.
Weight and VESA Compatibility
Before purchasing a mount, it’s critical to verify the TV’s weight and VESA (Video Electronics Standards Association) mounting pattern. Most 65 inch LED TVs weigh between 40 and 60 pounds, but this varies by model and manufacturer.
The VESA pattern refers to the standardized hole spacing on the back of the TV used for mounting. Common patterns for 65 inch TVs include 400×400 mm or 600×400 mm. Ensuring the wall mount supports the TV’s weight and matches its VESA pattern prevents installation issues and potential damage.
Material and Build Quality
Wall mounts are typically made from steel or aluminum. Steel mounts offer superior strength and durability, especially important for heavier TVs. Aluminum mounts are lighter but may not support heavier displays as securely. Investing in a high-quality mount from a reputable brand ensures safety and longevity.
Preparing for Installation
Tools and Materials Needed
Gathering the right tools before installation saves time and reduces frustration. Essential tools include:
- Stud finder to locate wall studs
- Power drill with appropriate drill bits
- Level to ensure the mount is perfectly horizontal
- Socket wrench or screwdriver for mounting screws
- Measuring tape
- Masking tape for marking drill points
- Wall anchors (if mounting on drywall without studs)
Choosing the Mounting Location
Selecting the ideal location for your 65 inch TV involves several considerations:
- Viewing Height: The center of the screen should be at or slightly below eye level when seated, typically around 42 to 48 inches from the floor.
- Wall Strength: Mounting on a solid wall with studs is preferable. Avoid drywall-only surfaces unless using appropriate anchors designed for heavy loads.
- Sunlight and Glare: Position the TV to minimize direct sunlight or reflections that can diminish picture quality.
- Proximity to Power and Cable Outlets: Ensure the TV location is near electrical outlets and cable connections to avoid visible wires or the need for extension cords.
Safety Precautions
Due to the size and weight of a 65 inch TV, safety is paramount during installation. Always:
- Have at least one other person assist with lifting and positioning the TV.
- Use a sturdy ladder or step stool if mounting high on the wall.
- Double-check that the wall mount is securely fastened to studs or appropriate anchors.
- Follow manufacturer instructions closely to avoid voiding warranties or causing damage.
Step-by-Step Wall Mount Installation Process
Step 1: Locate Wall Studs
Using a stud finder, identify the vertical wooden studs behind the drywall. Mark their edges with a pencil. Mounting the TV bracket directly into studs ensures maximum support.
Step 2: Mark and Drill Mounting Holes
Hold the wall mount bracket against the wall at the desired height, using a level to ensure it is straight. Mark the drill holes on the wall where the screws will secure the mount to the studs.
Drill pilot holes slightly smaller than the mounting screws to prevent wood splitting and facilitate easier installation.
Step 3: Attach the Wall Mount Bracket
Using the screws provided with the mount, secure the bracket firmly into the wall studs. Use a socket wrench or screwdriver to tighten the screws completely, ensuring the bracket does not move.
Step 4: Attach the Mounting Plate to the TV
Lay the TV face down on a soft, flat surface to avoid scratches. Align the mounting plate with the VESA holes on the back of the TV and attach it using the screws supplied by the mount manufacturer.
Be careful not to overtighten screws, which could damage the TV’s frame.
Step 5: Hang the TV on the Wall Bracket
With assistance, lift the TV and hook the mounting plate onto the wall bracket. Most mounts have a locking mechanism or screws to secure the TV in place. Ensure these are engaged to prevent accidental dislodging.
Step 6: Adjust Viewing Angle and Cable Management
If using a tilting or full-motion mount, adjust the TV to the preferred angle. Use cable clips or channels to organize power cords, HDMI cables, and other connections neatly along the wall.
Common Challenges and Troubleshooting
Uneven Mounting or Tilted TV
If the TV appears crooked after installation, double-check the level of the wall bracket before hanging the TV. Adjust as necessary, and ensure the mounting plate is properly aligned on the TV.
Studs Not Aligning with VESA Holes
Sometimes, the wall studs may not line up perfectly with the VESA mounting pattern. Solutions include:
- Using a mount with an adjustable bracket that allows horizontal shifting.
- Installing a plywood mounting board anchored to multiple studs, then attaching the mount to the board.
Insufficient Wall Support
If mounting on drywall without studs, use heavy-duty wall anchors rated for the TV’s weight. However, this is generally less secure than mounting on studs and not recommended for large TVs.
Maintaining Your Wall-Mounted 65 Inch LED TV
Regular Cleaning
Keep the LED screen clean by wiping gently with a microfiber cloth. Avoid harsh chemicals or abrasive materials that could damage the screen’s surface. Dust the mount and cables periodically to prevent buildup.
Checking Mount Stability
Periodically inspect the wall mount screws and brackets to ensure they remain tight and secure. This is especially important in households with children or pets that may bump into the TV.
Updating Firmware and Settings
Many modern 65 inch LED TVs receive firmware updates that improve performance and add features. Check the manufacturer’s website or TV settings regularly to keep the device up to date.
Conclusion
Installing a 65 inch LED TV on the wall enhances both the aesthetic and functional aspects of a room. Understanding LED display technology, selecting the right mount, and following a careful installation process ensures a safe, durable, and visually impressive setup. By considering factors such as viewing height, wall strength, and cable management, homeowners can enjoy the full benefits of their large-screen LED TVs with confidence.
Whether tackling the installation independently or hiring a professional, the key is preparation and attention to detail. With the right knowledge and tools, mounting a 65 inch LED TV can transform your entertainment experience and elevate your living space.
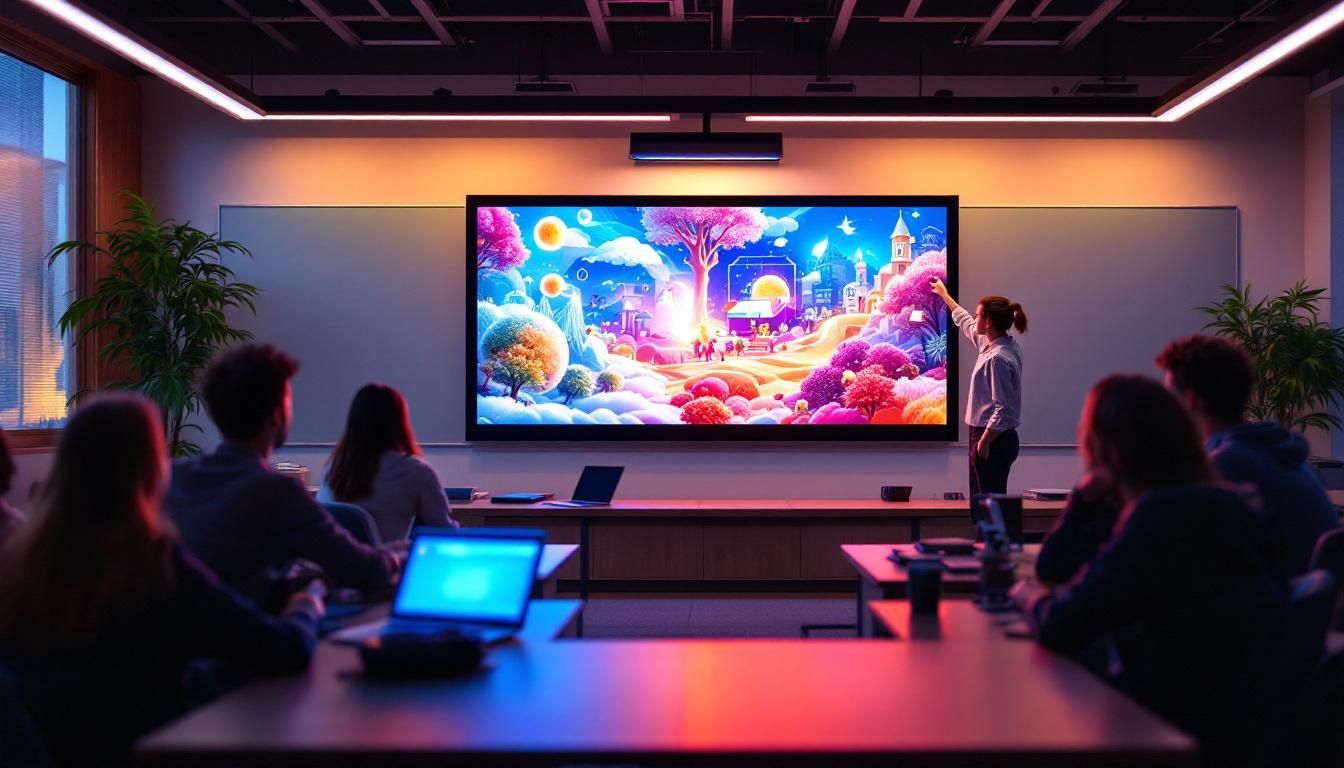
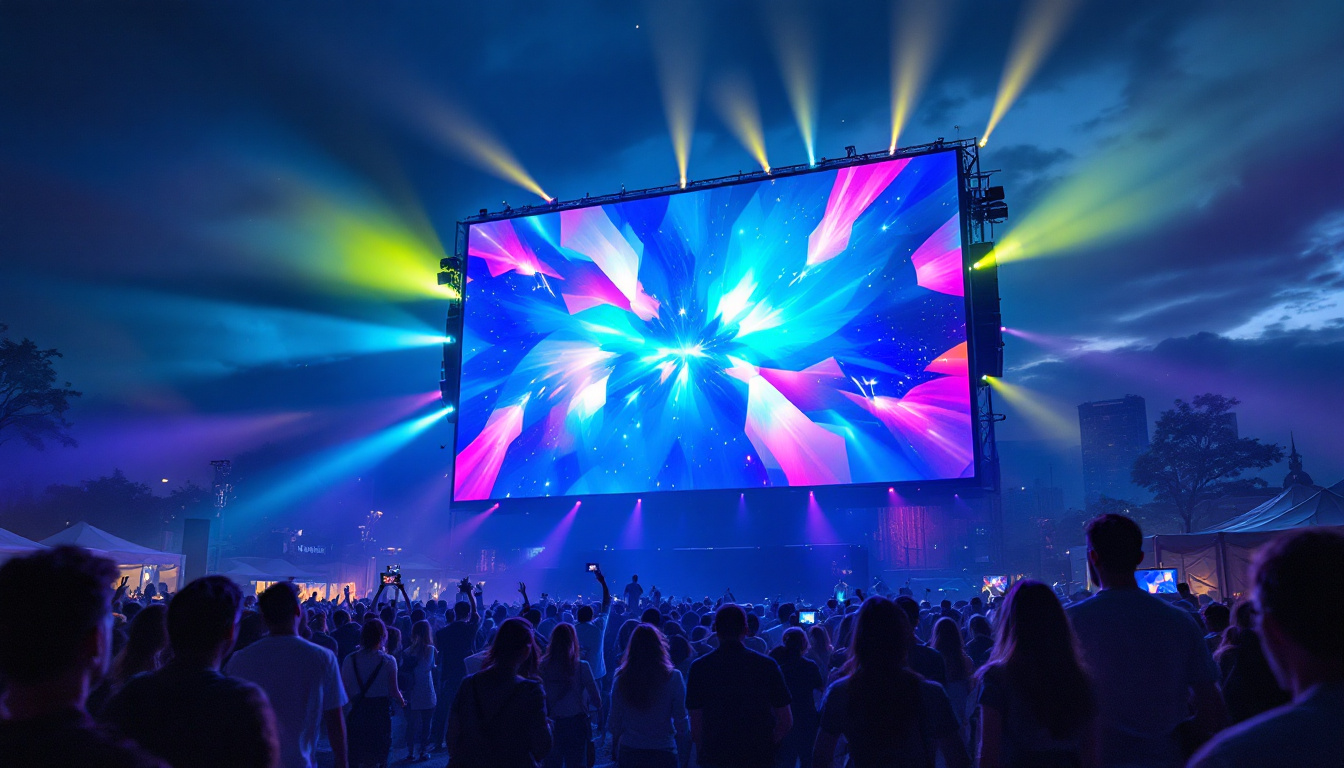
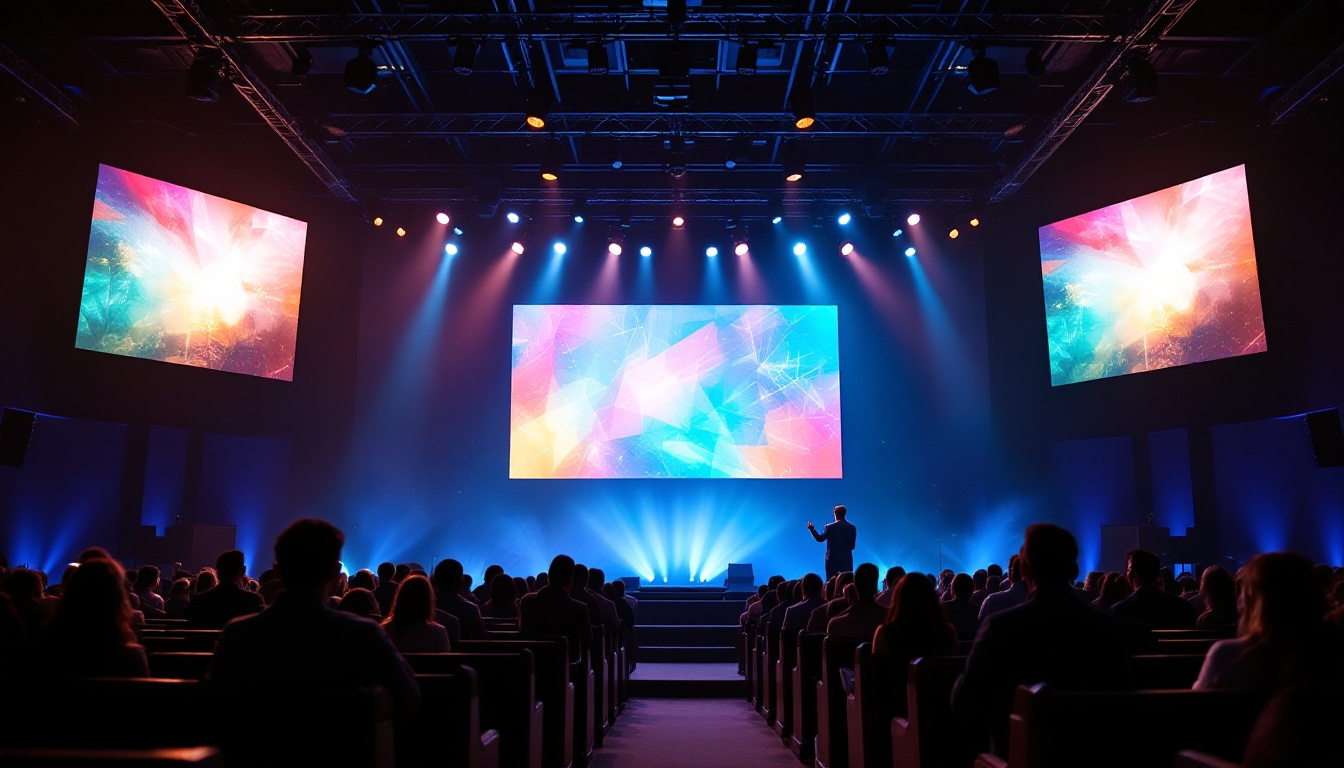
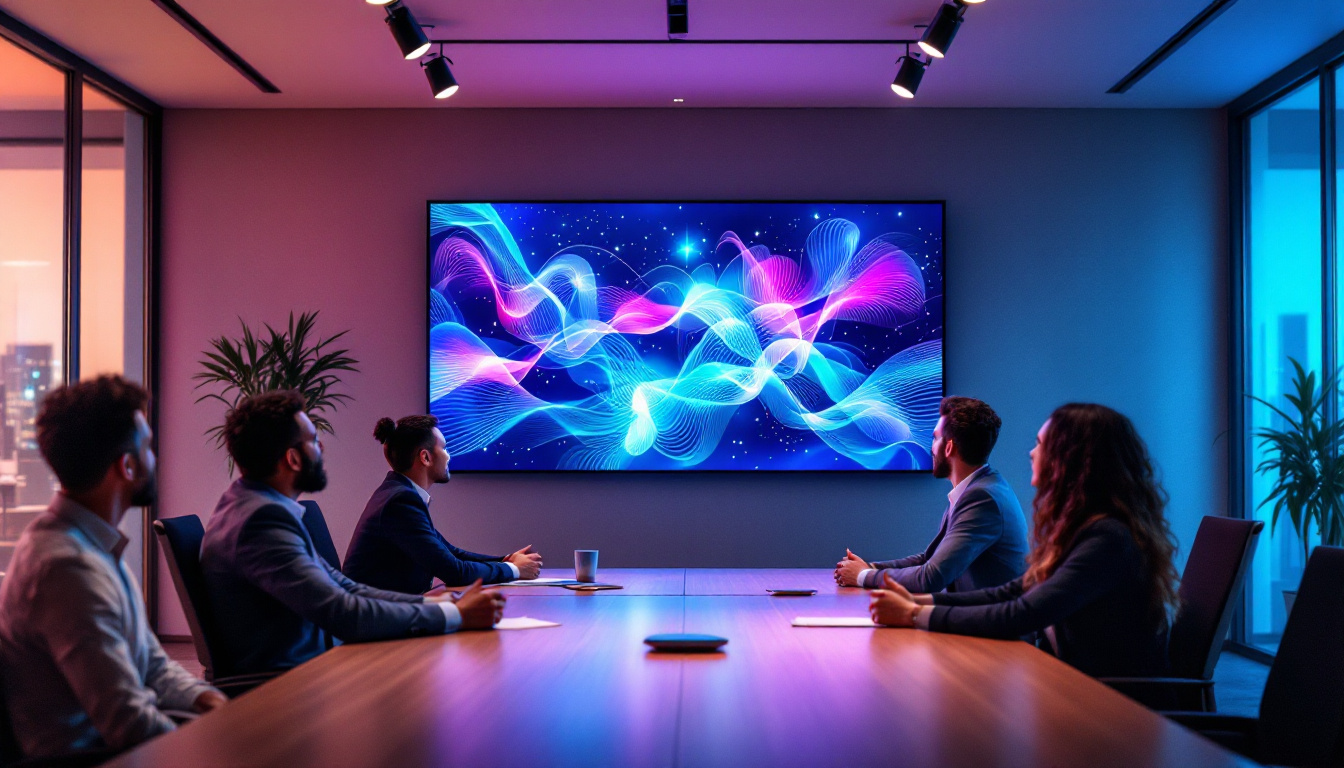
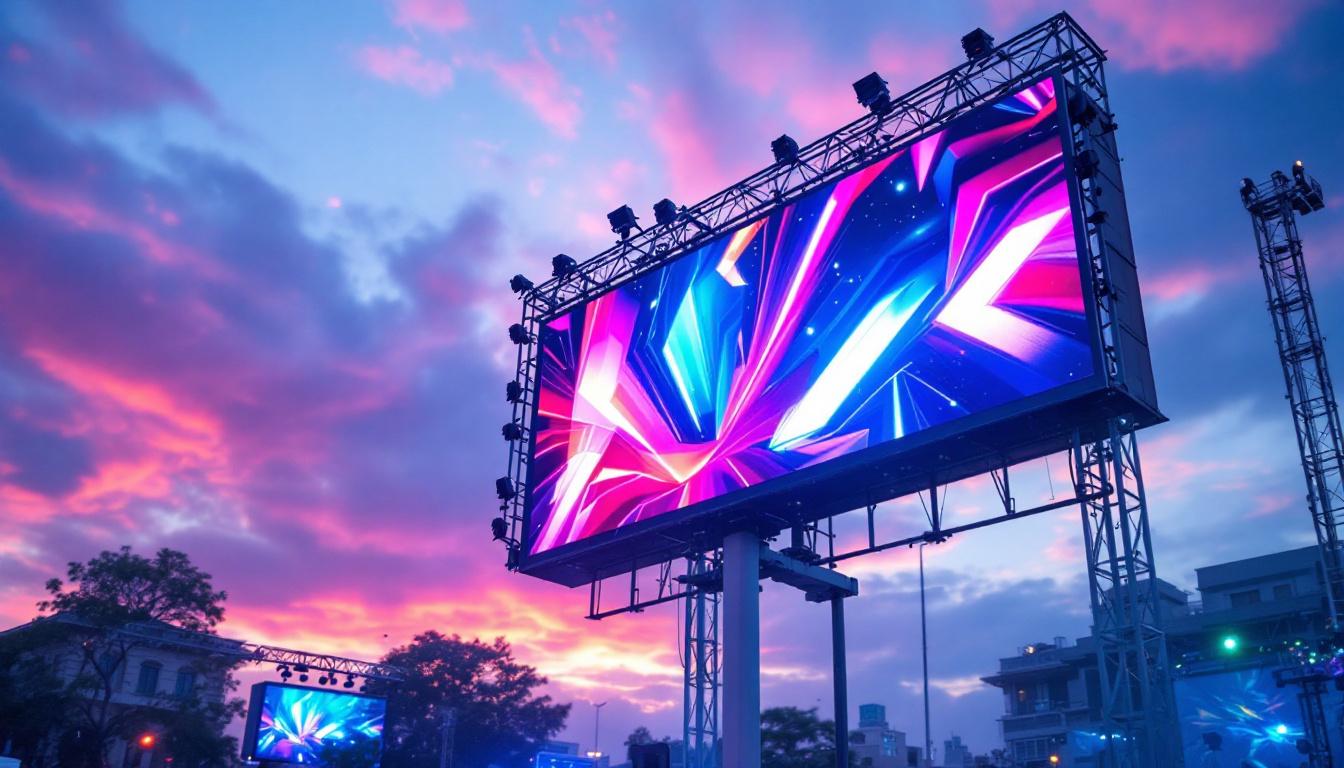
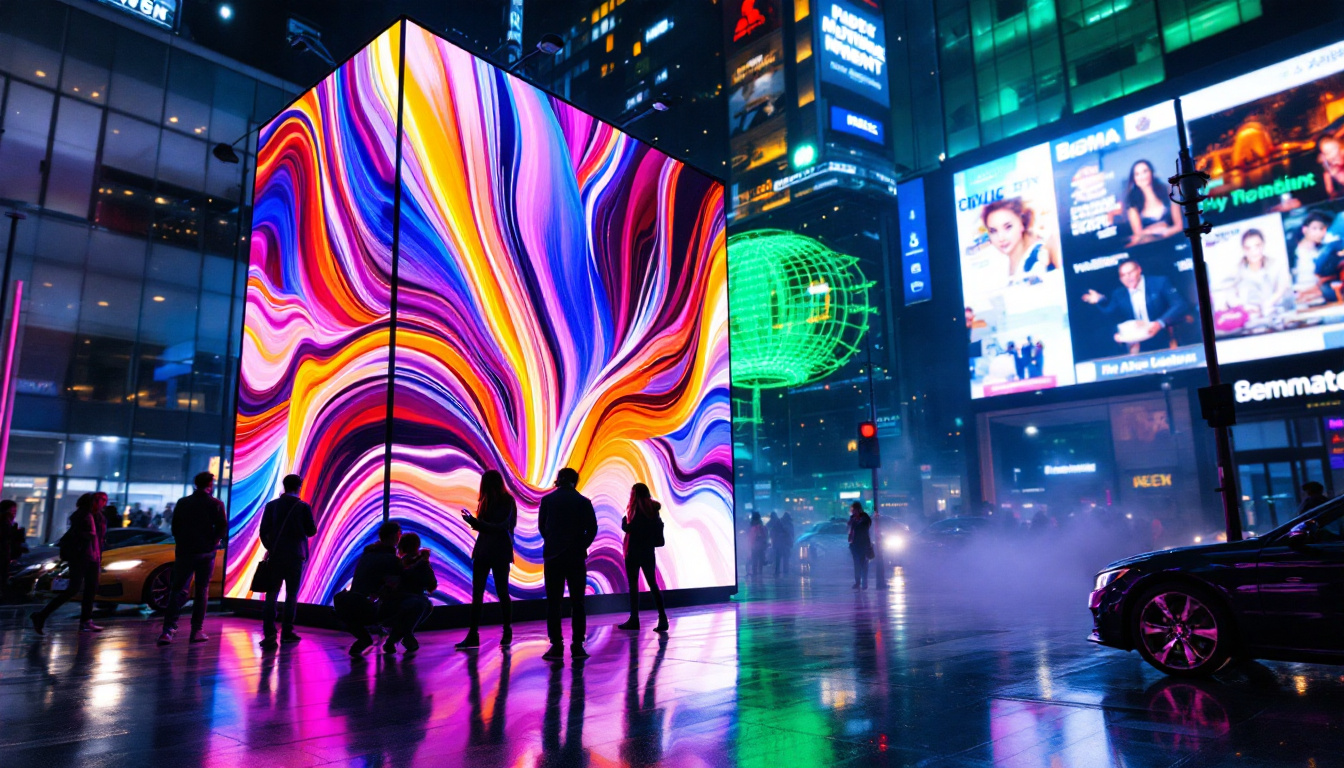
Enhance Your Viewing Experience with LumenMatrix
Ready to take your entertainment space to the next level? LumenMatrix, a pioneer in LED display technology, offers an array of innovative solutions that will elevate your visual experience. From immersive Indoor LED Wall Displays to dynamic Outdoor LED Wall Displays, and from sleek LED Poster Displays to engaging LED Sports Displays, LumenMatrix has the perfect LED solution to complement your new 65 inch wall-mounted TV. Experience the future of visual communication with our cutting-edge LED displays designed to captivate and engage. Check out LumenMatrix LED Display Solutions today and transform your space into a hub of high-definition wonder.