In today’s fast-evolving digital landscape, effective vendor management is crucial for companies leveraging advanced technologies. Autodesk, a global leader in design and engineering software, offers a streamlined vendor setup process that integrates with various display technologies, including LED displays. Understanding how Autodesk’s vendor setup works in conjunction with LED display systems can help businesses optimize their operations, enhance communication, and improve project visualization.
Understanding Autodesk Vendor Set Up
Autodesk’s vendor setup process is designed to facilitate seamless collaboration between software users and their suppliers or service providers. This setup is essential for companies that rely on third-party vendors for hardware, software, or services related to Autodesk’s suite of products.
The vendor setup involves registering a vendor’s details into Autodesk’s procurement or project management systems. This registration ensures that vendors are authorized, compliant with company policies, and integrated into the workflow for procurement, billing, and project tracking.
For organizations working with LED display technology, this setup is particularly important. It ensures that the hardware suppliers, installation teams, and maintenance providers are properly documented and can be managed effectively within Autodesk’s ecosystem. By having a clear and organized vendor database, companies can quickly identify the right resources for specific projects, enhancing efficiency and reducing downtime.
Moreover, a well-structured vendor setup can significantly improve communication between project teams and vendors. With clear expectations set from the outset, both parties can work together more effectively, minimizing misunderstandings and ensuring that project milestones are met on time. This is particularly crucial in industries where project timelines are tight, and any delay can lead to substantial financial repercussions.
Key Components of Autodesk Vendor Set Up
The vendor setup process typically includes several critical components:
- Vendor Information Collection: Gathering essential details such as company name, contact information, tax identification numbers, and banking details for payments.
- Compliance Verification: Ensuring vendors meet legal, safety, and industry-specific standards. This may include certifications for handling LED display equipment or software licensing requirements.
- Integration with Procurement Systems: Linking vendor data with Autodesk’s procurement modules to streamline purchase orders, invoicing, and payment processing.
- Access and Permissions: Defining what data and project areas vendors can access within Autodesk’s platforms, safeguarding sensitive information while enabling collaboration.
Additionally, ongoing vendor performance evaluations are a vital aspect of the setup process. By regularly assessing vendor capabilities, responsiveness, and adherence to project specifications, organizations can ensure they are working with the most reliable partners. This continuous feedback loop not only fosters accountability but also encourages vendors to maintain high standards of service, ultimately benefiting the entire project lifecycle.
Furthermore, training and support resources are often made available to vendors as part of the setup process. This can include access to Autodesk’s knowledge base, tutorials, and customer support channels, which help vendors become more proficient in using Autodesk products and services. By equipping vendors with the necessary tools and knowledge, companies can enhance collaboration and drive project success, ensuring that all stakeholders are aligned and informed throughout the project duration.
The Role of LED Displays in Autodesk Projects
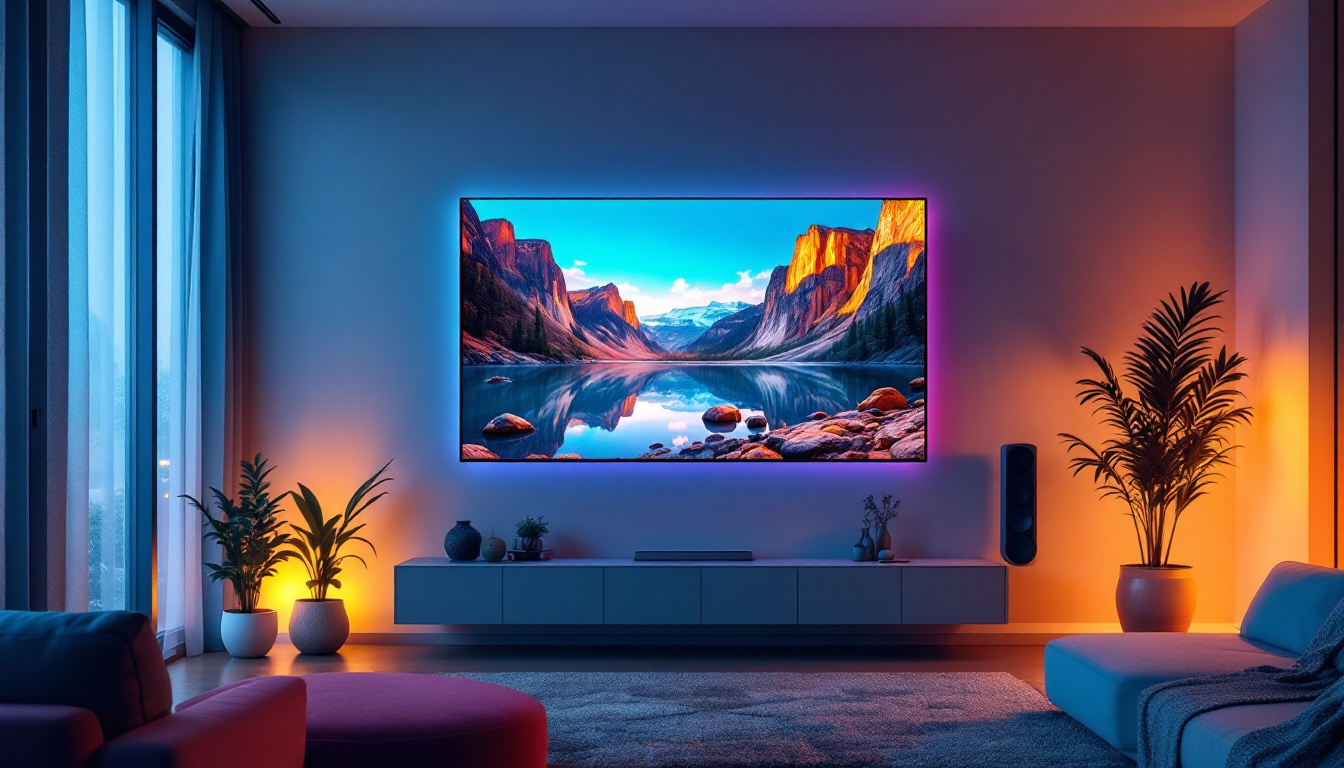
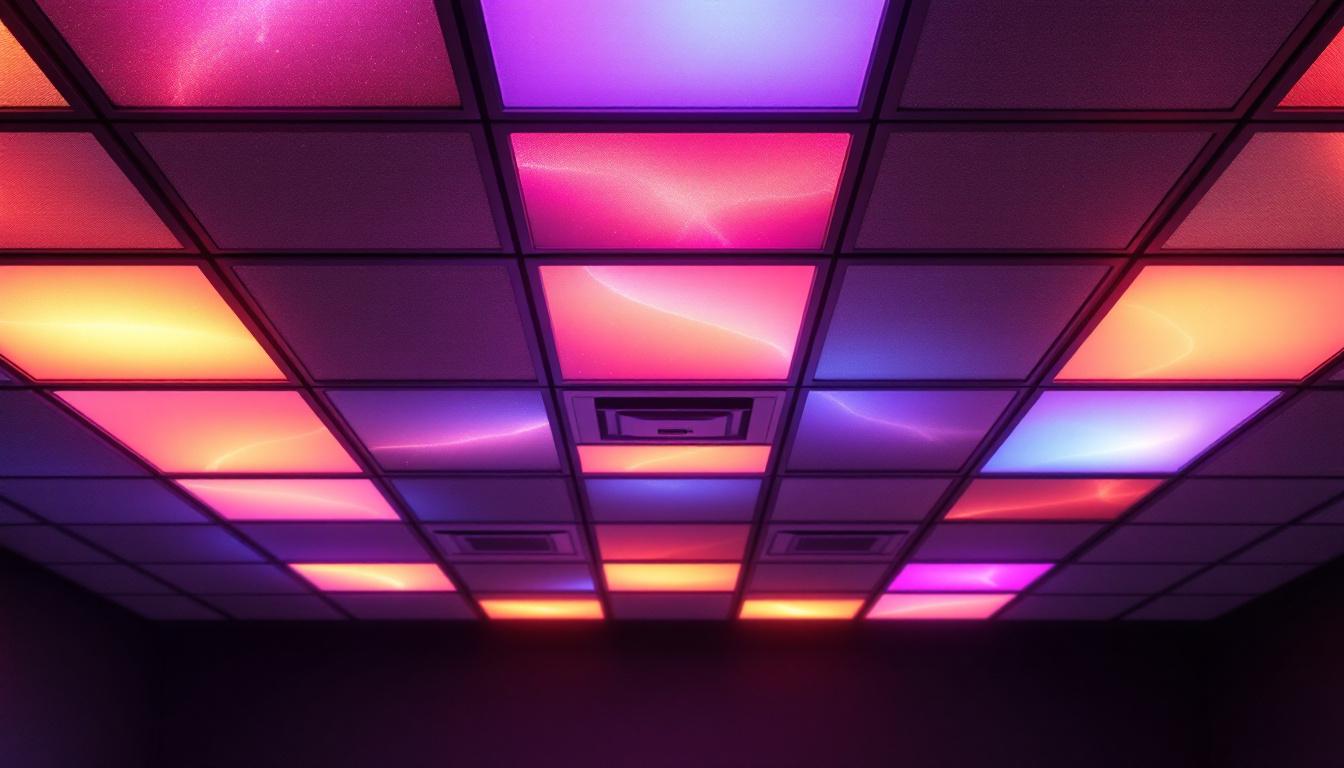
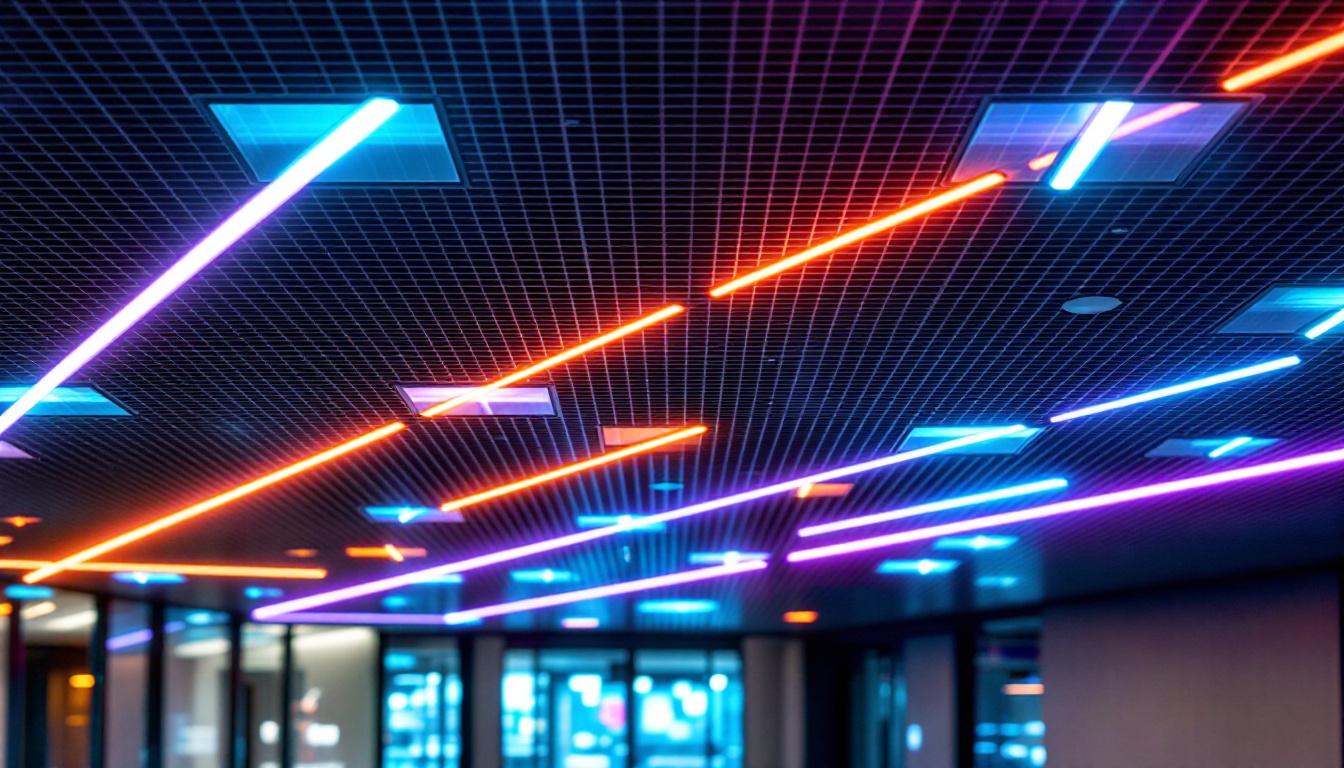
LED displays have become increasingly integral in industries that use Autodesk software, such as architecture, construction, and manufacturing. These displays offer high-resolution, dynamic visualization capabilities that enhance project presentations, on-site monitoring, and real-time collaboration.
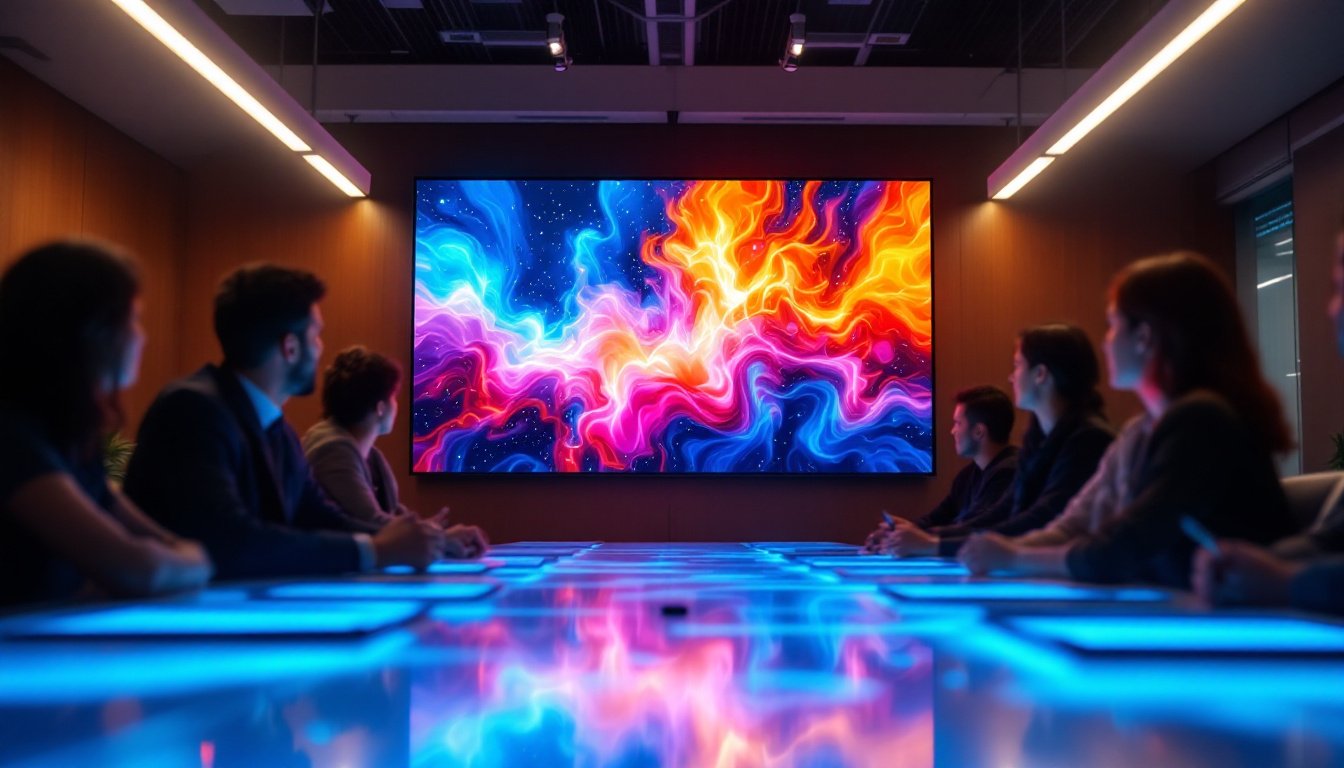
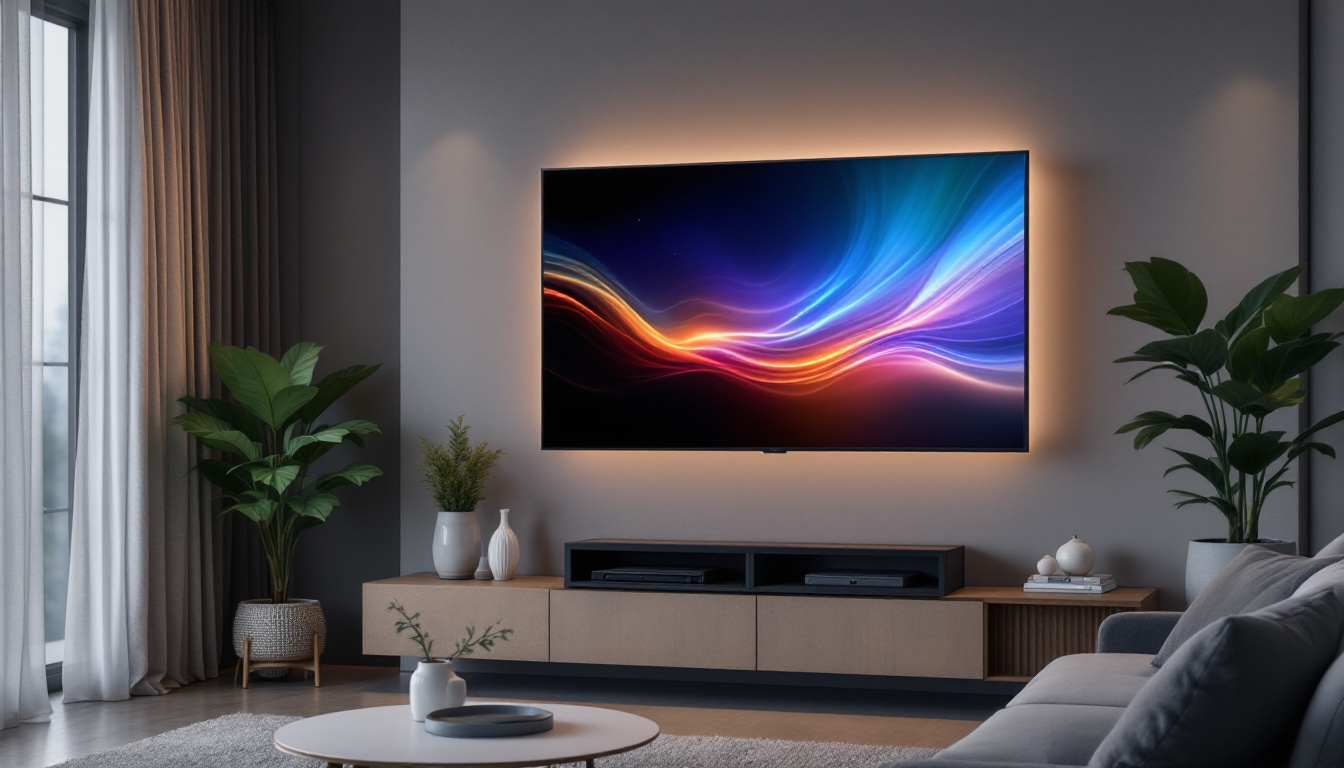
In construction, for example, large LED video walls can display 3D models created in Autodesk Revit or AutoCAD, allowing teams to visualize complex designs on-site. This real-time visualization helps identify potential issues early, reducing costly errors and delays. The ability to manipulate and rotate models in real-time on a large screen fosters a more interactive environment, where stakeholders can engage in discussions and make informed decisions on the spot. Furthermore, this immediacy allows for quicker adjustments to designs based on feedback, ensuring that the project remains aligned with client expectations and regulatory requirements.
Benefits of Integrating LED Displays with Autodesk Workflows
Integrating LED displays into Autodesk workflows provides several advantages:
- Enhanced Visualization: High-definition LED screens bring digital models to life, making it easier for stakeholders to understand design intent and project progress.
- Improved Communication: On-site teams can view updates and changes instantly, facilitating better coordination and decision-making.
- Increased Efficiency: Real-time data display reduces the need for printed plans and physical meetings, accelerating project timelines.
- Scalability: LED displays can be customized in size and resolution to fit various environments, from small meeting rooms to large construction sites.
Moreover, LED displays can serve as powerful tools for training and education within the Autodesk ecosystem. By showcasing detailed walkthroughs of software functionalities or project case studies, teams can enhance their skills and understanding of the tools at their disposal. This not only boosts individual competency but also promotes a culture of continuous learning and innovation within organizations. Additionally, the integration of augmented reality (AR) features with LED displays can further enrich the user experience, allowing teams to overlay digital information onto physical spaces, thereby bridging the gap between virtual models and real-world applications.
Furthermore, the use of LED displays extends beyond just project execution; they can also play a crucial role in marketing and client engagement. By utilizing these displays during client presentations or public exhibitions, firms can showcase their capabilities and past projects in a visually compelling manner. This not only helps in building trust with potential clients but also positions the firm as a forward-thinking leader in the industry, adept at leveraging cutting-edge technology to deliver superior results.
How Autodesk Vendor Set Up Supports LED Display Implementation
Setting up vendors properly within Autodesk’s system is critical when implementing LED display solutions. The complexity of LED technology—from hardware components like panels and controllers to software for content management—requires coordinated efforts from multiple vendors.
By leveraging Autodesk’s vendor setup process, companies can ensure that each vendor involved in the LED display supply chain is vetted and integrated into project workflows. This coordination helps maintain quality standards, track deliverables, and manage costs effectively.
Vendor Roles in LED Display Projects
Several types of vendors typically participate in LED display projects linked with Autodesk systems:
- Hardware Suppliers: Provide LED panels, power supplies, mounting structures, and control systems.
- Installation Contractors: Handle physical setup, wiring, and calibration of LED displays on-site.
- Software Providers: Offer content management systems and integration tools that sync LED displays with Autodesk software outputs.
- Maintenance and Support Services: Ensure ongoing operation, troubleshooting, and upgrades of LED display systems.
Autodesk’s vendor setup ensures all these parties are properly documented and authorized, facilitating smooth project execution.
Step-by-Step Guide to Setting Up LED Display Vendors in Autodesk
For companies looking to integrate LED display vendors into their Autodesk environment, a clear setup process is essential. The following steps outline best practices for vendor registration and management:
1. Gather Comprehensive Vendor Information
Begin by collecting all necessary details from the LED display vendor. This includes company credentials, product specifications, certifications, and references. For LED technology, verifying product quality and compliance with industry standards is critical.
2. Verify Compliance and Certifications
Ensure that vendors meet all regulatory and safety requirements. For example, LED hardware should comply with electrical safety standards, and software providers must have valid licenses for content management tools.
3. Register Vendor in Autodesk Procurement System
Enter the vendor’s information into Autodesk’s procurement or vendor management module. This step often involves creating a vendor profile, assigning categories, and linking the vendor to relevant projects.
4. Define Access Permissions and Roles
Set appropriate permissions within Autodesk platforms to control vendor access. For LED display projects, vendors may need access to project files, schedules, or communication channels, but sensitive financial data should remain restricted.
5. Establish Communication and Workflow Protocols
Develop clear guidelines for how vendors will interact with project teams. This includes communication channels, reporting requirements, and escalation procedures to address issues promptly.
6. Monitor Vendor Performance and Compliance
Use Autodesk’s project management tools to track vendor deliverables, timelines, and compliance with contract terms. Regular performance reviews help maintain quality and identify areas for improvement.
Common Challenges and Solutions in Vendor Setup for LED Displays
While Autodesk’s vendor setup process is robust, integrating LED display vendors can present unique challenges. Understanding these issues and how to address them can improve project outcomes.
Challenge: Complex Vendor Ecosystem
LED display projects often involve multiple vendors with specialized roles, making coordination difficult.
Solution: Utilize Autodesk’s centralized vendor management system to consolidate vendor information and streamline communication. Assign a dedicated project manager to oversee vendor interactions and ensure alignment.
Challenge: Technical Integration Issues
Ensuring that LED display hardware and software integrate seamlessly with Autodesk outputs can be technically demanding.
Solution: Engage vendors early in the design phase to clarify technical requirements. Use Autodesk’s interoperability features and APIs to facilitate integration. Conduct thorough testing before full deployment.
Challenge: Compliance and Quality Assurance
Maintaining high standards for LED display components and installation is critical but can be difficult when working with multiple vendors.
Solution: Implement rigorous vendor qualification processes during setup. Require documentation of certifications and conduct site inspections. Use Autodesk’s quality management tools to track compliance.
Future Trends: Autodesk and LED Display Technologies
The intersection of Autodesk’s software capabilities and LED display technology is poised for significant growth. Emerging trends point to even greater integration and innovation in this space.
Augmented Reality and LED Displays
Augmented reality (AR) is becoming more prevalent in design and construction. Combining AR with large-scale LED displays can create immersive environments where digital models are overlaid onto physical spaces, enhancing visualization and collaboration.
IoT Integration for Smart Displays
Internet of Things (IoT) technology enables LED displays to be connected to sensors and data sources, providing real-time updates on project status, environmental conditions, or equipment performance. Autodesk’s platforms are increasingly supporting IoT integration, allowing for smarter, data-driven displays.
Cloud-Based Vendor Management
Cloud computing is transforming vendor management by enabling real-time collaboration and data sharing. Autodesk’s cloud-based solutions facilitate seamless vendor setup and management, ensuring that LED display projects can be executed efficiently regardless of geographic location.
Conclusion
Setting up vendors within Autodesk’s system is a foundational step for successfully implementing LED display solutions in design and construction projects. By understanding the vendor setup process and its critical role in coordinating hardware, software, and service providers, companies can enhance project visualization, communication, and efficiency.
As LED display technology continues to evolve, integrating these systems with Autodesk’s powerful software tools will become increasingly important. Organizations that master vendor setup and management will be better positioned to leverage these innovations, driving project success and competitive advantage in a rapidly changing industry landscape.
Discover LumenMatrix’s Advanced LED Display Solutions
Ready to elevate your project’s visual impact with the latest in LED display technology? LumenMatrix is at the forefront of creating immersive and dynamic visual experiences tailored to your needs. From Indoor and Outdoor LED Wall Displays to innovative solutions like Vehicle LED Displays and Transparent LED Displays, our range is designed to captivate and engage. Transform your visual communication and share your message with unparalleled clarity. Check out LumenMatrix LED Display Solutions today and see the difference cutting-edge technology can make.