LED displays have become increasingly popular in various applications, from advertising billboards to personal projects. Understanding the intricacies of LED displays can empower individuals to create their own DIY projects, enhancing creativity and technical skills. This article will delve into the fundamentals of LED displays, their components, and how to create your own.
What is an LED Display?
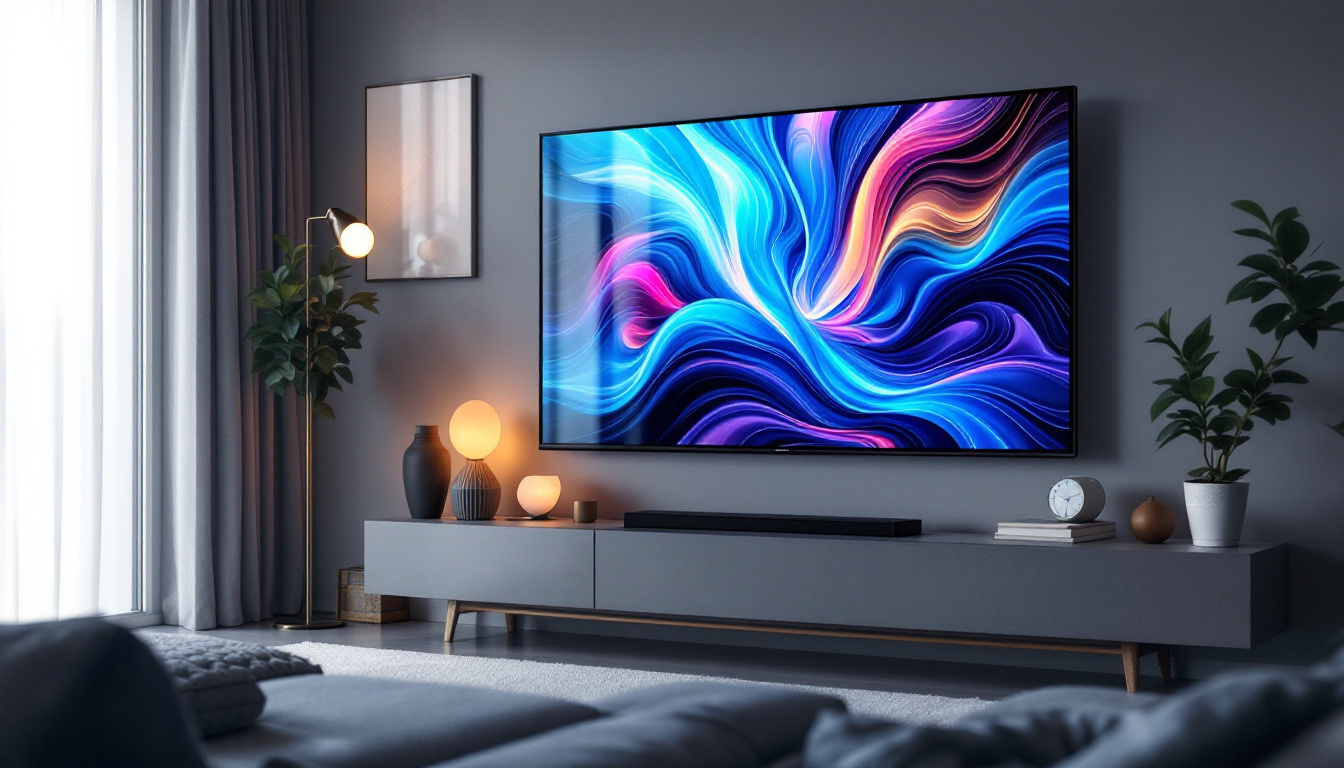
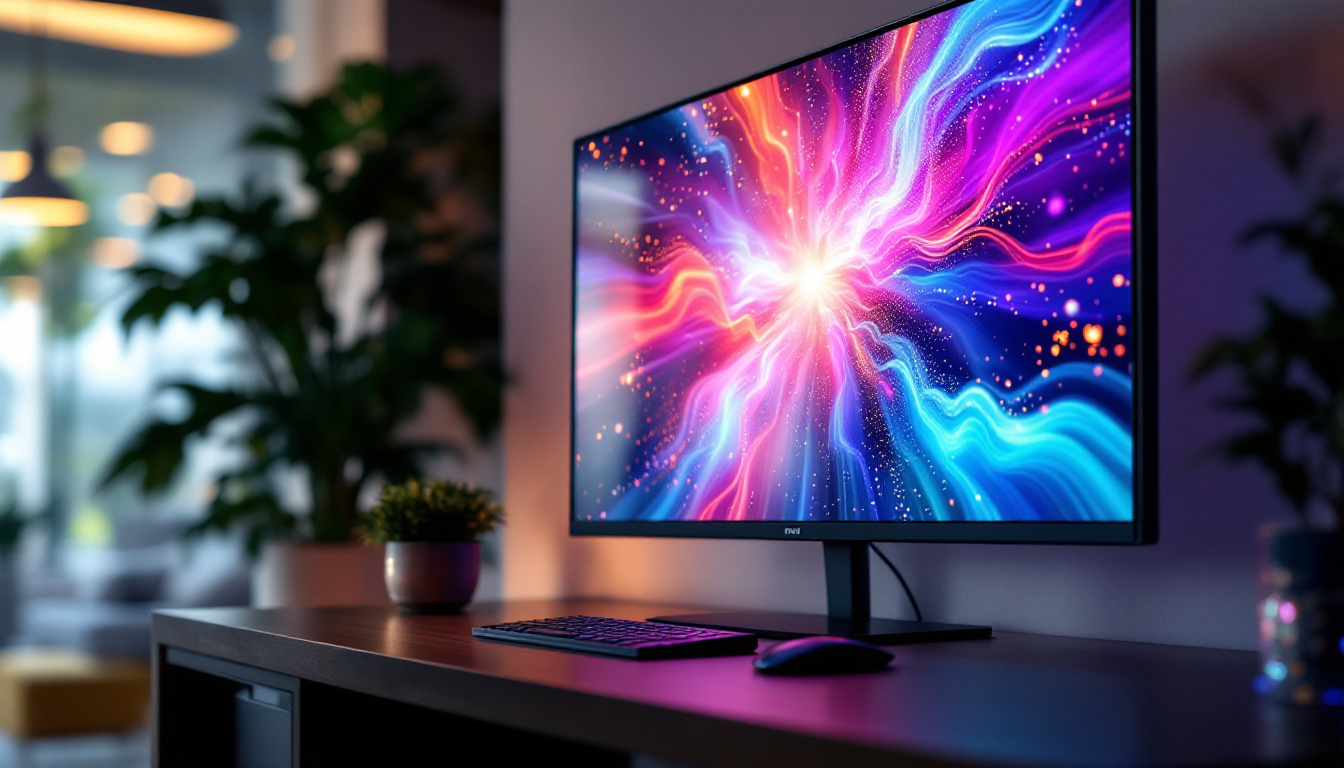
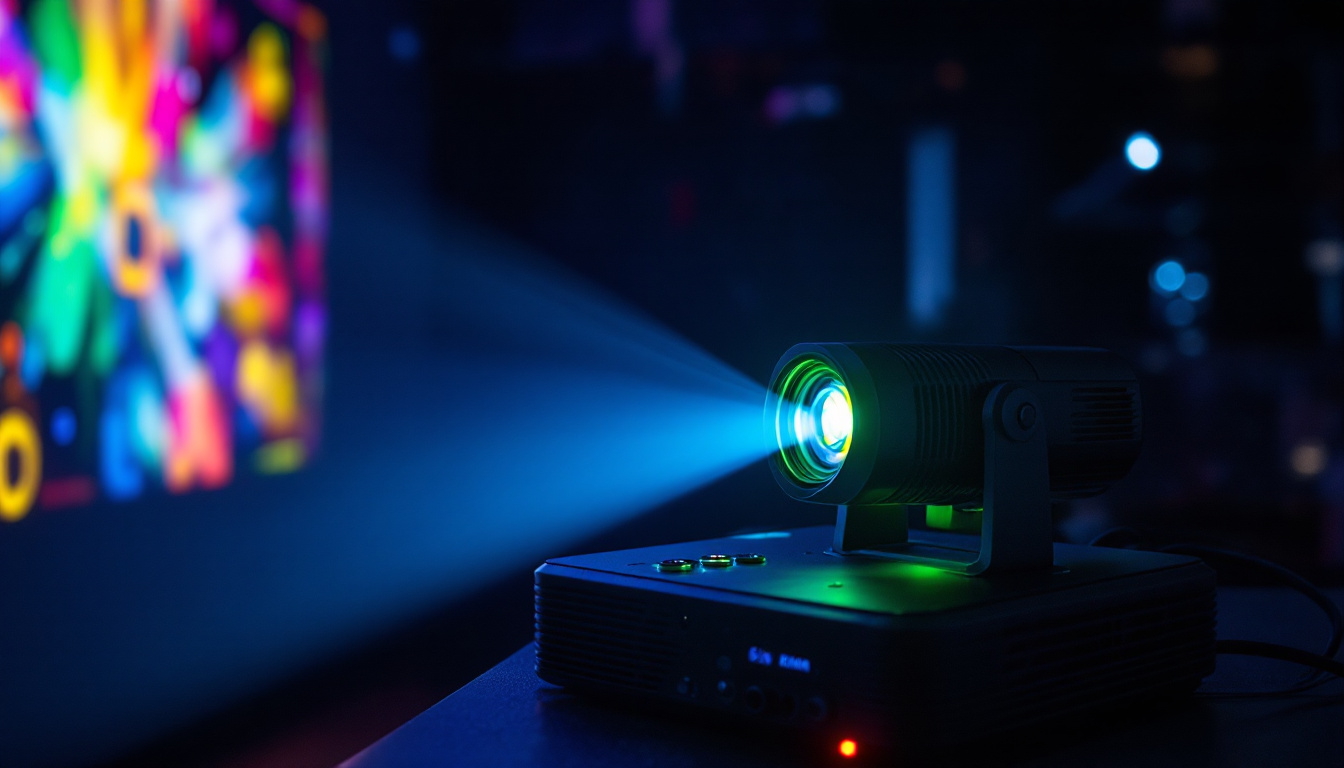
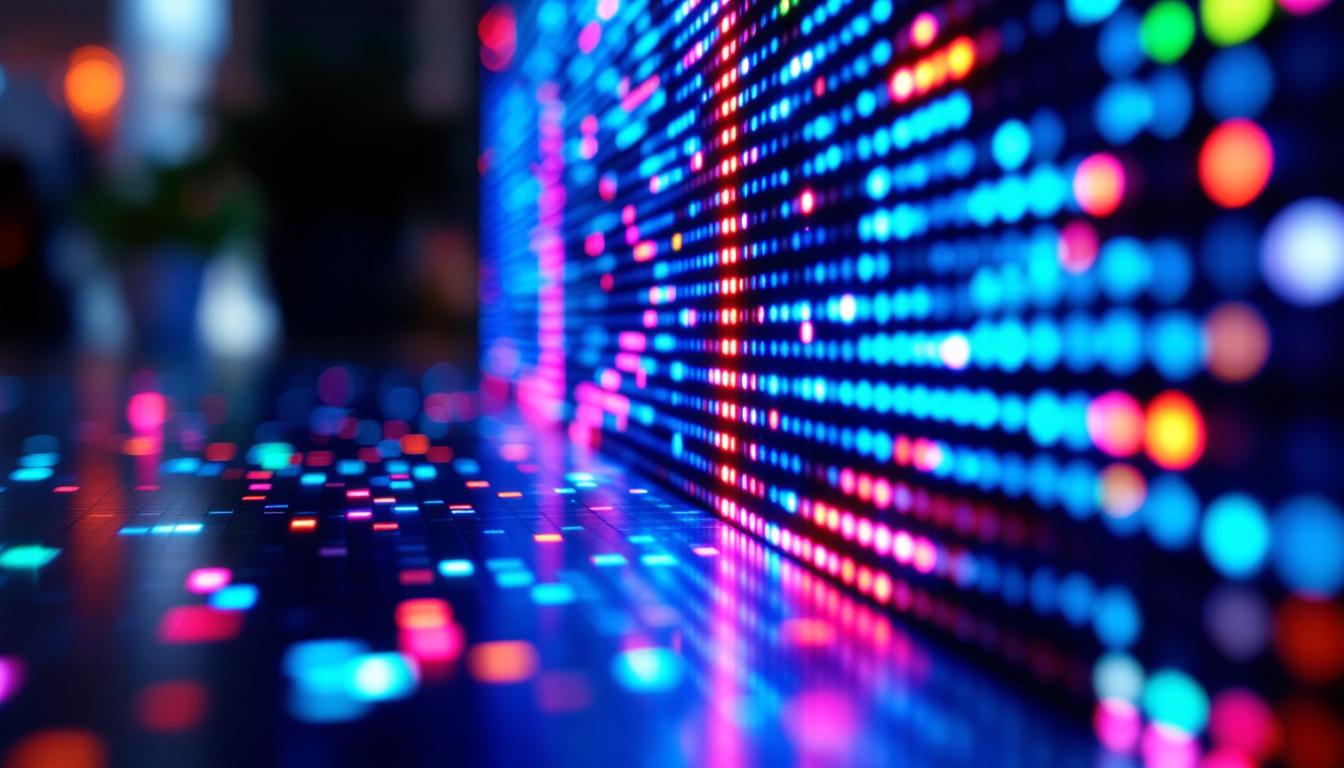
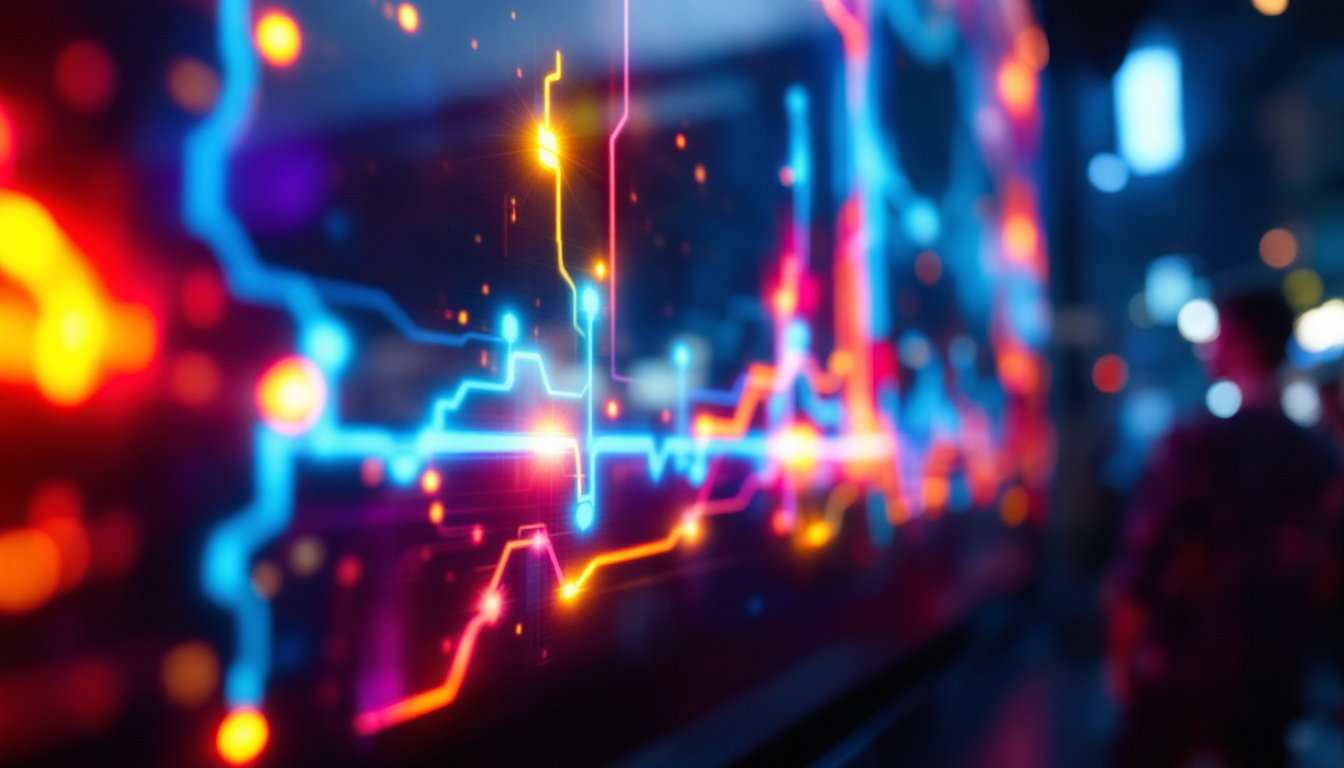
An LED (Light Emitting Diode) display is a flat panel display that uses LEDs as its light source. Unlike traditional displays that rely on liquid crystals or cathode ray tubes, LED displays offer brighter images, lower energy consumption, and longer lifespans. They are widely used in televisions, computer monitors, and digital signage. The technology behind LED displays has evolved significantly, leading to advancements in resolution and color accuracy, making them a popular choice for both consumers and businesses alike.
In addition to their visual appeal, LED displays are also known for their environmental benefits. They consume significantly less power than older display technologies, which not only reduces electricity costs but also contributes to lower carbon emissions. Furthermore, many manufacturers are now focusing on sustainable practices by using recyclable materials in the production of LED displays, making them a more eco-friendly option in the long run.
Types of LED Displays
LED displays come in various forms, each suited for different applications. The most common types include:
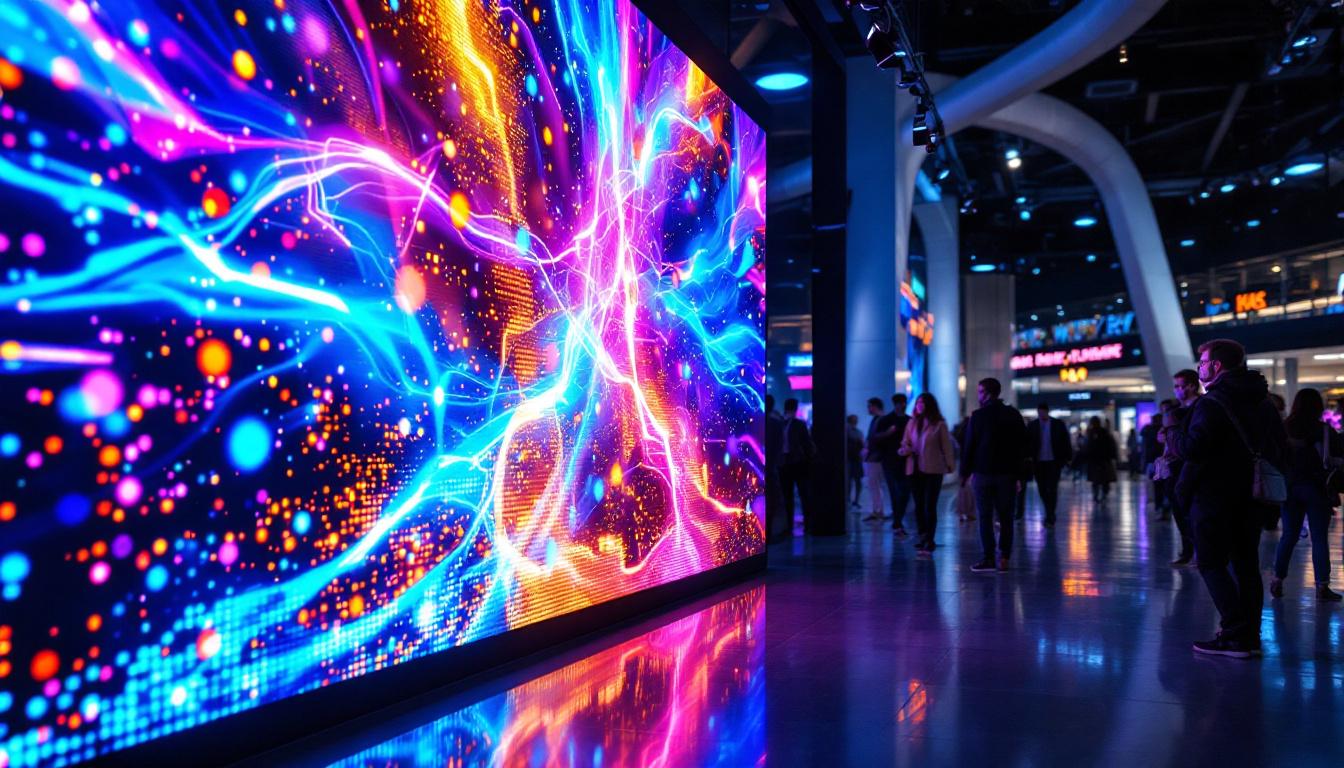
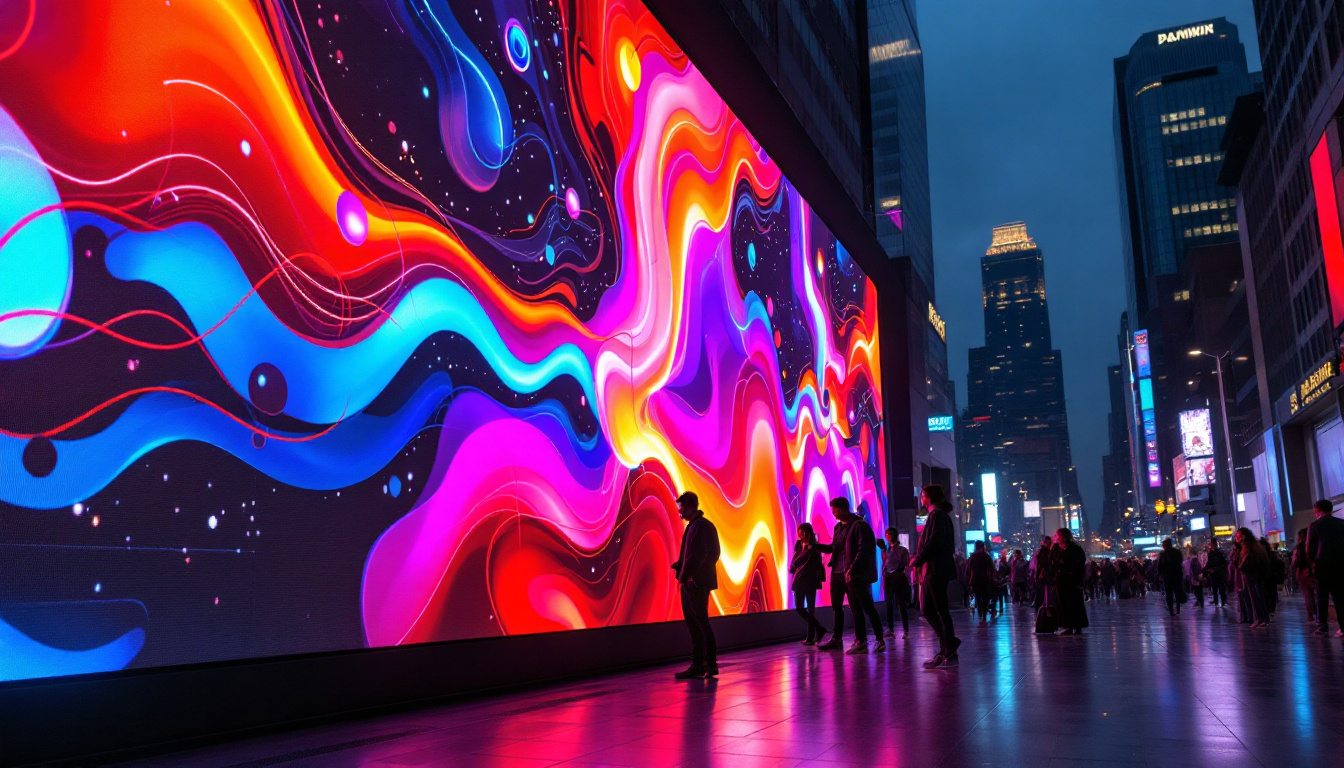
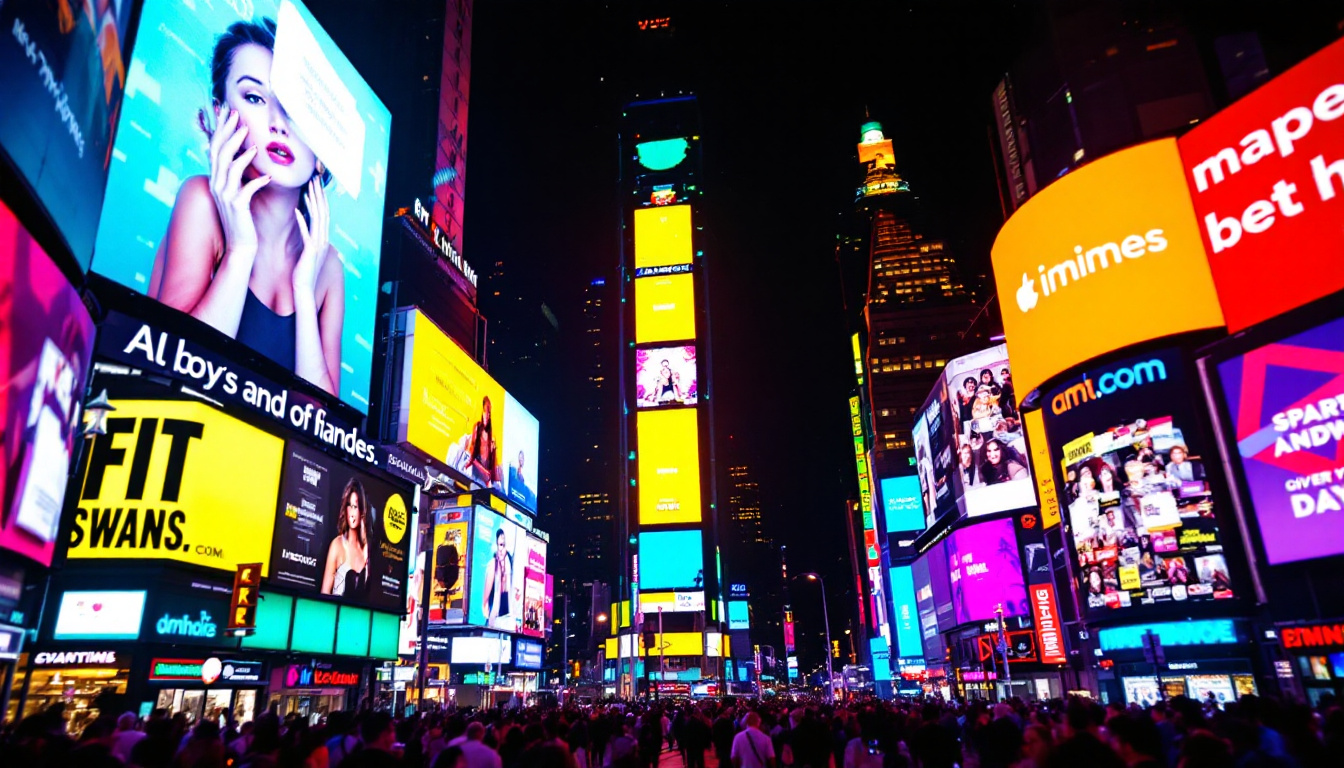
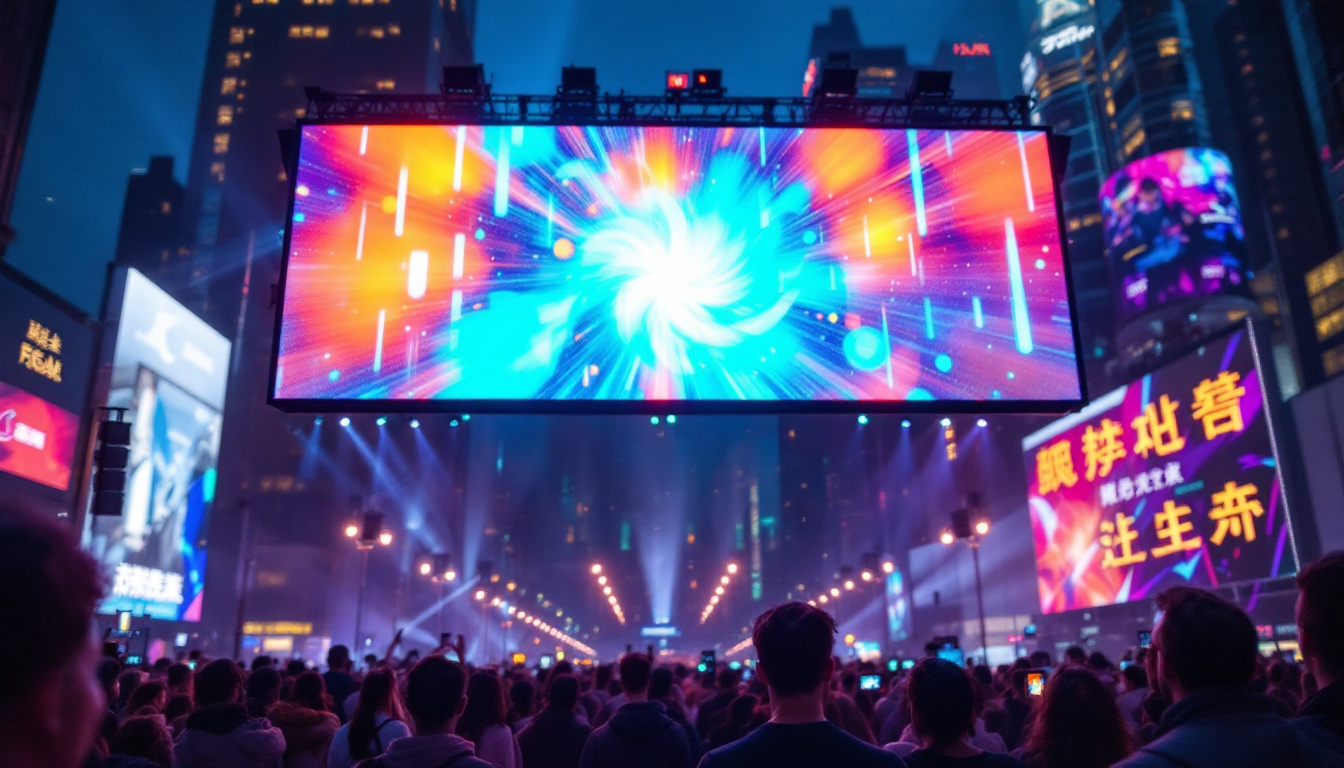
- Direct View LED: This type consists of individual LED modules that form a larger display. It is often used for large-scale outdoor advertising, such as billboards and stadium screens, where visibility from a distance is crucial.
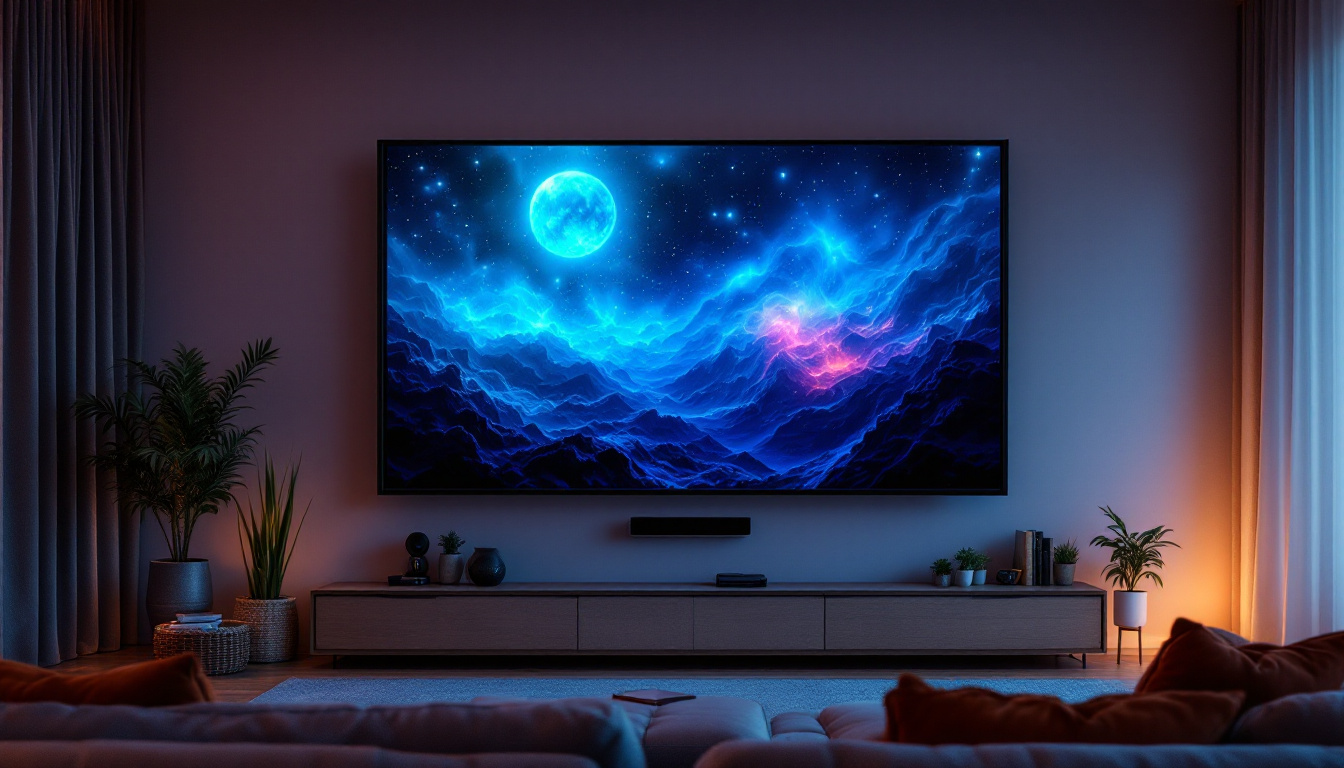
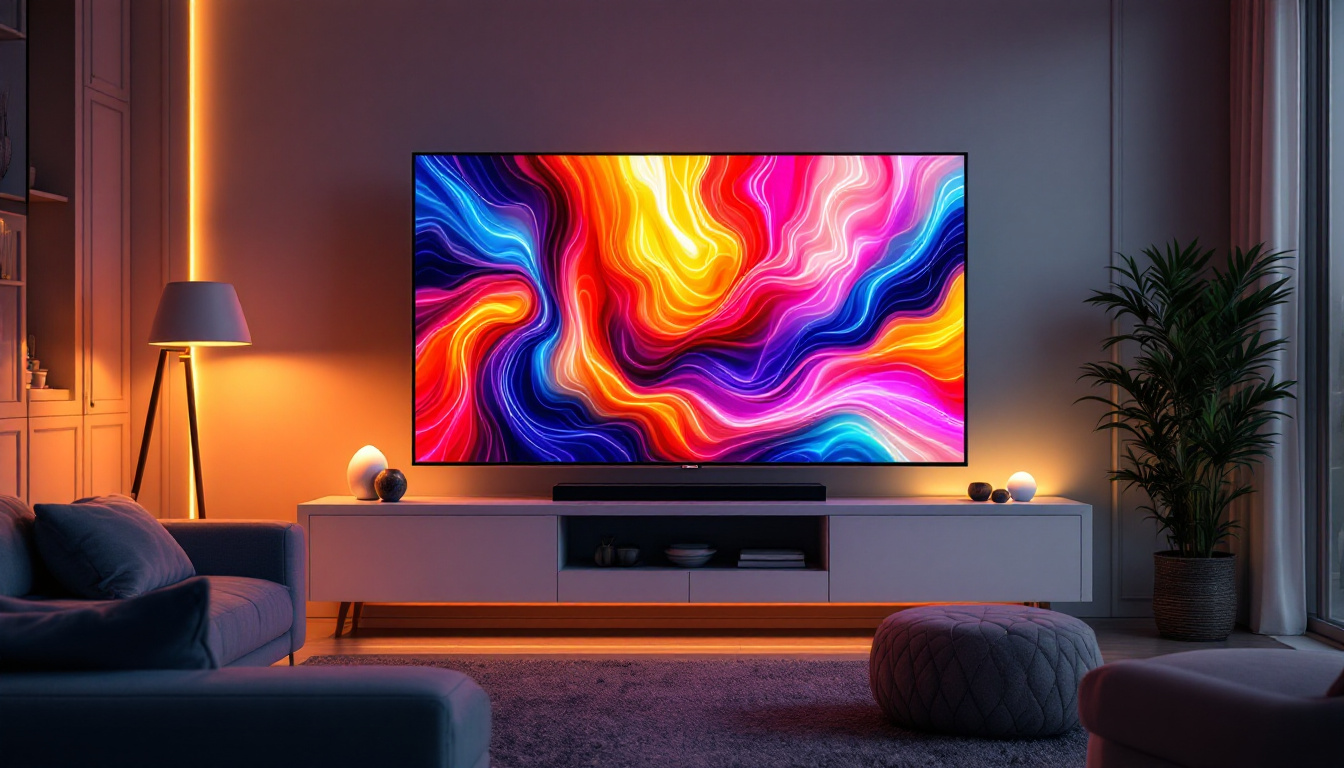
- LED-Lit LCD: These displays use LEDs to backlight an LCD panel, improving brightness and color accuracy. They are common in televisions and computer monitors, providing a vibrant viewing experience for everything from movies to video games.
- Organic LED (OLED): OLED displays use organic compounds that emit light when an electric current is applied. They offer superior color contrast and flexibility, allowing for ultra-thin displays that can be curved or even made transparent, opening up new possibilities for design and functionality.
Additionally, there are also specialized types of LED displays, such as Mini-LED and Micro-LED. Mini-LED technology enhances traditional LED displays by using smaller LEDs for backlighting, resulting in improved contrast and deeper blacks. Micro-LED, on the other hand, consists of tiny self-emissive LEDs that can create stunningly high resolutions and color accuracy, making them a promising alternative to OLED displays for future applications.
How LED Displays Work
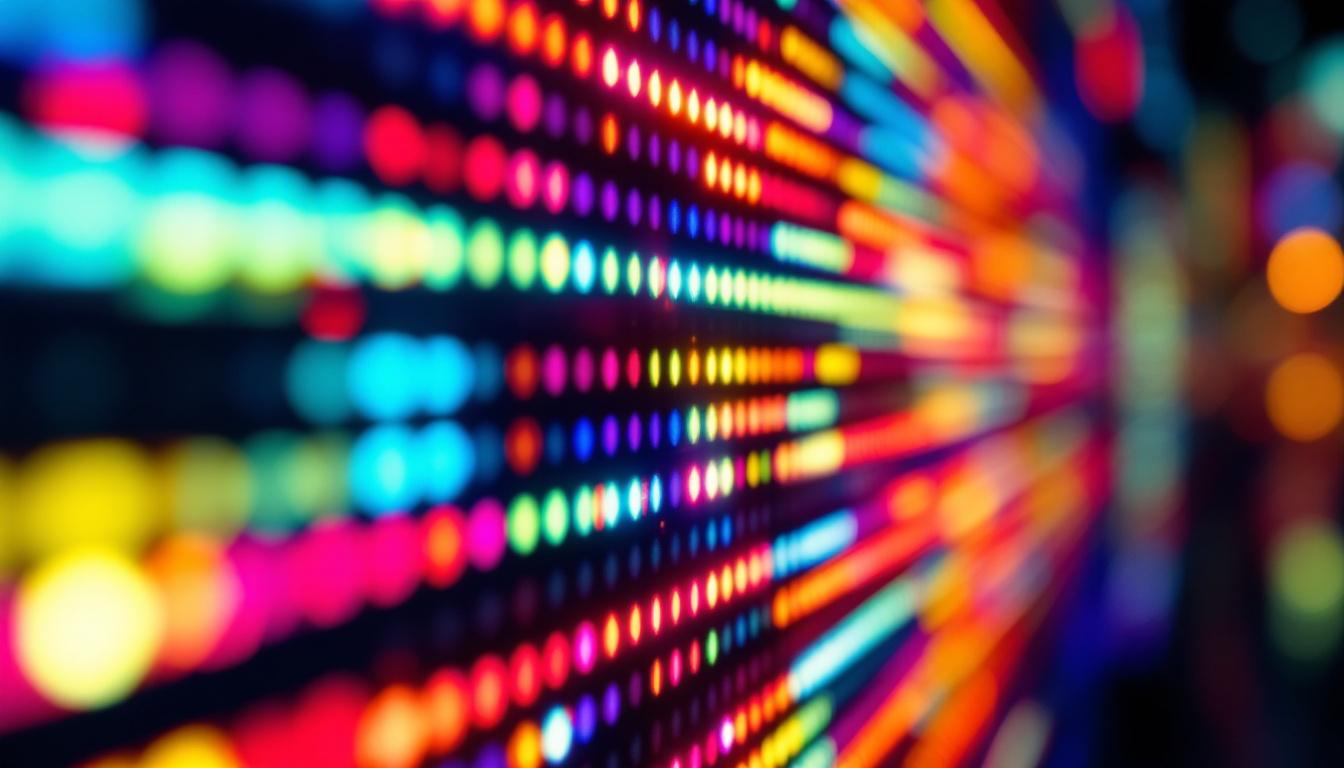
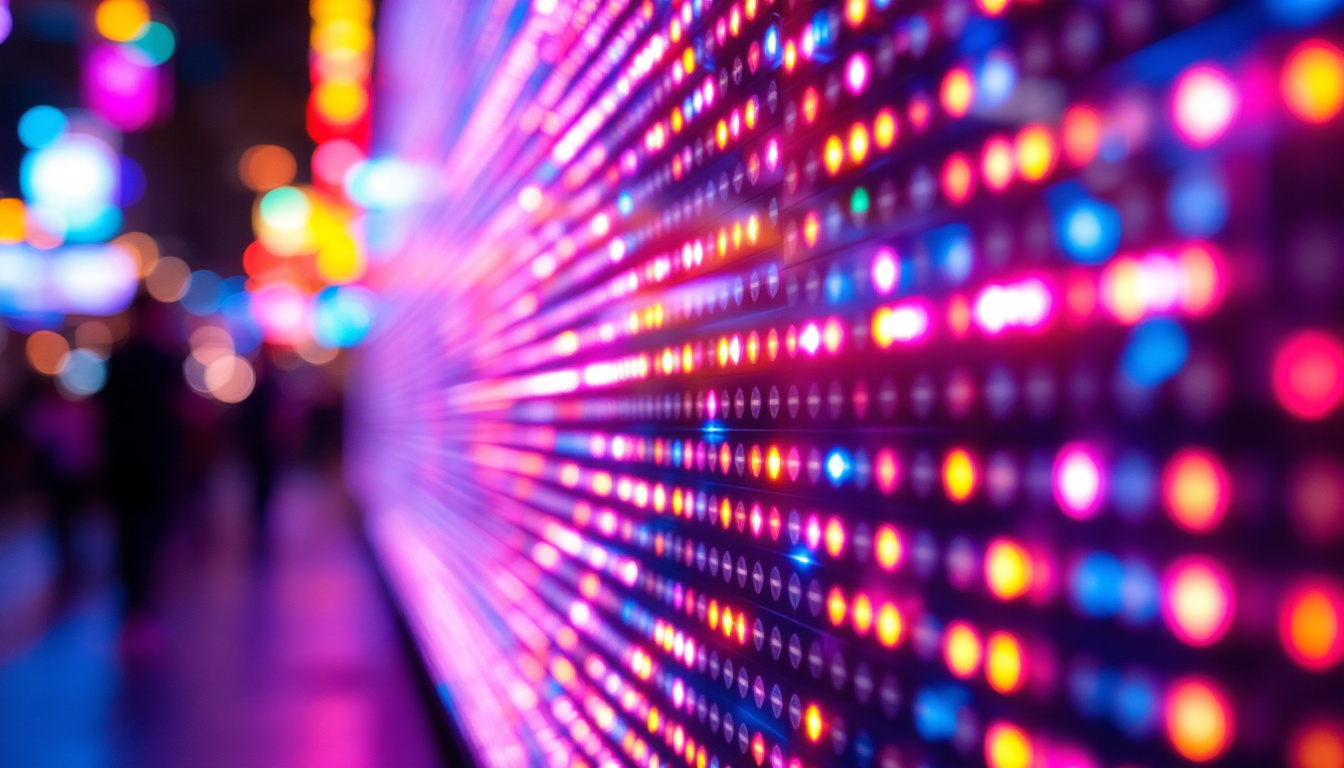
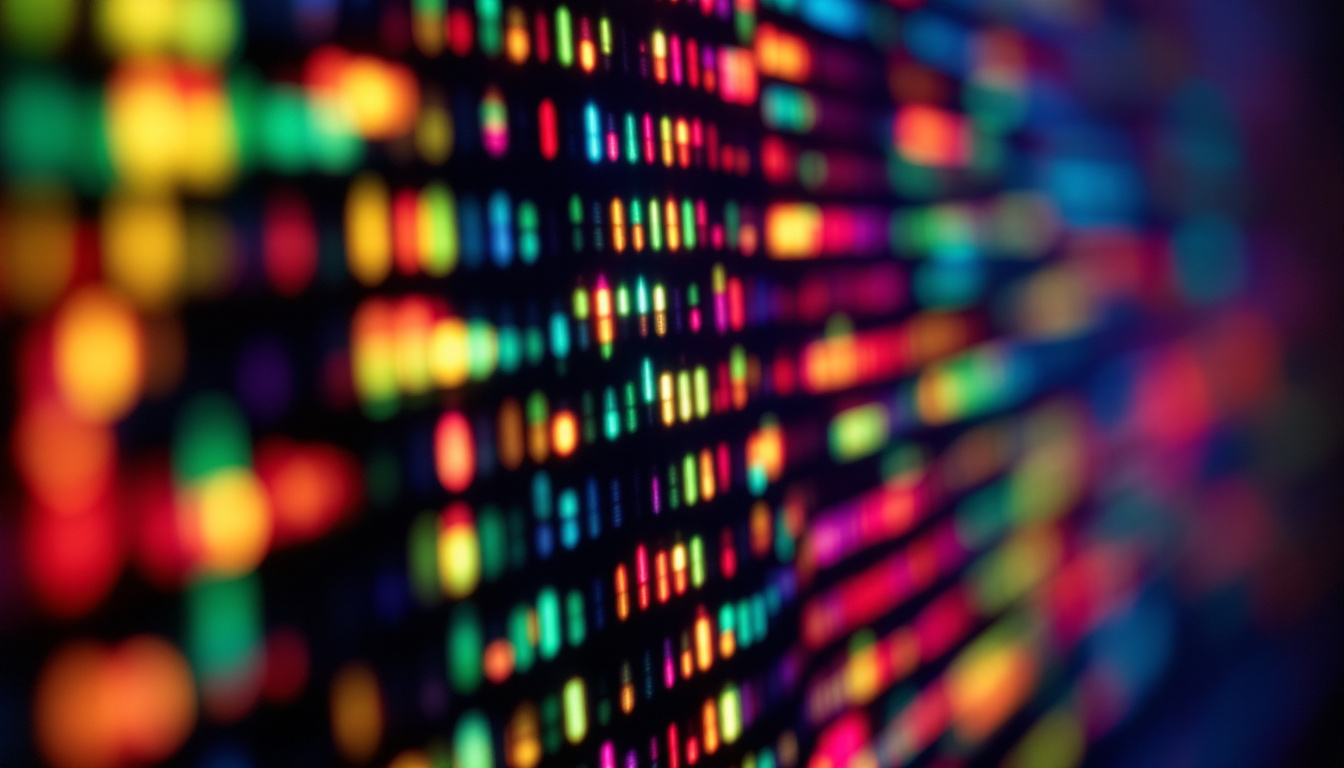
LED displays operate by controlling the individual LEDs to produce images. Each pixel in an LED display is made up of red, green, and blue (RGB) diodes. By varying the intensity of each color, a wide range of colors can be produced. The combination of these colors at different intensities creates the images seen on the screen. This pixel-based approach allows for precise control over the display, enabling features such as high refresh rates and rapid response times, which are essential for dynamic content like video games and fast-paced action films.
Moreover, the technology behind LED displays allows for advanced features such as local dimming, which enhances contrast by selectively dimming or brightening sections of the screen. This capability is particularly beneficial in dark scenes, where it can significantly improve the viewing experience. Additionally, many modern LED displays incorporate smart technology, enabling connectivity with the internet and compatibility with various streaming services, further enhancing their functionality and user experience.
Components of an LED Display
Understanding the components of an LED display is crucial for anyone looking to build their own. The main components include:
LED Modules
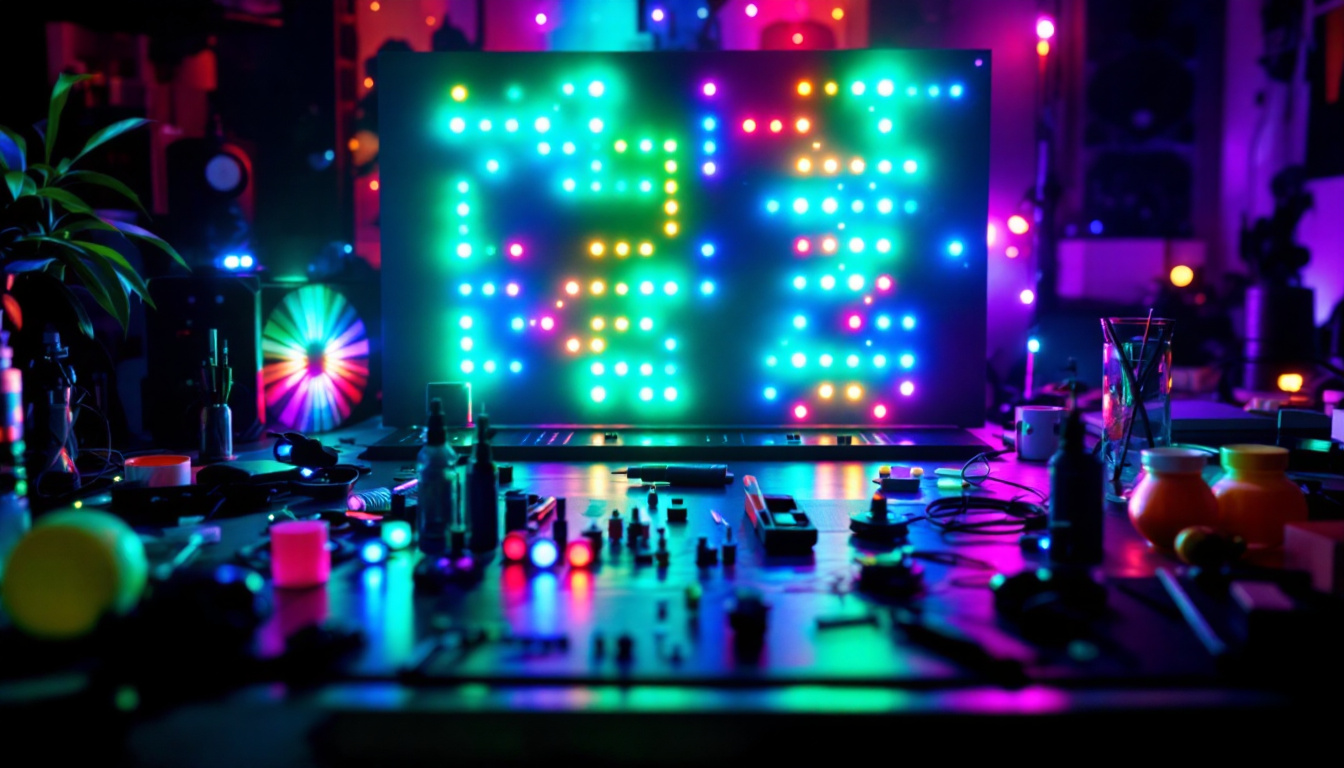
LED modules are the building blocks of an LED display. Each module contains a grid of LEDs that can be controlled individually. The arrangement and density of these modules determine the resolution and size of the display. Higher density modules provide better image quality but can be more expensive.
Controller
The controller is the brain of the LED display. It processes the input signals, determines which LEDs to light up, and controls their intensity. Controllers can be simple microcontrollers for small displays or complex systems for large installations. Understanding how to program and configure the controller is essential for custom projects.
Power Supply
LED displays require a stable power supply to function correctly. The power supply must be capable of providing the necessary voltage and current for all the LEDs in the display. It is important to choose a power supply that matches the specifications of the LED modules and controller to avoid damage.
Benefits of DIY LED Displays
Creating a DIY LED display offers numerous advantages. Not only does it allow for personalization, but it also provides a hands-on learning experience. Here are some key benefits:
Customization
One of the most significant advantages of building a DIY LED display is the ability to customize it to fit specific needs. Whether it’s for a personal project, a business advertisement, or a unique art installation, the design can be tailored to meet individual requirements.
Cost-Effectiveness
Building an LED display from scratch can be more cost-effective than purchasing a pre-made unit. By sourcing components individually, it is possible to save money while still achieving the desired functionality and aesthetics.
Learning Experience
Engaging in a DIY project fosters a deeper understanding of electronics and programming. Assembling an LED display involves various skills, including circuit design, soldering, and coding, making it an excellent educational opportunity for hobbyists and students alike.
Steps to Create Your Own LED Display
Creating a DIY LED display may seem daunting, but by breaking it down into manageable steps, it becomes an achievable project. Here’s a guide to help you get started:
Step 1: Gather Materials
Before beginning, gather all necessary materials. This includes:
- LED modules
- Controller (such as an Arduino or Raspberry Pi)
- Power supply
- Wiring and connectors
- Mounting hardware
Step 2: Design the Layout
Planning the layout of the LED display is crucial. Determine the size and shape of the display, as well as the arrangement of the LED modules. Sketching a design can help visualize the final product and ensure that all components fit together seamlessly.
Step 3: Assemble the Components
Once the materials are gathered and the layout is designed, it’s time to assemble the components. Start by mounting the LED modules in the desired configuration. Ensure that all connections are secure and that the wiring is organized to prevent any short circuits.
Programming the LED Display
After assembling the hardware, the next step is to program the controller to control the LED display. This involves writing code that dictates how the LEDs will behave based on input signals.
Choosing a Programming Language
Depending on the controller used, different programming languages may be applicable. For instance, Arduino uses a simplified version of C++, while Raspberry Pi can utilize Python. Selecting the right language based on the controller’s capabilities is essential for effective programming.
Creating Visual Patterns
Once the programming environment is set up, start by creating simple visual patterns. This could include static images, scrolling text, or dynamic animations. Experimenting with different effects can enhance the display’s visual appeal and functionality.
Testing Your LED Display
After programming, it’s crucial to test the LED display to ensure everything is functioning correctly. This involves checking the connections, verifying the power supply, and running the programmed sequences.
Identifying Issues
During testing, various issues may arise, such as flickering lights or unresponsive sections. Troubleshooting these problems often involves checking the wiring, ensuring the power supply is adequate, and reviewing the code for errors.
Fine-Tuning Performance
Once any issues are resolved, fine-tune the performance of the LED display. Adjust the brightness, modify the timing of animations, and experiment with different visual effects to achieve the desired outcome.
Applications of DIY LED Displays
DIY LED displays can be utilized in a variety of applications, showcasing their versatility and functionality. Here are some popular uses:
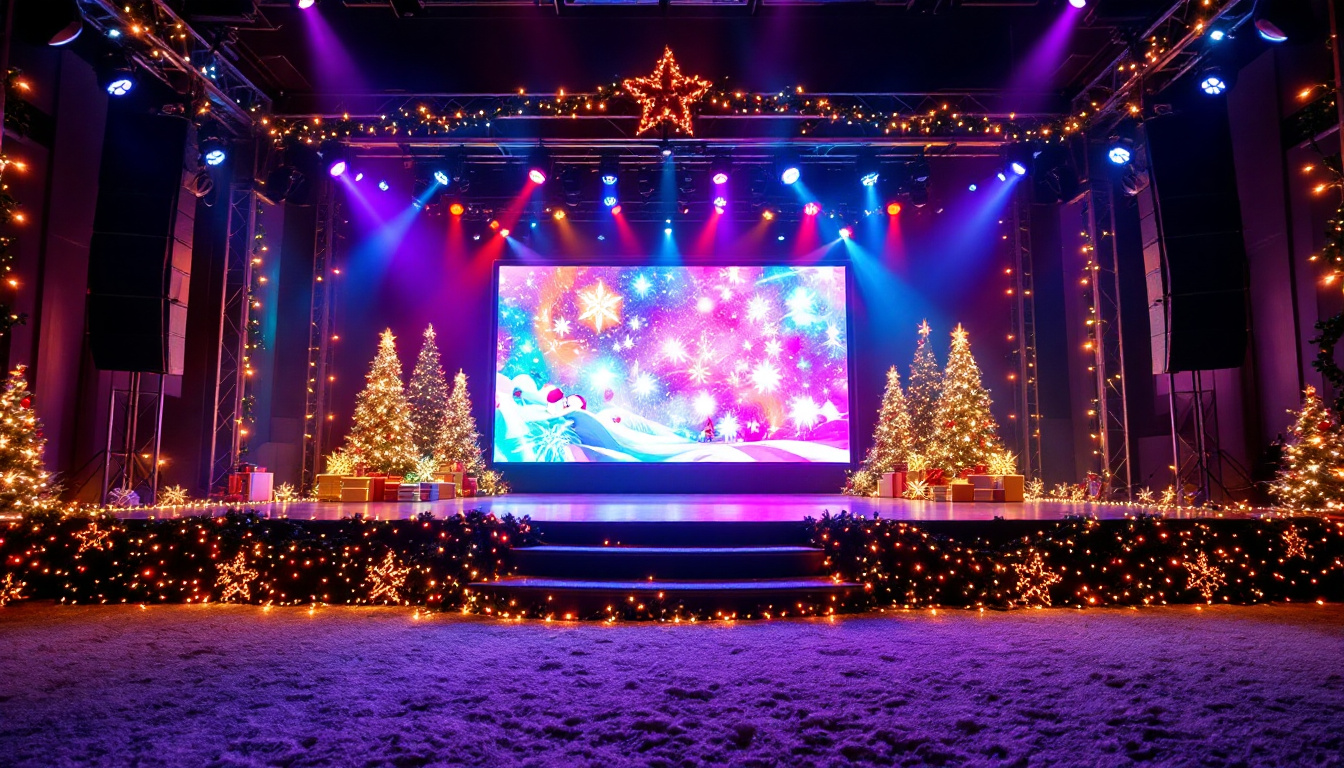
Art Installations
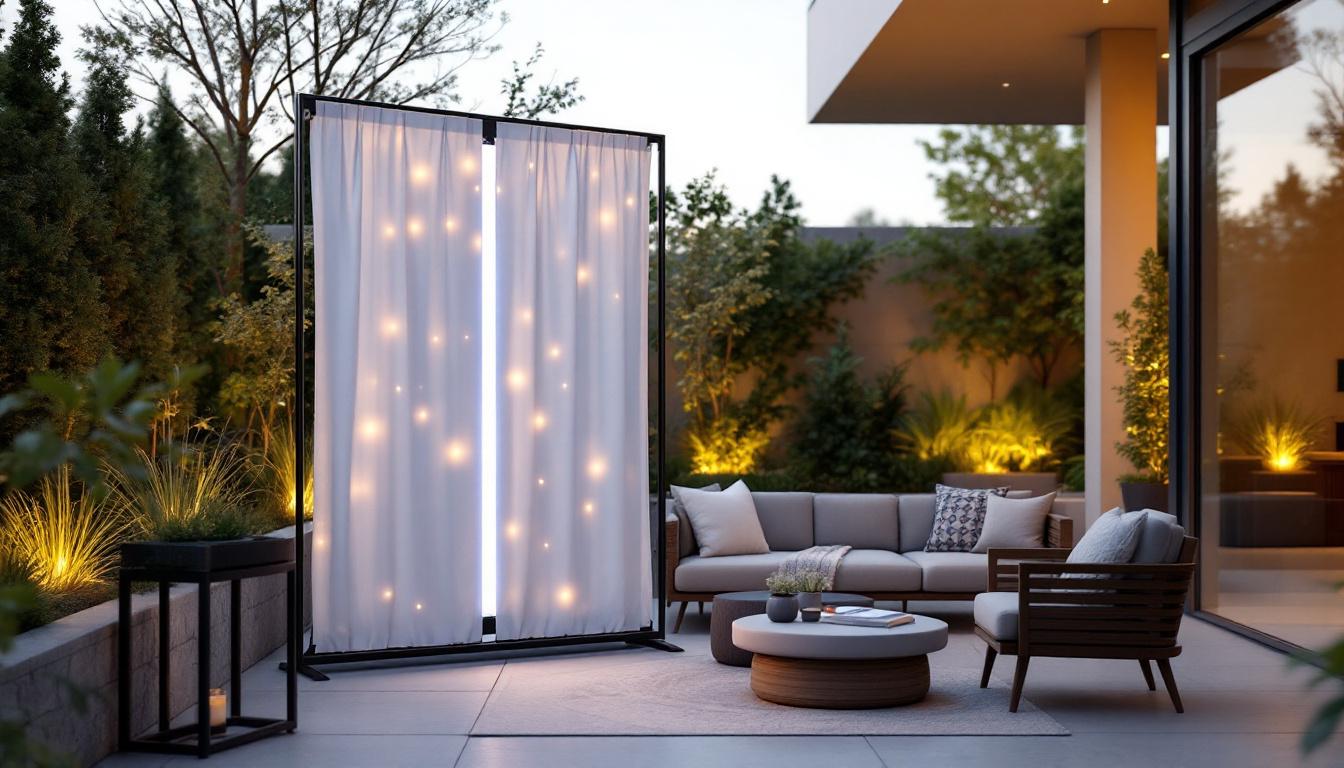
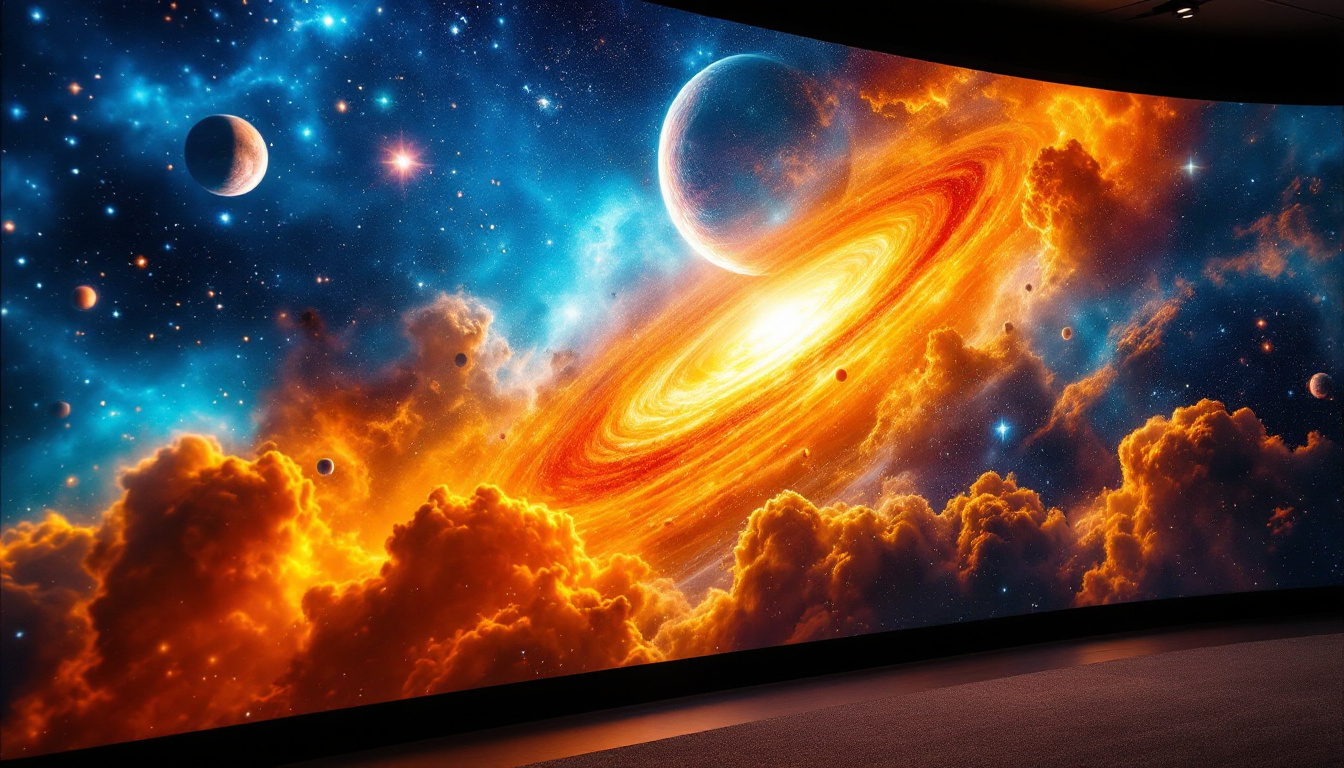
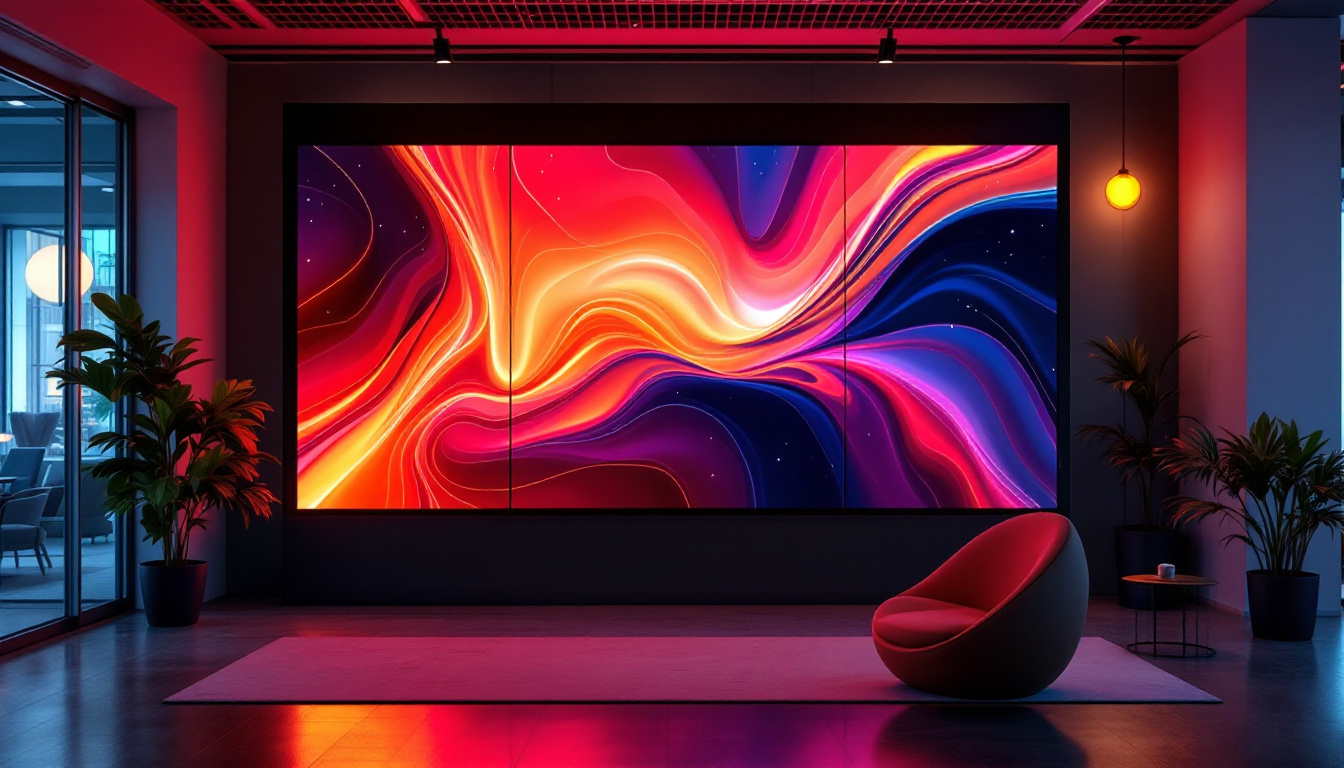
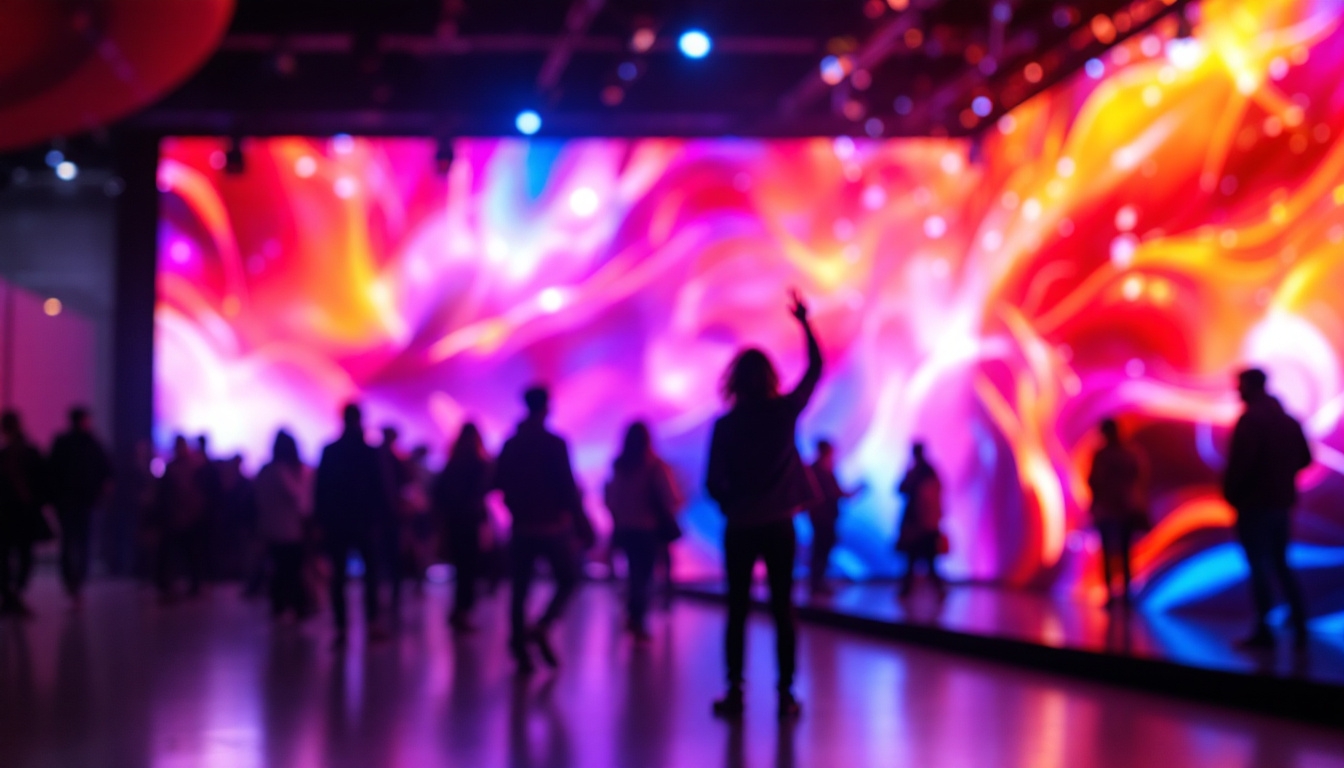
Artists are increasingly incorporating LED displays into their work, creating dynamic art installations that captivate audiences. The ability to program animations and visual effects allows for a unique artistic expression that changes over time.
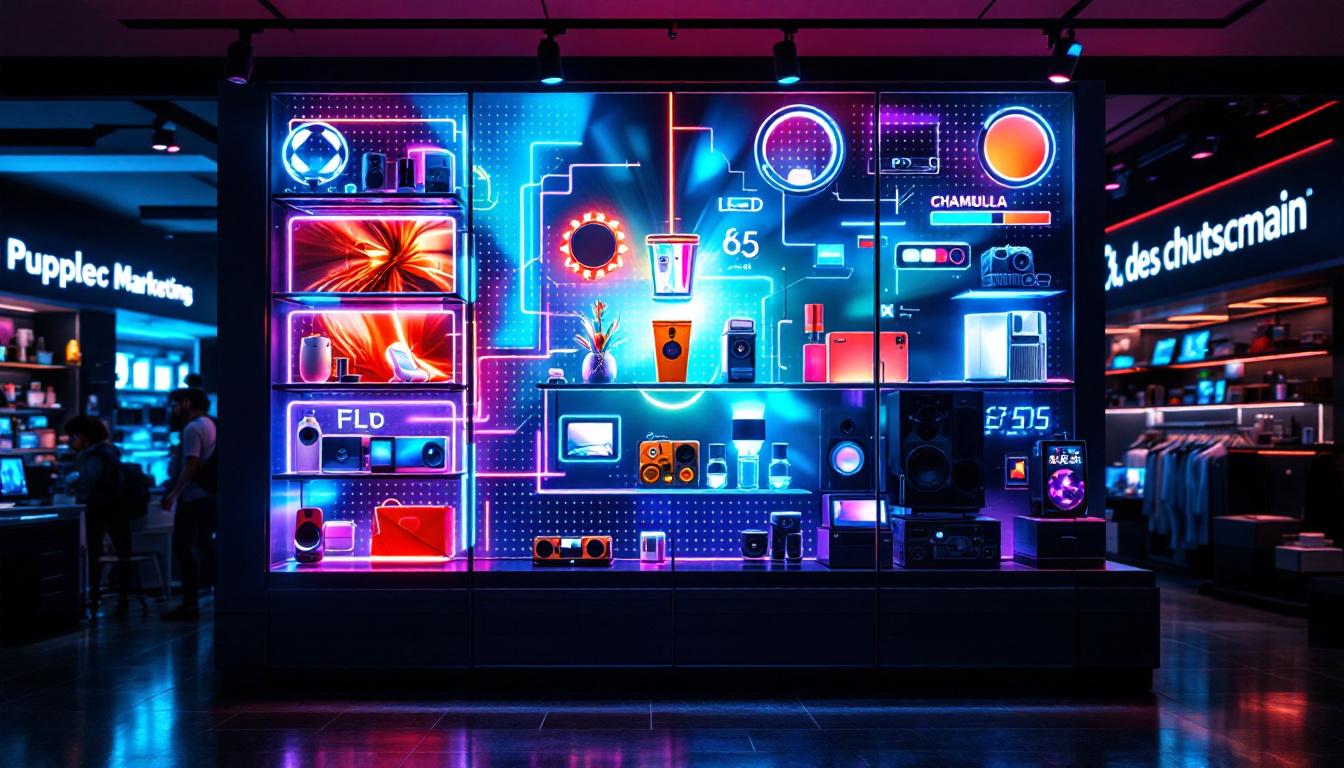
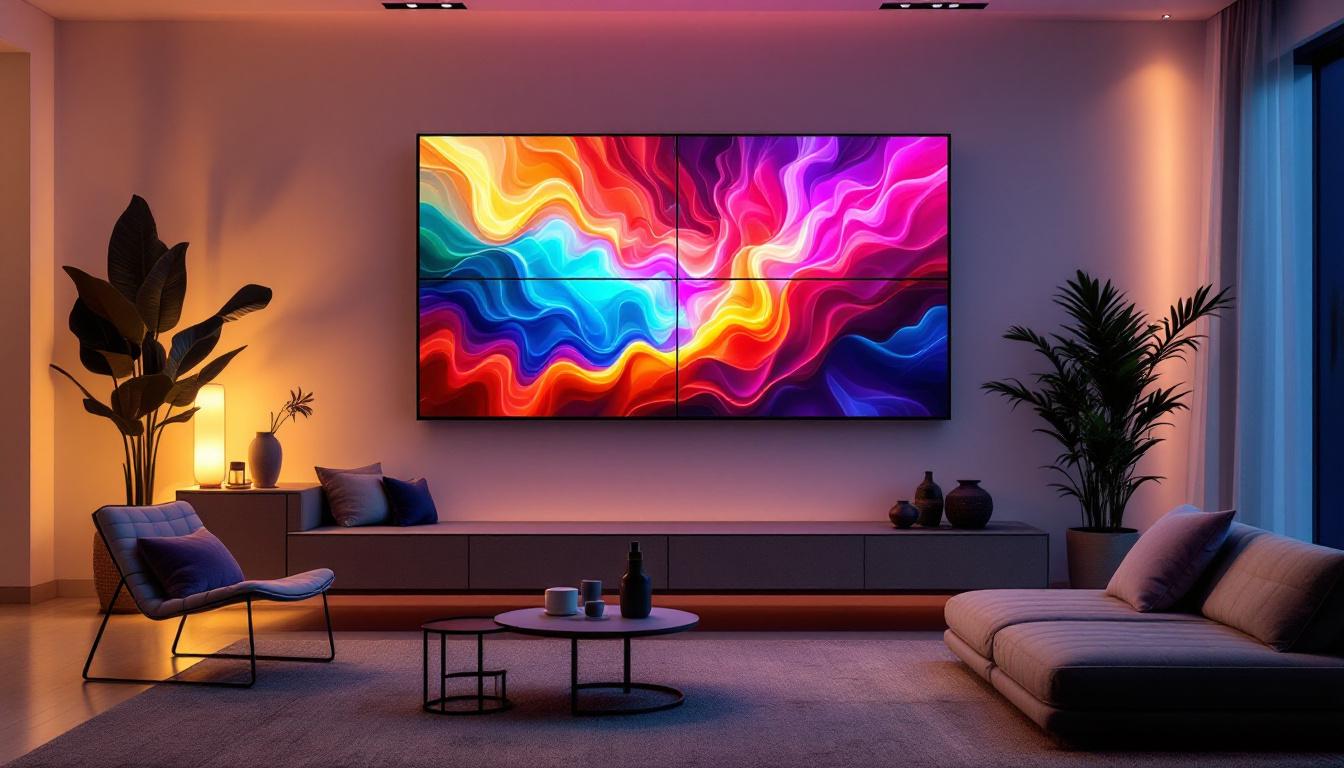
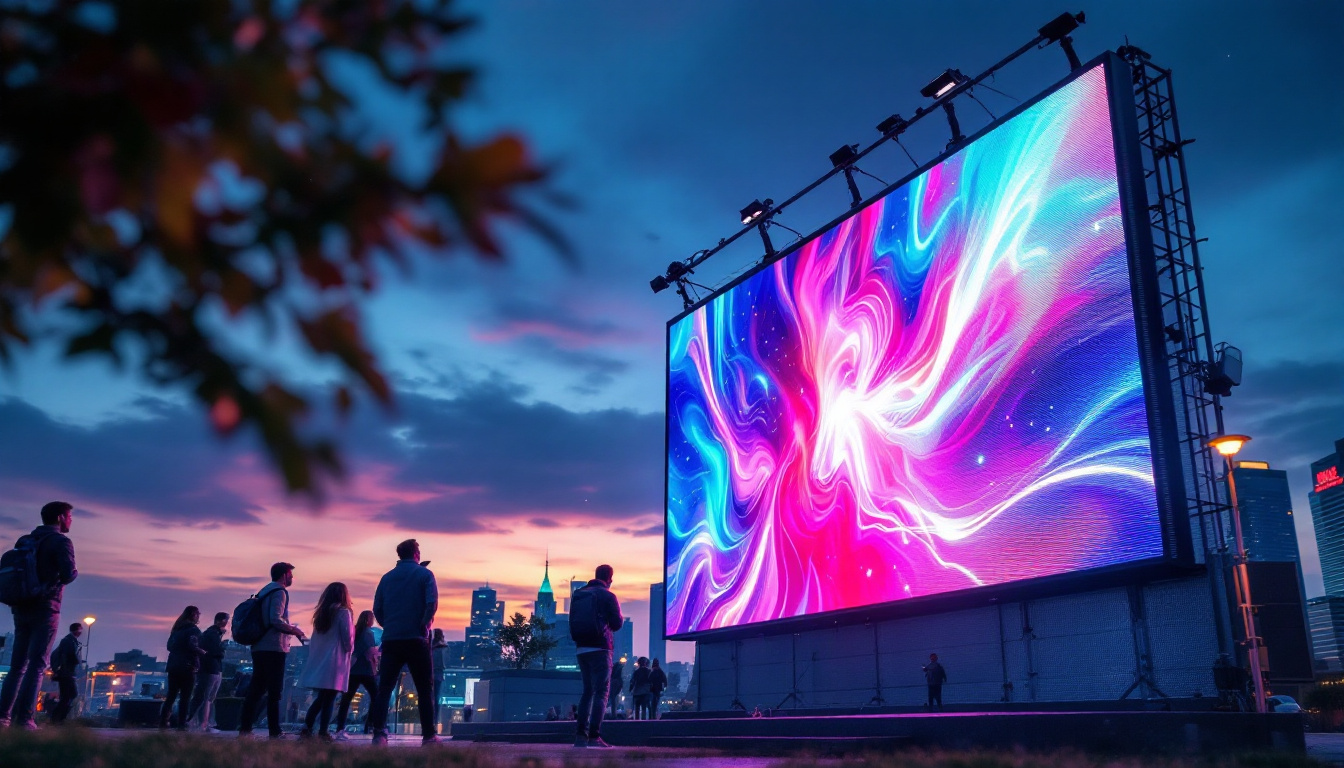
Advertising and Signage
Businesses can create custom LED displays for advertising purposes. These displays can be programmed to showcase promotions, events, or information, making them an effective marketing tool. The flexibility of DIY displays allows for tailored solutions that fit specific branding needs.
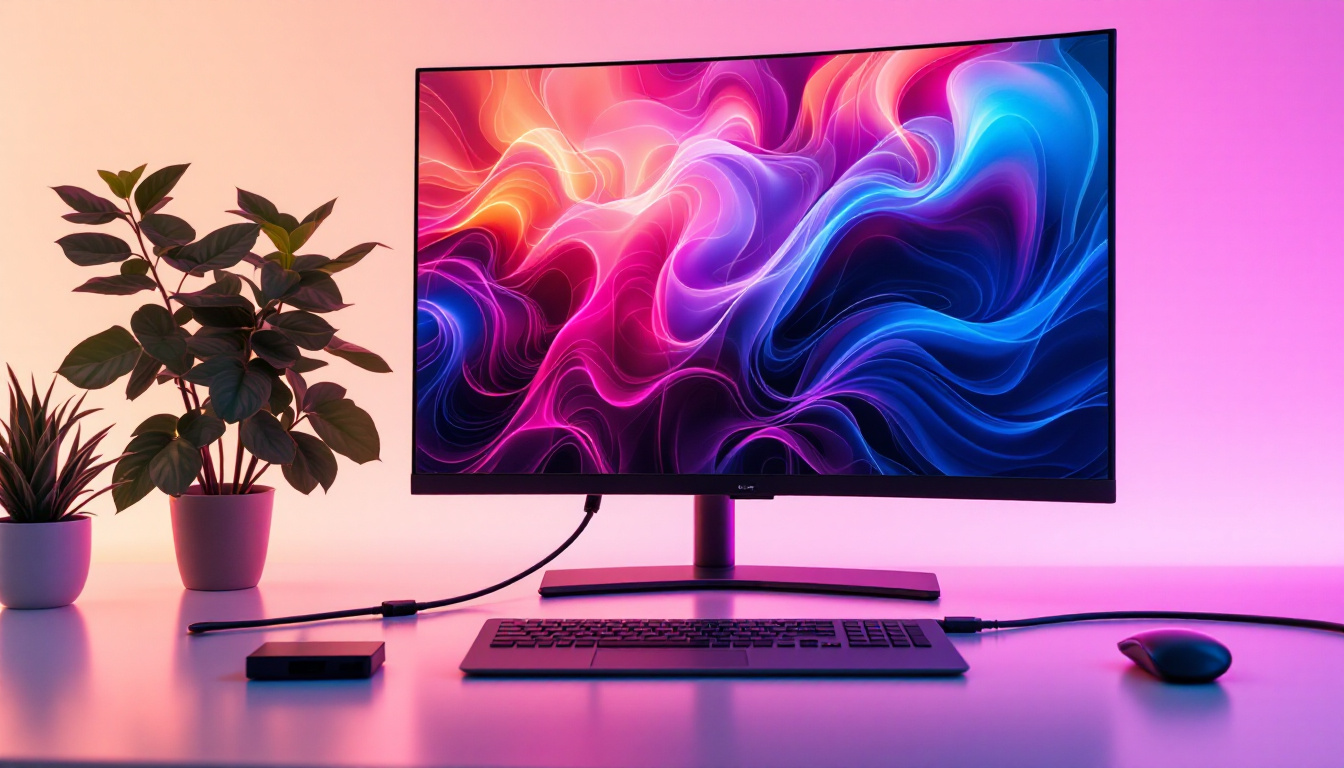
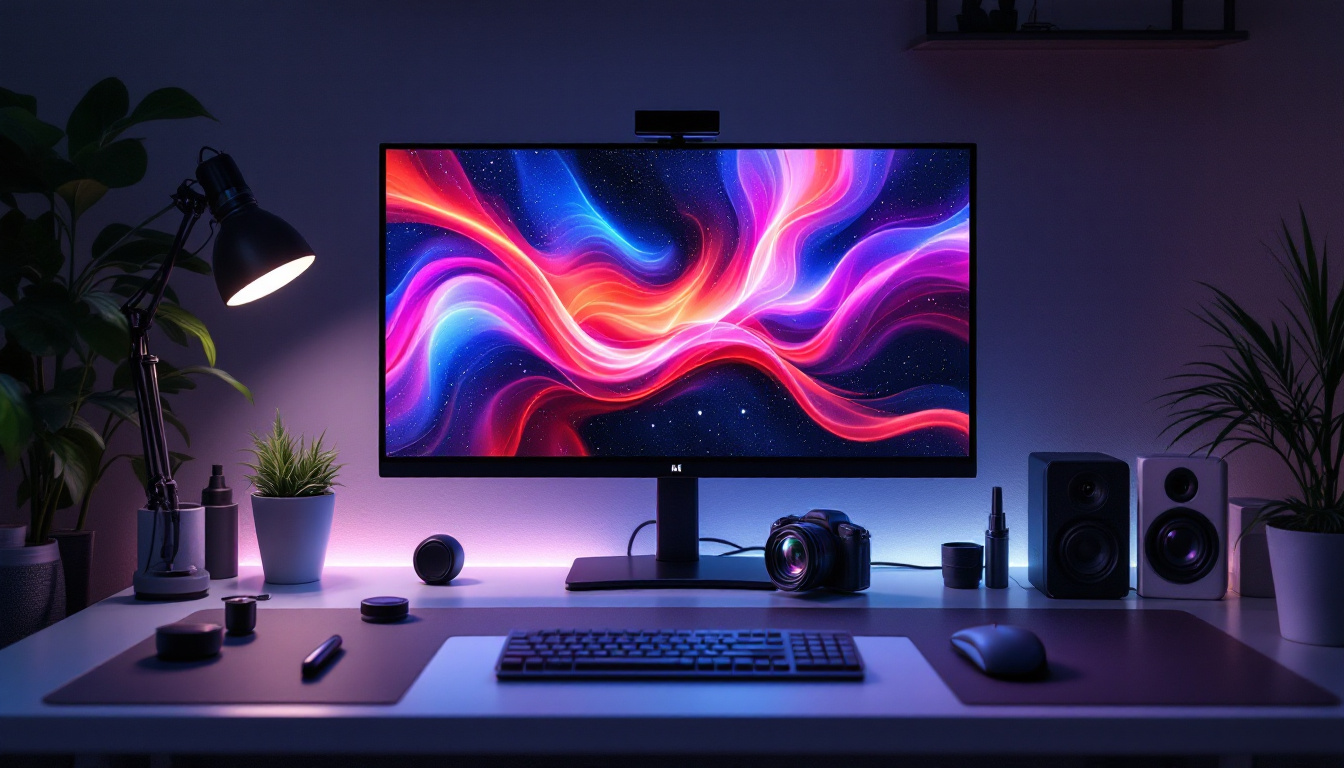
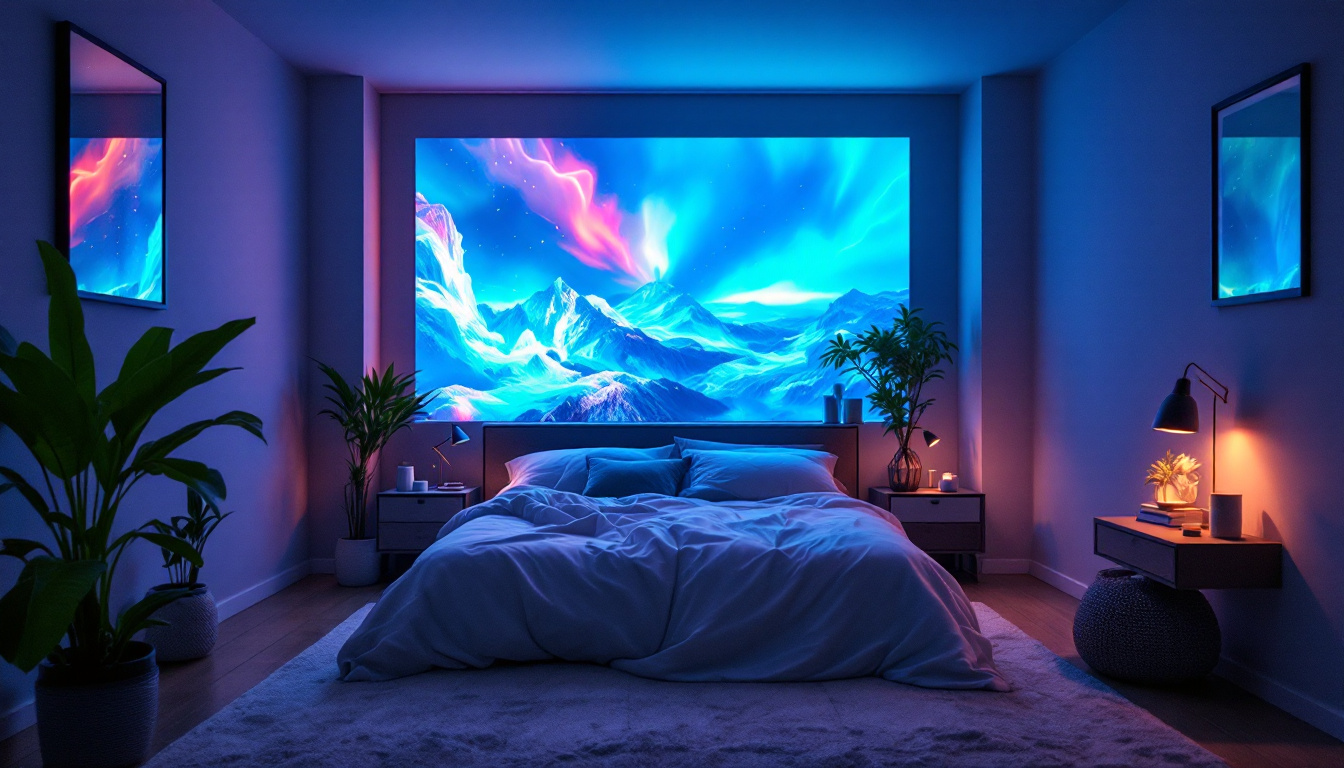
Home Decor and Personal Projects
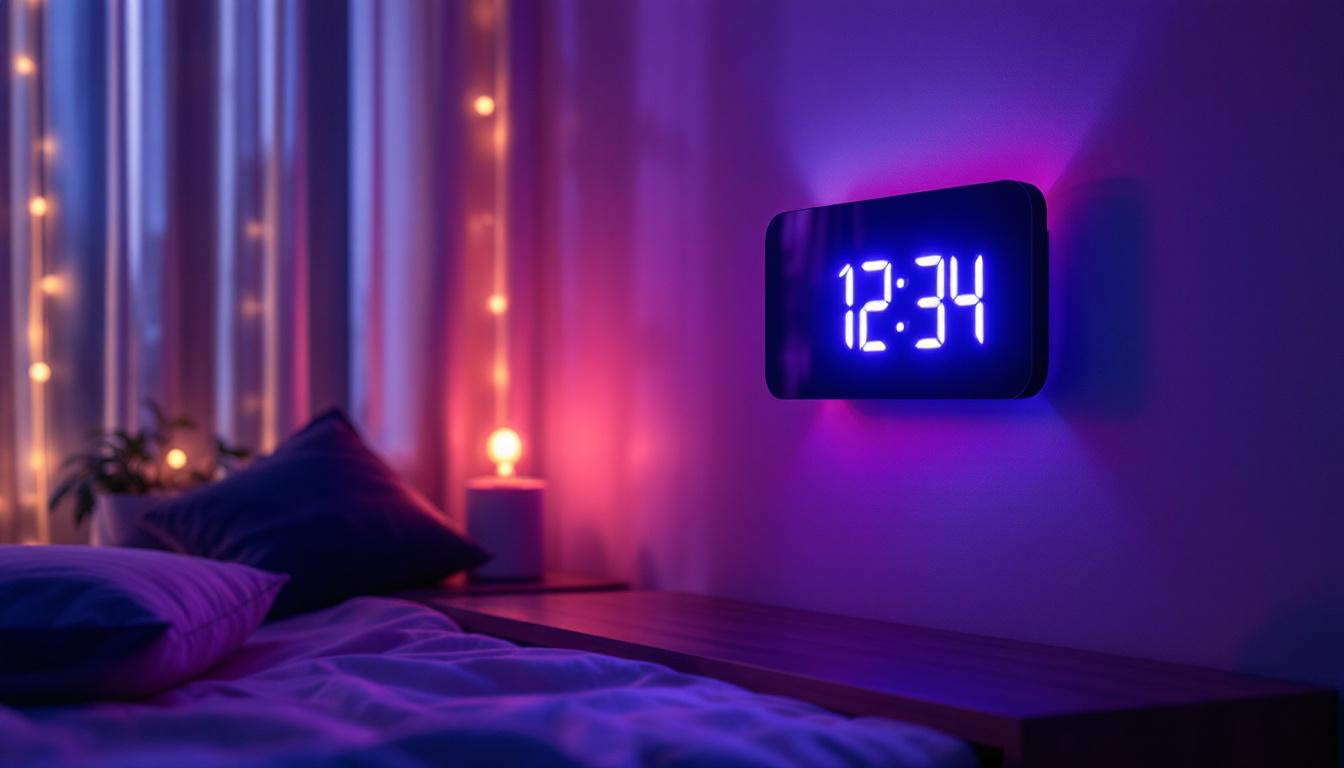
For hobbyists, DIY LED displays can serve as decorative pieces or functional gadgets. Whether it’s a digital clock, a mood light, or an interactive game, the possibilities are endless. Personal projects can reflect individual creativity and style, making them unique additions to any space.
Challenges and Considerations
While creating a DIY LED display can be rewarding, there are challenges and considerations to keep in mind. Understanding these can help ensure a successful project.
Technical Skills Required
Building an LED display requires a certain level of technical knowledge, including electronics and programming. For beginners, it may be beneficial to start with simpler projects or seek guidance from online tutorials and communities.
Cost of Components
While DIY projects can be cost-effective, the price of components can add up, especially for larger displays. It’s important to budget accordingly and research suppliers to find the best deals on materials.
Safety Precautions
Working with electronics involves safety risks, including electrical shock and fire hazards. Always follow safety guidelines, use proper tools, and ensure that all connections are secure to minimize risks.
Conclusion
Creating a DIY LED display is an exciting project that combines creativity with technical skills. By understanding the components, programming, and applications, individuals can build custom displays that serve various purposes. Whether for art, advertising, or personal use, the possibilities are endless. With careful planning and execution, anyone can embark on this rewarding journey into the world of LED technology.
Explore Cutting-Edge LED Displays with LumenMatrix
Ready to transform your creative vision into a vibrant reality? LumenMatrix is at the forefront of LED display innovation, offering a wide range of solutions tailored to your needs. From mesmerizing Indoor and Outdoor LED Wall Displays to dynamic Vehicle and Sports LED Displays, our technology is designed to captivate and engage. Discover the endless possibilities with our LED Poster Displays, Floor Displays, Custom Solutions, and more. Elevate your visual communication and make a lasting impression. Check out LumenMatrix LED Display Solutions today and start creating your own dazzling displays.