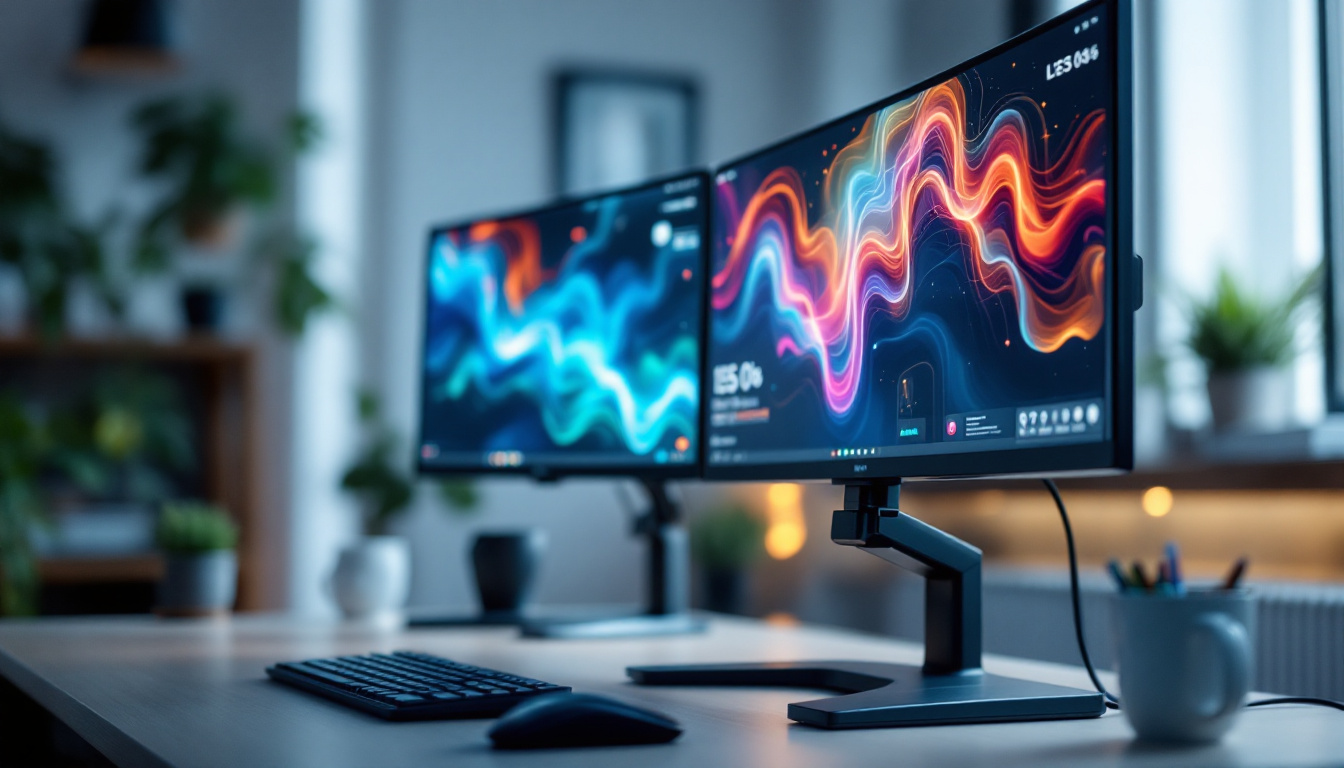
Creating a DIY video wall using LED displays has become increasingly accessible and popular among tech enthusiasts, businesses, and creative professionals. Whether for home entertainment, digital signage, or immersive presentations, understanding the fundamentals of LED video walls is essential to building a high-quality, scalable, and visually stunning display. This comprehensive guide explores the technology behind LED video walls, the components involved, design considerations, and practical tips for assembling your own DIY setup.
Understanding LED Video Wall Technology
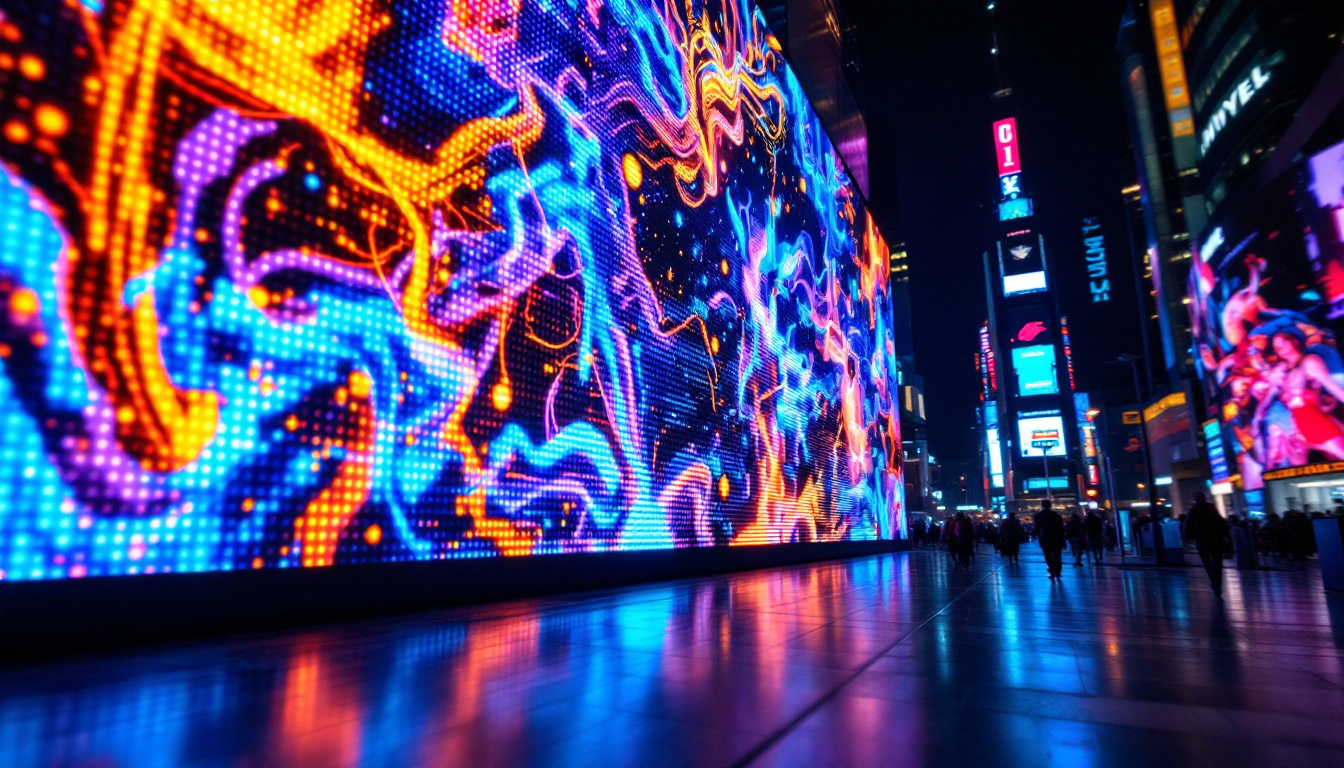
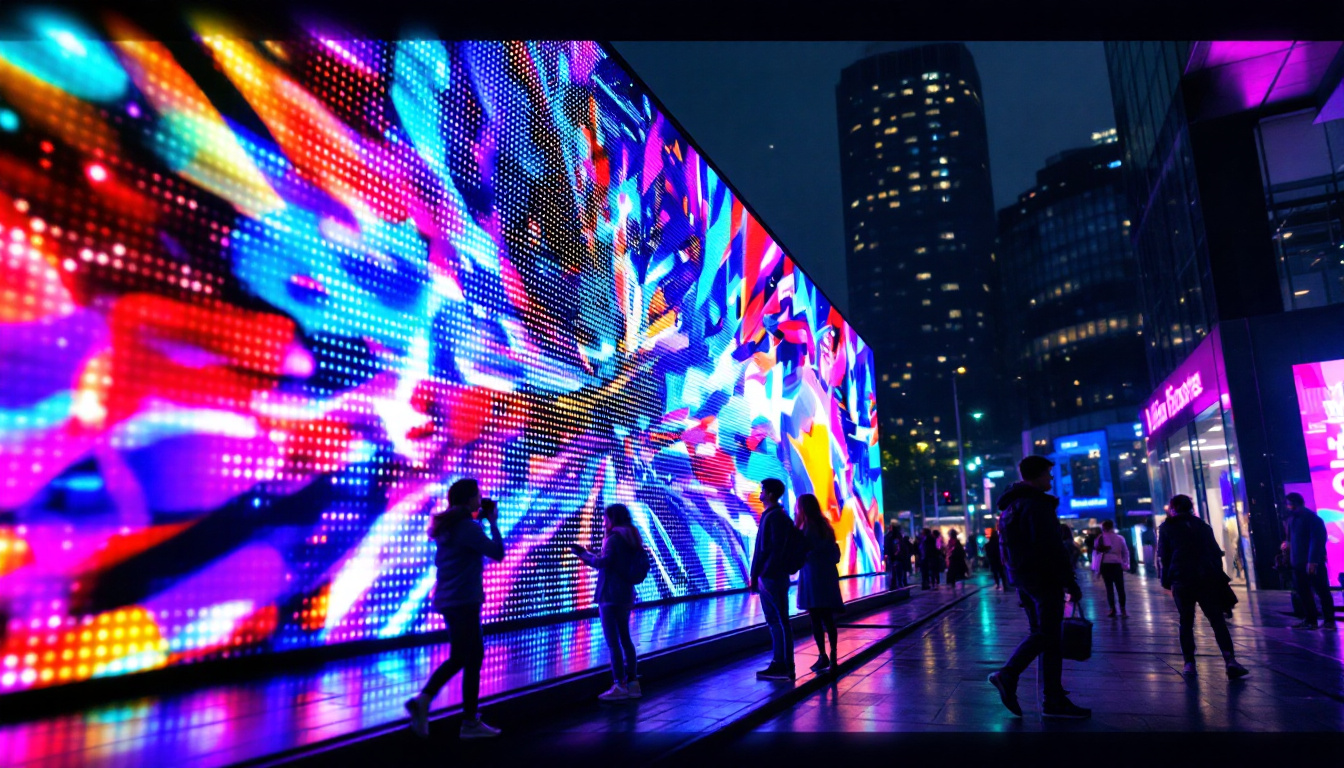
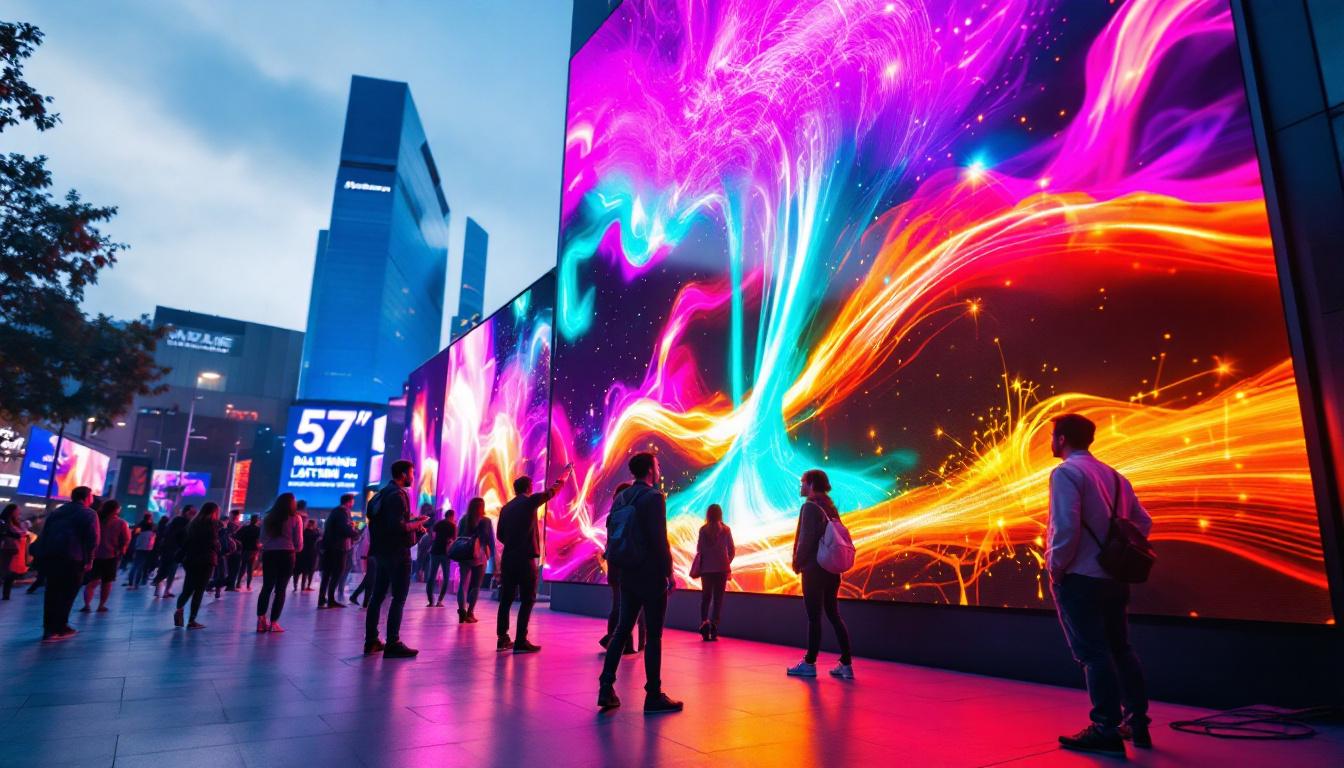
LED video walls are large-scale displays made up of multiple smaller LED panels seamlessly tiled together to form one continuous screen. Unlike traditional LCD or projection screens, LED walls use light-emitting diodes (LEDs) as individual pixels, providing superior brightness, contrast, and color accuracy.
What Makes LED Displays Unique?
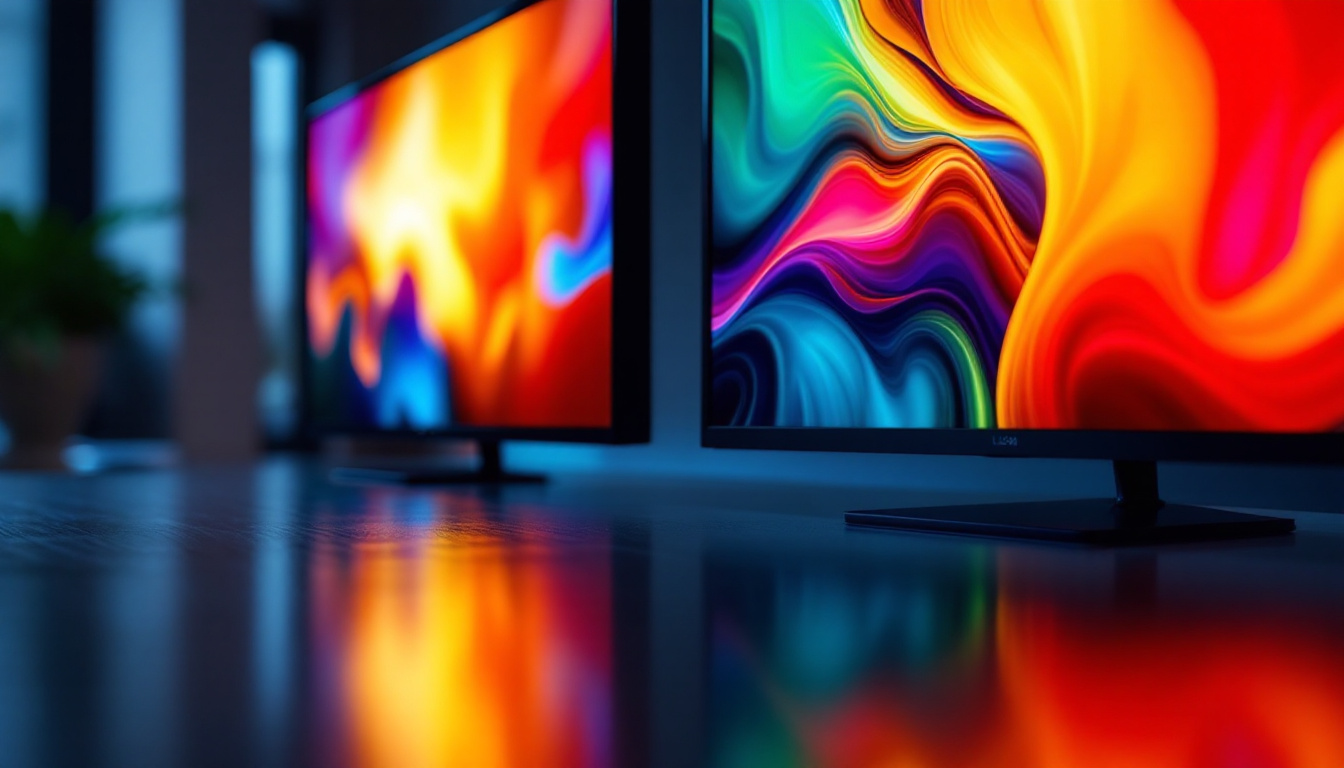
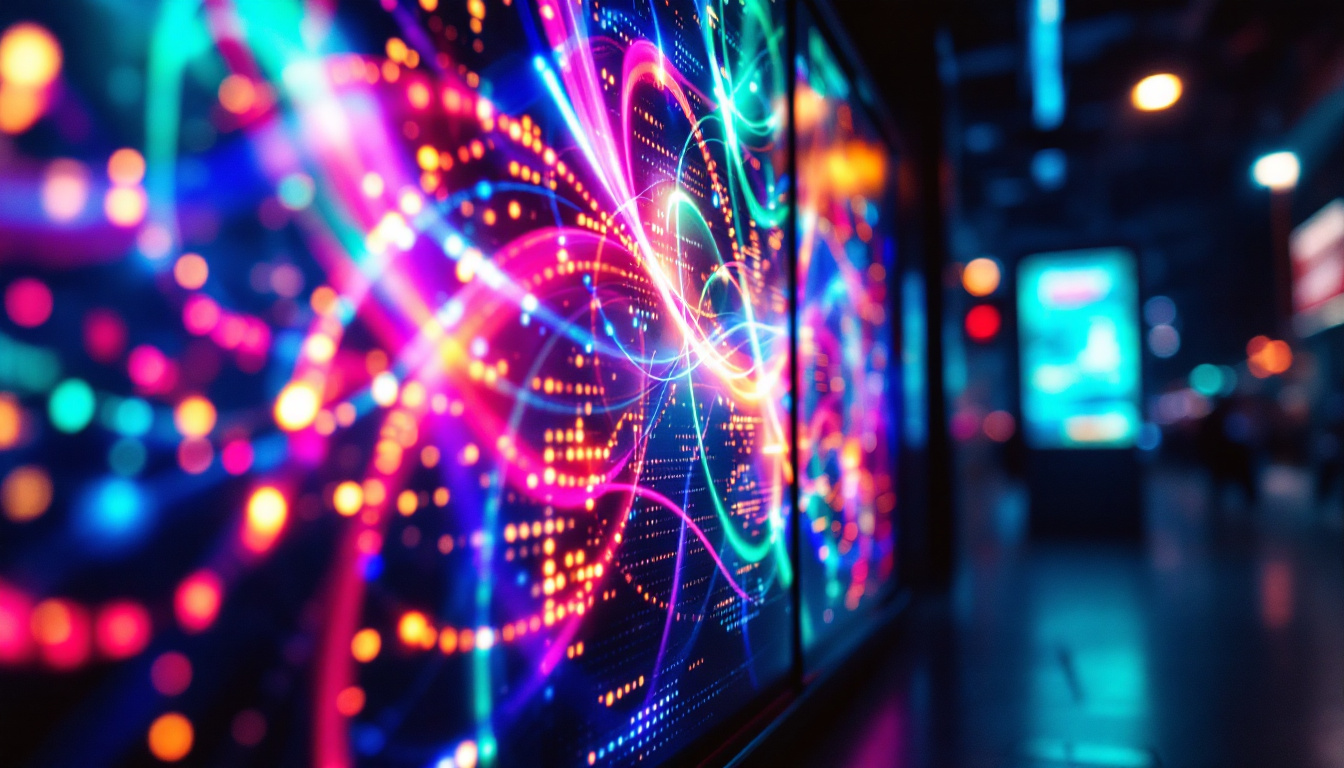
LED technology offers several advantages over other display types. Each LED pixel emits its own light, eliminating the need for backlighting found in LCDs. This results in deeper blacks and higher contrast ratios. Additionally, LED panels can achieve extremely high brightness levels—often exceeding 1,000 nits—making them ideal for environments with significant ambient light, such as outdoor venues or brightly lit retail spaces.
Another key feature is the wide viewing angle. LED walls maintain consistent color and brightness even when viewed from sharp angles, which is crucial for large audiences or multi-directional viewing scenarios.
Types of LED Displays
LED video walls come in two primary categories: Direct View LED (DV-LED) and LED-backlit LCD. DV-LED panels consist of individual RGB LEDs arranged in a matrix, providing vibrant colors and seamless image quality. This is the preferred technology for video walls due to its scalability and superior visual performance.
In contrast, LED-backlit LCDs use LEDs as a backlight behind an LCD panel, which limits viewing angles and brightness. For DIY video walls, DV-LED is generally the recommended choice.
Key Components of a DIY LED Video Wall
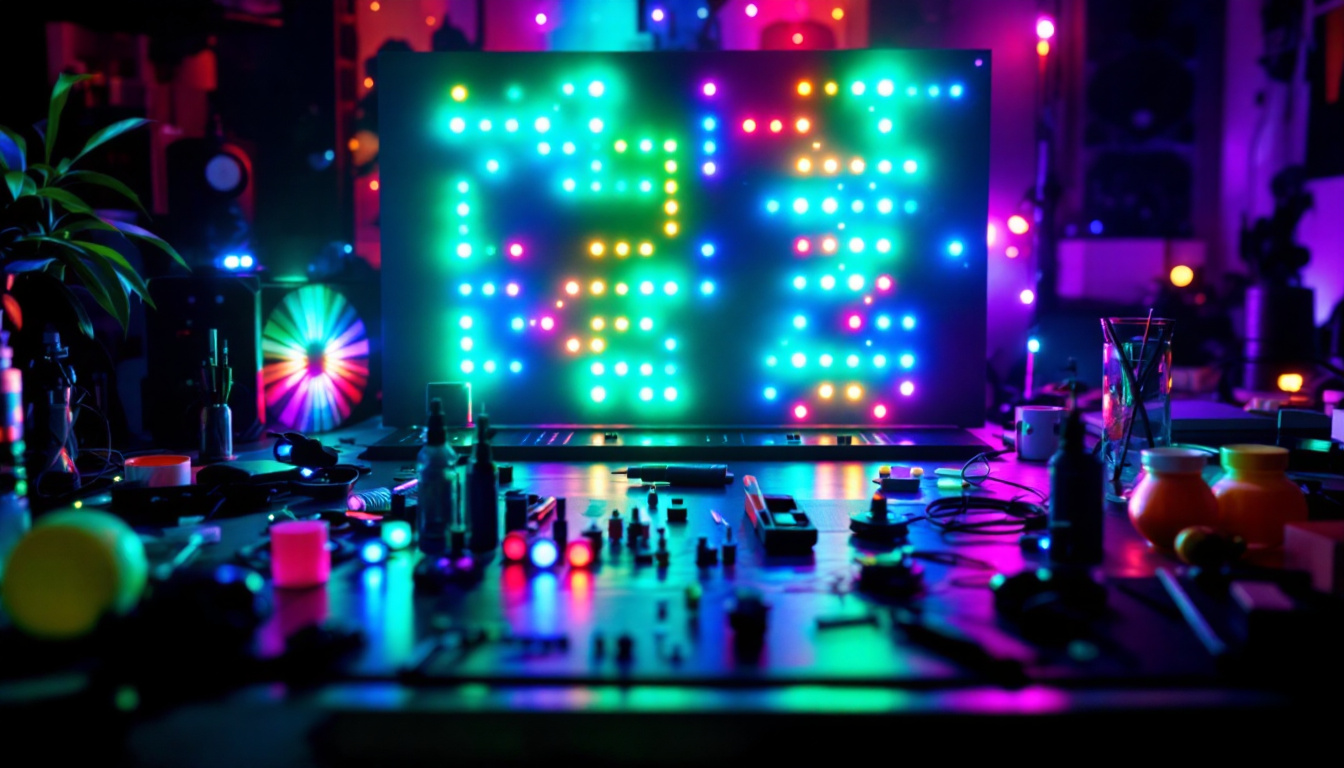
Building an effective LED video wall requires understanding the essential hardware and software components. Each piece plays a vital role in ensuring the display functions smoothly and delivers high-quality visuals.
LED Panels and Modules
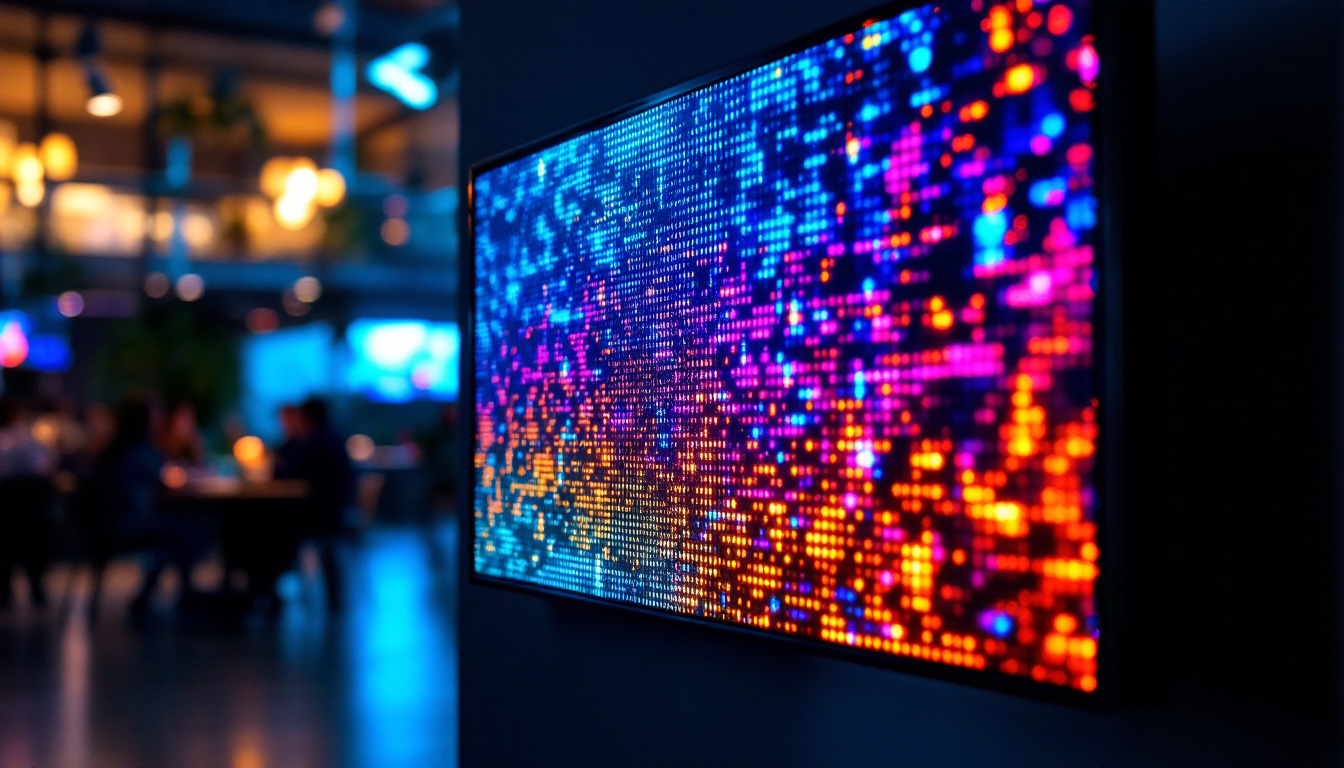
The core building blocks of any LED video wall are the individual LED panels or modules. These are typically square or rectangular units containing a grid of LEDs. The resolution and pixel pitch—the distance between the centers of adjacent LEDs—determine the image sharpness and viewing distance suitability.
For example, a pixel pitch of 1.5mm to 2.5mm is ideal for indoor video walls viewed from close range, such as conference rooms or control centers. Larger pixel pitches like 4mm to 10mm are better suited for outdoor or large venue installations where viewers are farther away.
Video Wall Controllers and Processors
To manage the content displayed across multiple panels, a video wall controller is necessary. This device splits the input signal (from a computer, media player, or camera) into segments that correspond to each LED panel, ensuring the image is correctly aligned and synchronized.
Modern controllers often support 4K or even 8K resolutions and provide advanced features such as edge blending, color calibration, and real-time content management. For DIY projects, software-based controllers running on a PC with compatible video cards can be a cost-effective option.
Mounting and Structural Framework
Proper mounting is critical for maintaining panel alignment and structural integrity. LED panels must be mounted on a rigid frame or wall system that allows for precise positioning and easy access for maintenance.
Several DIY enthusiasts use modular aluminum frames or custom-built wooden structures, depending on the size and weight of the panels. Ensuring the frame is level and stable prevents image distortion and panel damage over time.
Power Supply and Cabling
LED panels require stable and sufficient power to operate. Each panel typically has its own power supply unit, but the overall setup must be designed to handle the cumulative load safely.
Additionally, data cables (often Ethernet or proprietary connectors) transmit video signals between the controller and panels. Cable management is essential to avoid signal interference and maintain a clean installation.
Design Considerations for Your DIY Video Wall
Before starting your build, several design factors must be carefully evaluated to ensure the final video wall meets your needs and expectations.
Resolution and Pixel Pitch
The resolution of your video wall directly impacts image clarity. Higher resolution means more pixels and finer detail but also increases cost and complexity. Pixel pitch plays a crucial role here—smaller pitch means higher resolution for a given screen size.
Consider the typical viewing distance when choosing pixel pitch. For example, a 2mm pitch panel is ideal for viewing distances of about 2 meters or more. For home theaters or control rooms where viewers are closer, a smaller pitch is preferable.
Screen Size and Aspect Ratio
The physical size of the video wall depends on the number and size of panels used. It’s important to plan the aspect ratio to match your content format—16:9 is standard for video, while 4:3 or custom ratios may be needed for specific applications.
Keep in mind that larger walls require more robust structural support and power management. Also, consider the space where the wall will be installed to ensure proper viewing angles and accessibility.
Brightness and Environment
LED video walls can be used indoors or outdoors, but environmental factors influence the required brightness and durability. Outdoor walls need higher brightness (often 5,000 nits or more) to combat sunlight and weatherproofing to withstand rain, dust, and temperature fluctuations.
Indoor walls typically operate at lower brightness levels (around 600-1,000 nits) but should still be bright enough to compete with ambient lighting conditions.
Content and Control System
Decide early on what type of content you will display—static images, video, live feeds, or interactive applications. This affects the choice of controller, software, and connectivity options.
Many DIY builders leverage open-source or commercial video wall software that allows for easy content scheduling, multi-source input, and remote management.
Step-by-Step Guide to Building Your DIY LED Video Wall
With a solid understanding of components and design, the next step is the actual assembly and setup of your LED video wall.
1. Planning and Layout
Start by measuring the installation area and determining the number of panels needed to achieve your desired screen size and resolution. Sketch a layout plan, including the frame design, cable routing, and power distribution.
2. Building the Frame
Construct a sturdy frame using aluminum extrusions or wood, ensuring it is perfectly level and square. The frame should allow for easy mounting and removal of panels for maintenance.
3. Mounting the LED Panels
Attach each LED panel to the frame carefully, aligning edges to minimize visible seams. Use mounting brackets or screws as specified by the panel manufacturer.
4. Connecting Power and Data
Connect power supplies to each panel, ensuring the total load does not exceed circuit limits. Run data cables from the video wall controller to each panel in the correct sequence to maintain image coherence.
5. Configuring the Controller
Set up the video wall controller software, calibrate the panels for color and brightness uniformity, and test the display with sample content. Adjust settings to optimize image quality and synchronization.
6. Final Testing and Calibration
Perform a thorough inspection of the entire video wall, checking for dead pixels, alignment issues, and signal integrity. Fine-tune the color balance and brightness to ensure a consistent and vibrant image across the entire surface.
Practical Applications and Benefits of DIY LED Video Walls
DIY LED video walls offer numerous advantages across various sectors, making them a versatile solution for both personal and professional use.
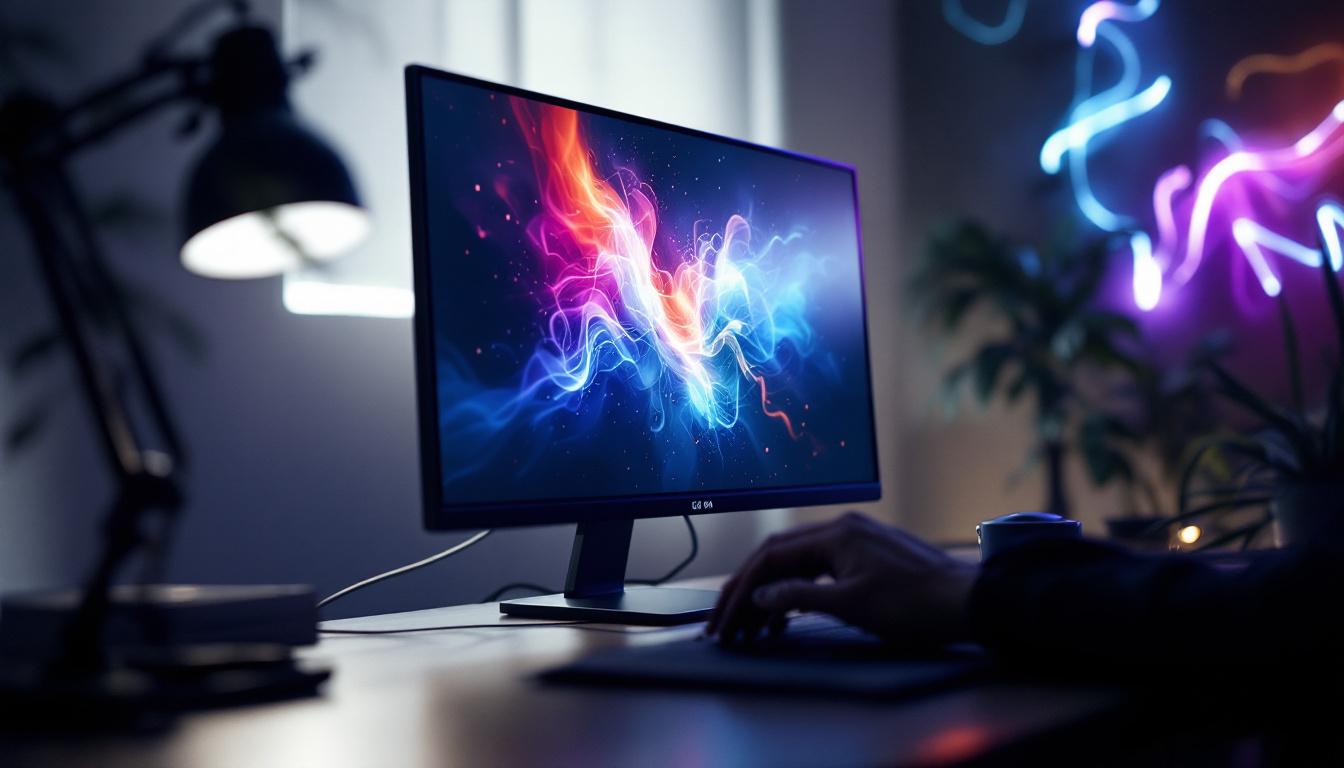
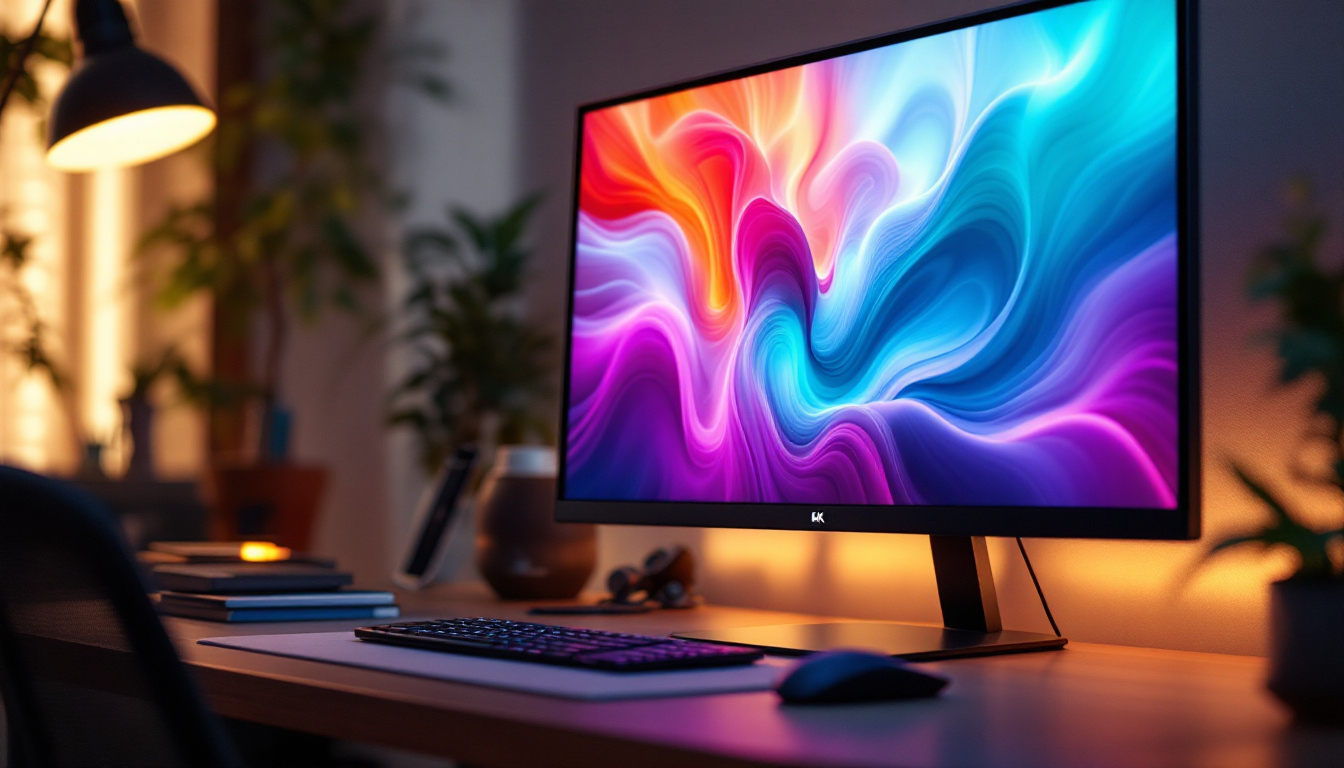
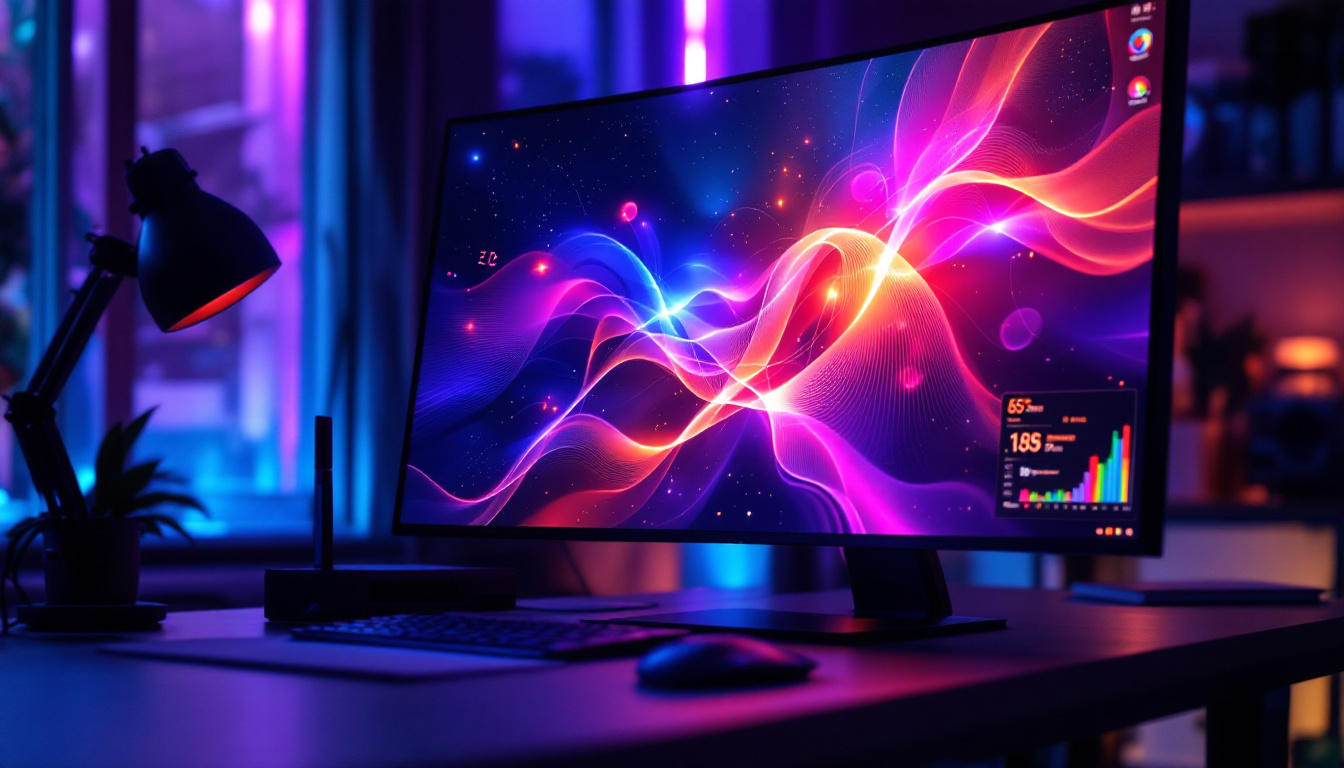
Home Entertainment and Gaming
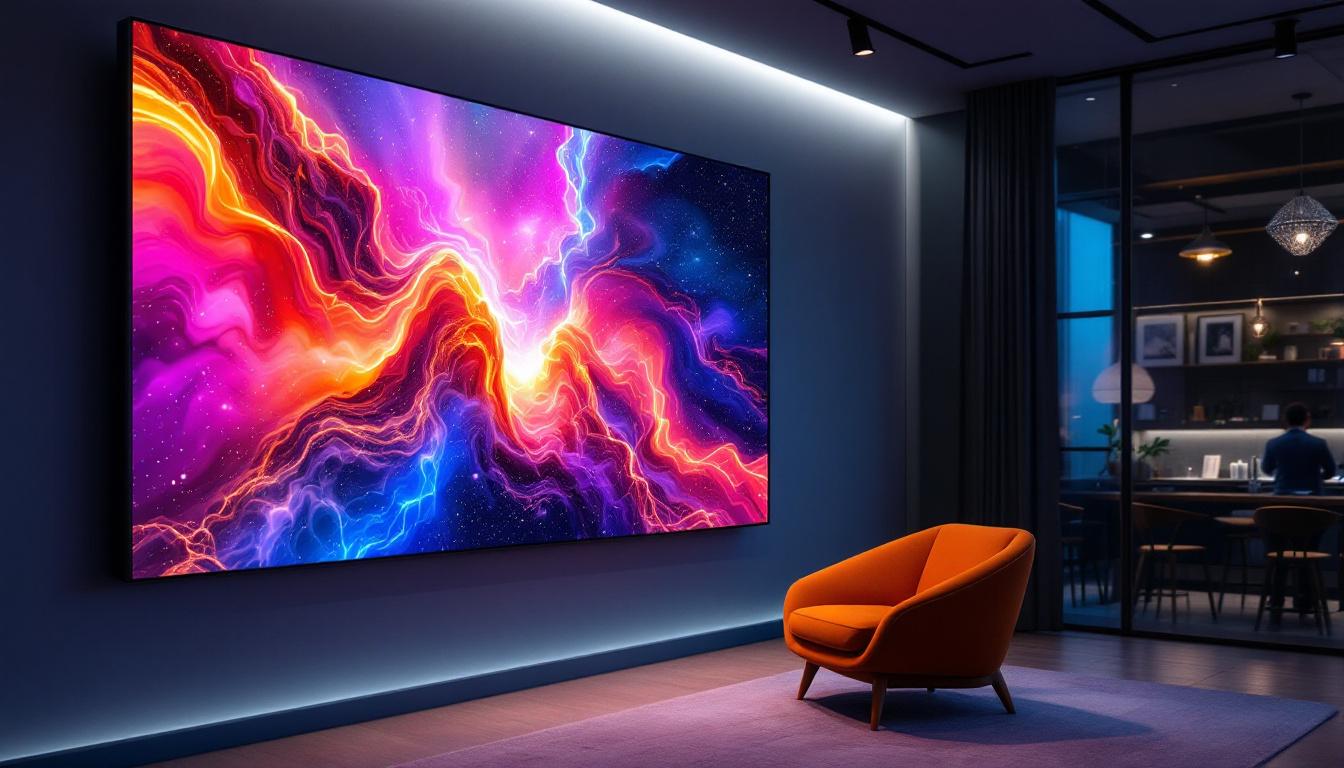
For home theaters or immersive gaming setups, LED video walls provide an unparalleled viewing experience with vivid colors and seamless images. Custom sizes and resolutions allow enthusiasts to create unique environments tailored to their preferences.
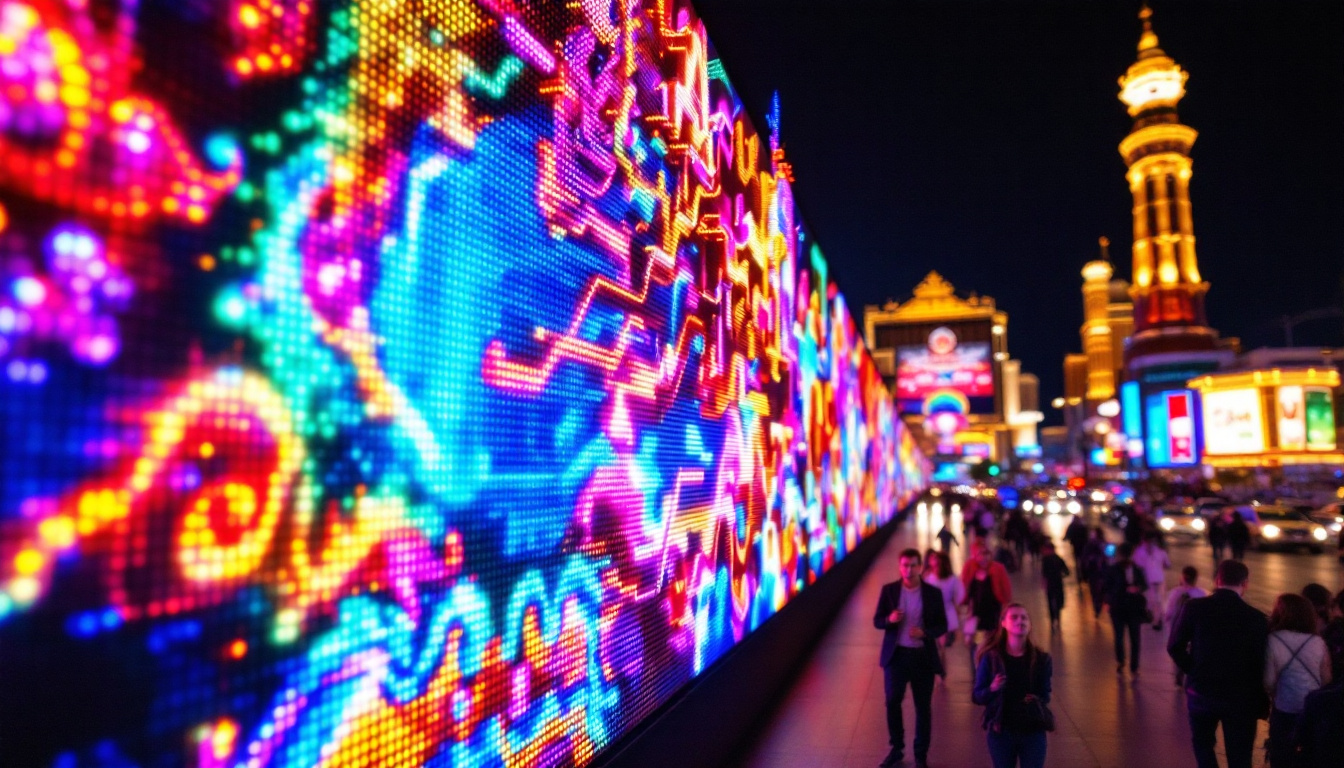
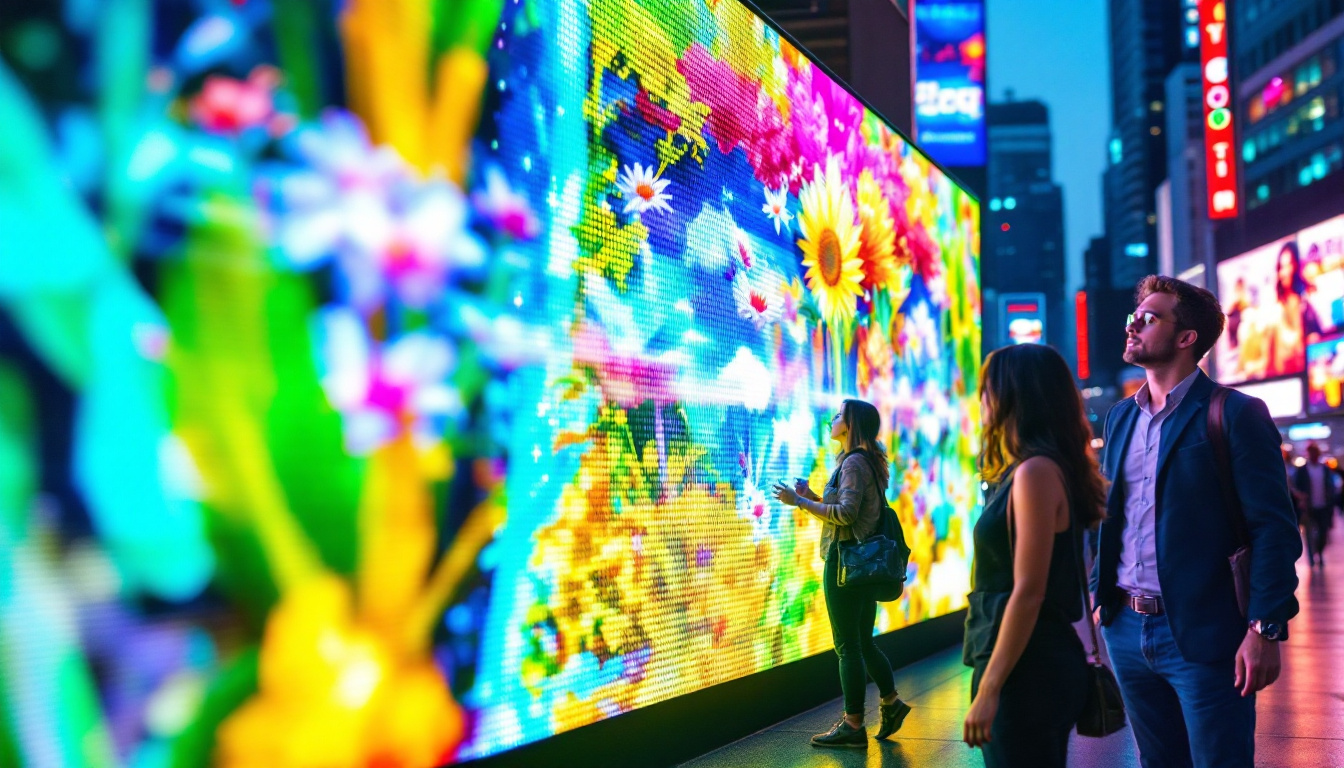
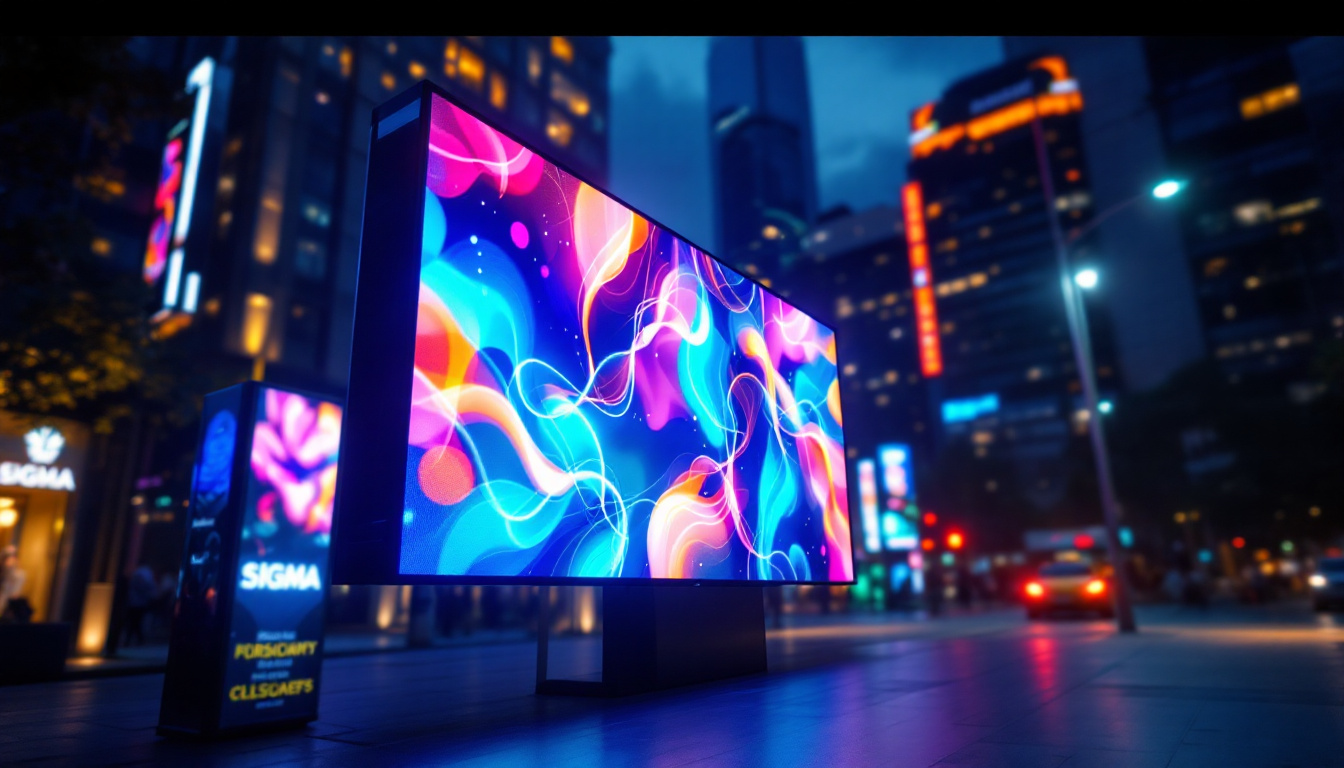
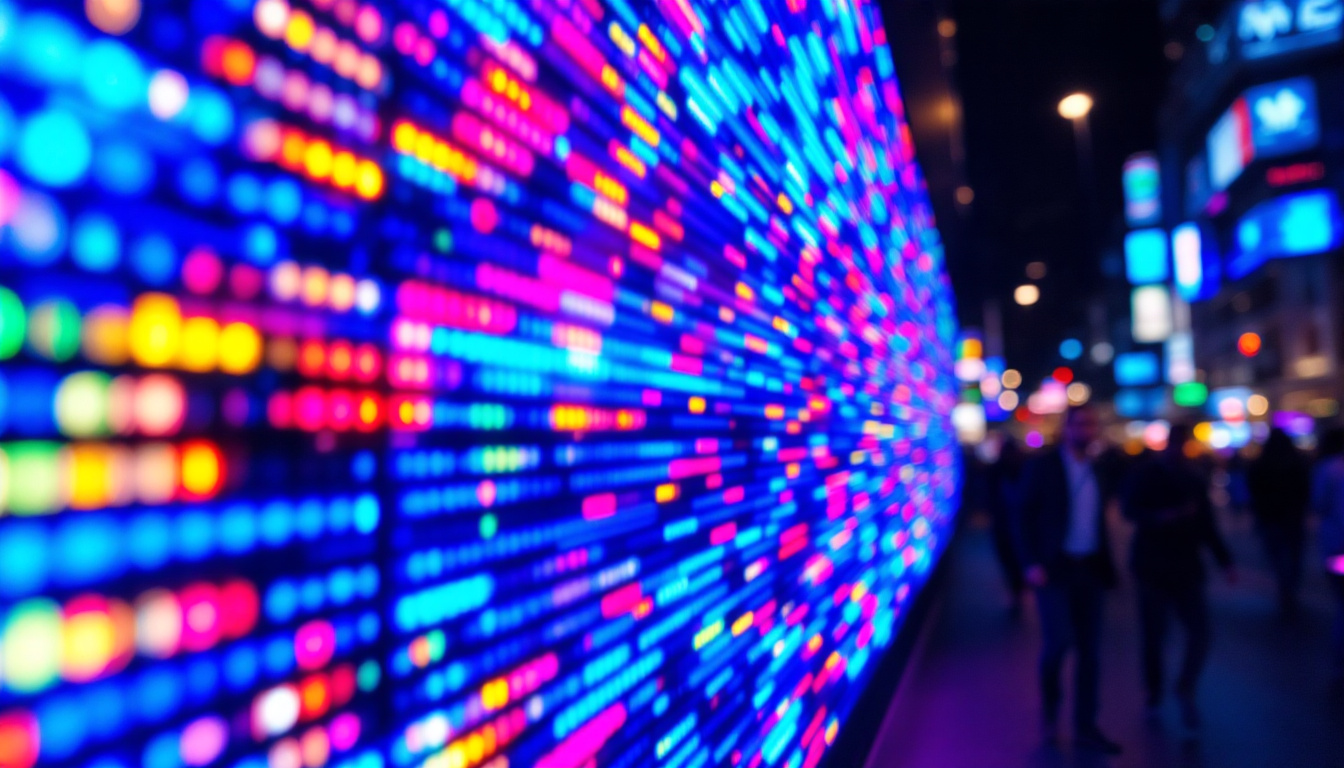
Business and Retail Signage
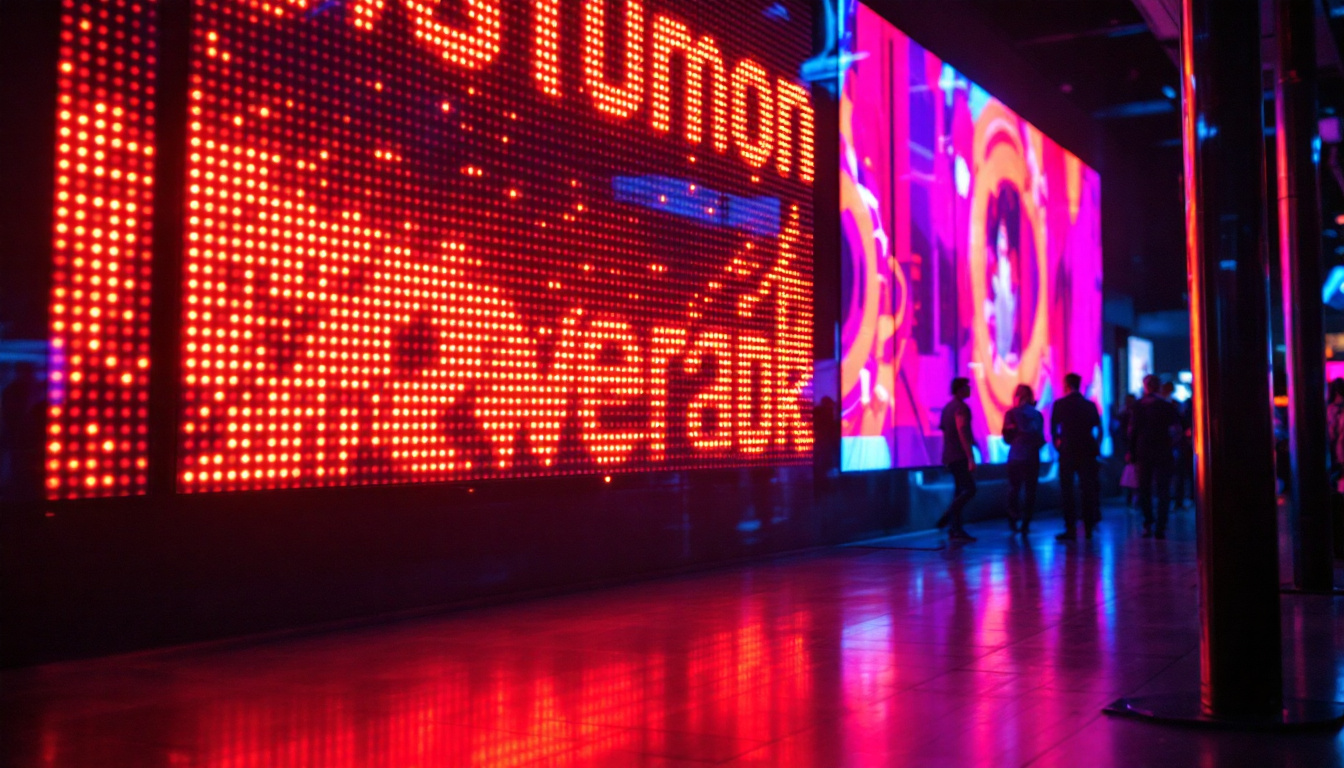
Businesses benefit from LED video walls for advertising, promotions, and interactive displays. The ability to update content in real-time and attract attention with bright visuals enhances customer engagement and brand visibility.
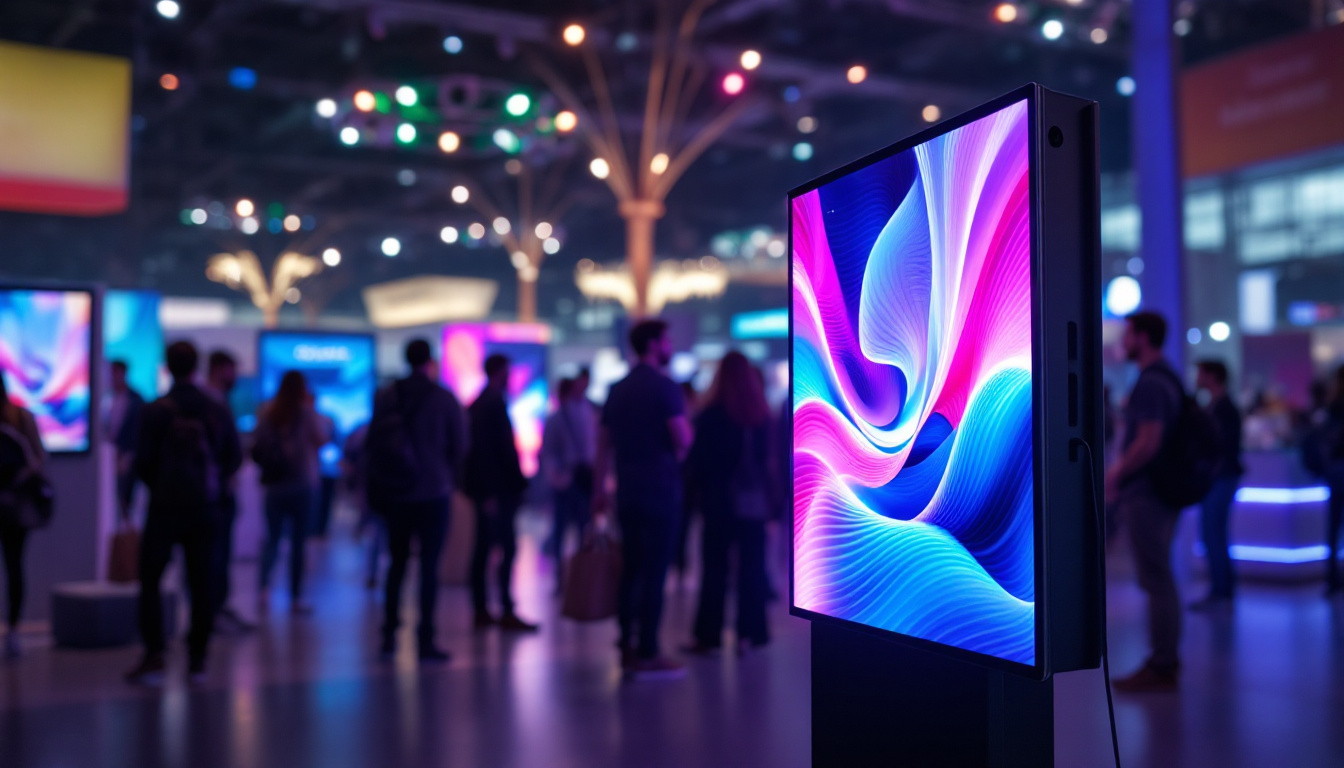
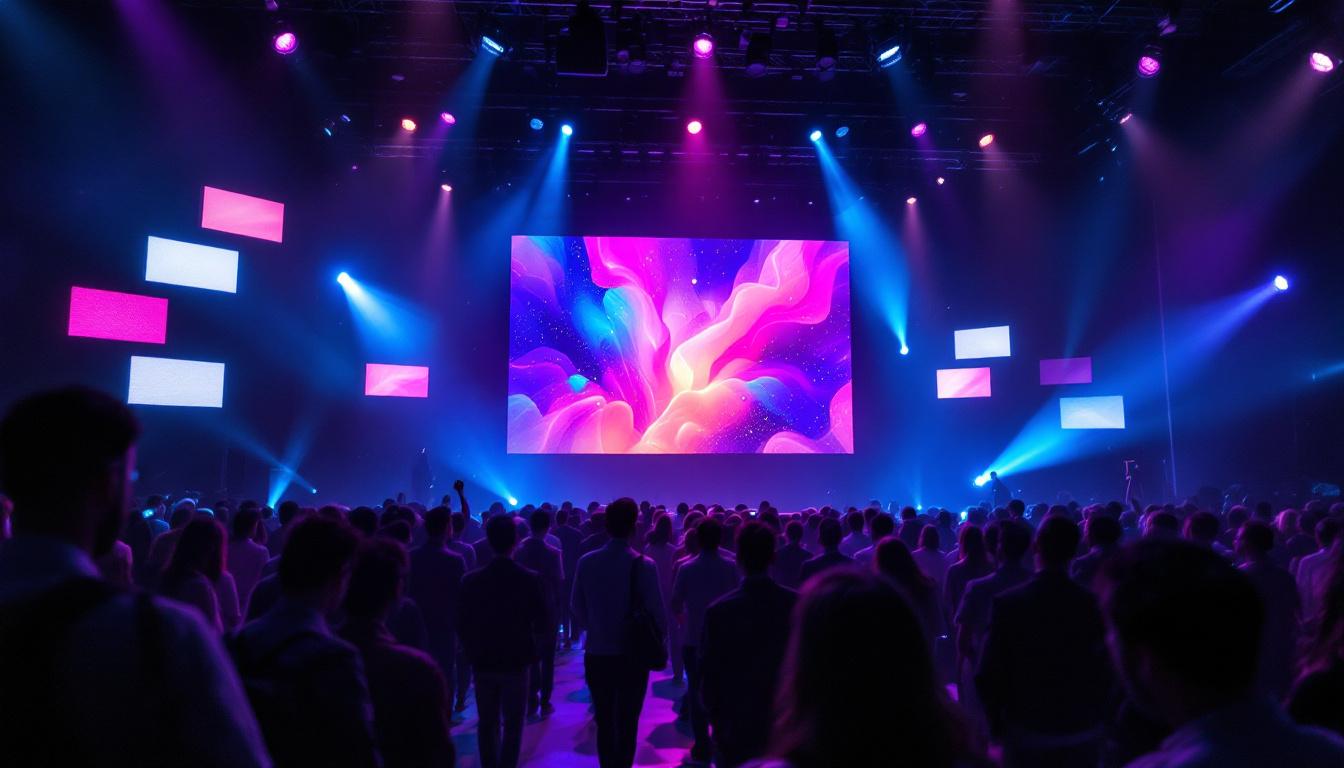
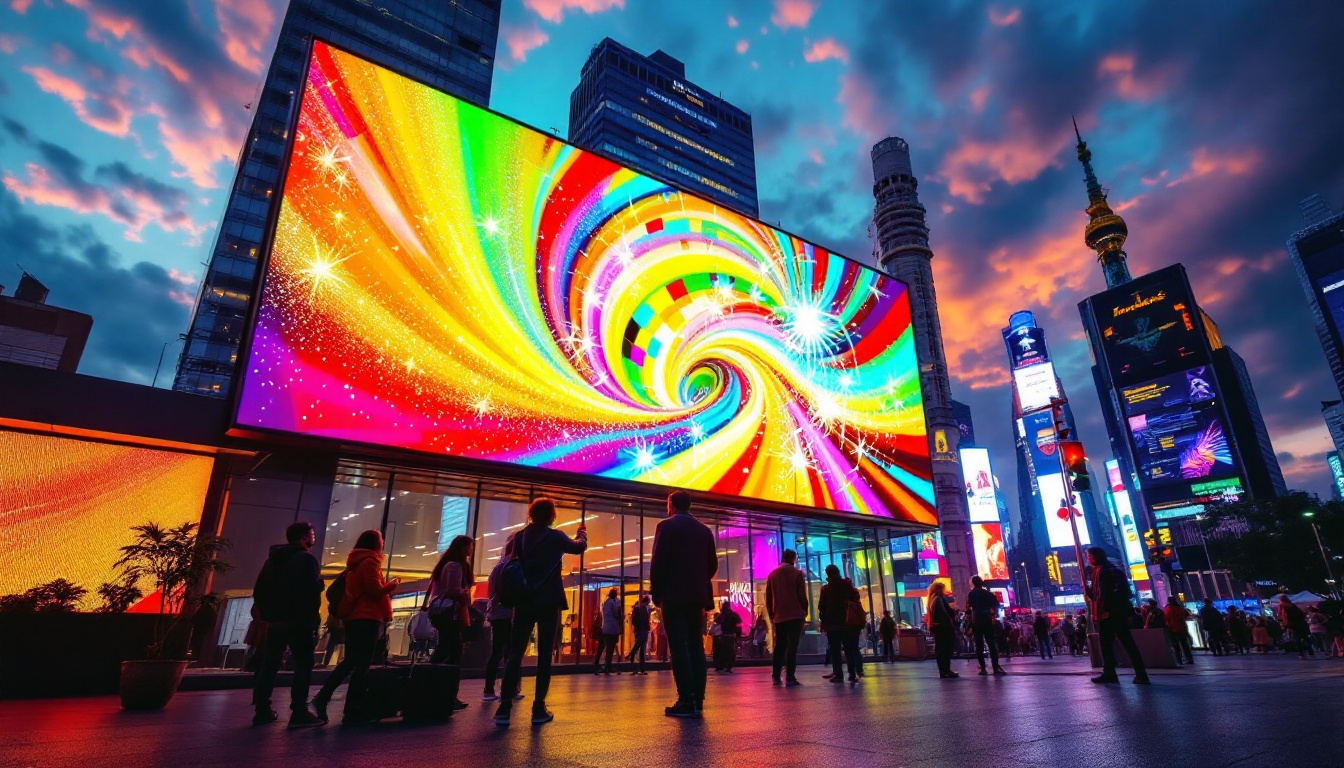
Events and Exhibitions
Event organizers use LED video walls for dynamic backdrops, live feeds, and presentations. Their scalability and portability make them ideal for temporary installations and large venues.
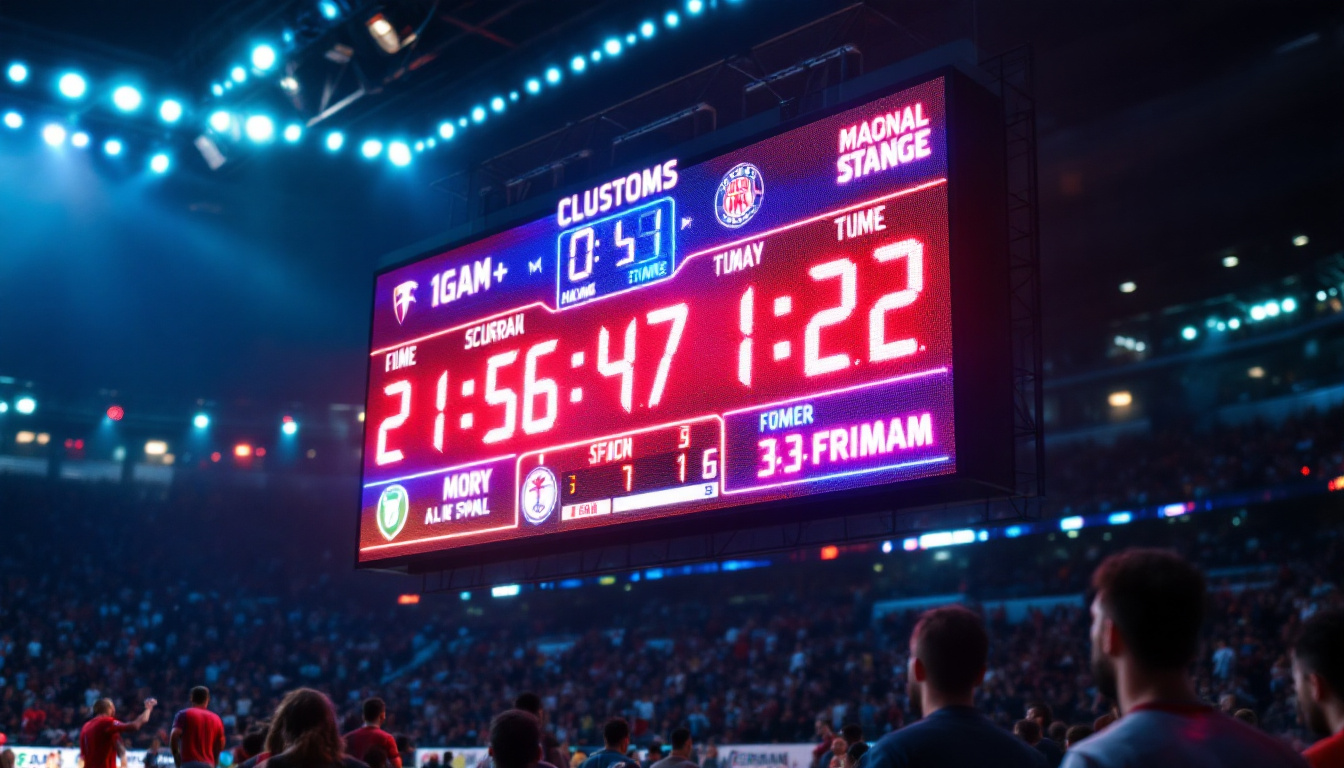
Control Rooms and Monitoring
In control centers, video walls display multiple data streams simultaneously, improving situational awareness and decision-making. High resolution and reliability are critical in these environments.
Challenges and Considerations When Building a DIY LED Video Wall
While DIY LED video walls are rewarding projects, they come with challenges that must be addressed to ensure success.
Cost and Budget Management
High-quality LED panels and controllers can be expensive. It’s important to balance desired specifications with budget constraints, prioritizing critical features like resolution and brightness.
Technical Expertise
Building and configuring an LED video wall requires knowledge of electronics, networking, and display technology. Beginners should be prepared to invest time in learning or seek professional assistance for complex setups.
Maintenance and Longevity
LED panels require regular maintenance to prevent issues such as dead pixels or color degradation. Proper ventilation and environmental controls extend the lifespan of the display.
Software Compatibility
Ensuring that your chosen controller and content management software support your hardware and content formats is essential to avoid compatibility problems.
Future Trends in LED Video Wall Technology
The LED video wall industry continues to evolve rapidly, driven by advances in materials, electronics, and software.
MicroLED and MiniLED Innovations
Emerging MicroLED and MiniLED technologies promise even higher resolution, improved energy efficiency, and thinner form factors. These advancements will make video walls more versatile and visually impressive.
AI-Driven Content and Calibration
Artificial intelligence is increasingly used to optimize content delivery and automate calibration processes, enhancing user experience and reducing setup time.
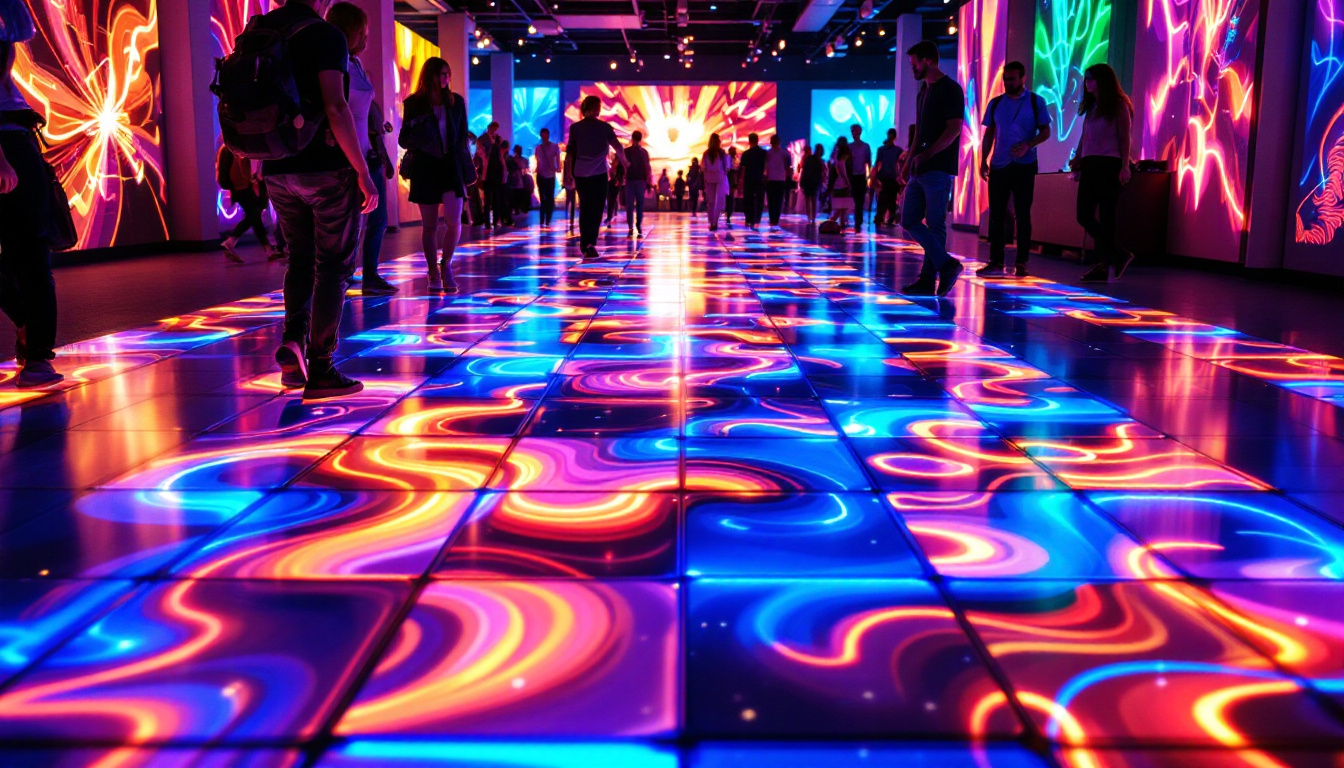
Interactive and Touch-Enabled Walls
Integration of touch and gesture recognition technologies transforms video walls into interactive surfaces, expanding their use cases in education, retail, and entertainment.
Conclusion
Building a DIY LED video wall is a complex but highly rewarding endeavor that combines technology, design, and creativity. By understanding the core components, design principles, and practical challenges, enthusiasts can create stunning displays tailored to their unique needs. As LED technology advances, the possibilities for DIY video walls will continue to expand, offering new opportunities for innovation and engagement across a wide range of applications.
Explore Cutting-Edge LED Display Solutions
Ready to bring your DIY LED video wall project to life with the latest in display technology? LumenMatrix is at the forefront of LED innovation, offering a wide range of solutions to meet your creative and professional needs. From dazzling indoor and outdoor displays to specialized options like vehicle, sports, and floor LED displays, our products are designed to make your vision a reality. Elevate your visual experience and enhance your brand’s presence with our custom and all-in-one LED display solutions. Check out LumenMatrix LED Display Solutions today and start crafting your immersive visual masterpiece.