Hanging tiles on a wall is an effective way to enhance the aesthetic appeal of a space, whether in a home, office, or retail environment. The integration of LED displays into tiled walls has further revolutionized the way we perceive and interact with our surroundings. This article will guide you through the process of hanging tiles on a wall, with a special focus on how to incorporate LED displays seamlessly into your design.
Understanding the Basics of Wall Tiling
Before diving into the specifics of hanging tiles, it is essential to understand the fundamental concepts of wall tiling. Tiles come in various materials, sizes, and designs, each suited for different applications. The choice of tile will significantly influence the overall look and feel of the space. Additionally, understanding the layout and pattern of the tiles can enhance the aesthetic appeal and functionality of the area being tiled.
Types of Tiles
Tiles can be categorized into several types, including ceramic, porcelain, glass, and stone. Ceramic tiles are popular for their versatility and affordability, while porcelain tiles offer durability and water resistance. Glass tiles, often used for decorative purposes, can create stunning visual effects, especially when combined with LED lighting. Stone tiles, such as marble or granite, provide a luxurious finish but may require more maintenance. Furthermore, specialty tiles, such as mosaic or subway tiles, can add unique character to a room, allowing for creative designs that can transform a simple wall into a work of art.
Preparing the Wall Surface
Proper preparation of the wall surface is crucial for a successful tiling project. The wall should be clean, dry, and free from any imperfections. Any existing paint or wallpaper should be removed, and holes or cracks should be filled with a suitable filler. For optimal adhesion, consider applying a primer to enhance the bonding between the tiles and the wall. Additionally, it is important to check for moisture levels in the wall, as excessive dampness can lead to tile failure over time. Using a moisture meter can help ensure that the wall is adequately prepared for tiling, providing a solid foundation for your project.
Another key aspect of wall preparation is ensuring that the surface is level. Uneven walls can lead to misaligned tiles and an unprofessional finish. To address this, you may need to use a leveling compound to fill in low spots or to install furring strips to create a more even surface. Taking the time to properly prepare the wall will not only make the tiling process smoother but will also contribute to the longevity and durability of the tiled surface.
Tools and Materials Needed
Having the right tools and materials at hand is essential for a smooth tiling process. Below is a list of items that will be helpful when hanging tiles on a wall. Proper preparation not only ensures a professional finish but also saves time and effort during the installation process. Investing in quality tools can significantly enhance the overall outcome of your tiling project, making it both efficient and enjoyable.
Essential Tools
- Trowel: For spreading adhesive.
- Tile Cutter: To cut tiles to the desired size.
- Level: To ensure tiles are straight and evenly aligned.
- Measuring Tape: For accurate measurements.
- Spacers: To maintain even gaps between tiles.
In addition to these essential tools, you might also consider having a rubber mallet on hand. This tool can be particularly useful for gently tapping tiles into place without damaging them. A chalk line can also be beneficial for marking straight lines on the wall, ensuring that your first row of tiles is perfectly aligned. Furthermore, a safety goggles and knee pads can enhance your comfort and safety during the installation, allowing you to work for longer periods without discomfort.
Materials Required
- Tiles: Choose your preferred type and design.
- Adhesive: Select a high-quality adhesive suitable for wall tiles.
- Grout: For filling the gaps between tiles.
- Sealer: To protect the grout and tiles, especially in moisture-prone areas.
When selecting tiles, consider not only the aesthetic appeal but also the material’s durability and maintenance requirements. Ceramic and porcelain tiles are popular choices due to their resilience and ease of cleaning, while natural stone tiles can add a unique touch but may require more upkeep. Additionally, when choosing grout, you may want to opt for a color that complements your tile choice, as this can enhance the overall visual impact of your installation. Remember to check the manufacturer’s recommendations for both adhesive and grout to ensure compatibility with your chosen tiles, as this can greatly affect the longevity and performance of your tiling project.
Step-by-Step Guide to Hanging Tiles on a Wall
Now that you have a grasp of the basics and have gathered your tools and materials, it’s time to delve into the step-by-step process of hanging tiles on a wall.
Step 1: Planning and Layout
Begin by planning the layout of your tiles. It is advisable to start from the center of the wall and work your way outwards. This approach ensures that any cut tiles are placed at the edges, providing a more balanced appearance. Use a pencil to mark guidelines on the wall, ensuring they are level and straight.
Step 2: Applying Adhesive
Using a trowel, apply a layer of adhesive to the wall within the marked area. The adhesive should be spread evenly, and it is essential to follow the manufacturer’s instructions regarding drying times and application techniques. A notched trowel can help create grooves in the adhesive, which improves the bond between the tile and the wall.
Step 3: Placing the Tiles
Carefully press the first tile into the adhesive, aligning it with your guidelines. Use spacers to maintain uniform gaps between tiles. Continue placing tiles in this manner, ensuring that each tile is level and properly aligned. If adjustments are needed, do so promptly before the adhesive sets.
Step 4: Cutting Tiles
As you approach the edges of the wall, you may need to cut tiles to fit. A tile cutter can be used for this purpose. Measure the space accurately, mark the tile, and make the cut. Always wear safety goggles when cutting tiles to protect your eyes from flying debris.
Step 5: Grouting the Tiles
Once the adhesive has cured, typically after 24 hours, it is time to grout the tiles. Remove the spacers and prepare the grout according to the manufacturer’s instructions. Using a grout float, apply the grout into the gaps between the tiles, ensuring they are filled completely. Wipe off any excess grout with a damp sponge.
Step 6: Sealing the Grout
After the grout has dried, apply a sealer to protect it from moisture and stains. This step is particularly important in areas like kitchens and bathrooms, where moisture levels are higher. Follow the instructions on the sealer for the best results.
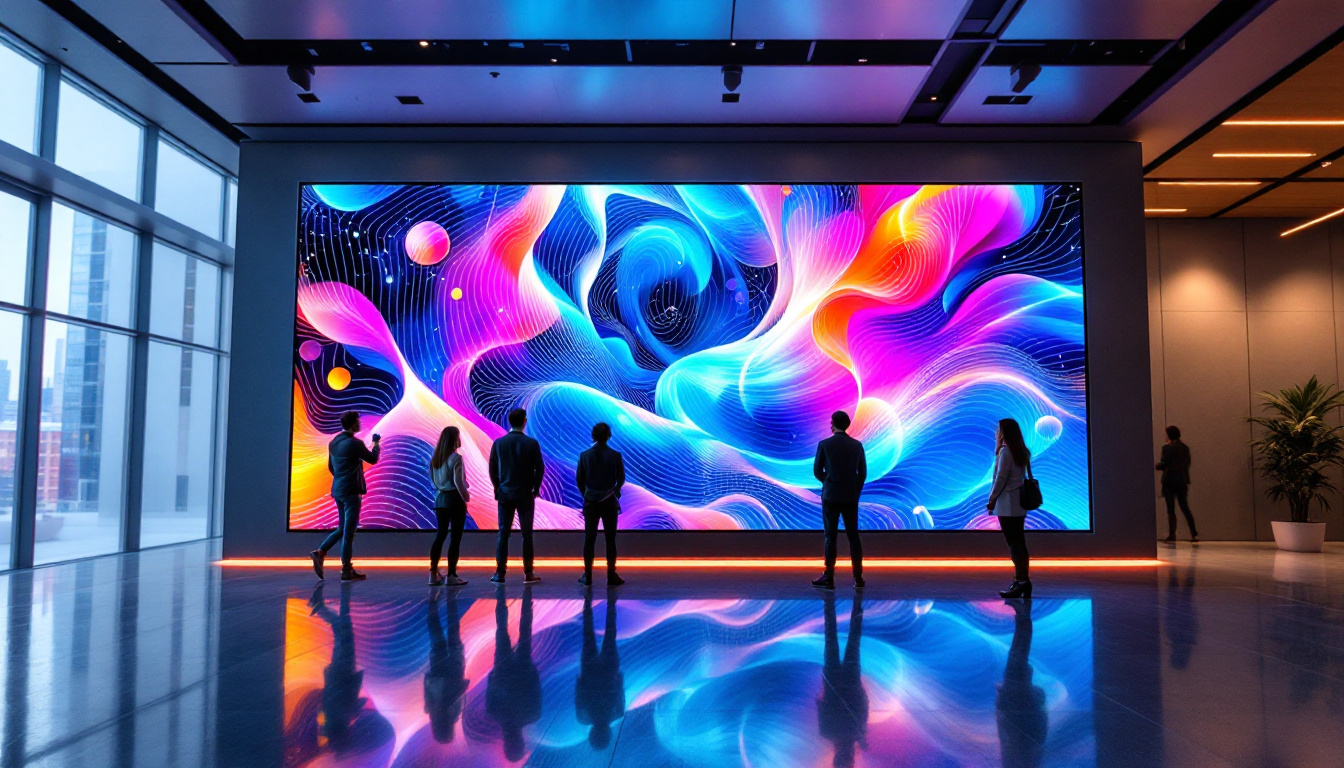
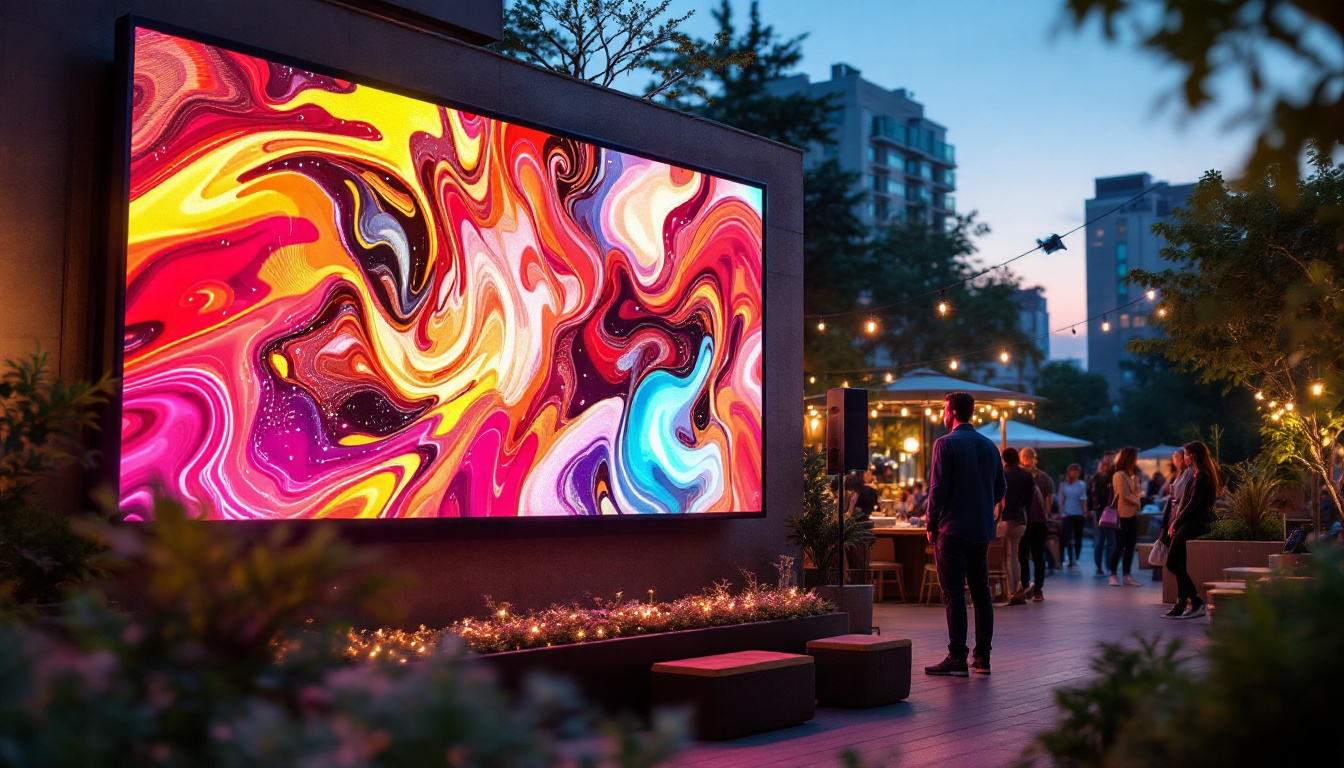
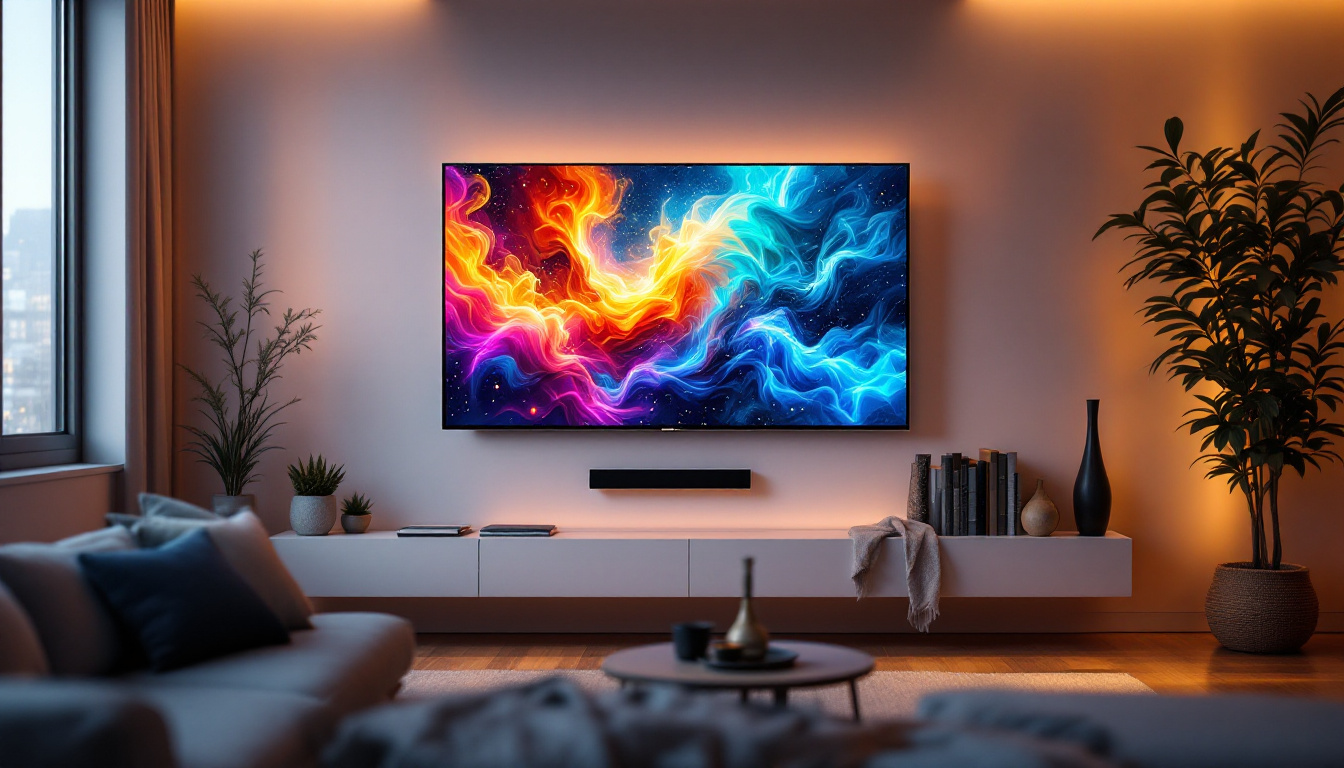
Incorporating LED Displays into Tiled Walls
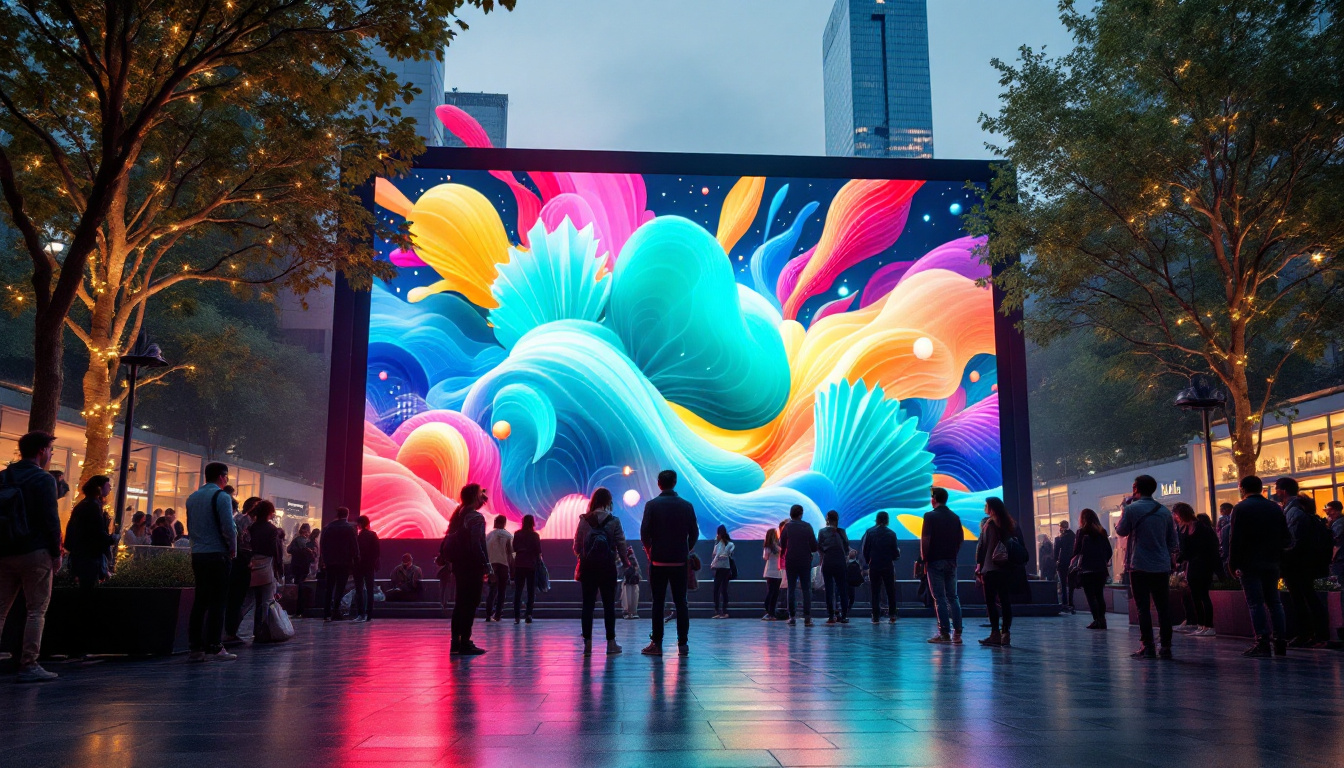
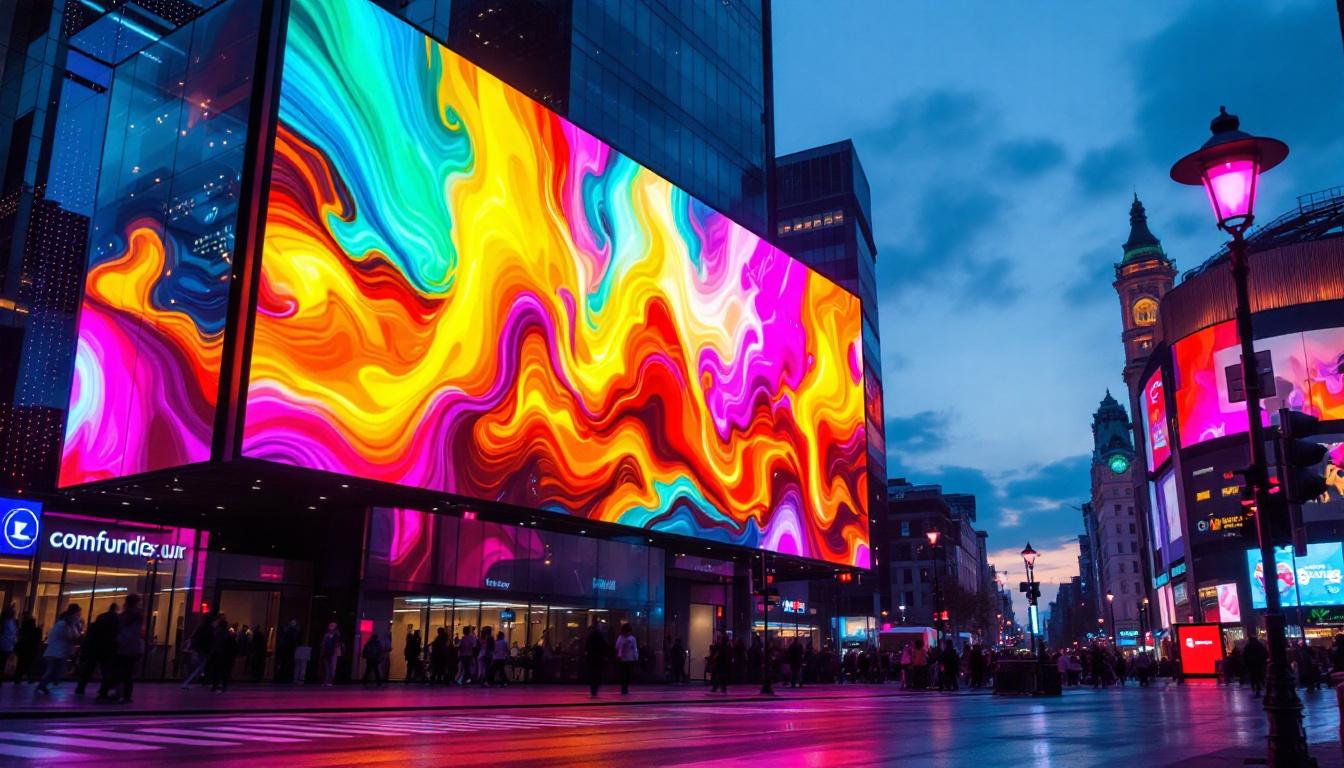
integrating LED displays into tiled walls can create a dynamic and engaging visual experience. This section will explore how to effectively incorporate LED technology into your tiling project.
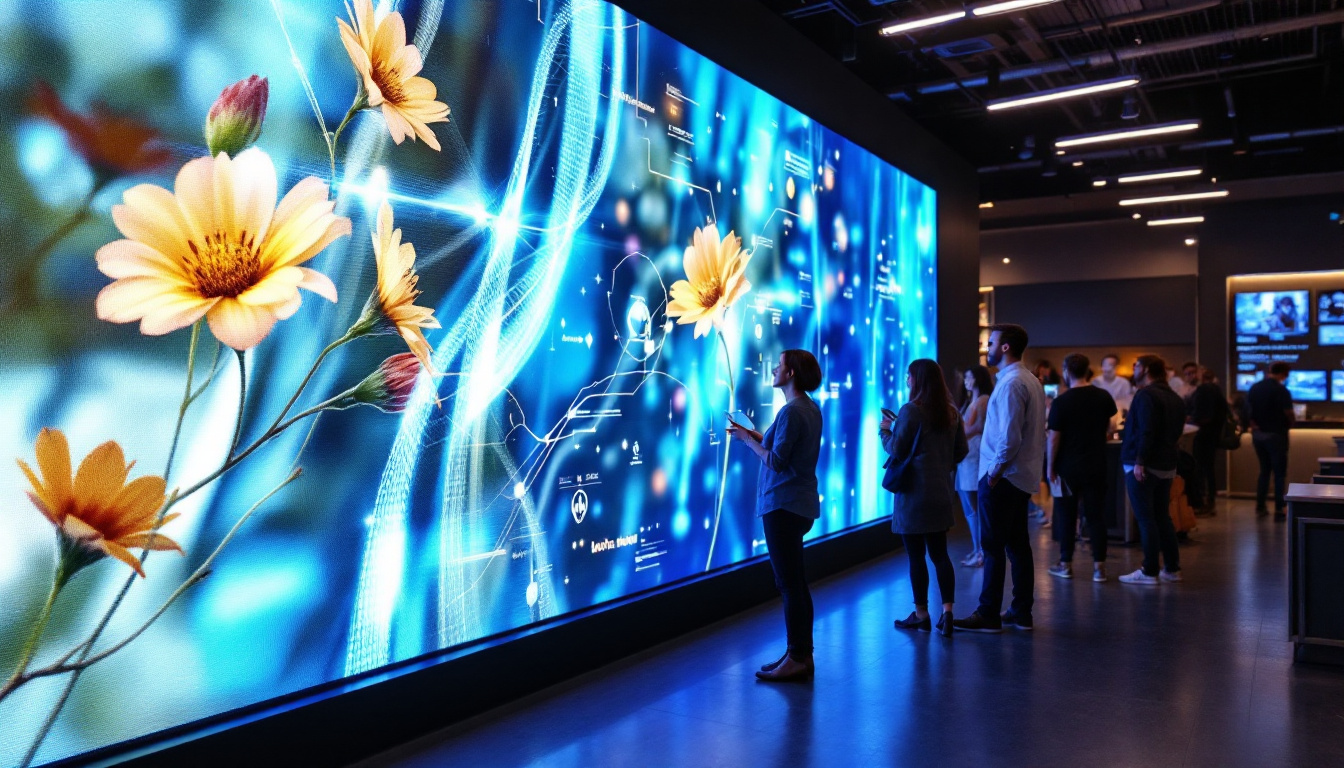
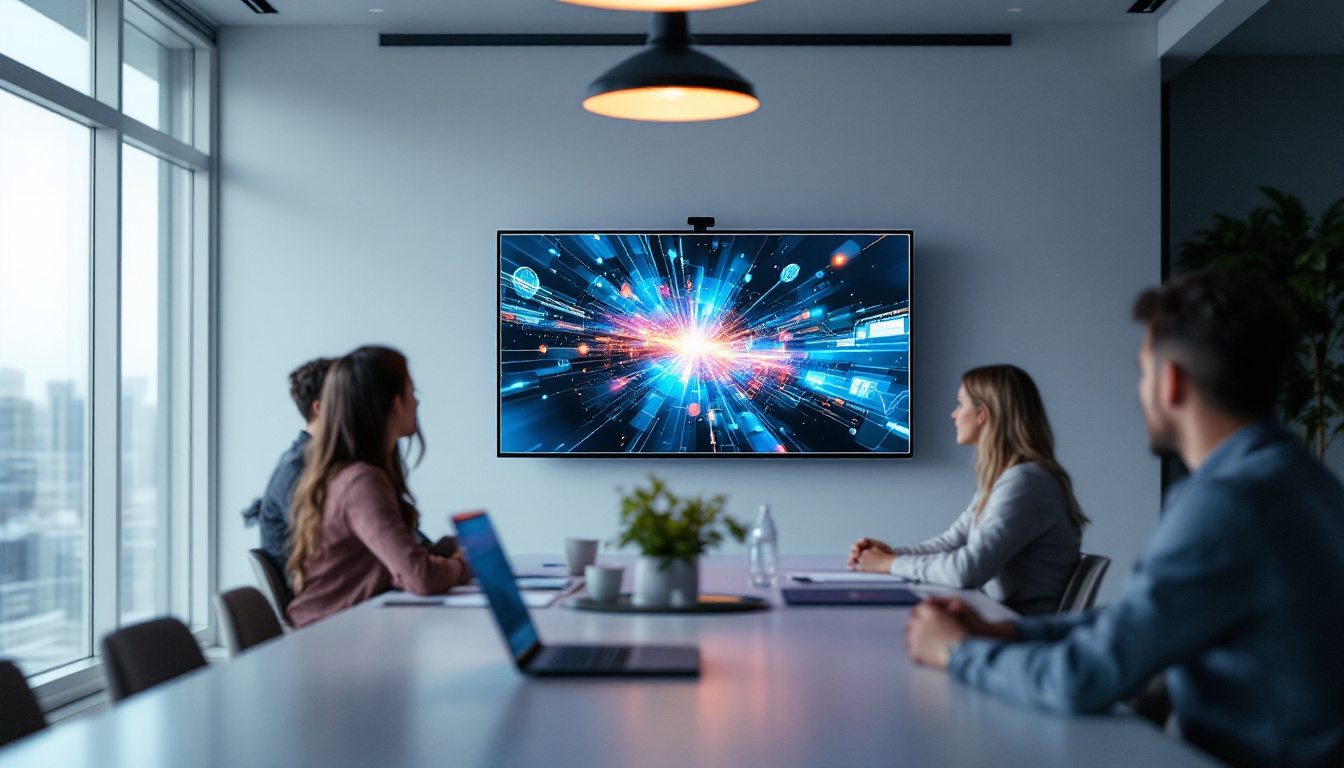
Choosing the Right LED Display
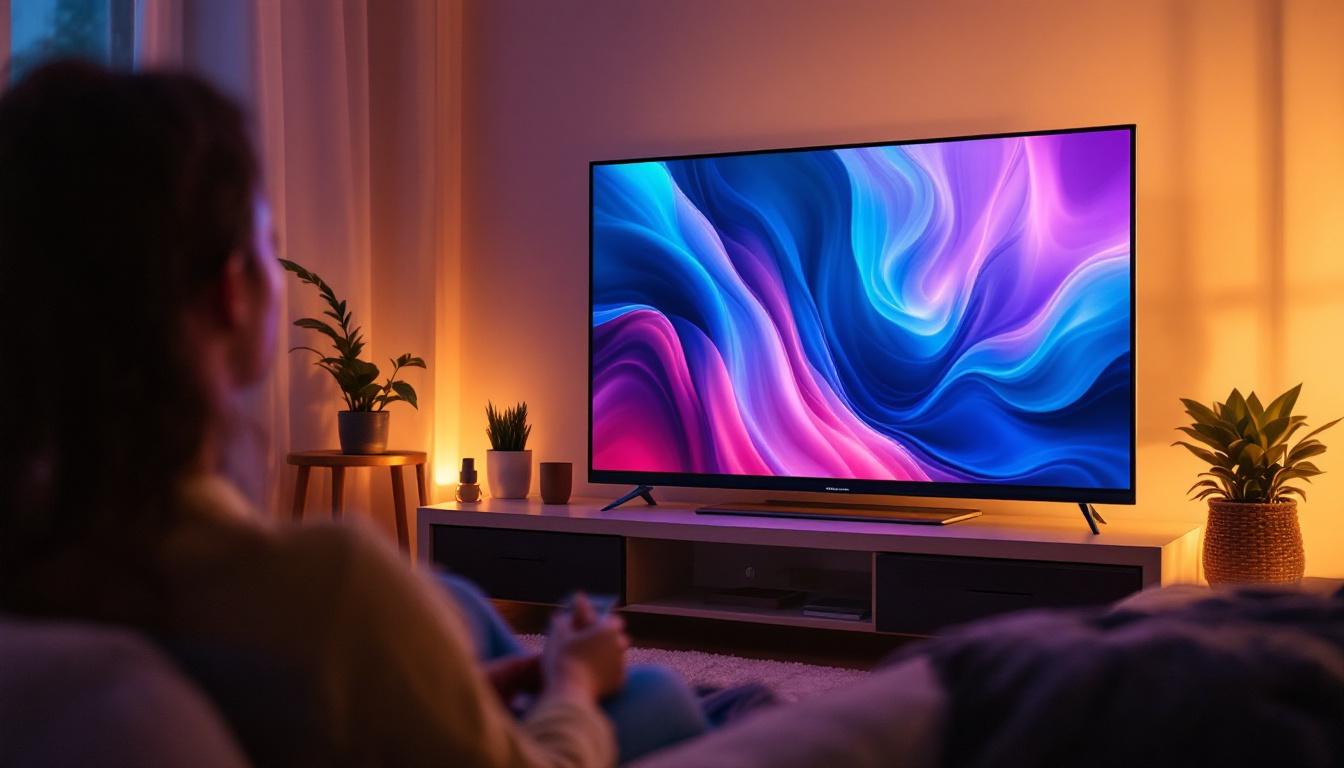
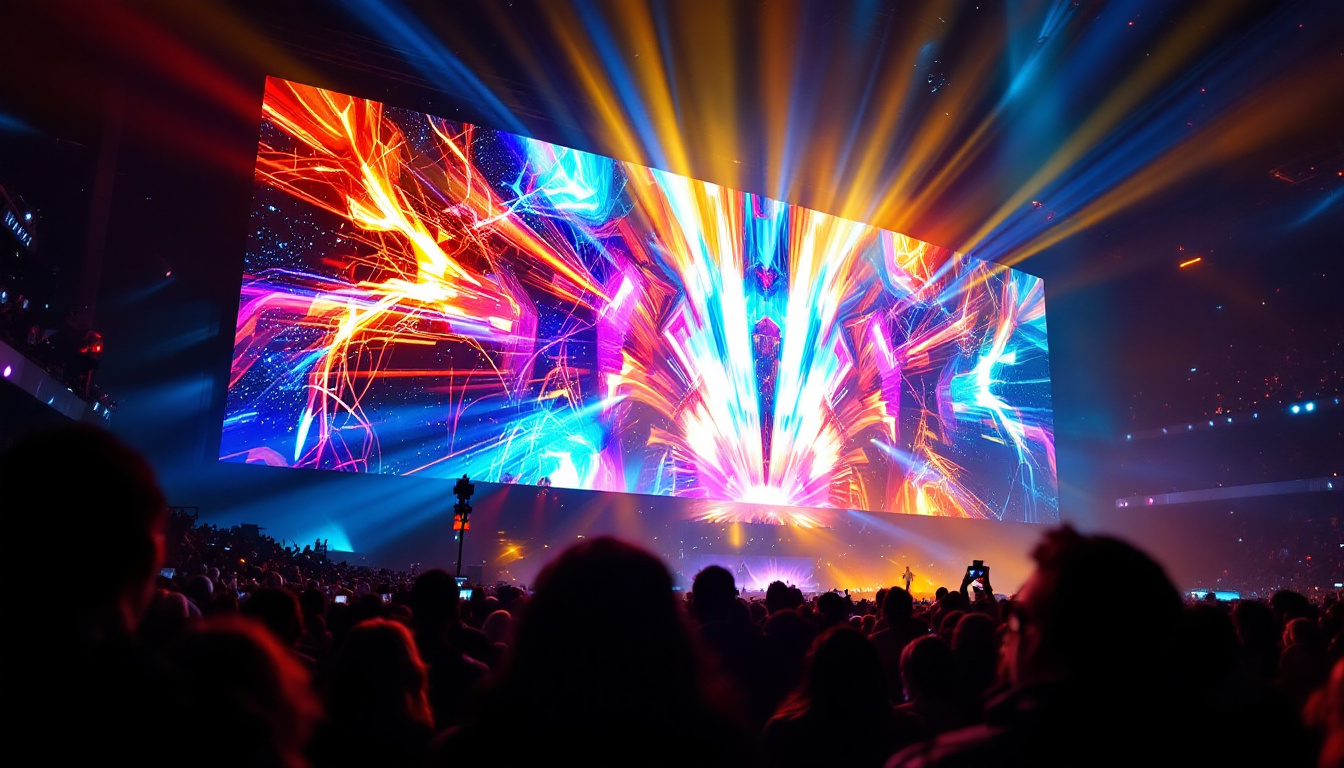
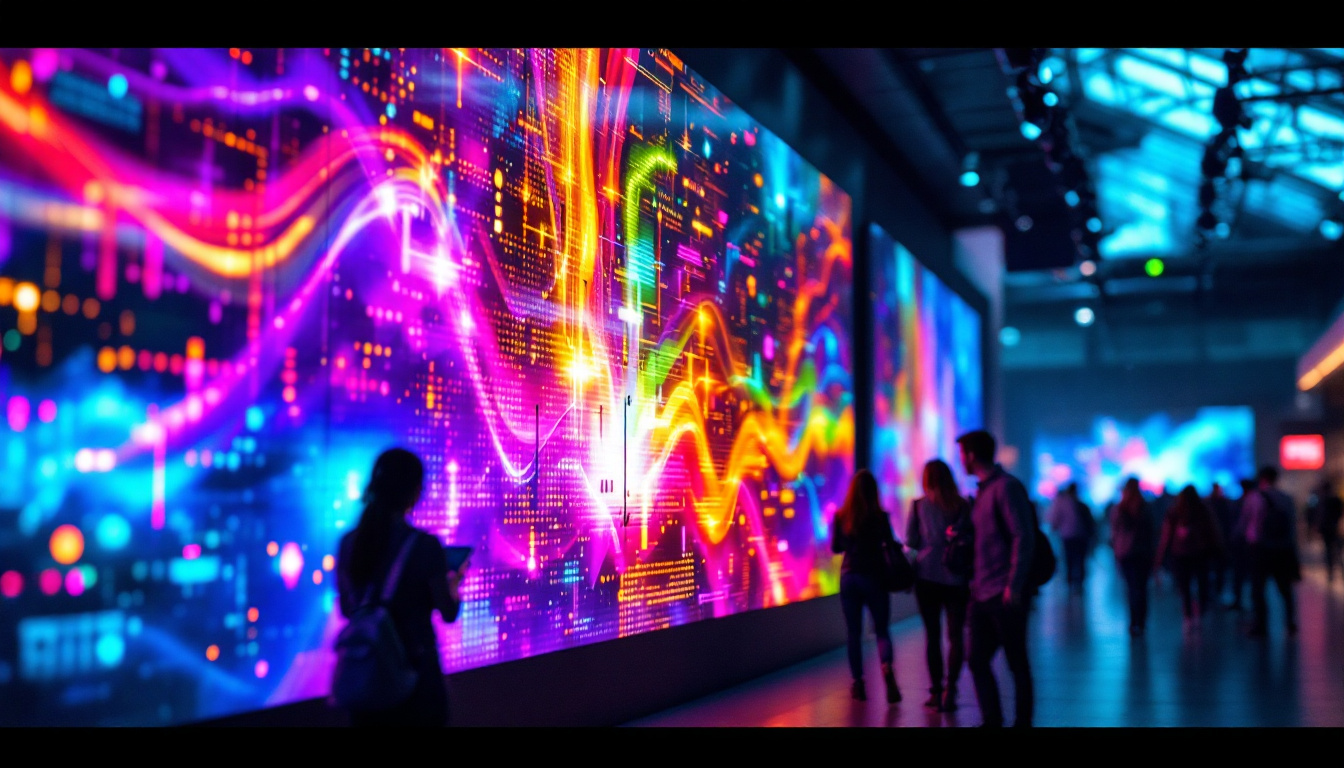
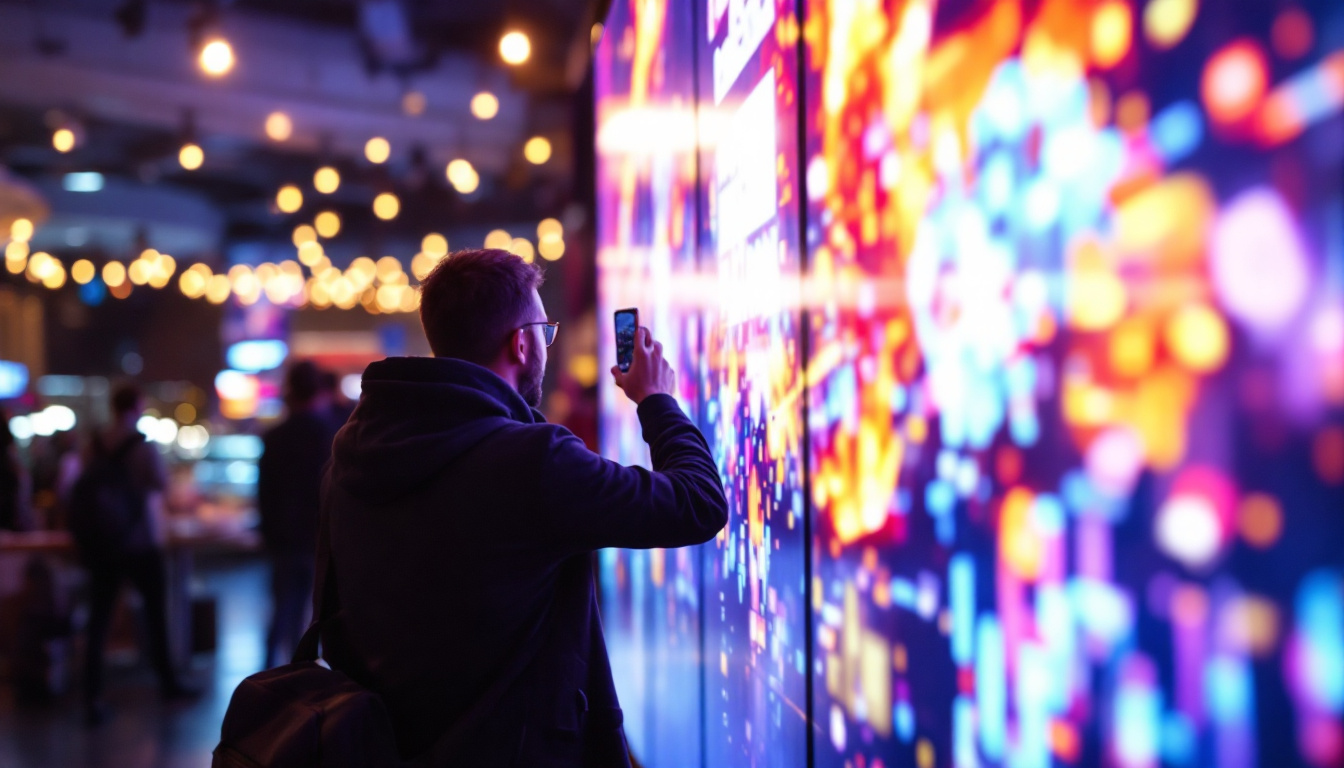
When selecting an LED display, consider the size, resolution, and brightness. Larger displays are suitable for high-traffic areas, while smaller screens can be used for more intimate settings. The resolution should be high enough to ensure clear images and videos, particularly if the display is intended for advertising or presentations.
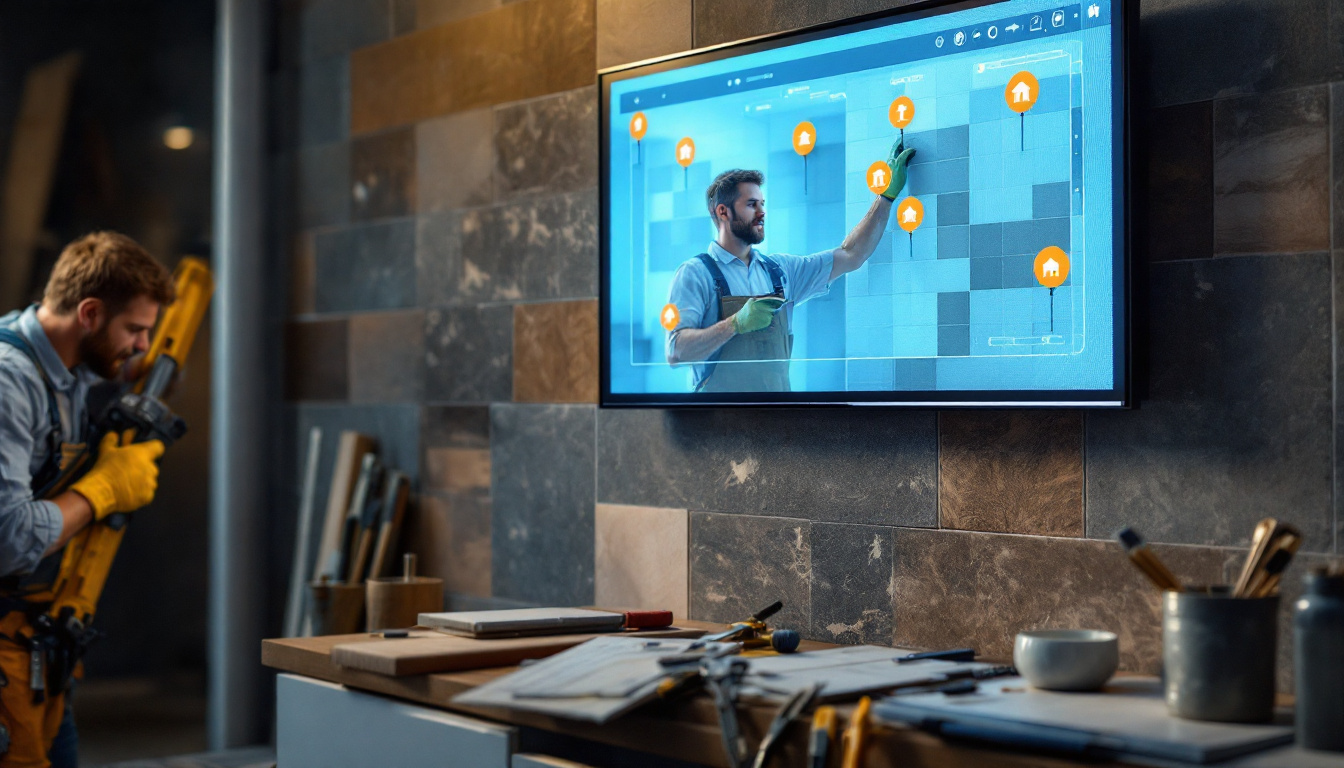
Preparing the Wall for LED Installation
Before hanging tiles, it is crucial to plan where the LED display will be installed. The wall should have adequate electrical wiring and support structures to accommodate the weight and power requirements of the display. It may be necessary to consult with an electrician to ensure that the installation meets safety standards.
Mounting the LED Display
Once the wall is prepared, the LED display can be mounted. This process typically involves securing a mounting bracket to the wall, followed by attaching the display to the bracket. Ensure that the display is level and securely fastened to prevent any accidents.
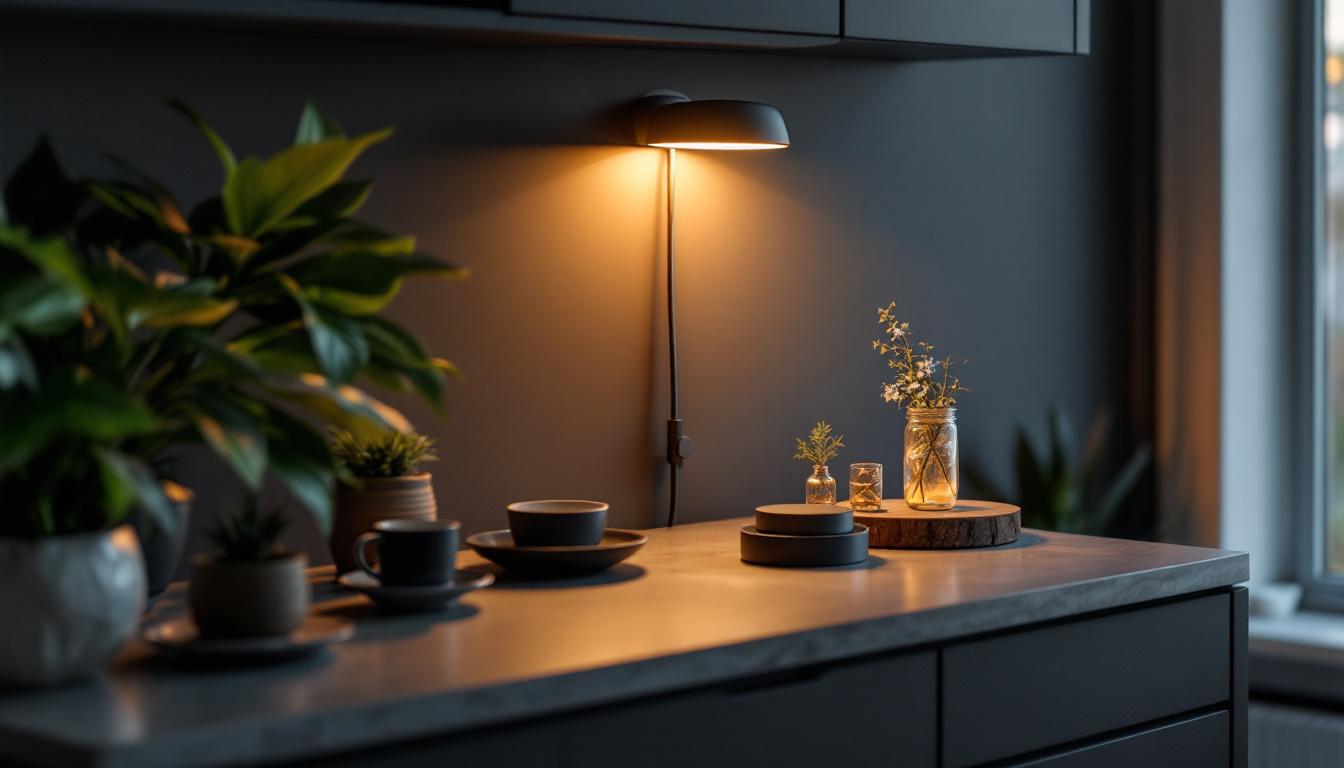
Finishing Touches and Maintenance
After successfully hanging the tiles and installing the LED display, it is essential to focus on the finishing touches and maintenance to ensure longevity and aesthetic appeal.
Cleaning and Maintaining Tiles
Regular cleaning is vital for maintaining the appearance of wall tiles. Use a mild detergent and a soft cloth to clean the tiles, avoiding harsh chemicals that may damage the surface. For grout lines, a mixture of baking soda and water can effectively remove stains. Regular sealing of grout lines will also help prevent dirt buildup and discoloration.
Maintaining the LED Display
LED displays require routine maintenance to function optimally. Regularly check for dust accumulation on the screen and clean it with a soft, dry cloth. Ensure that the electrical connections are secure and that the display is functioning correctly. If any issues arise, consult a professional technician for repairs.
Conclusion
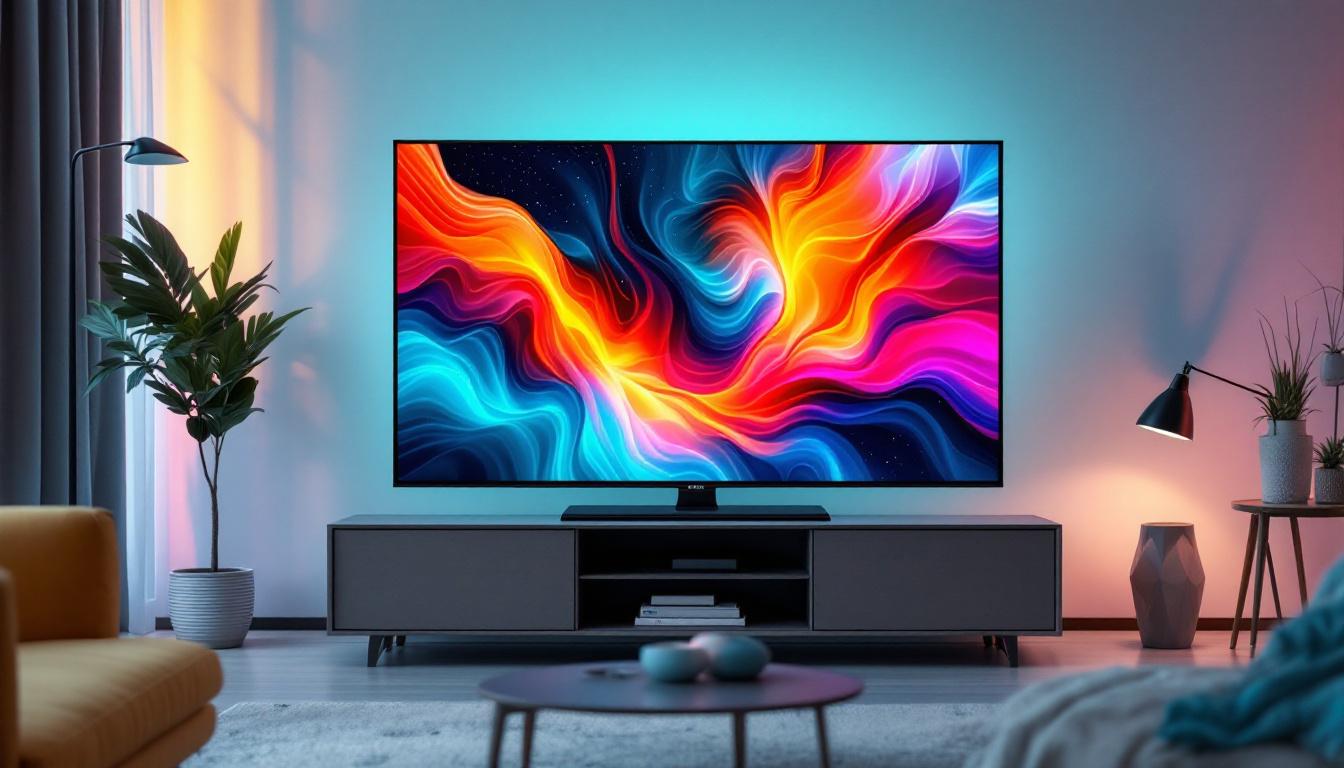
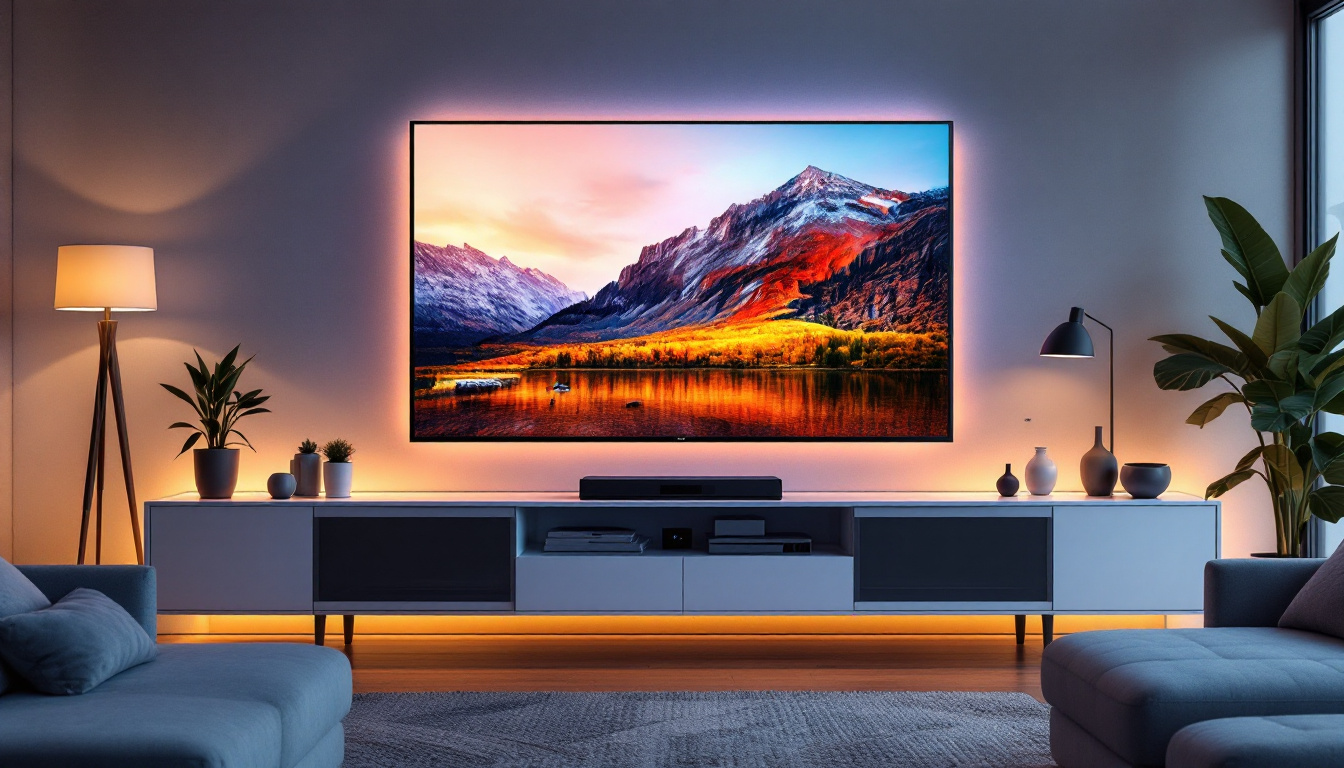
Hanging tiles on a wall, especially when integrating LED displays, can significantly enhance the visual appeal and functionality of a space. With the right tools, materials, and techniques, anyone can achieve a professional-looking installation. By following the steps outlined in this article, you can create a stunning tiled wall that not only serves as a decorative element but also incorporates modern technology for a dynamic experience.
As trends in interior design continue to evolve, the combination of tiles and LED displays is becoming increasingly popular. This innovative approach not only adds style but also provides opportunities for creativity and personalization in any environment. Whether for residential or commercial spaces, the possibilities are endless when it comes to designing with tiles and LED technology.
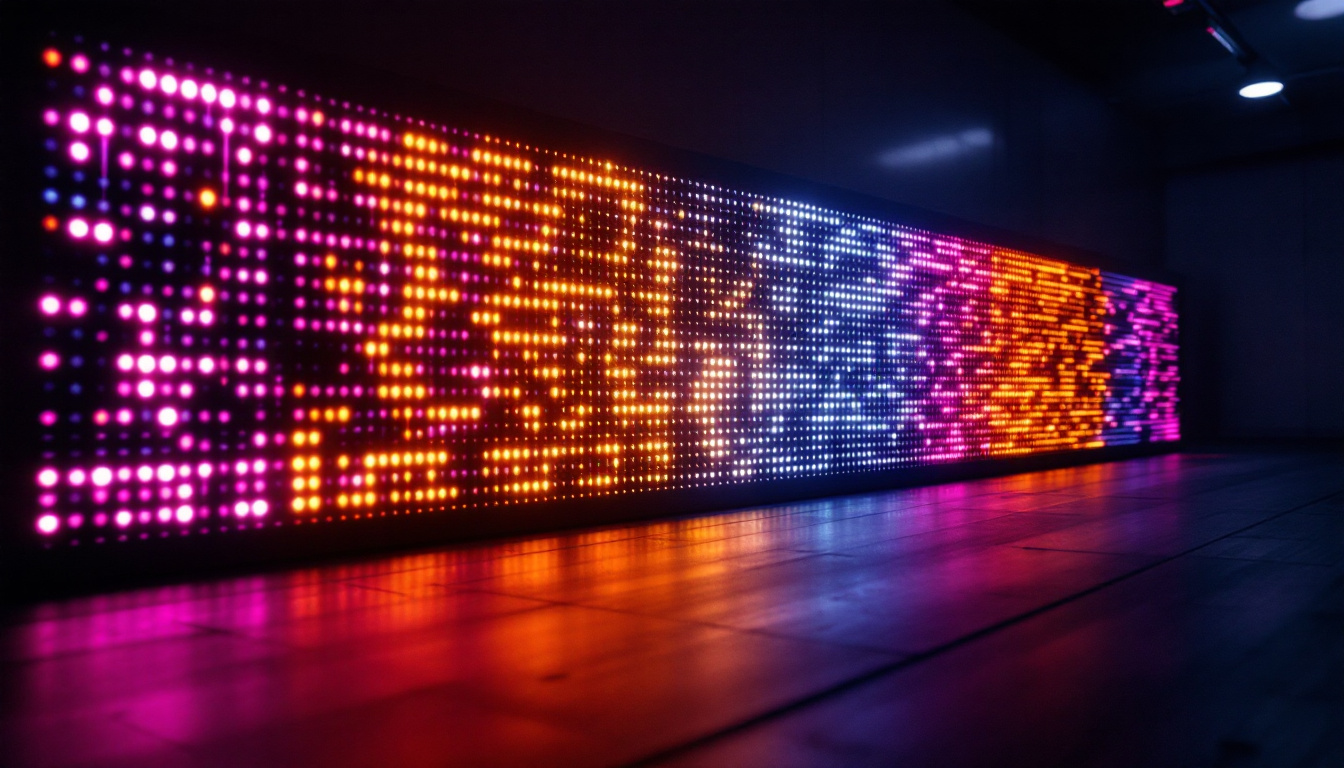
Discover LumenMatrix LED Display Solutions
Ready to elevate your space with the seamless integration of LED displays? LumenMatrix is at the forefront of transforming environments through innovative LED display technology. From captivating Indoor LED Wall Displays to dynamic Outdoor LED Wall Displays and beyond, our solutions are designed to make your message shine. Experience the future of visual communication with LumenMatrix and let your brand stand out. Check out LumenMatrix LED Display Solutions today and start creating unforgettable visual experiences.