Installing a wall access panel is a practical solution for maintaining concealed spaces such as plumbing, electrical wiring, or HVAC components. When combined with an LED display, these panels not only provide functional access but also enhance visibility and monitoring capabilities. This comprehensive guide will walk you through the entire process of installing a wall access panel with an integrated LED display, explaining the benefits, tools required, and step-by-step instructions to ensure a professional finish.
Understanding Wall Access Panels and LED Displays
What is a Wall Access Panel?
A wall access panel is a removable or hinged door installed within a wall to provide easy access to concealed utilities like pipes, valves, electrical junctions, or control systems. These panels are essential in both residential and commercial buildings because they allow maintenance work without damaging the wall structure.
Access panels come in various sizes, materials, and designs. Common materials include metal, plastic, or drywall-compatible panels that blend seamlessly with the surrounding wall. The choice depends on the location, aesthetic preferences, and durability requirements. For instance, metal panels are often used in high-traffic areas due to their robustness, while plastic panels might be preferred in less demanding environments for their lightweight and corrosion-resistant properties. Furthermore, the design can range from simple, functional models to more decorative options that can enhance the overall interior design of a space.
The Role of LED Displays in Access Panels
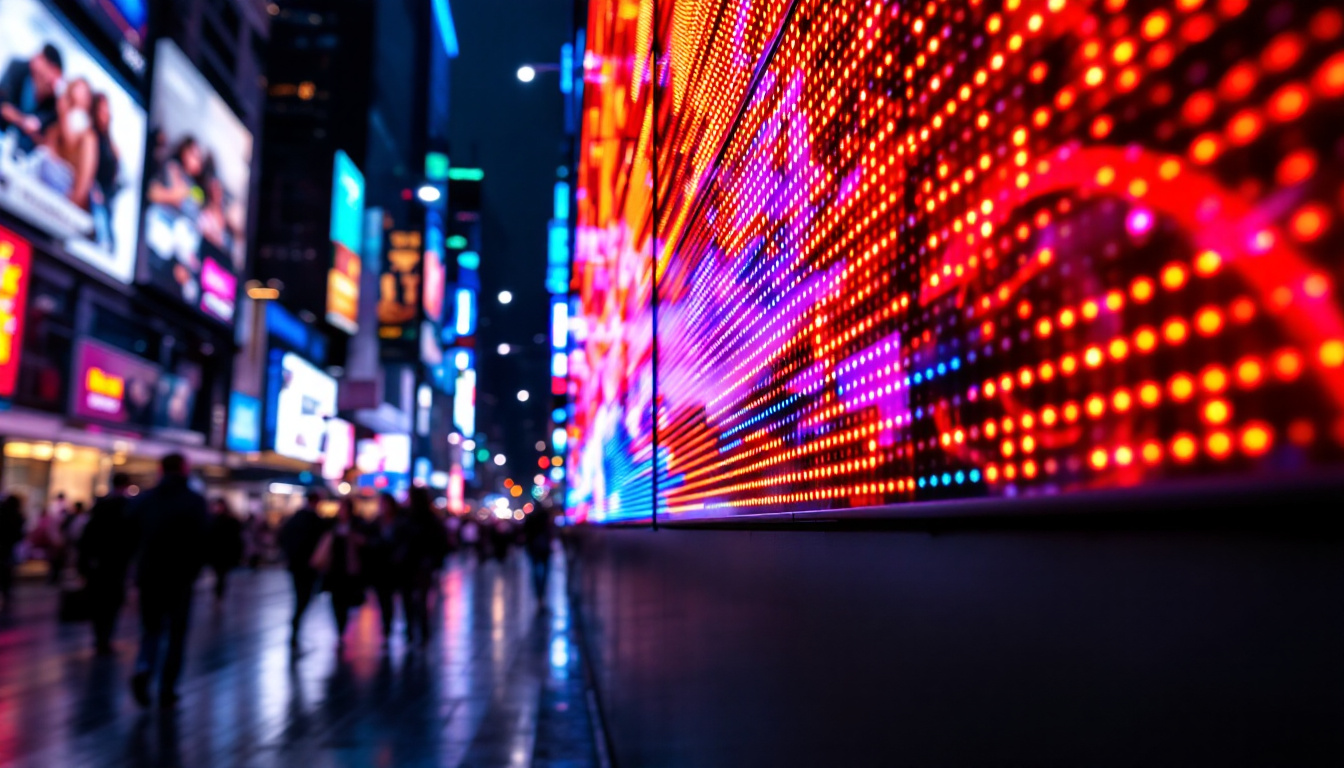
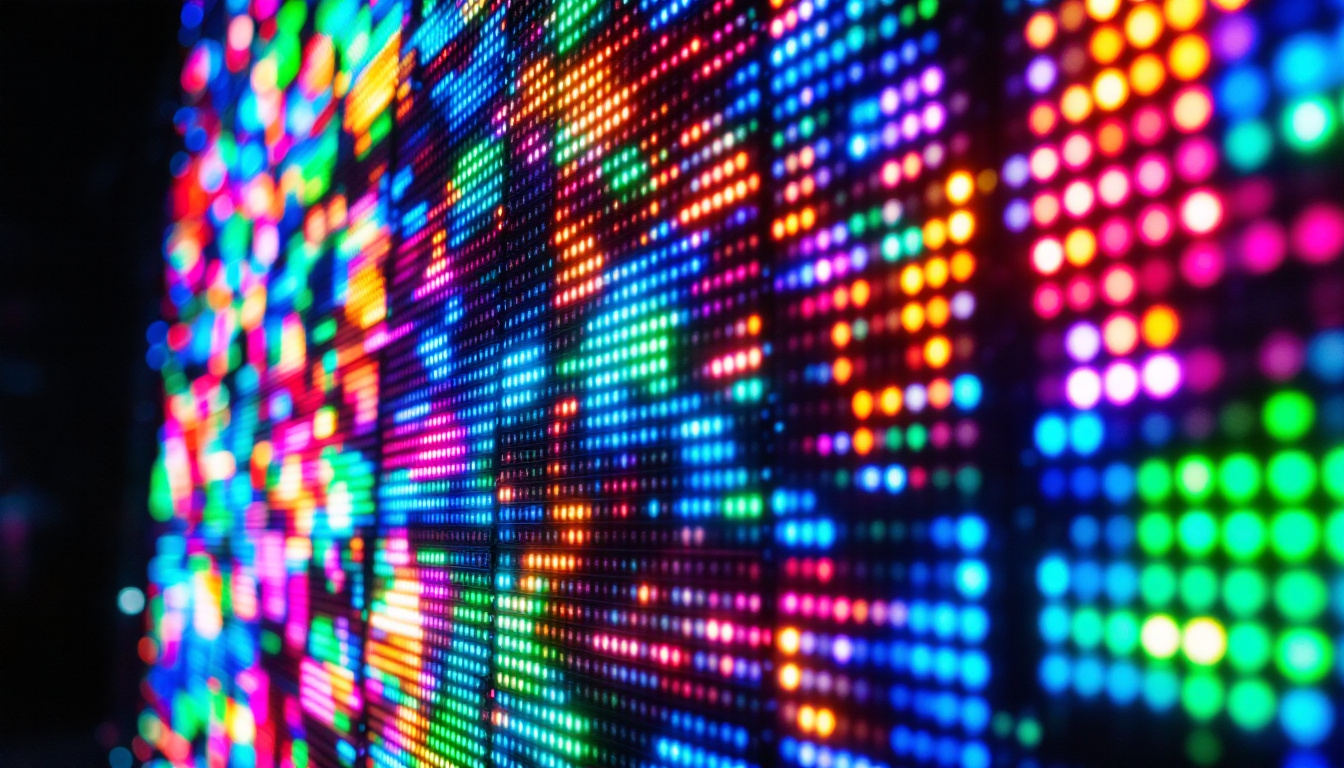
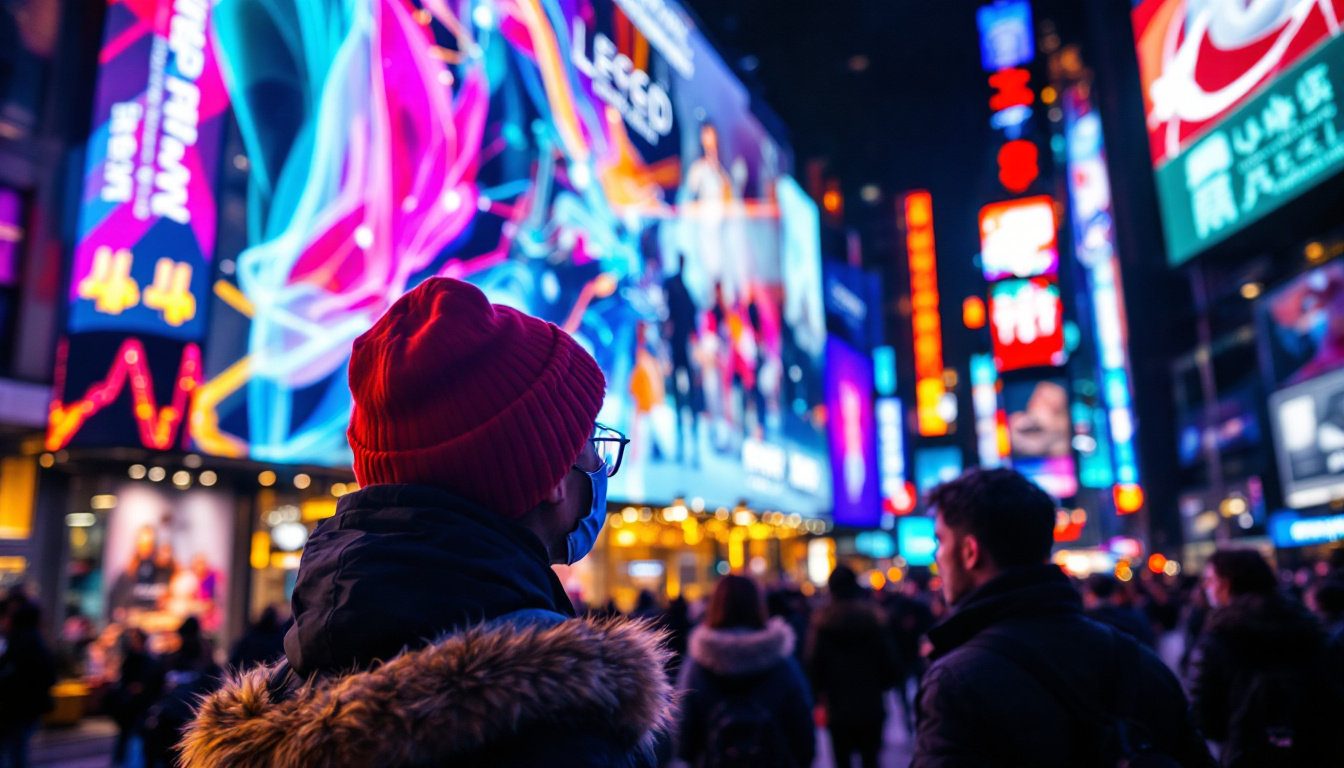
Integrating an LED display into a wall access panel adds a modern, high-tech element that serves multiple purposes. LED displays can provide real-time information about the status of the utilities behind the panel, such as temperature readings, system alerts, or operational data. This is particularly valuable in commercial or industrial settings where monitoring is critical.
For example, in HVAC systems, an LED display can show current temperature or filter status, allowing quick diagnostics without opening the panel. In electrical panels, LEDs can indicate power status or fault conditions, enhancing safety and efficiency. Moreover, these displays can be programmed to send alerts to maintenance personnel via mobile devices or computer systems, ensuring that any issues are addressed promptly. This proactive approach not only minimizes downtime but also extends the lifespan of the systems being monitored. As technology advances, the integration of smart sensors and IoT capabilities into these LED displays is becoming increasingly common, allowing for even more sophisticated monitoring and control of building systems.
Benefits of Installing a Wall Access Panel with LED Display
Improved Accessibility and Maintenance
One of the primary benefits of wall access panels is the ease of access they provide to hidden utilities. This reduces the need for costly and time-consuming wall demolition during repairs or inspections. When combined with an LED display, the panel offers immediate visual feedback, enabling quicker troubleshooting and preventive maintenance. This is particularly advantageous in commercial settings, where downtime can lead to significant financial losses. By facilitating routine checks and allowing for swift identification of issues, these panels contribute to a more efficient operational workflow.
Moreover, the installation of wall access panels can enhance the overall lifespan of systems by allowing for regular maintenance without the need for invasive procedures. This not only preserves the integrity of the building’s structure but also ensures that systems operate at peak efficiency. In environments where HVAC, plumbing, or electrical systems are critical, having a dedicated access point can mean the difference between minor adjustments and major repairs.
Enhanced Safety and Monitoring
LED displays can alert users to potential hazards such as overheating, leaks, or electrical faults. This proactive approach to safety helps prevent accidents and costly damage. Furthermore, LED indicators are highly visible even in low-light conditions, ensuring critical information is always accessible. The integration of smart technology can further enhance safety features, allowing for remote monitoring and alerts sent directly to maintenance teams or building managers via mobile devices.
In addition, many modern LED displays can be programmed to provide real-time data analytics, which can help in identifying patterns that may indicate underlying issues. For instance, consistent alerts about temperature fluctuations could suggest that a HVAC system is not functioning optimally. By addressing these issues early on, businesses can avoid extensive repairs and ensure a safe environment for both employees and customers.
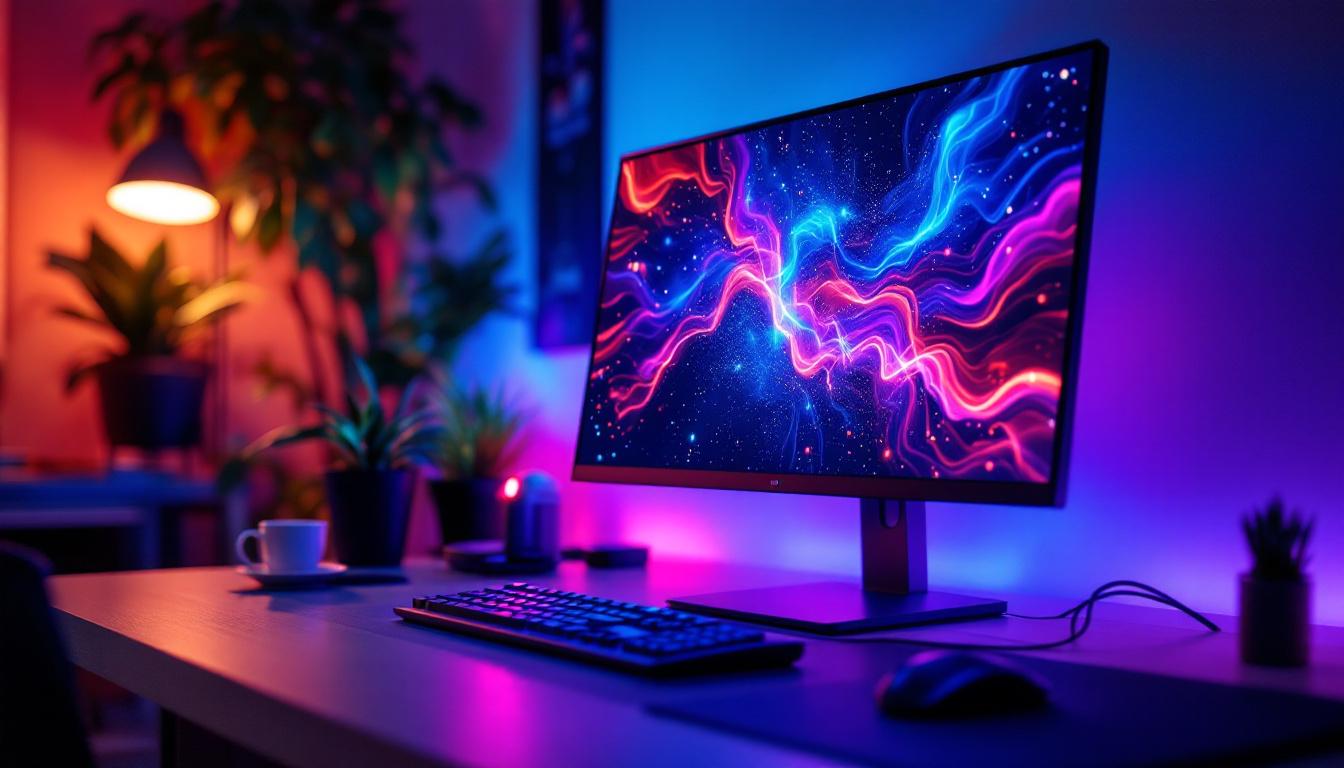
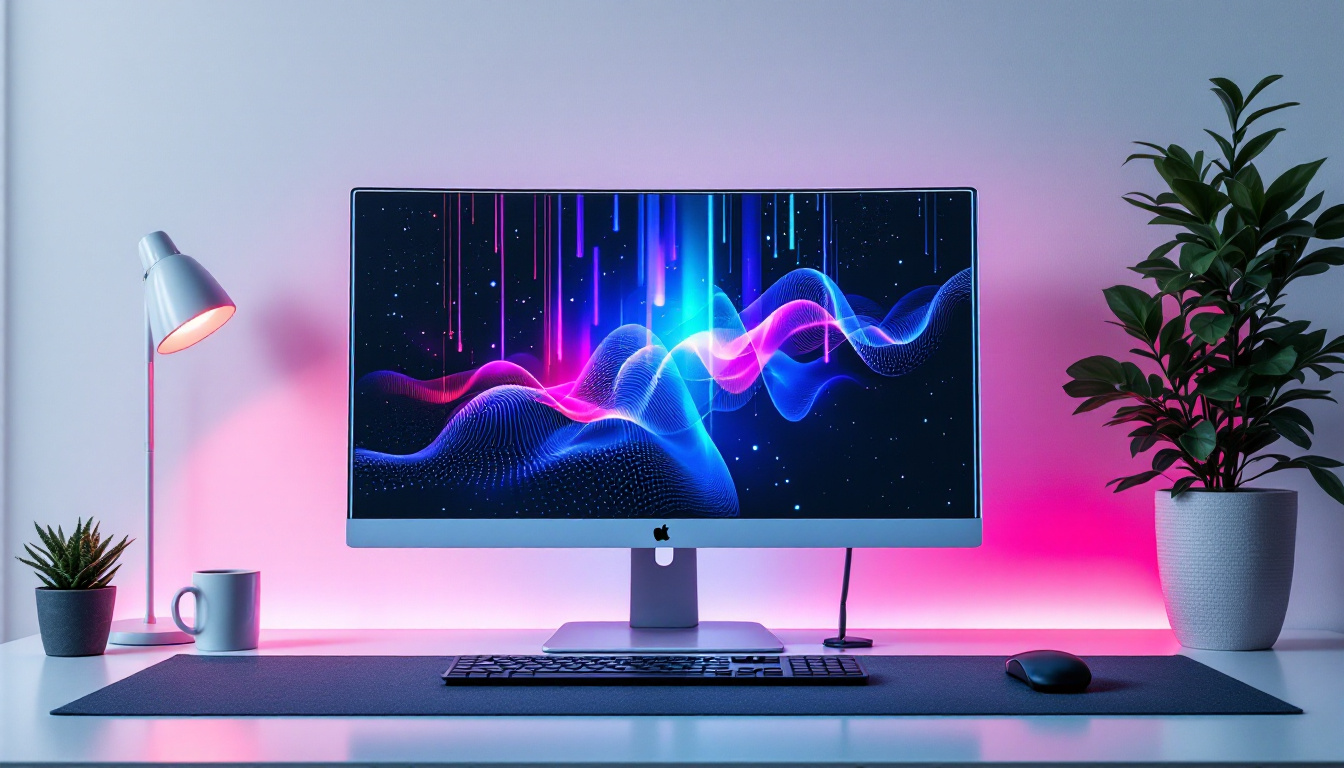
Aesthetic Integration
Modern access panels with LED displays are designed to blend seamlessly with interior decor. They come in sleek, minimalistic designs that do not detract from the room’s aesthetics. Some models even allow customization of the LED colors and brightness to match the environment. This customization can be particularly beneficial in settings such as hotels, restaurants, or high-end offices, where maintaining a certain ambiance is crucial.
Additionally, the ability to integrate these panels into smart building systems means that they can be part of a larger design strategy that emphasizes both functionality and style. For instance, panels can be installed in strategic locations where they serve not only as access points but also as part of the overall design motif. This dual functionality enhances the user experience while ensuring that essential systems remain easily accessible and visually appealing.
Tools and Materials Needed for Installation
Essential Tools
- Measuring tape – for precise panel placement
- Level – to ensure the panel is installed straight
- Drywall saw or utility knife – for cutting the wall opening
- Drill and screwdriver – for securing the panel
- Wire stripper and connectors – for LED wiring
- Stud finder – to avoid cutting into structural elements
- Safety gear – gloves, goggles, and dust mask
Materials Required
- Wall access panel with integrated LED display
- Electrical wiring suitable for LED power supply
- Mounting screws and anchors
- Sealant or caulk – for finishing edges
- Optional: paint or wall texture materials for blending
Step-by-Step Guide to Installing a Wall Access Panel with LED Display
Step 1: Planning and Preparation
Begin by identifying the exact location where the access panel will be installed. Use a stud finder to locate studs and avoid cutting into them. Mark the outline of the panel on the wall using a pencil and measuring tape, ensuring it aligns with the utilities behind the wall.
Next, check the LED display’s power requirements and plan the wiring route. Ensure there is access to a power source, preferably a low-voltage supply to maintain safety standards.
Step 2: Cutting the Wall Opening
Wear safety gear before starting this step. Using a drywall saw or utility knife, carefully cut along the marked outline. Take care to avoid damaging any pipes or wires behind the wall. If you encounter unexpected obstacles, reassess the placement or consult a professional.
Step 3: Installing the Panel Frame
Insert the access panel frame into the opening to check the fit. Use a level to ensure it is perfectly horizontal and vertical. If necessary, adjust the opening or frame to achieve a snug fit.
Secure the frame to the wall using screws and anchors appropriate for the wall material. Tighten the screws evenly to prevent warping or gaps.
Step 4: Wiring the LED Display
Before connecting the LED display, turn off the power supply to avoid electrical hazards. Strip the ends of the wires and connect them according to the manufacturer’s instructions. Typically, this involves connecting positive and negative leads to the corresponding terminals on the LED panel.
Use wire connectors or terminal blocks to secure the connections and insulate exposed wires with electrical tape. Route the wiring neatly through the wall or conduit to the power source, ensuring it does not interfere with other utilities.
Step 5: Attaching the LED Display Panel
Once wiring is complete, attach the LED display panel to the access frame. This may involve snapping it into place or securing it with screws, depending on the model. Test the LED display by turning on the power and verifying that it lights up and functions correctly.
Step 6: Finishing Touches
Apply sealant or caulk around the edges of the panel to create a clean, finished look and prevent dust or moisture ingress. If desired, paint or texture the panel surface to match the surrounding wall for seamless integration.
Finally, ensure the panel door or cover opens and closes smoothly and that the LED display remains visible and accessible.
Common Challenges and Troubleshooting Tips
Issue: LED Display Does Not Light Up
If the LED display fails to illuminate, first check the power supply and wiring connections. Ensure that the power source is active and that wires are securely connected without shorts or breaks. Consult the LED panel’s manual for specific troubleshooting steps.
Issue: Panel Does Not Fit Properly
Improper fitting often results from inaccurate measurements or uneven wall surfaces. Double-check measurements before cutting and use a level during installation. If the opening is too large, use filler materials or trim kits designed for access panels.
Issue: Visible Gaps or Poor Aesthetic Finish
Use high-quality sealant and take time to apply it evenly around the panel edges. Sand and paint the panel to blend with the wall texture. Some manufacturers offer customizable panels with paintable surfaces to improve aesthetics.
Maintenance and Safety Considerations
Regular Inspection
Periodically inspect the access panel and LED display to ensure they remain functional and secure. Check for any signs of damage, moisture ingress, or loose wiring. Regular maintenance extends the lifespan of both the panel and the integrated electronics.
Electrical Safety
Always adhere to local electrical codes when installing LED displays. Use low-voltage LED systems where possible and ensure all wiring is insulated and protected. If uncertain, consult a licensed electrician to verify compliance and safety.
Cleaning and Care
Clean the LED display surface gently with a soft, dry cloth to avoid scratching or damaging the LEDs. Avoid using harsh chemicals or abrasive materials. For the panel frame, use appropriate cleaning agents based on the material type.
Conclusion
Installing a wall access panel with an LED display is a smart investment that enhances both functionality and aesthetics. By providing easy access to concealed utilities and real-time monitoring through the LED interface, this setup improves maintenance efficiency, safety, and overall building management.
Following the detailed steps outlined in this guide ensures a smooth installation process and a professional finish. Whether for residential or commercial applications, integrating LED displays into access panels represents a forward-thinking approach to modern infrastructure management.
For those new to this type of installation, consulting product manuals and local building codes is essential. When in doubt, professional assistance guarantees safety and compliance, ensuring your wall access panel with LED display performs optimally for years to come.
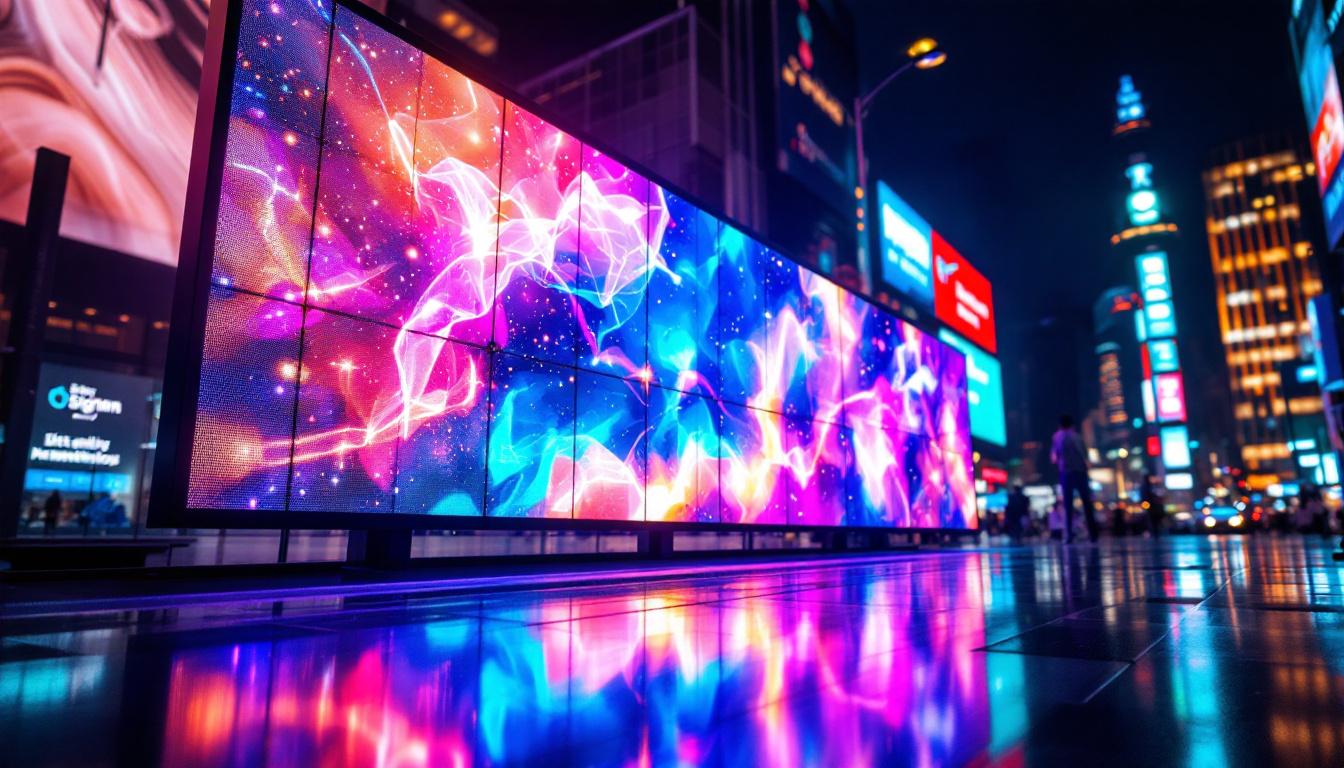
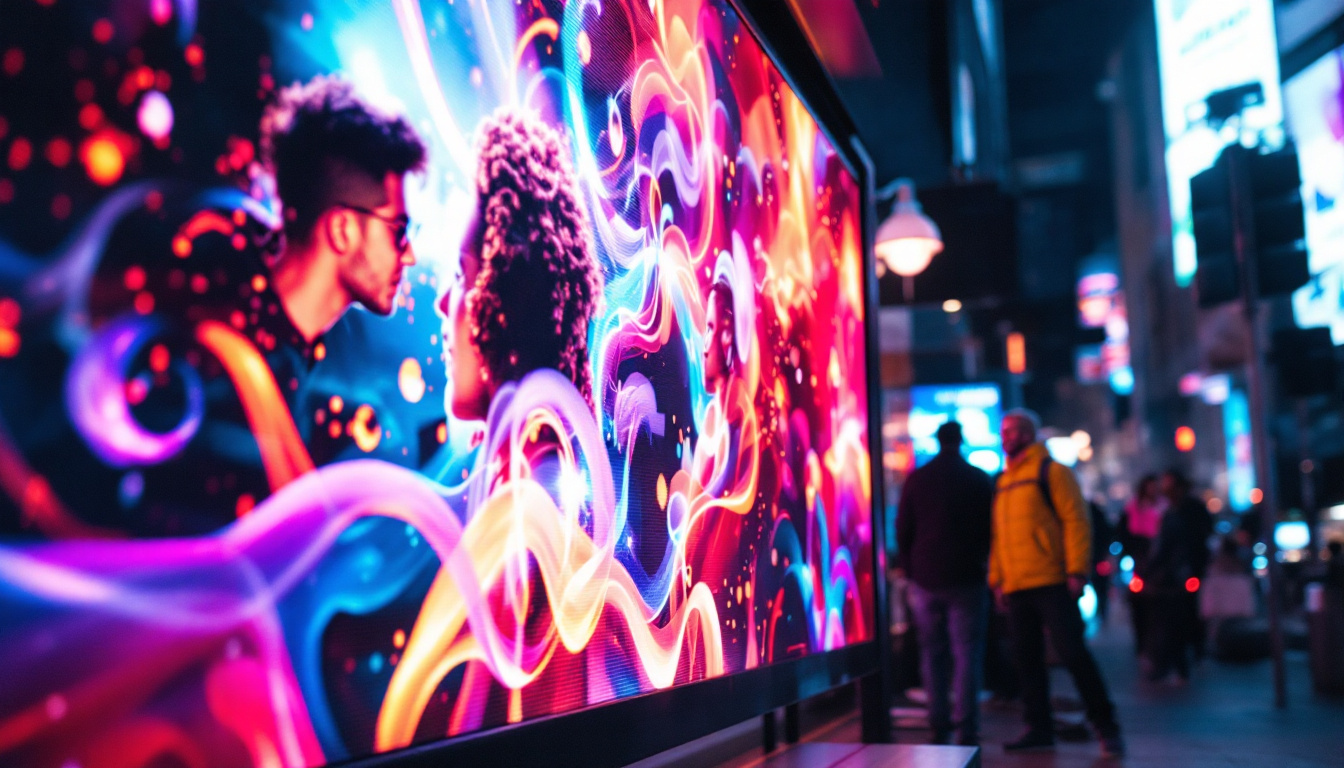
Explore Cutting-Edge LED Display Solutions with LumenMatrix
Ready to elevate your space with the latest in LED display technology? LumenMatrix offers a wide range of innovative LED solutions tailored to your needs. From captivating Indoor and Outdoor LED Wall Displays to dynamic Vehicle and Sports Displays, our products are designed to enhance brand visibility and create immersive visual experiences. Embrace the future of visual communication with our All-in-One, Custom, and Transparent LED Displays, and see how LumenMatrix can transform your building management and engagement strategies. Check out LumenMatrix LED Display Solutions today and make a lasting impression.