Creating a curved wall in Revit can be a challenging yet rewarding task, especially when it comes to integrating features like LED displays. This article will guide you through the process of designing a curved wall, focusing on the intricacies of incorporating LED technology into your architectural models. Whether you are a seasoned professional or a novice, understanding the steps involved will enhance your skills and broaden your design capabilities.
Understanding Curved Walls in Revit
Curved walls are an essential element in modern architecture, providing a fluid aesthetic that straight walls often cannot achieve. In Revit, these walls can be created using various tools and techniques that allow for flexibility and precision.
Why Use Curved Walls?
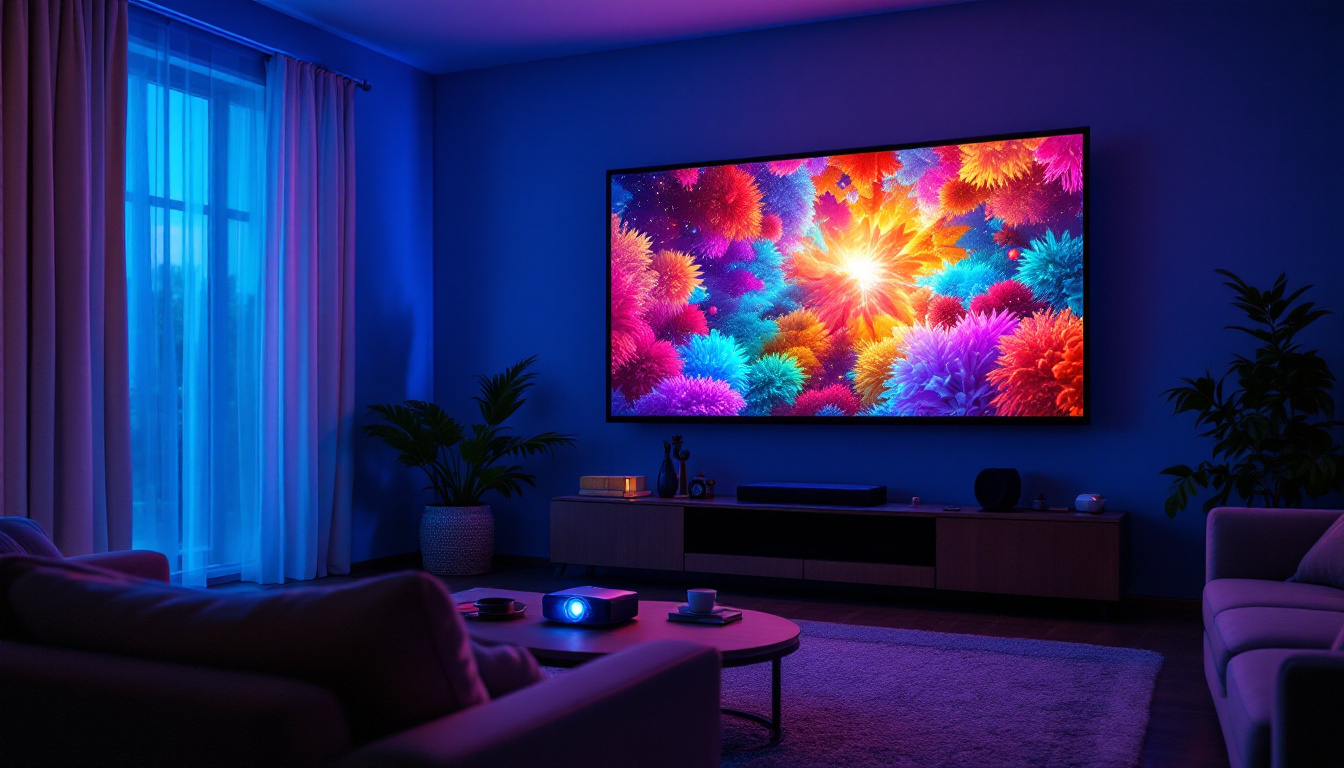
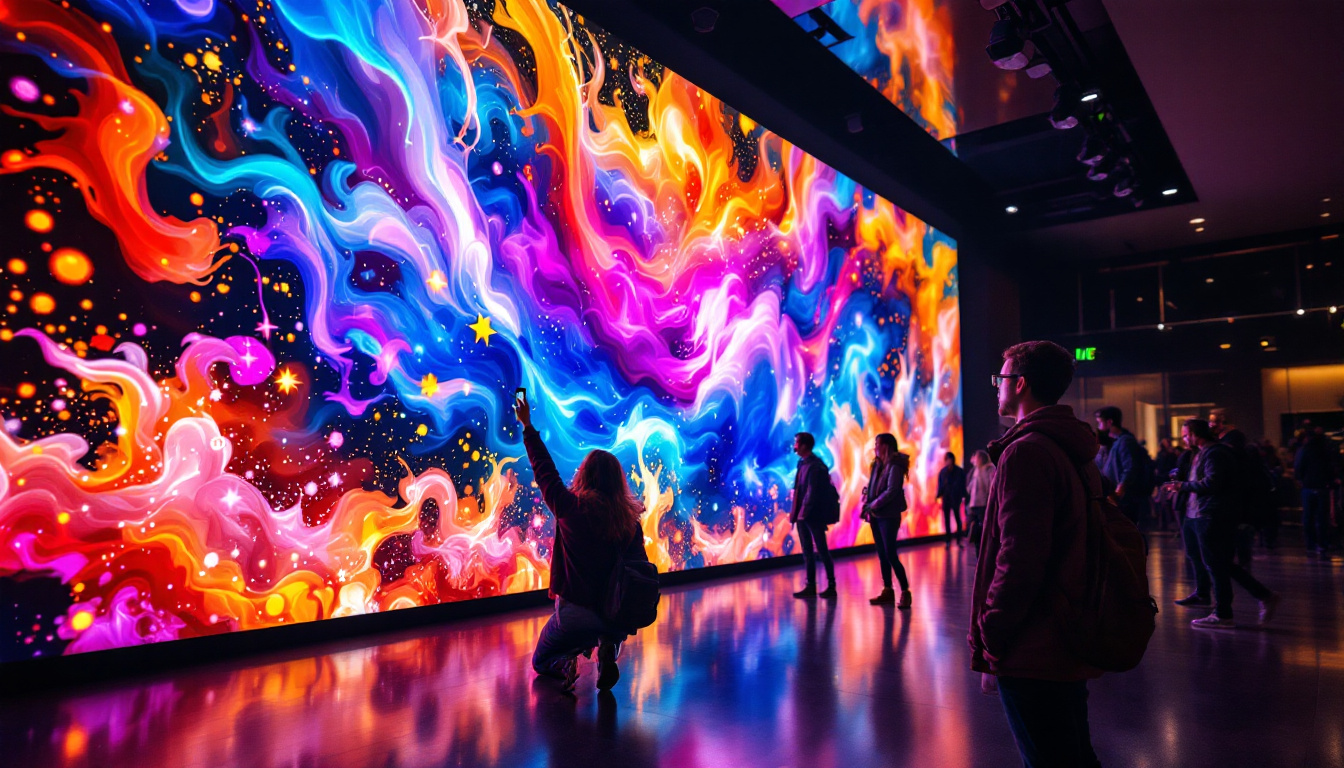
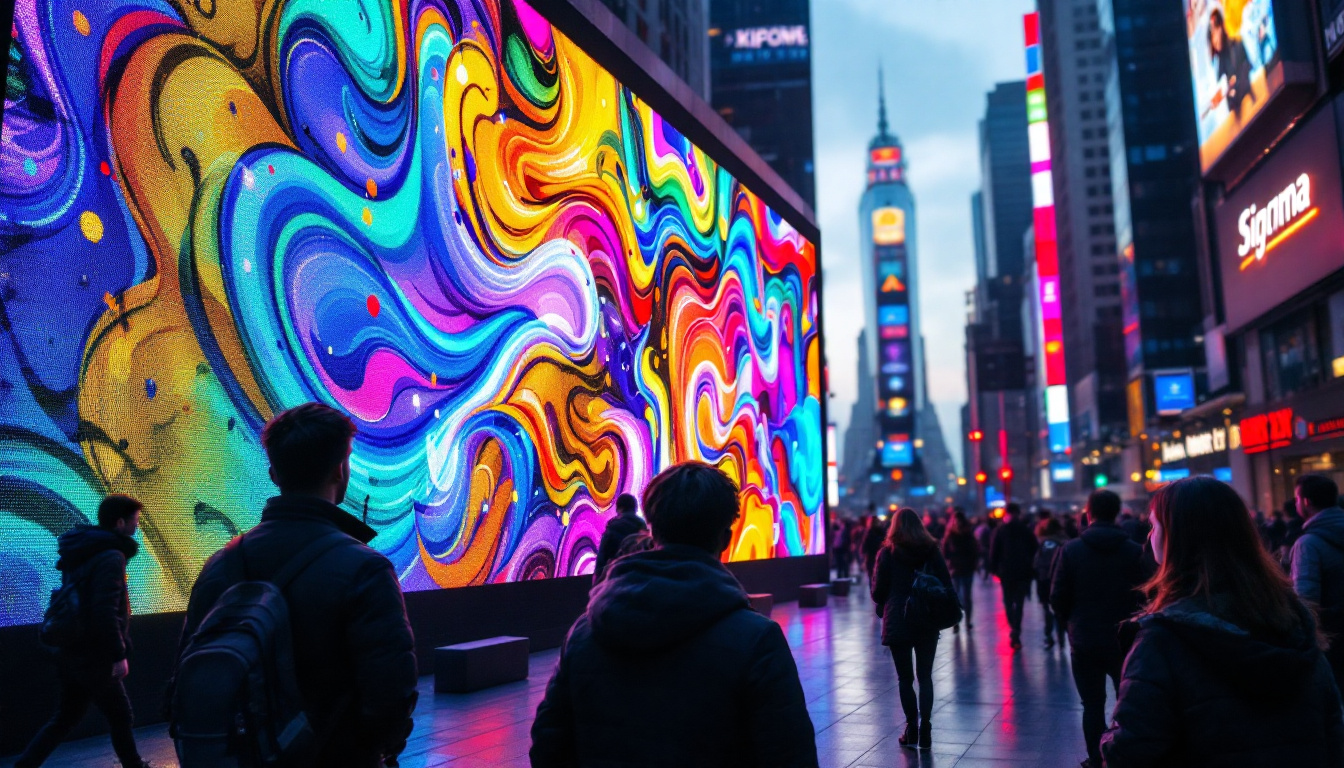
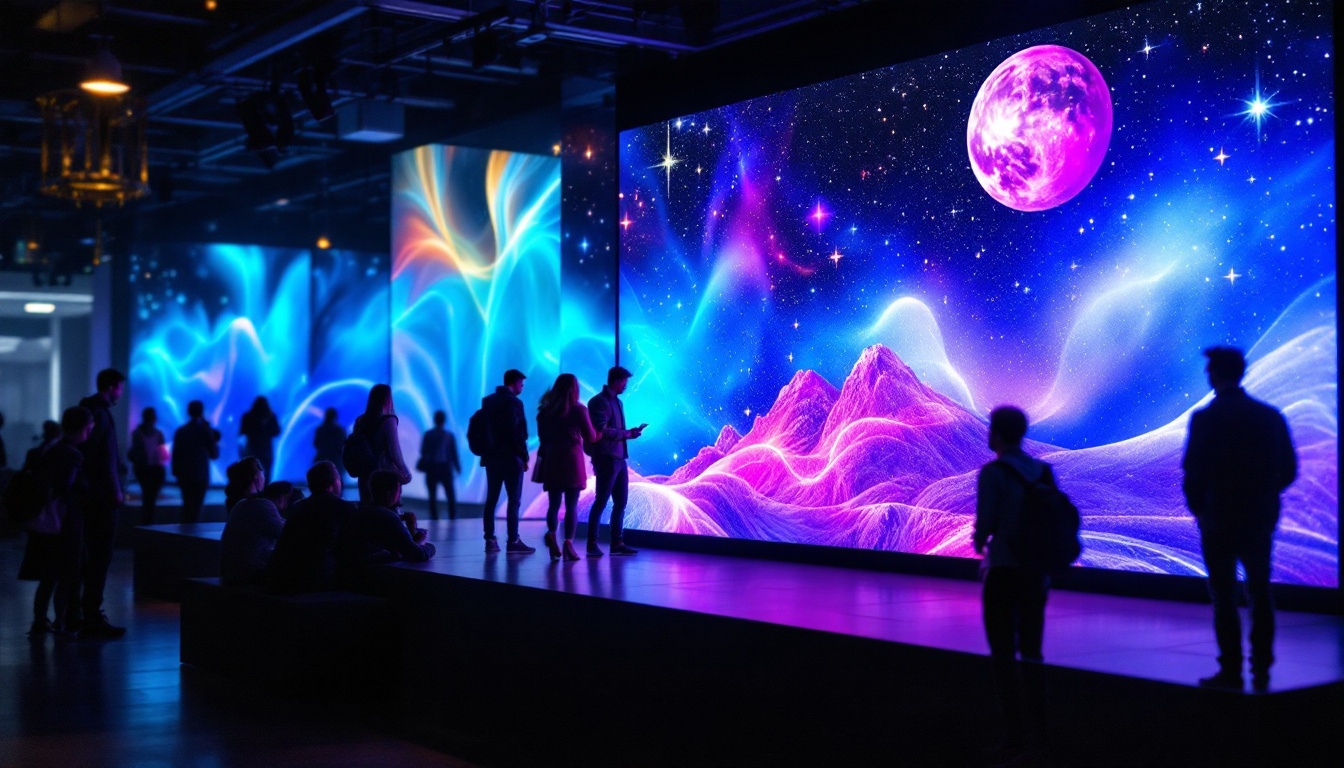
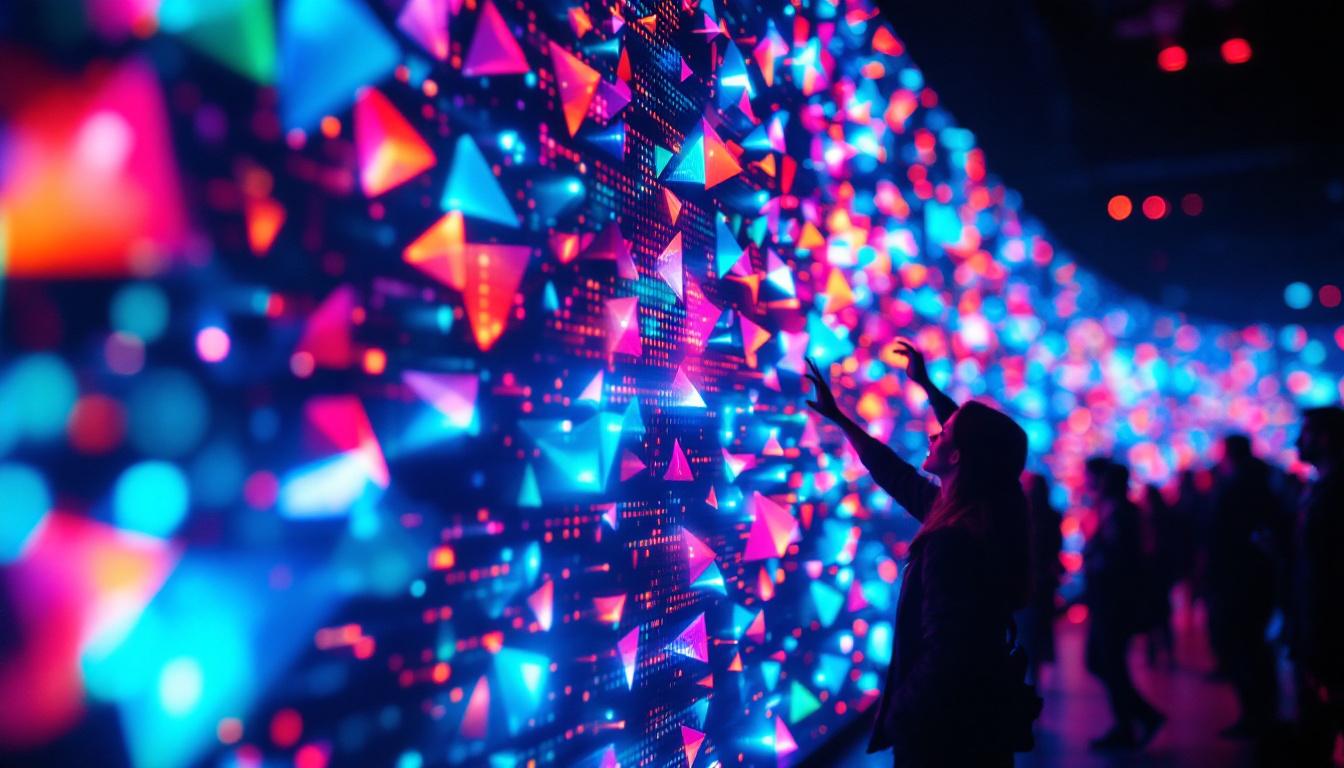
Curved walls serve both functional and aesthetic purposes. They can help in defining spaces, guiding movement, and creating visual interest. In commercial settings, such as theaters or exhibition halls, they can enhance acoustics and sightlines. Furthermore, when combined with LED displays, curved walls can transform a space into an engaging experience, drawing attention and creating an immersive environment. The use of curved walls is not limited to large-scale projects; they can also be effectively utilized in residential designs to create cozy nooks or to soften the overall look of a room. The seamless integration of curved walls can make a space feel more inviting and dynamic, offering a break from the rigidity of traditional straight lines.
Basic Concepts of Curved Walls
Before diving into the technical aspects, it’s important to grasp the basic concepts of curved walls in Revit. Unlike straight walls, curved walls require a different approach in terms of alignment, placement, and material application. Familiarity with Revit’s wall types and modification tools will be beneficial as you embark on this design journey. Understanding how to manipulate the curvature, whether it be a gentle arc or a dramatic sweep, is crucial for achieving the desired effect. Additionally, the ability to adjust the radius and the center point of the curve can greatly influence the overall design, allowing architects to experiment with various forms and layouts. This flexibility not only enhances creativity but also ensures that the structural integrity of the wall is maintained, accommodating both aesthetic desires and practical needs.
Creating a Curved Wall in Revit
The process of creating a curved wall in Revit involves several steps, each requiring careful attention to detail. Below are the essential steps to successfully create a curved wall.
Step 1: Setting Up Your Project
Begin by opening your Revit project and navigating to the appropriate view. It’s advisable to work in a floor plan view for better control over wall placement. Ensure that you have the necessary wall types loaded into your project. This can be done by accessing the “Insert” tab and selecting “Load Family” to bring in the desired wall types. Additionally, consider setting up reference planes or grids to aid in the accurate placement of your curved wall. These guides can help ensure that your design remains consistent and aligned with the overall architectural vision.
Step 2: Drawing the Curved Wall
To draw the curved wall, select the “Wall” tool from the “Architecture” tab. In the properties palette, choose the wall type you wish to use. Instead of clicking to place the wall, click and hold to draw a line. After initiating the wall placement, switch to the “Arc” tool to create the desired curvature.
Click to define the start point of the arc, then click again to set the endpoint. Move your cursor to shape the arc as needed. Once satisfied with the curvature, click to place the wall. This method allows for precise control over the wall’s shape and dimensions. For more complex designs, you might explore using the “Spline” tool, which offers even greater flexibility in defining the wall’s curvature. This can be particularly useful in creating organic forms or intricate architectural features that require a more fluid design approach.
Step 3: Modifying the Curved Wall
After placing the wall, you may need to adjust its properties. Select the wall and navigate to the properties palette to modify parameters such as height, thickness, and material. For a more refined look, consider using the “Edit Profile” tool to further customize the wall’s shape.
Additionally, if the wall needs to connect with other architectural elements, ensure that it aligns properly with adjacent walls or structures. This may involve adjusting the wall’s endpoints or using the “Align” tool to achieve a seamless connection. It’s also beneficial to utilize the “Join Geometry” tool to ensure that the curved wall integrates smoothly with other elements in your design, preventing any visual discrepancies. Furthermore, pay attention to the wall’s finish and texture, as these details can significantly impact the overall aesthetic of your project, especially in spaces where light plays a crucial role in highlighting architectural features.
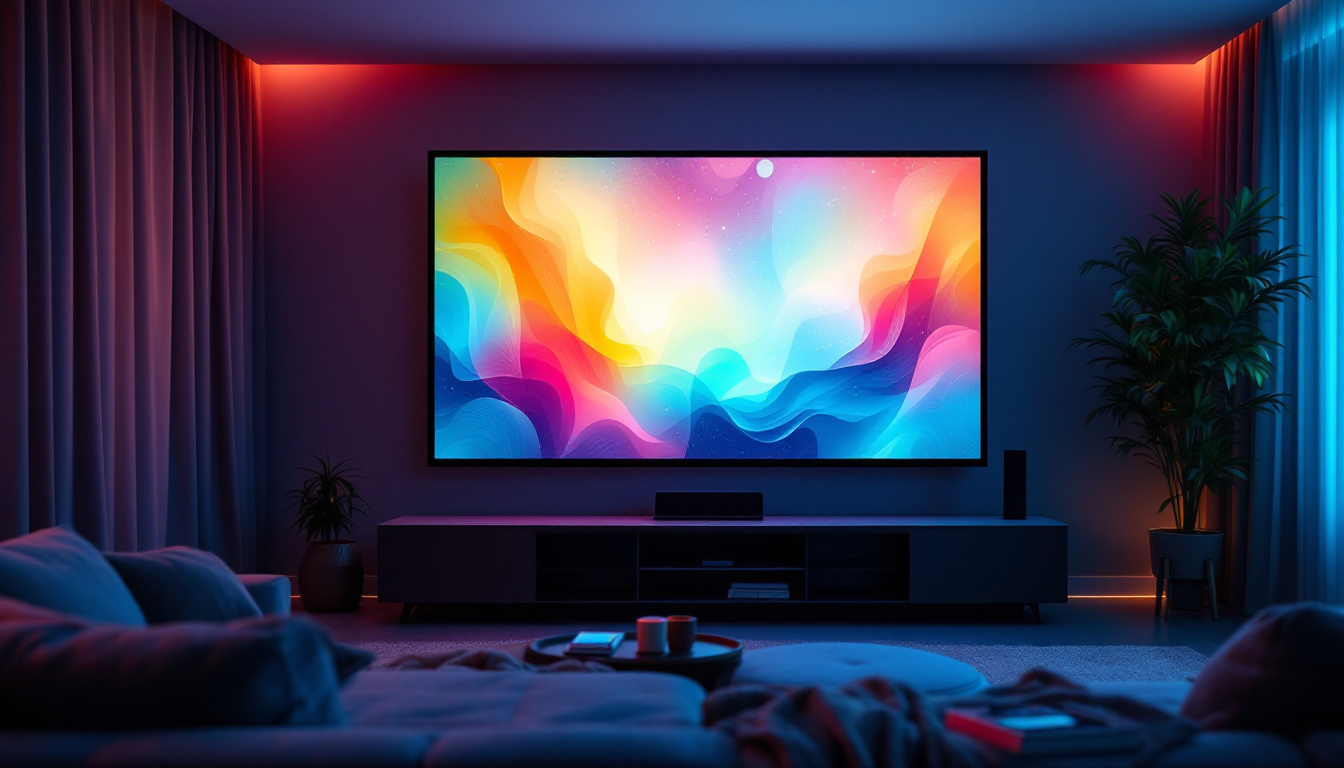
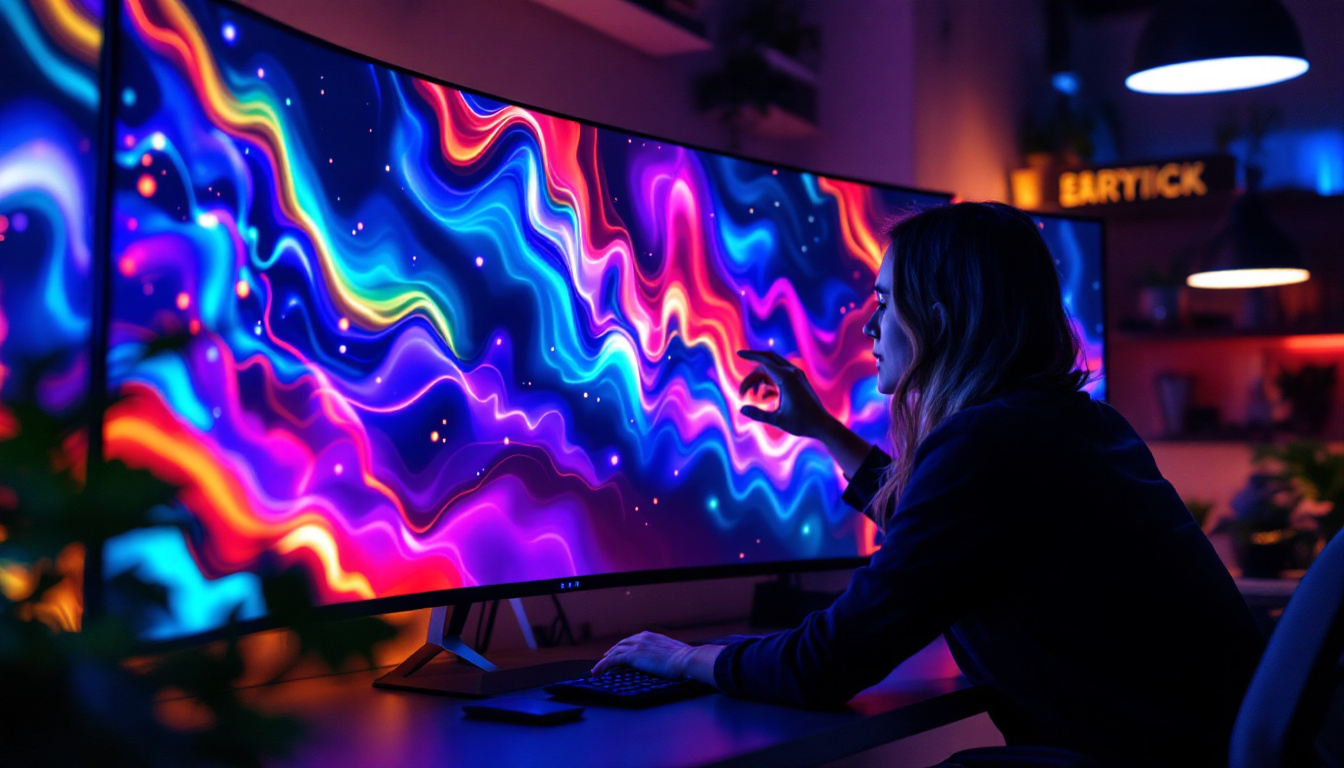
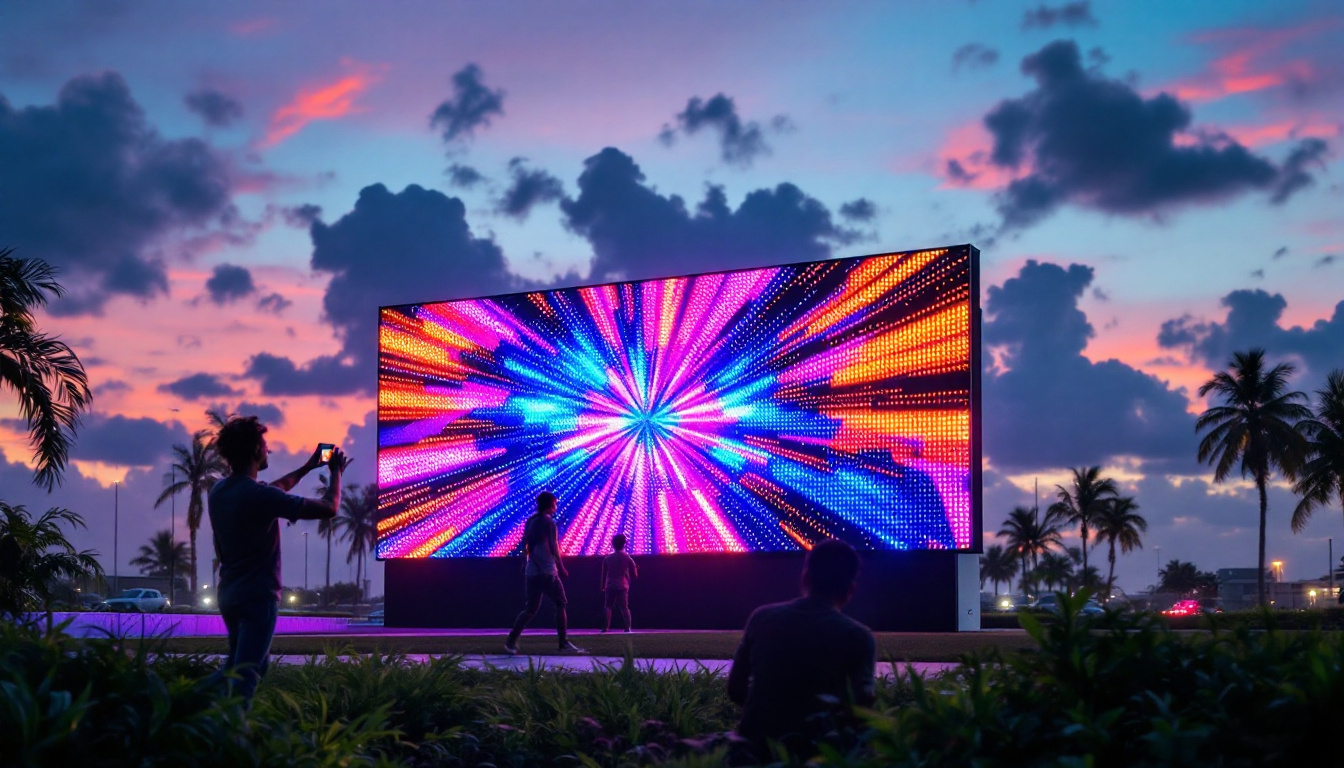
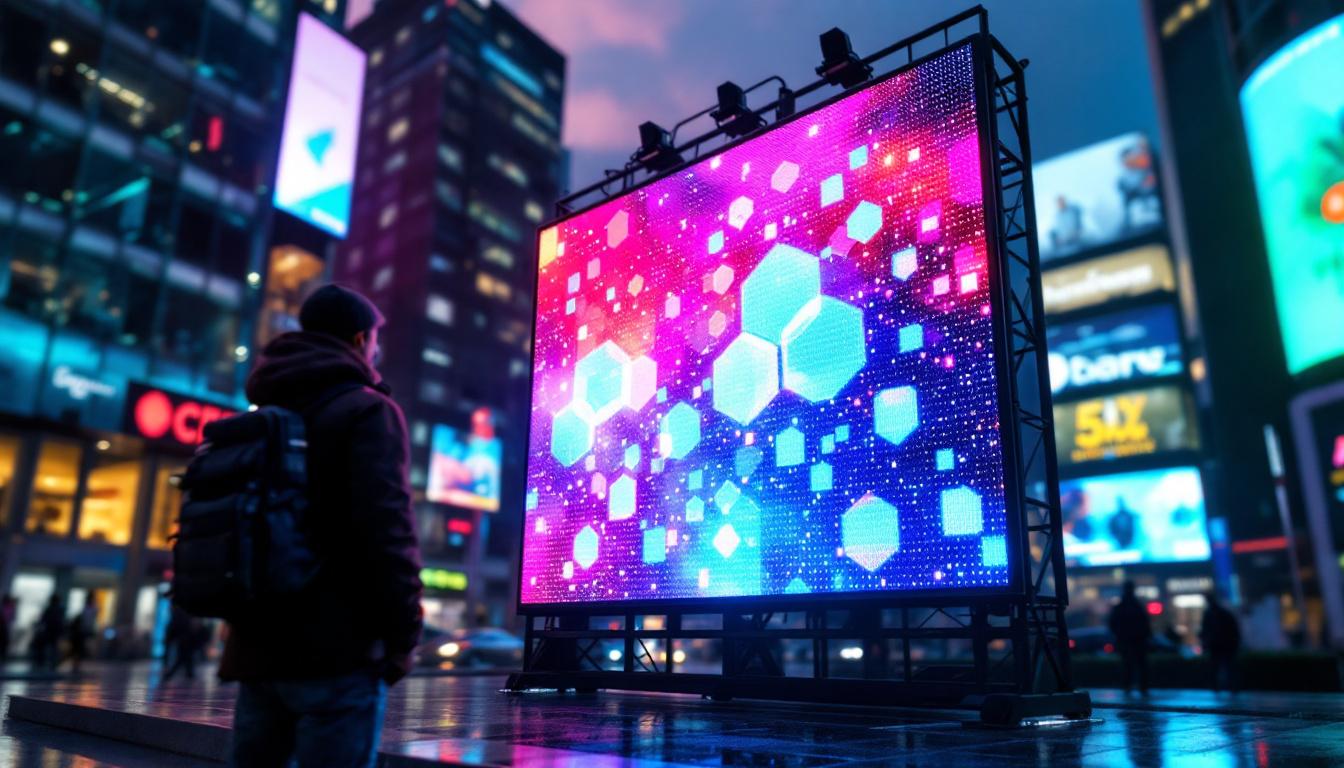
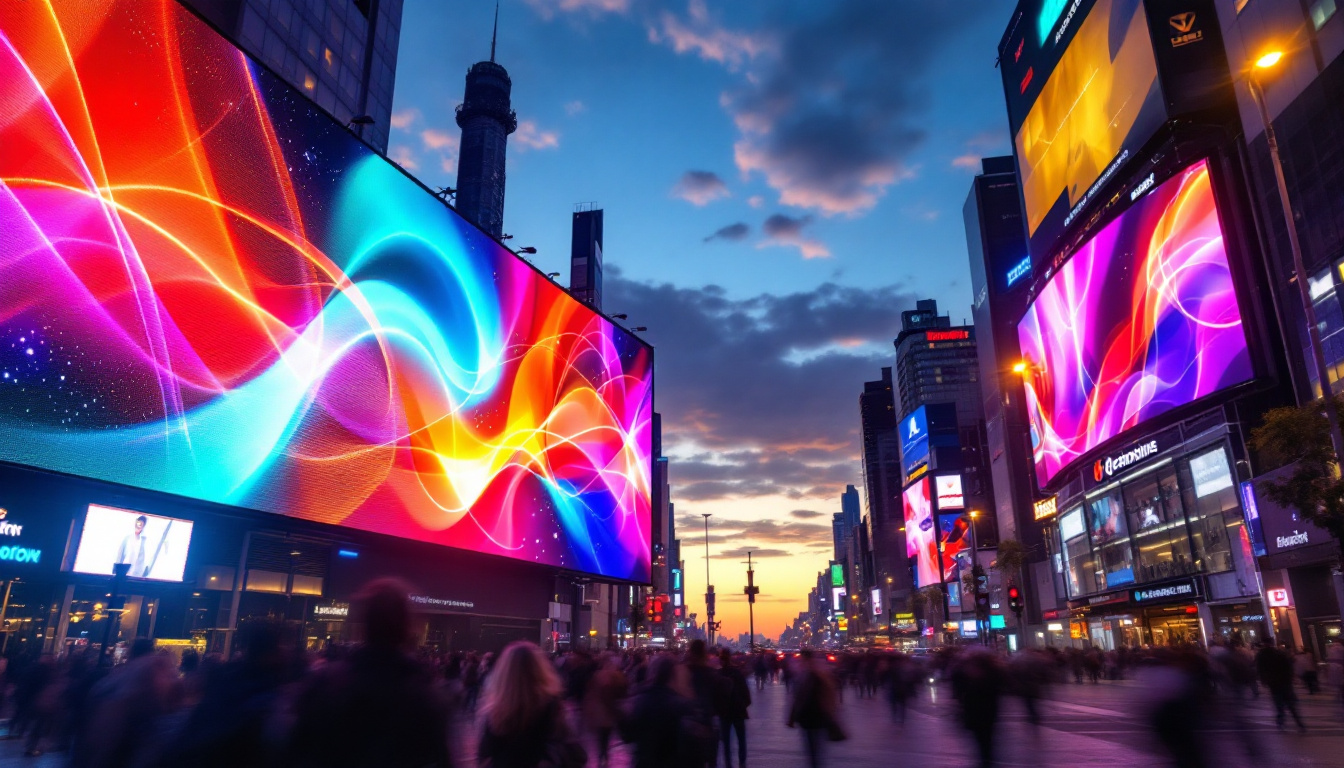
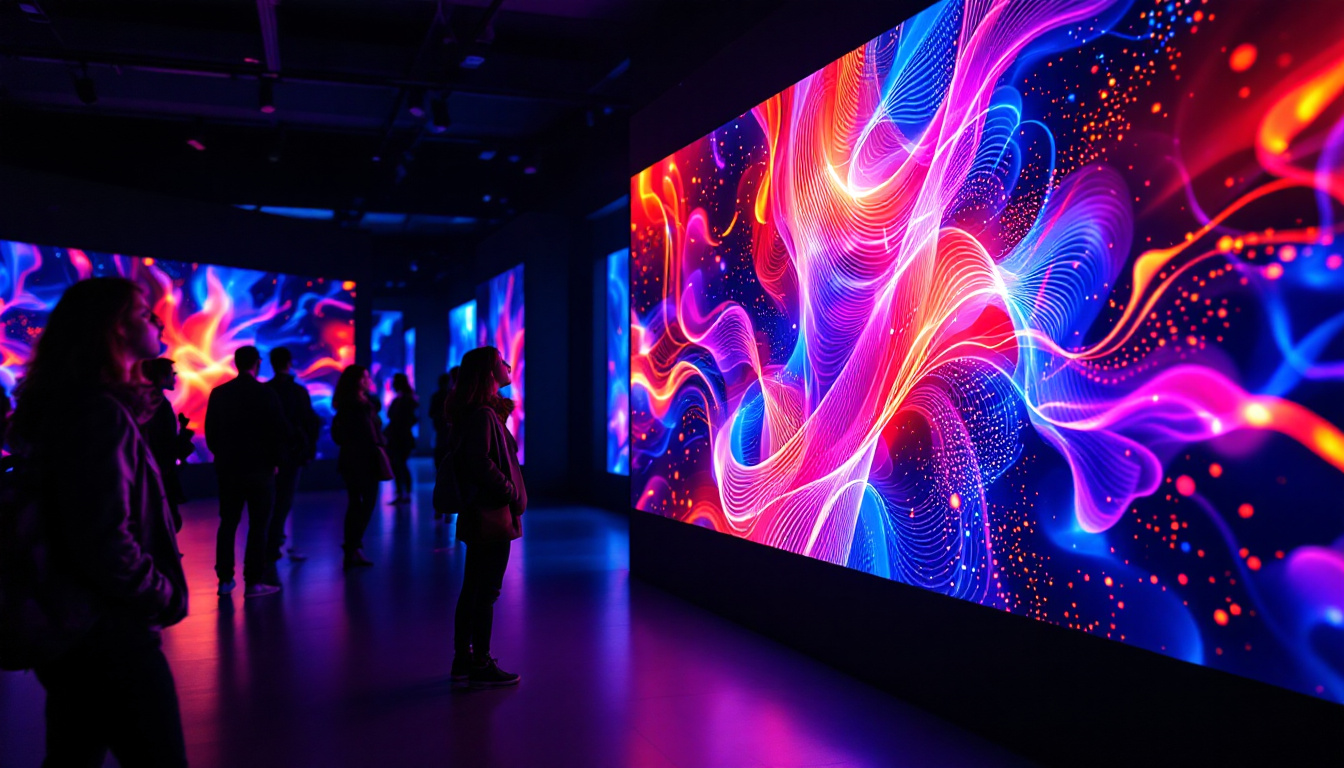
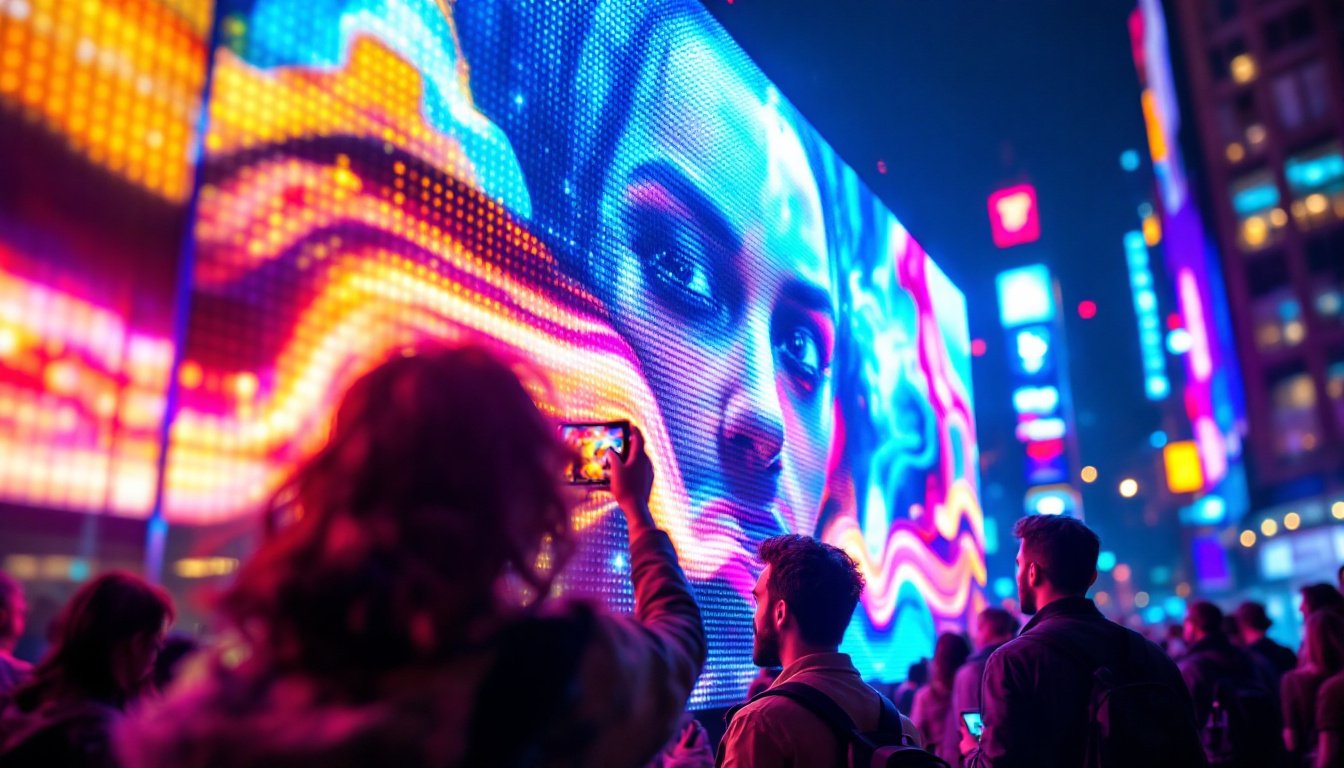
Incorporating LED Displays into Curved Walls
Once the curved wall is created, the next step involves integrating LED displays. This process requires careful consideration of both the technical aspects of the display and the aesthetic integration into the wall design.
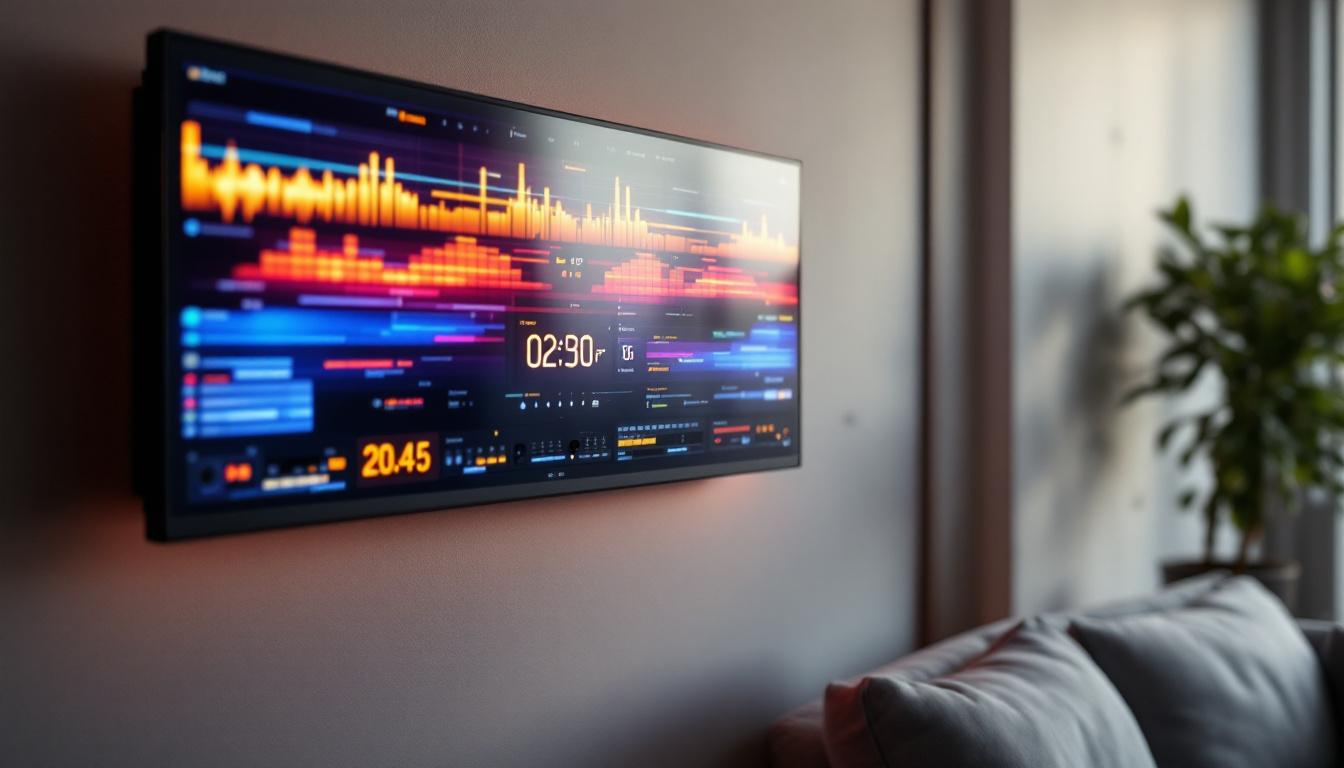
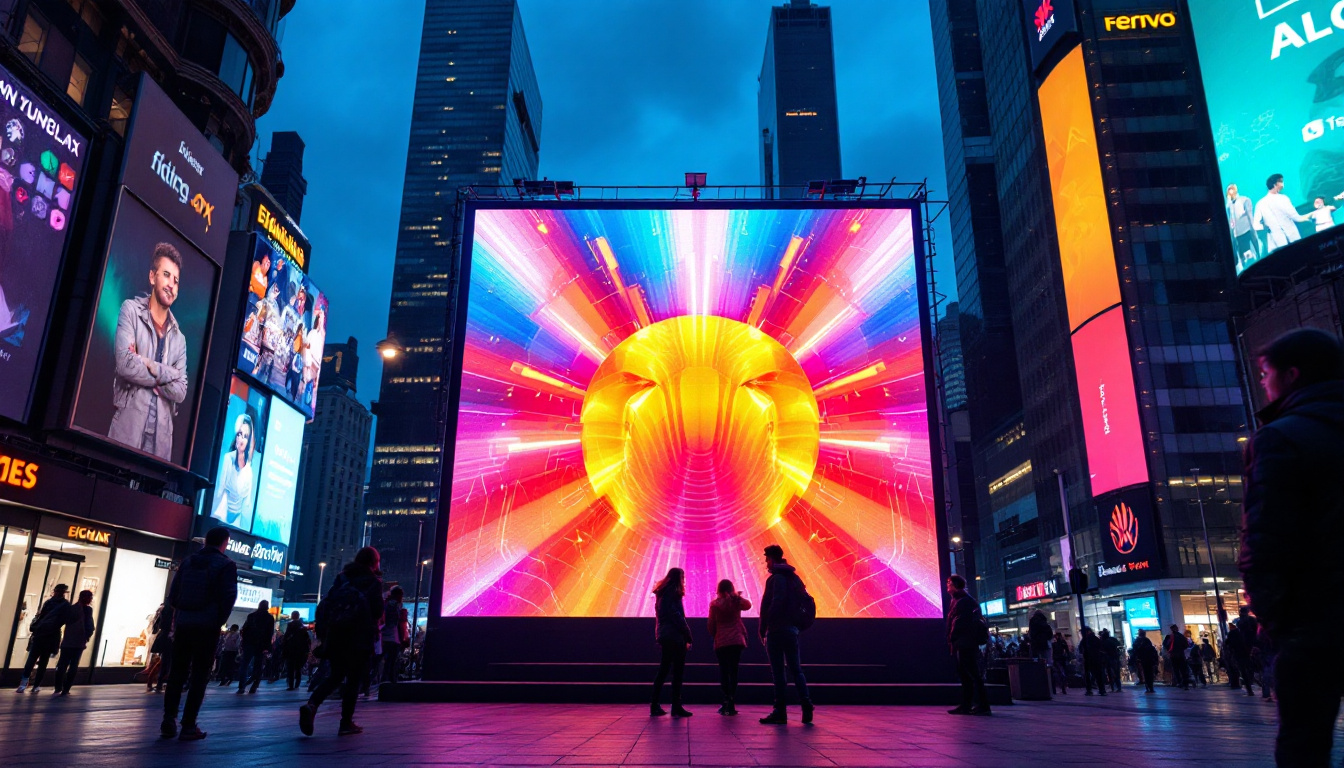
Choosing the Right LED Display
When selecting an LED display for a curved wall, consider factors such as size, resolution, and viewing angles. The display should complement the wall’s curvature without compromising visibility. Additionally, ensure that the display’s mounting system is compatible with the wall type and structure.
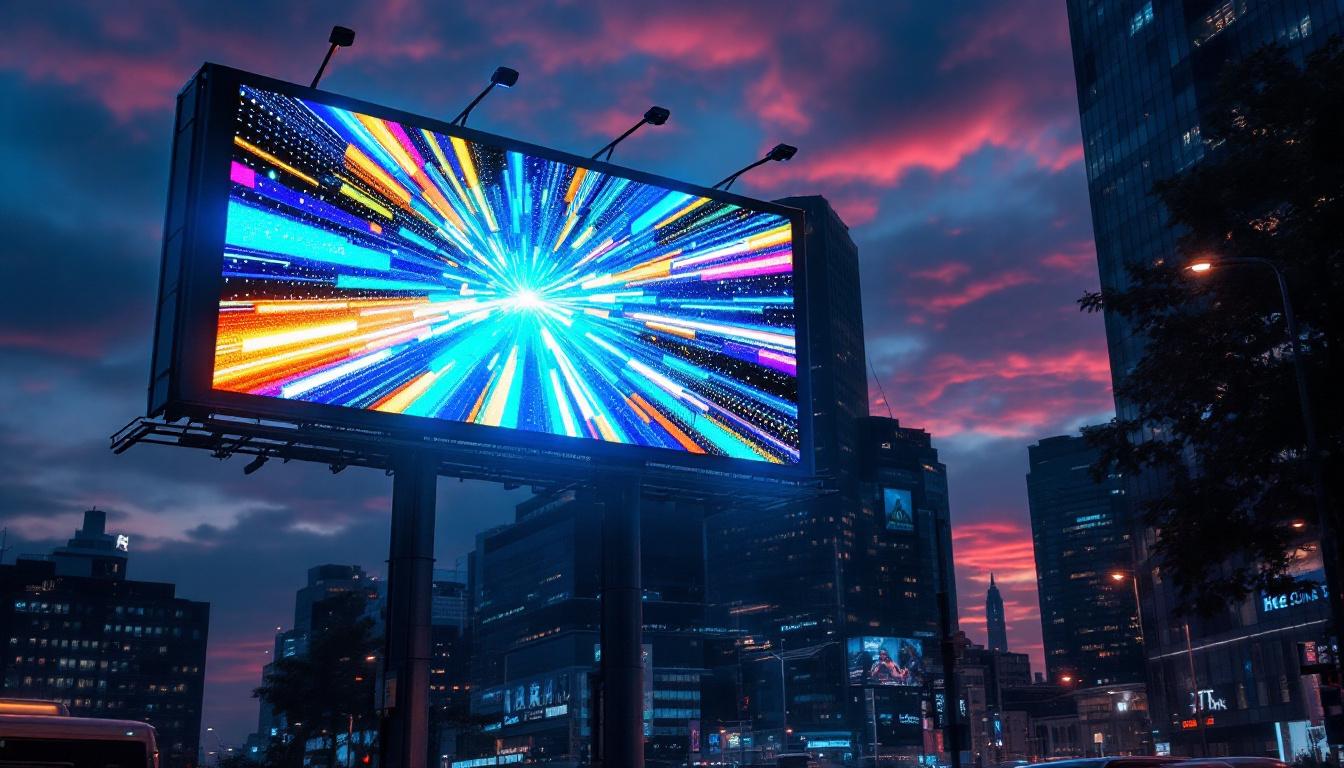
It’s also important to take into account the purpose of the LED display. For instance, if it is intended for advertising, a higher resolution may be necessary to ensure clarity from a distance. Conversely, for informational displays, a lower resolution may suffice.
Mounting the LED Display
Mounting the LED display on a curved wall requires specialized brackets or mounting systems designed to accommodate the curvature. Begin by marking the appropriate locations on the wall where the display will be installed. Use a level to ensure accuracy and alignment.
Once the locations are marked, install the mounting brackets according to the manufacturer’s specifications. It is crucial to ensure that the brackets are securely attached to the wall to support the weight of the display. After the brackets are in place, carefully attach the LED display, ensuring it sits flush against the wall.
Wiring and Power Considerations
Proper wiring and power management are essential when integrating LED displays. Plan the electrical layout beforehand, ensuring that power sources are accessible and comply with local codes. Run the necessary wiring through the wall, making sure to conceal it for a clean finish.
Consider using conduit or raceways to protect the wiring and maintain a professional appearance. Additionally, ensure that the LED display is connected to a reliable power source that can handle its energy requirements. Testing the display after installation is crucial to ensure everything functions correctly.
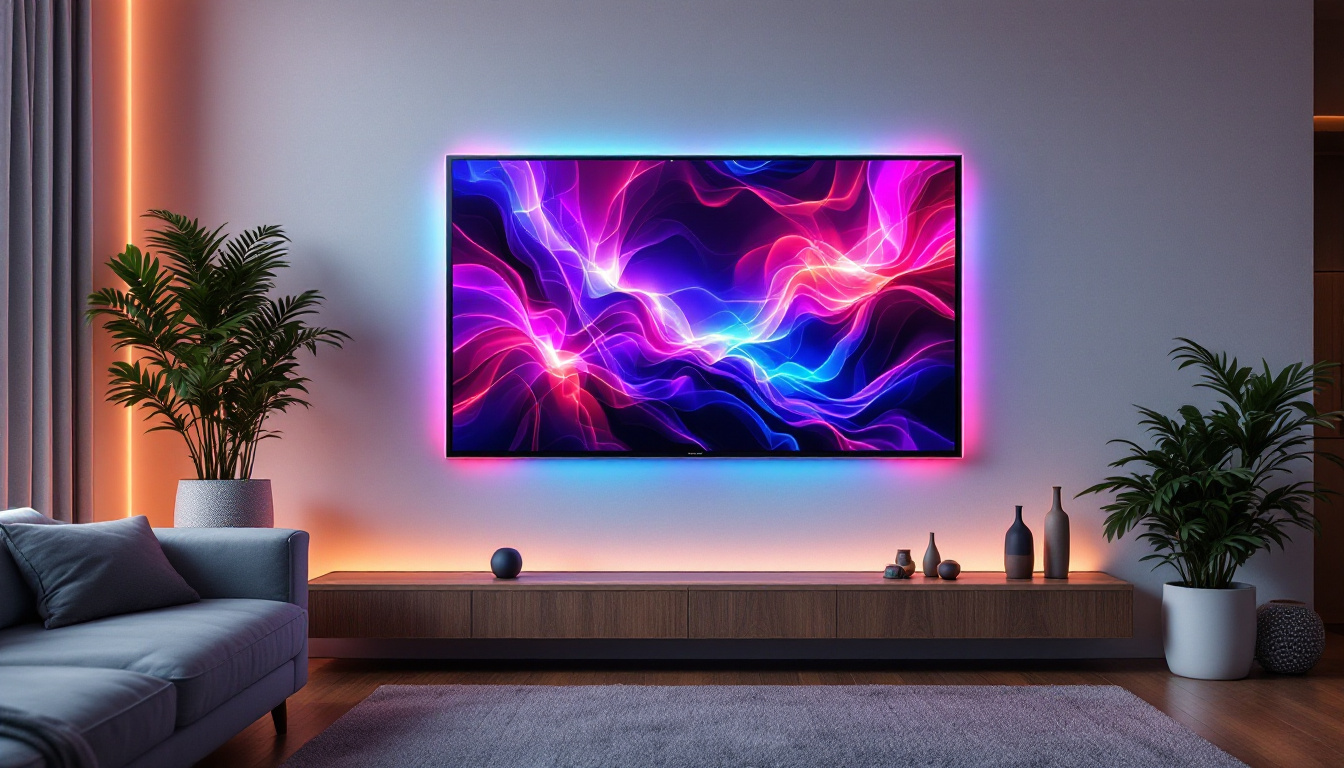
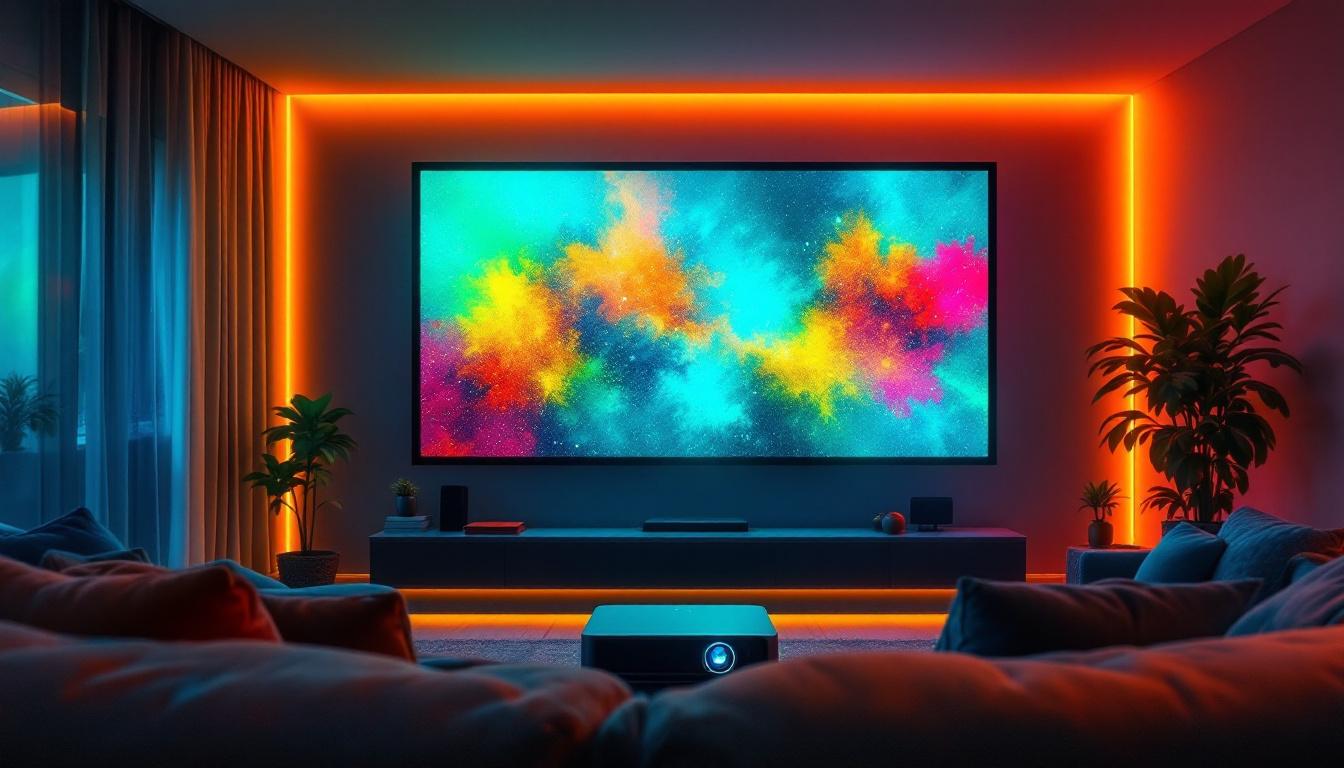
Design Considerations for Curved Walls with LED Displays
Integrating a curved wall with LED displays involves more than just technical execution; it also requires thoughtful design considerations. These aspects can significantly impact the overall aesthetic and functionality of the space.
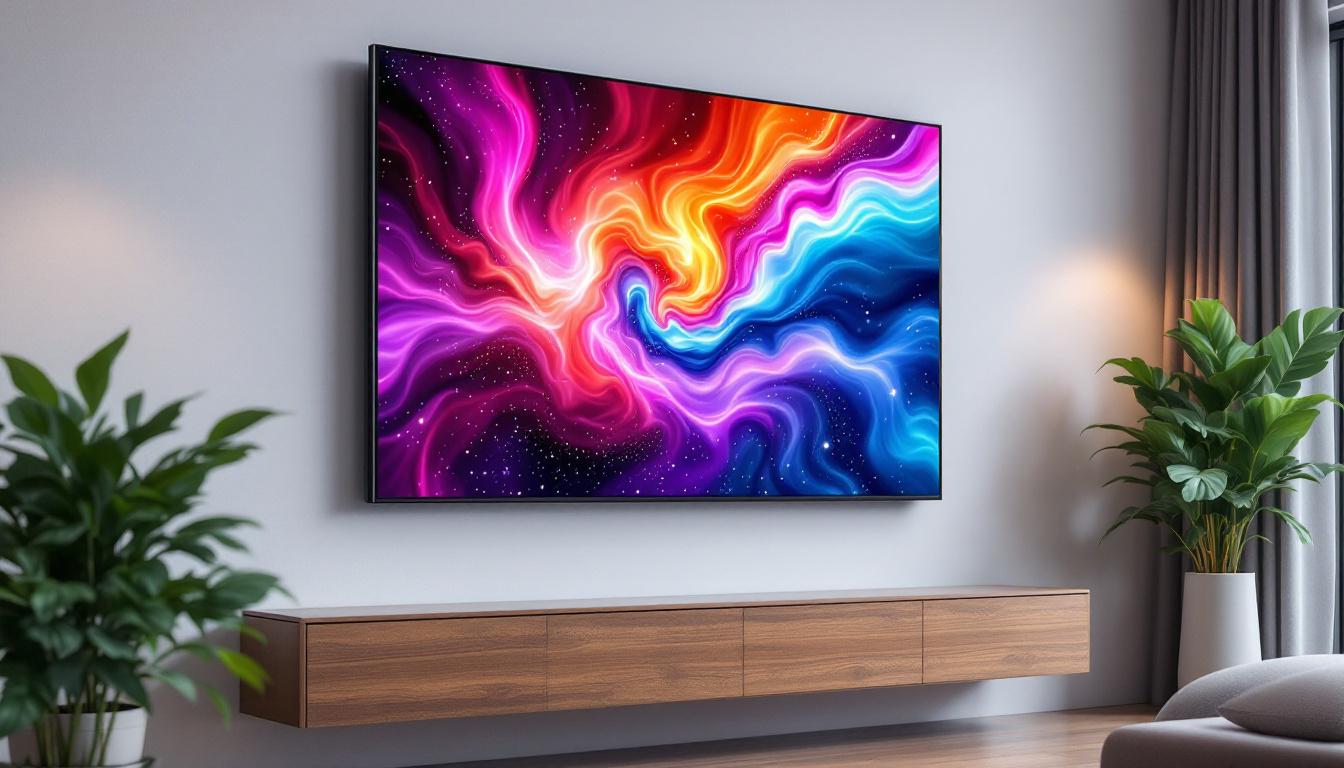
Aesthetic Integration
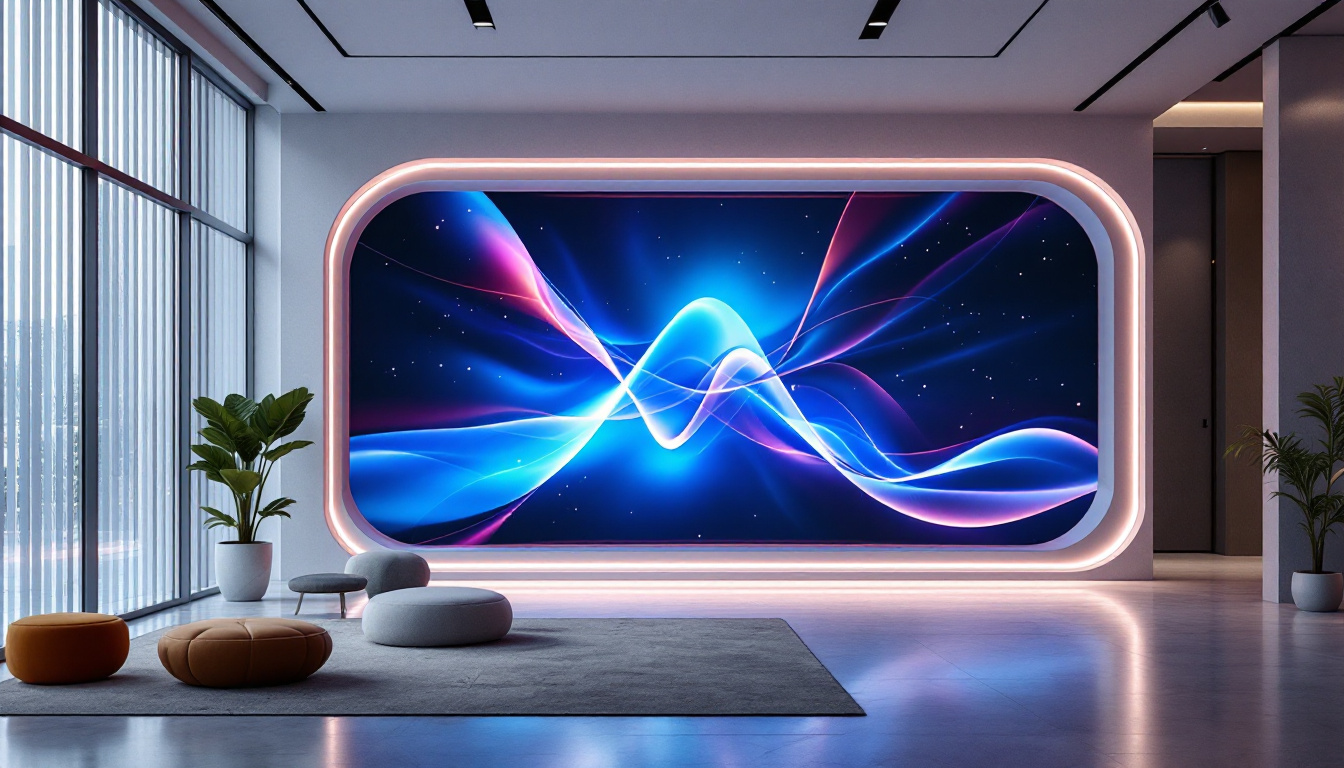
The design of the curved wall should harmonize with the overall architectural style of the space. Consider the materials, colors, and textures used in the wall and how they complement the LED display. For instance, a sleek, modern LED display may look best against a minimalist wall design, while a more ornate wall could benefit from a display that enhances its decorative elements.
Lighting also plays a crucial role in the aesthetic integration. Properly positioned ambient lighting can enhance the visual impact of both the wall and the LED display, creating a cohesive look. Experiment with different lighting techniques to find the most flattering arrangement.
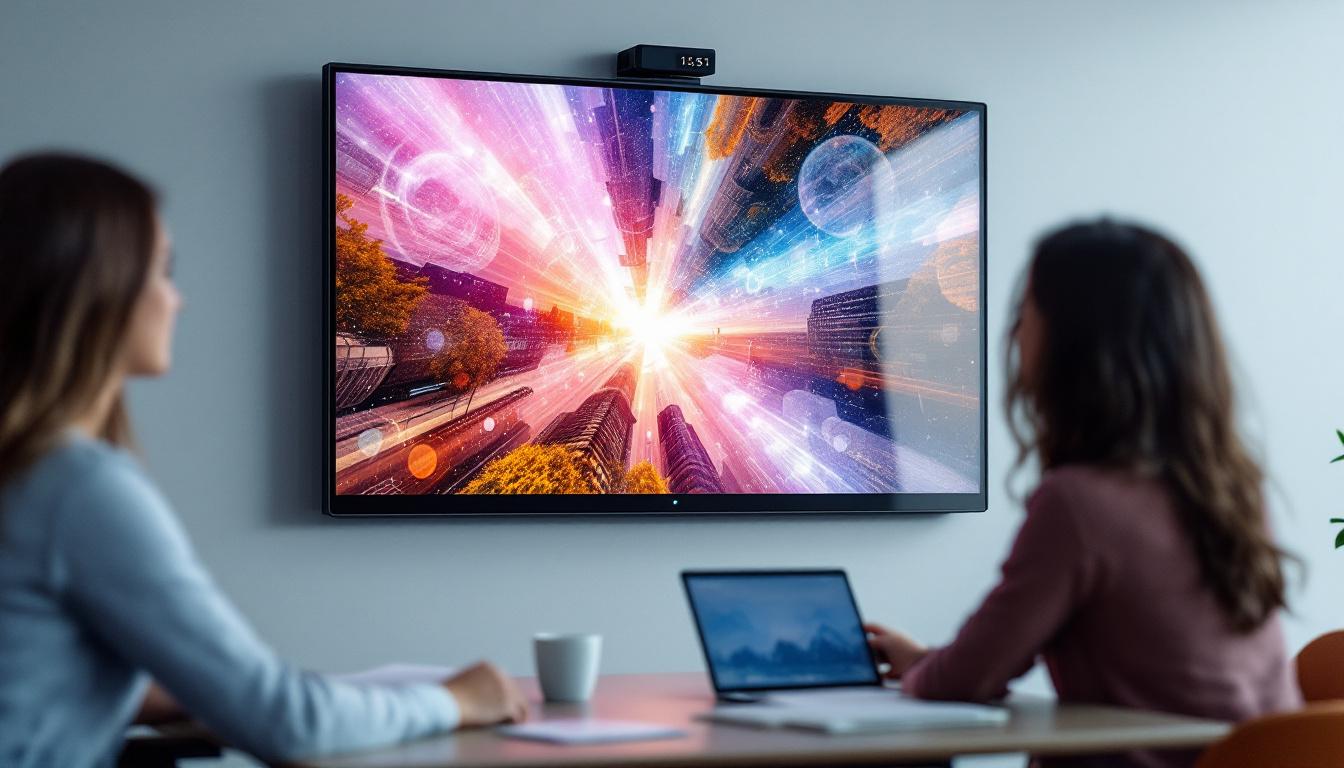
Functional Considerations
Beyond aesthetics, the functionality of the curved wall and LED display must be taken into account. Ensure that the wall does not obstruct sightlines or impede movement within the space. The placement of the LED display should allow for optimal visibility from various angles and distances.
Additionally, consider the maintenance aspects of both the wall and the display. Curved walls may require special cleaning techniques, and LED displays should be accessible for servicing. Designing with these factors in mind will enhance the longevity and usability of the installation.
Common Challenges and Solutions
Creating a curved wall with an integrated LED display is not without its challenges. However, understanding these potential issues and their solutions can streamline the process and lead to a successful outcome.
Alignment Issues
One common challenge is achieving proper alignment between the curved wall and the LED display. Misalignment can lead to visual distractions and a lack of cohesion in the design. To mitigate this, use reference lines and guides during the installation process to ensure everything is positioned accurately.
Structural Concerns
Curved walls can pose structural challenges, particularly when integrating heavy elements like LED displays. It is essential to consult with structural engineers to ensure that the wall can support the additional weight. Reinforcements may be necessary to maintain stability and safety.
Technical Difficulties with LED Displays
Technical issues with LED displays can also arise, such as connectivity problems or display malfunctions. To address this, ensure that all components are compatible and that the installation adheres to the manufacturer’s guidelines. Regular maintenance checks can help identify and resolve issues before they become significant problems.
Conclusion
Creating a curved wall in Revit with an integrated LED display is a multifaceted process that combines design creativity with technical precision. By understanding the steps involved and considering both aesthetic and functional elements, designers can produce stunning results that enhance the overall experience of a space.
As technology continues to evolve, the integration of LED displays into architectural designs will likely become more prevalent. Embracing these advancements will not only improve design capabilities but also open new avenues for creativity and innovation in the field of architecture.
In summary, mastering the art of creating curved walls in Revit and integrating LED displays will elevate design projects, making them more engaging and visually striking. With practice and attention to detail, these skills can lead to successful and impressive architectural solutions.
Explore Cutting-Edge LED Displays with LumenMatrix
Ready to take your architectural designs to the next level with seamless integration of LED technology? Discover LumenMatrix’s innovative LED display solutions that bring your curved walls to life. From indoor to outdoor, and custom to transparent displays, LumenMatrix is at the forefront of creating visual experiences that captivate and engage. Enhance your projects with our state-of-the-art LED modules and revolutionize the way you communicate visually. Check out LumenMatrix LED Display Solutions today and transform your space into a dynamic environment that leaves a lasting impression.