Light Emitting Diodes (LEDs) have revolutionized the way we illuminate spaces and display information. From the tiny indicator lights on electronic devices to massive billboards in city centers, LEDs are everywhere. Among their many applications, LED displays stand out as a versatile and energy-efficient solution for visual communication. This article delves into the fundamentals of LED displays, how they work, and provides a comprehensive guide on how to make your own LED display.
Understanding LED Displays: What Are They?
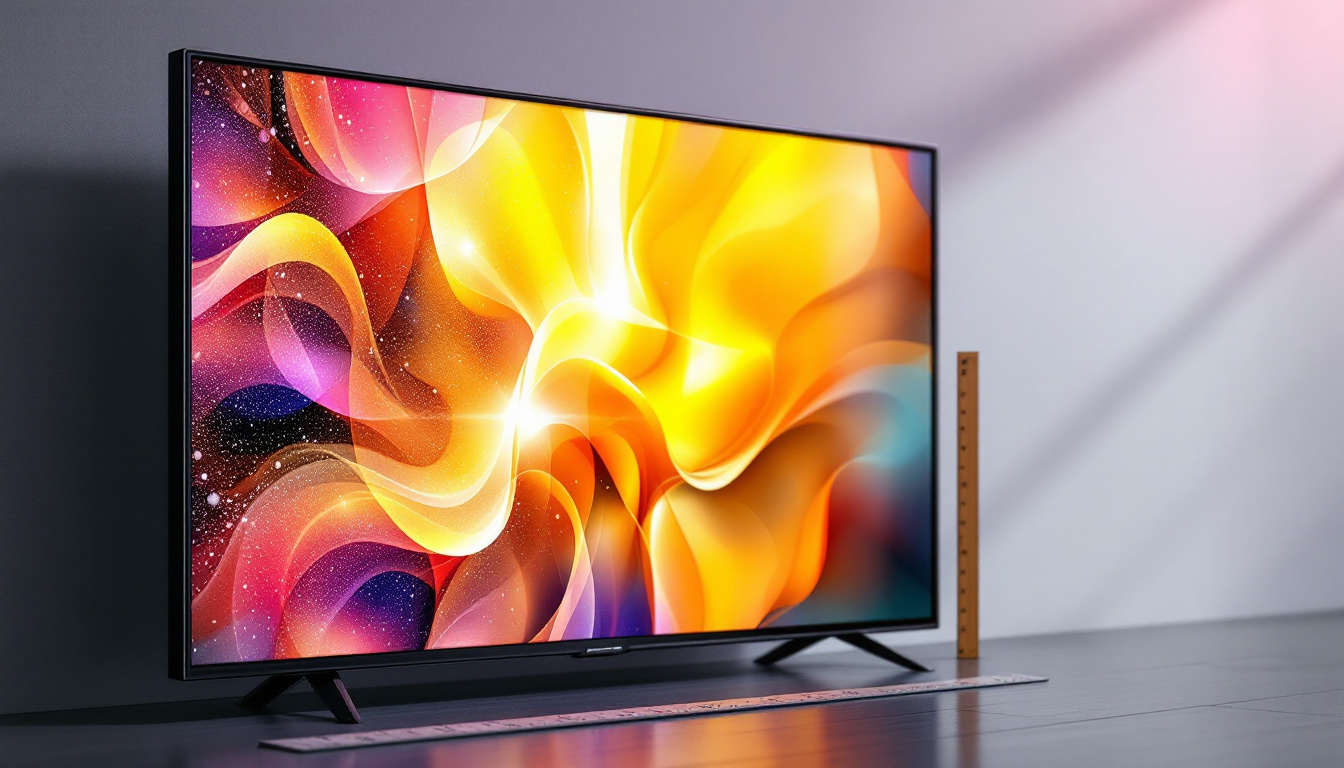
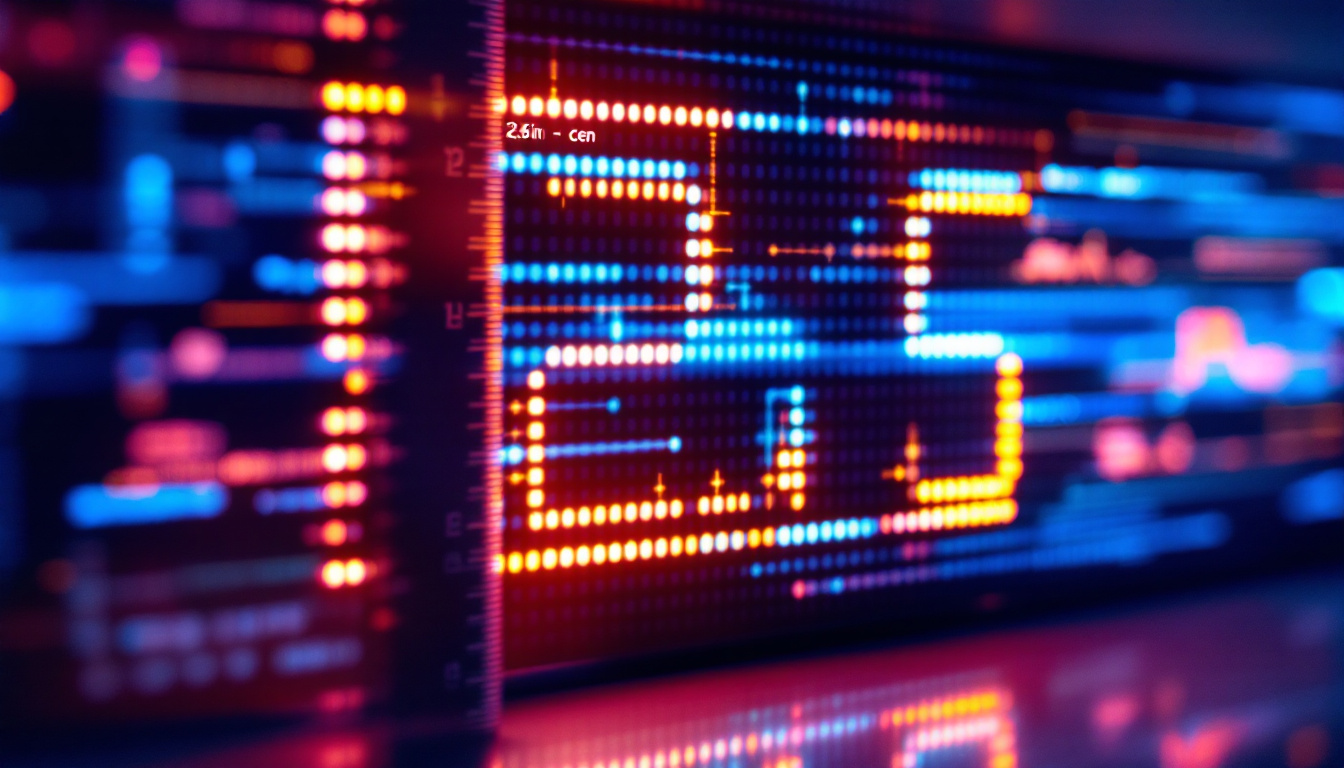
At its core, an LED display is a flat panel that uses an array of light-emitting diodes to present images, text, or video. Unlike traditional display technologies such as LCD or plasma, LED displays rely on tiny semiconductor devices that emit light when an electric current passes through them.
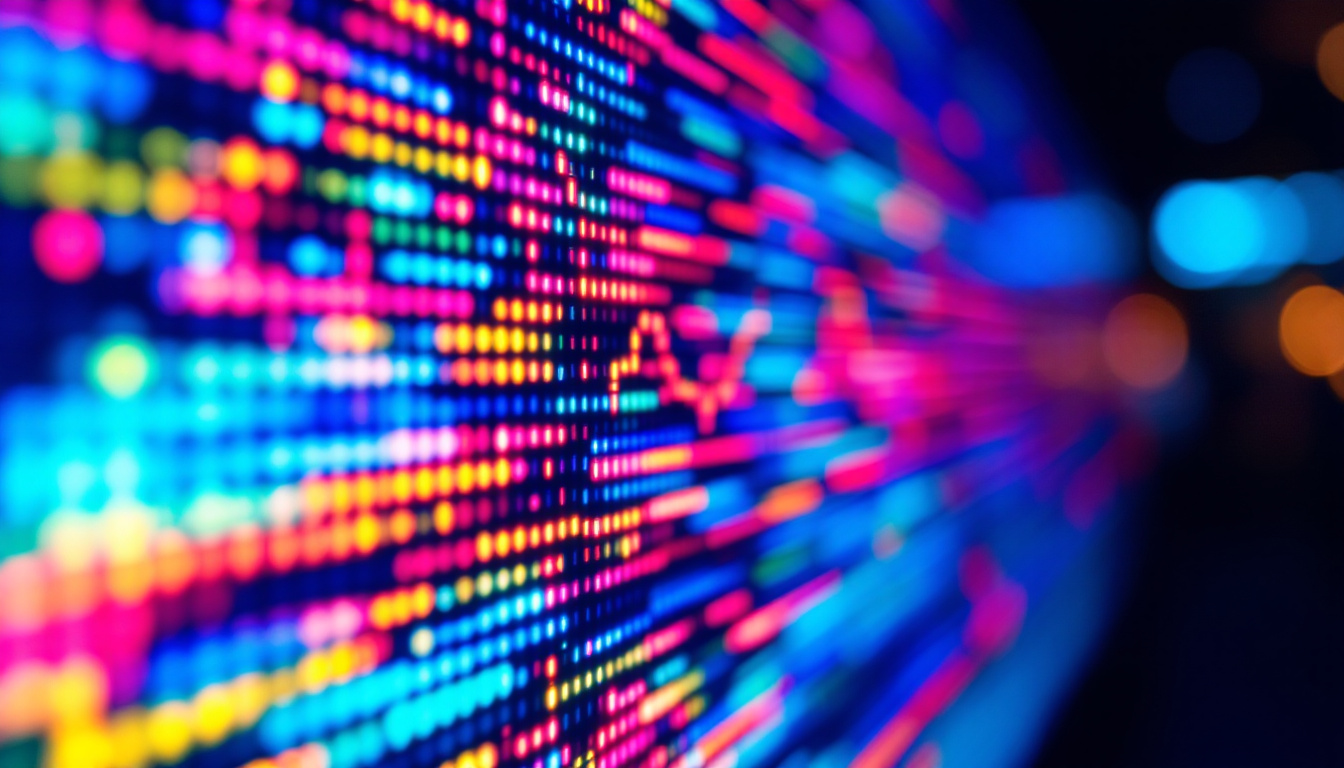
LED displays come in various forms, including single-color, bi-color, and full-color configurations. The most common full-color displays use red, green, and blue LEDs combined in different intensities to produce a broad spectrum of colors, enabling vibrant and dynamic visuals. This ability to mix colors effectively allows for high-resolution displays that can convey intricate details and sharp contrasts, making them ideal for both indoor and outdoor environments.
Furthermore, LED technology has advanced significantly, leading to innovations such as organic LEDs (OLEDs) and microLEDs, which offer even greater efficiency and flexibility. OLEDs, for instance, can produce deeper blacks and wider viewing angles, while microLEDs promise higher brightness and lower power consumption, paving the way for future applications in augmented reality and flexible displays.
Types of LED Displays
There are several types of LED displays, each suited for different applications:
- Segment Displays: Typically used for numerical readouts, such as digital clocks or calculators. These displays are simple yet effective, often found in devices where clear visibility and straightforward information presentation are paramount.
- Dot Matrix Displays: Composed of a grid of LEDs that can form characters or simple images, often seen in scrolling message boards. Their versatility allows for dynamic content updates, making them popular in transportation hubs and public information systems.
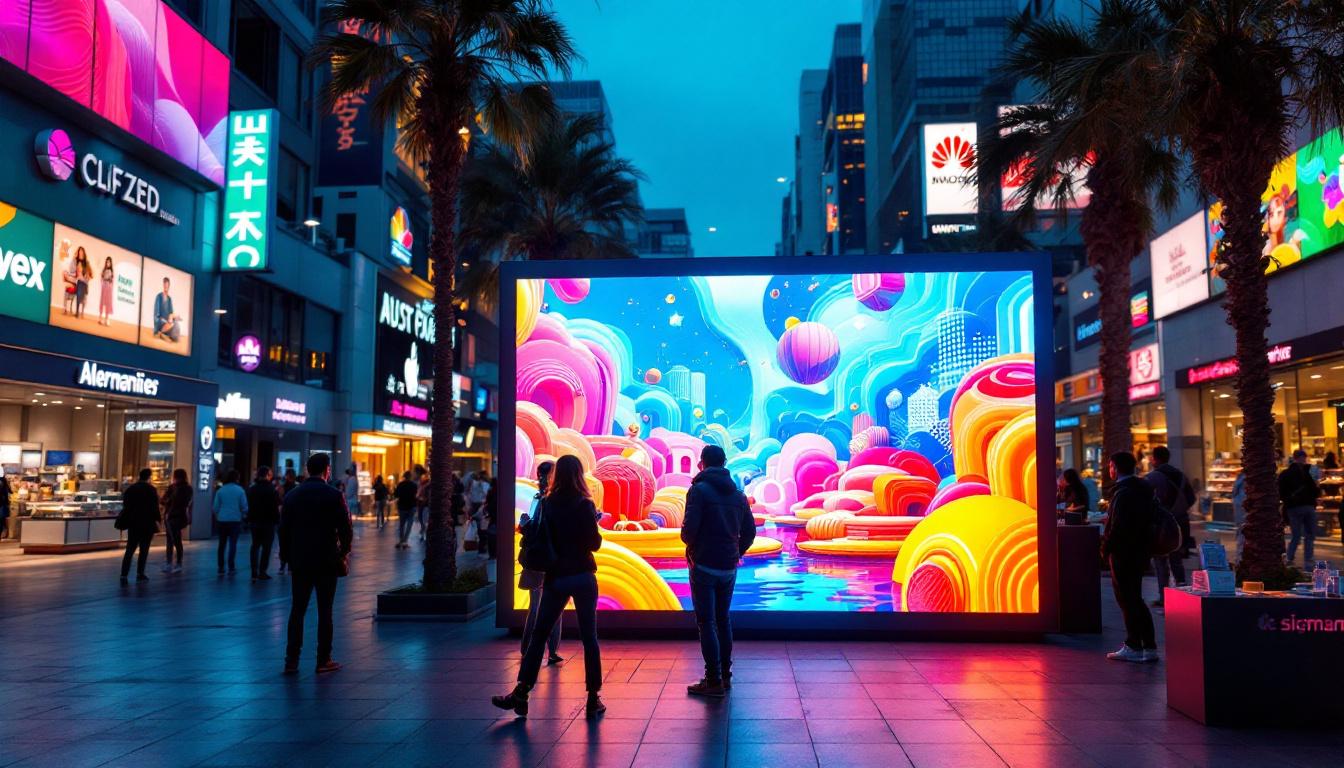
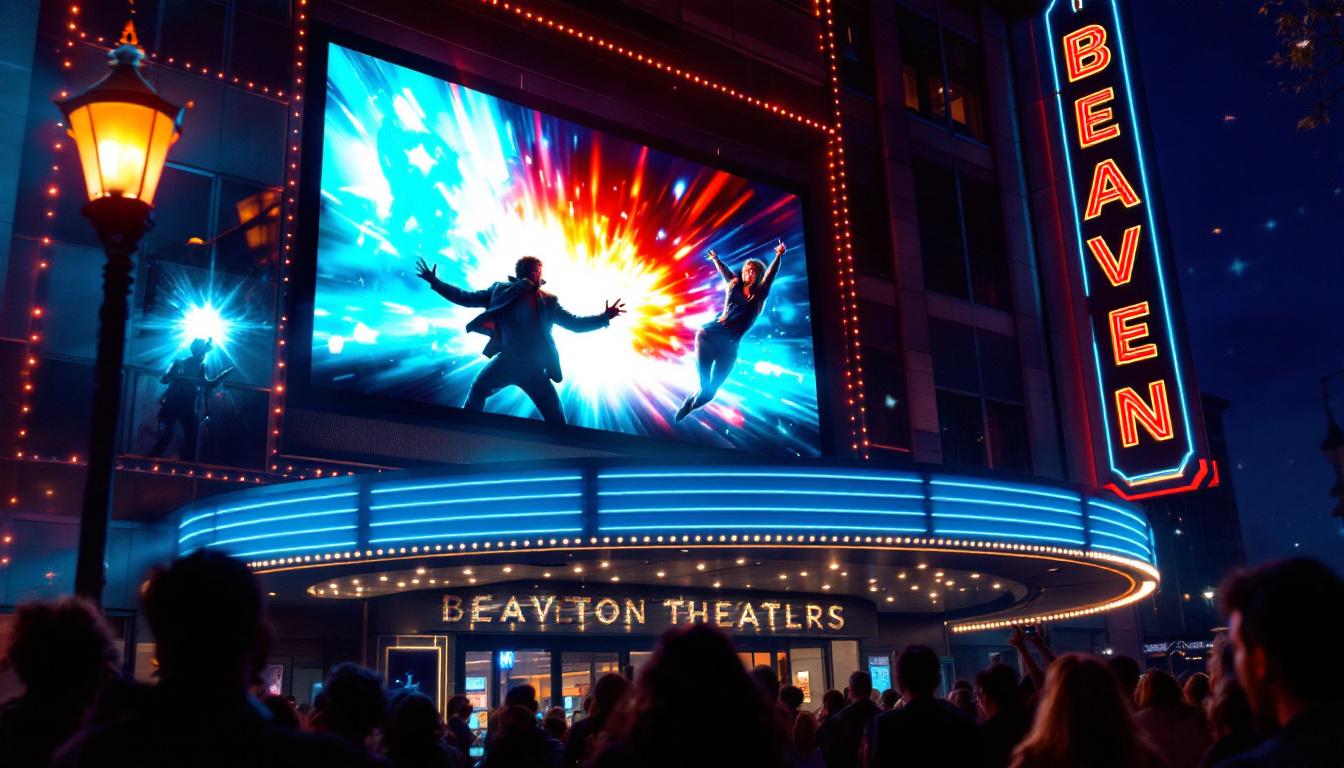
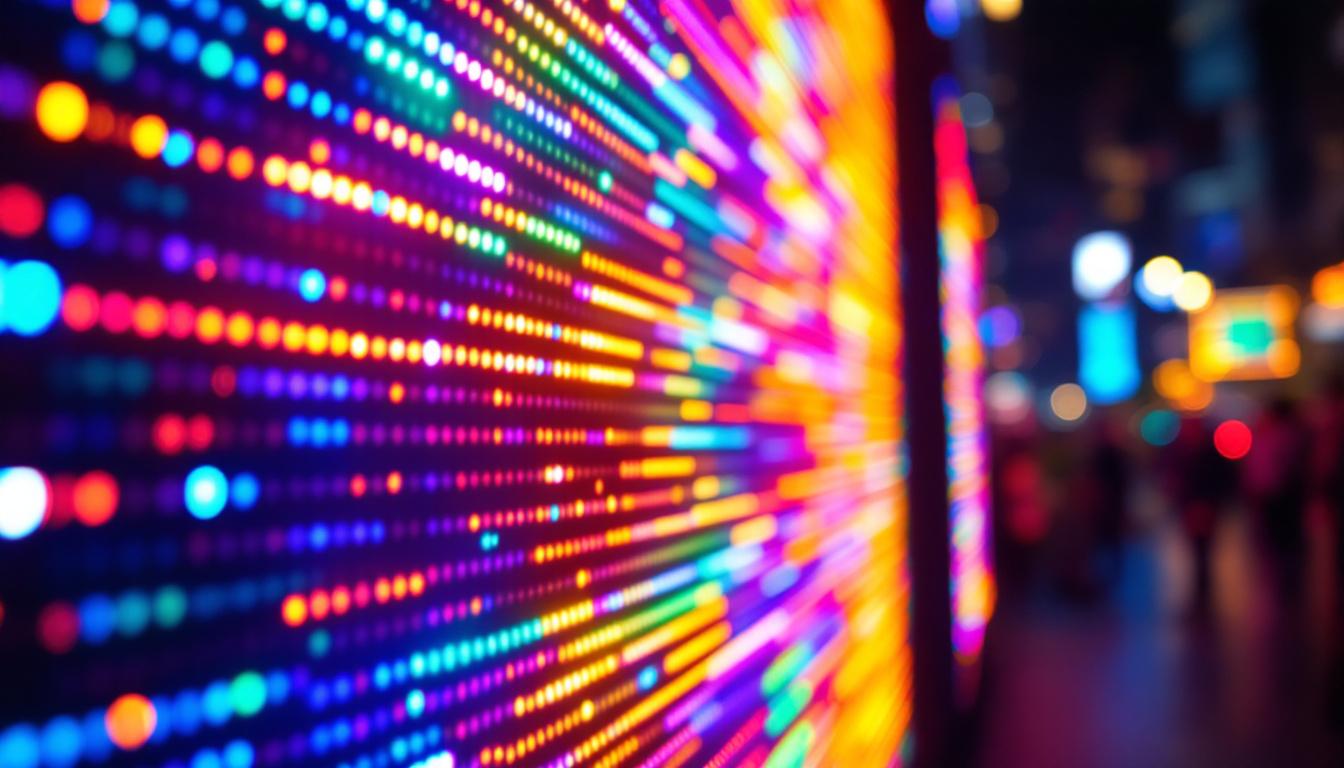
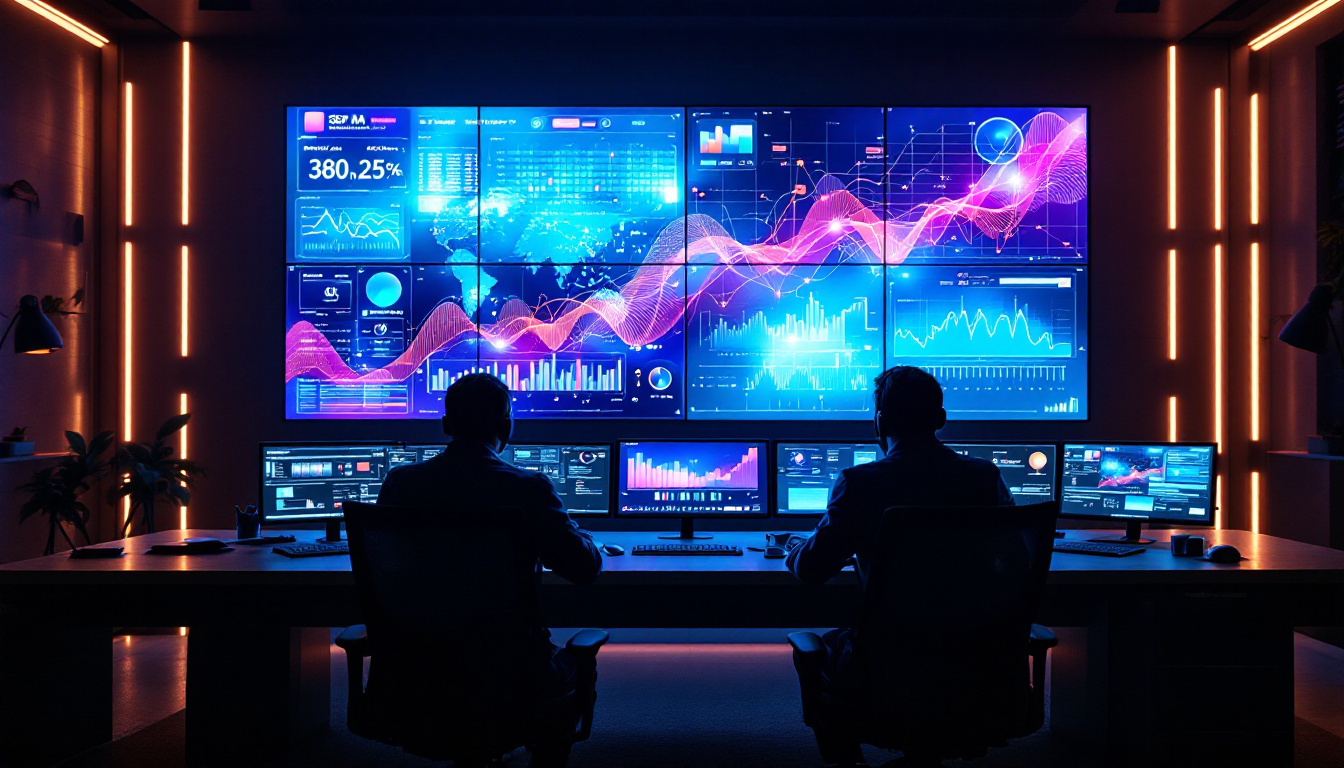
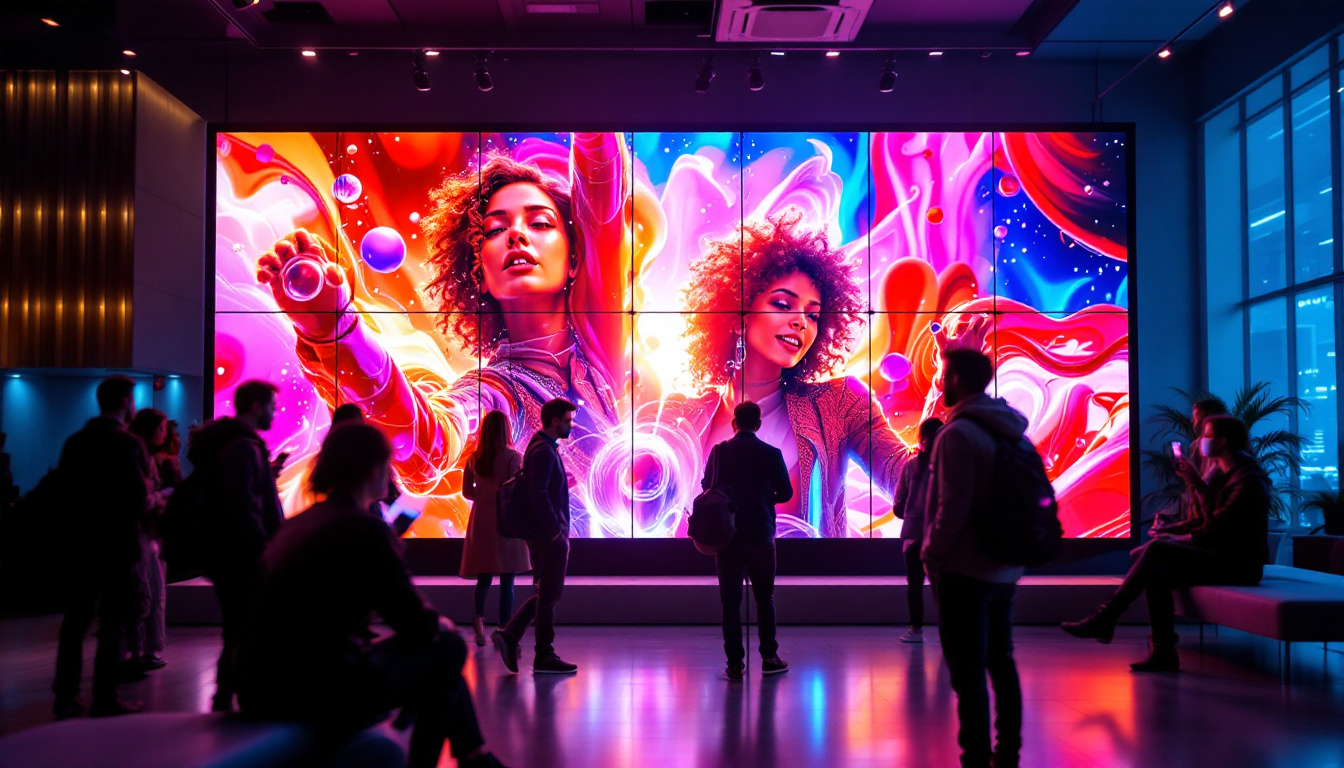
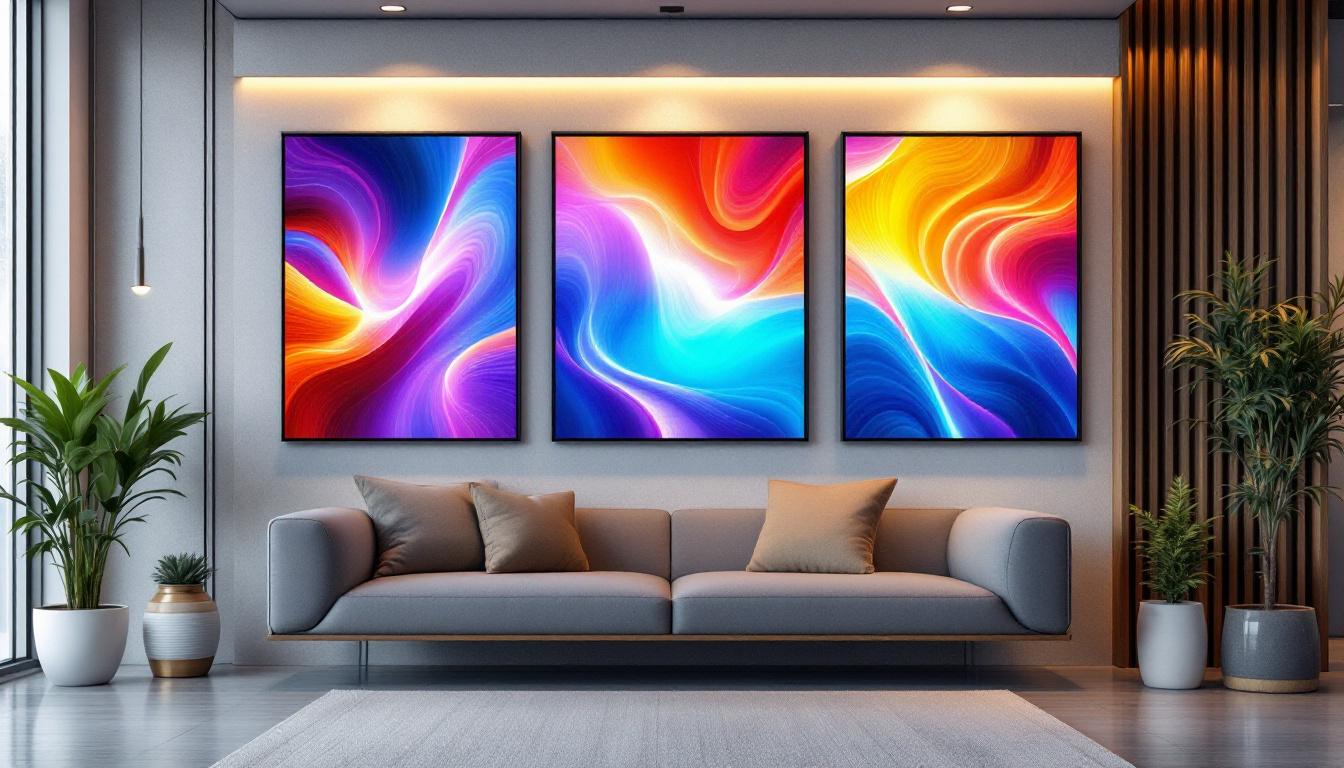
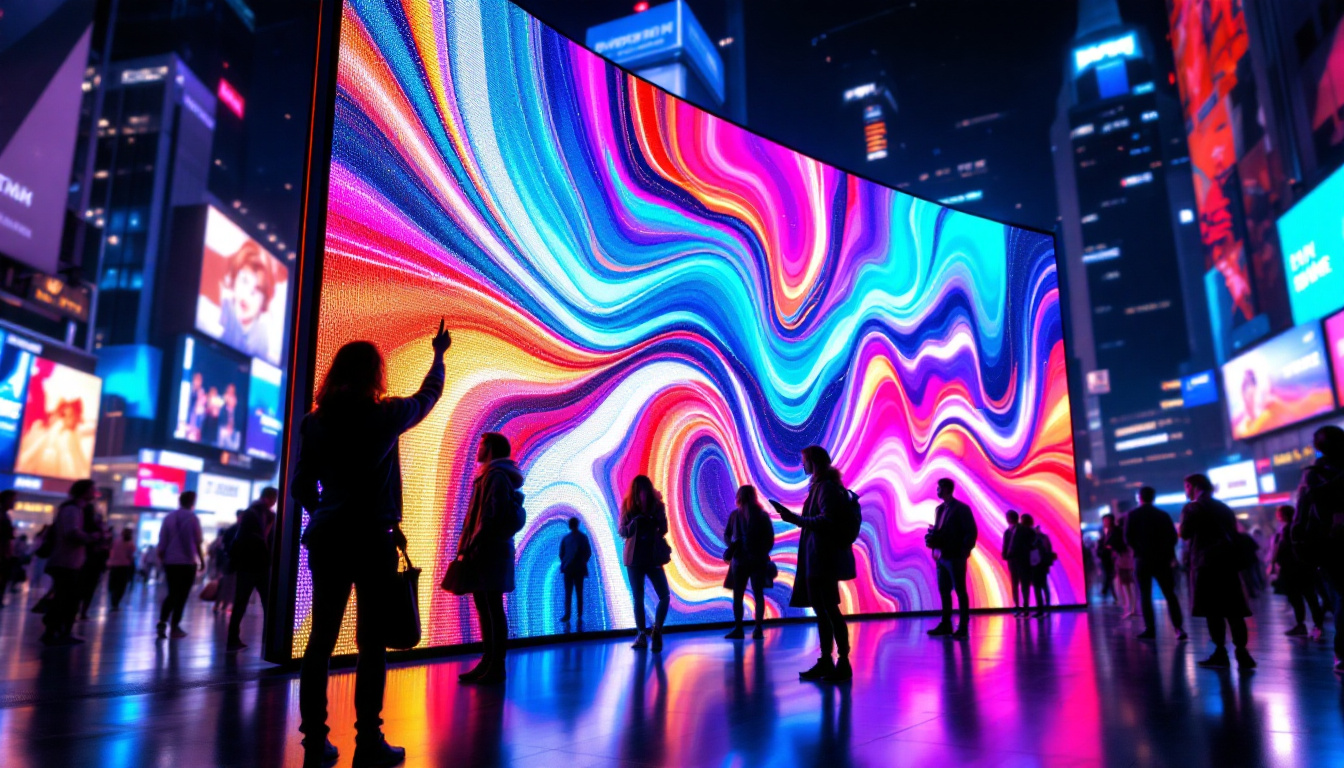
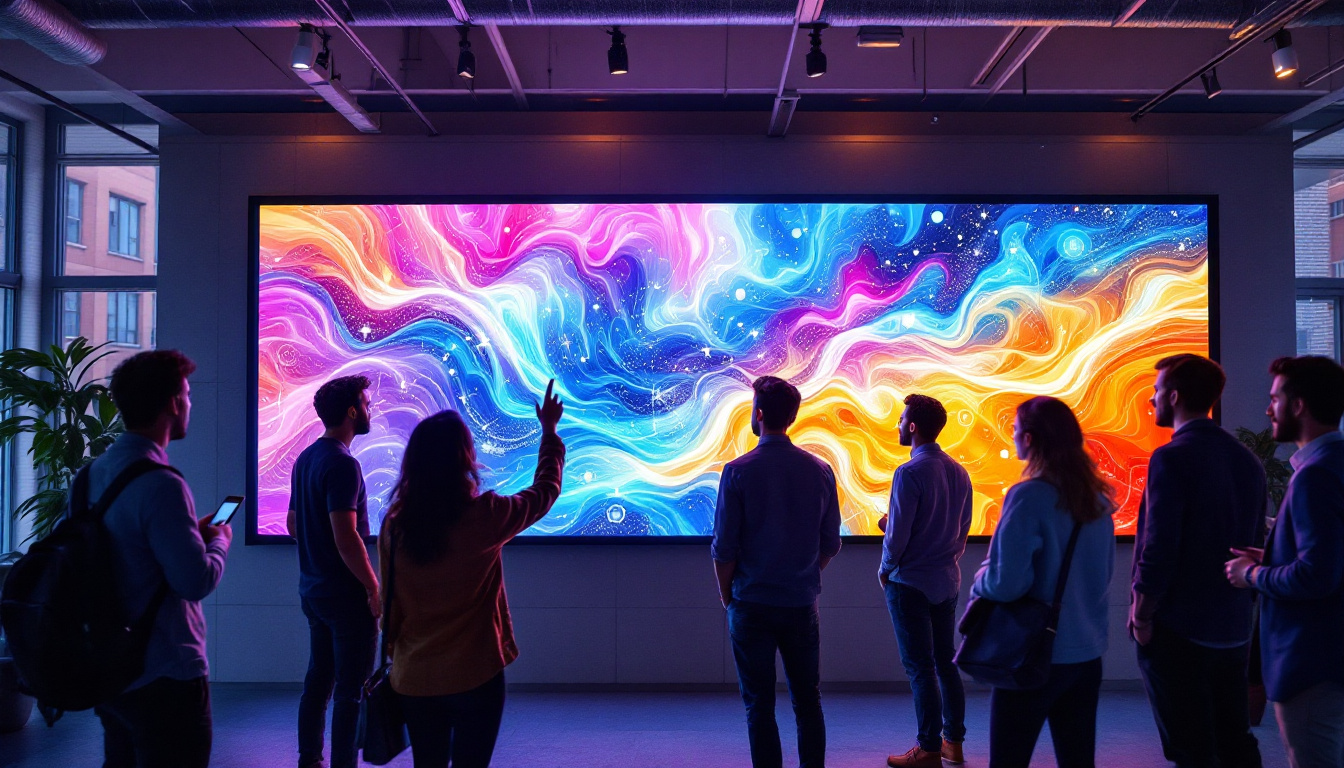
- Full-Color LED Panels: Used in large-scale advertising, stadium screens, and digital signage, capable of displaying complex images and videos. These panels are designed for high brightness and contrast, ensuring that content remains visible even in direct sunlight, which is crucial for outdoor applications.
Additionally, LED displays are increasingly being integrated into everyday technology, from smartphones to televisions, enhancing user experiences with their superior color accuracy and energy efficiency. The rise of smart technology has also led to the development of interactive LED displays that respond to touch or motion, opening new avenues for engagement in retail environments and exhibitions. As the demand for high-quality visual content continues to grow, the role of LED displays in various sectors from entertainment to education is becoming more prominent, showcasing their adaptability and potential for innovation.
How LED Displays Work: The Science Behind the Glow
To understand how to make an LED display, it’s essential to grasp how LEDs function and how they are arranged to form a display.
The Basics of LED Operation
An LED is a semiconductor device that emits light when an electrical current flows through it. The color of the light depends on the materials used in the semiconductor. When electrons recombine with holes within the device, energy is released in the form of photons — a process known as electroluminescence.
This mechanism is highly efficient compared to incandescent bulbs, as LEDs convert most of the electrical energy into light rather than heat. This efficiency underpins the widespread adoption of LEDs in displays.
Pixel Structure and Color Mixing
In full-color LED displays, each pixel is made up of three sub-pixels: red, green, and blue. By varying the intensity of each sub-pixel, a wide range of colors can be produced. This is similar to how computer screens and televisions use RGB pixels to create images.
The control of these sub-pixels is achieved through electronic circuits that regulate the current supplied to each LED, allowing precise color and brightness control.
Components Needed to Make an LED Display
Constructing an LED display requires several components, each playing a critical role in the device’s functionality. Here’s a breakdown of the essential parts:
1. LED Modules or Individual LEDs
The building blocks of the display are the LEDs themselves. For smaller projects, individual LEDs can be used, but for larger displays, LED modules or strips are more practical. These modules often come pre-assembled with multiple LEDs arranged in a matrix pattern.
2. Microcontroller or Driver ICs
A microcontroller acts as the brain of the display, sending signals to the LEDs to control which ones light up and at what intensity. Popular microcontrollers for LED projects include Arduino, Raspberry Pi, and ESP32. For larger displays, specialized LED driver ICs such as the MAX7219 or TLC5940 are used to handle multiple LEDs efficiently.
3. Power Supply
LEDs require a stable and adequate power supply. The voltage and current specifications depend on the number and type of LEDs used. For instance, a typical single LED might require around 20 milliamps at 2-3 volts, but a large display will need a power supply capable of delivering several amps at an appropriate voltage.
4. Control Circuitry and Wiring
Wiring connects the LEDs to the microcontroller and power supply. For complex displays, printed circuit boards (PCBs) or LED driver boards simplify connections and improve reliability. Additionally, resistors are often used to limit current and protect LEDs from damage.
5. Software and Programming Tools
Programming the microcontroller is essential to bring the display to life. Software tools such as the Arduino IDE or Python libraries for Raspberry Pi enable developers to write code that controls the LED patterns, animations, and responses to inputs.
Step-by-Step Guide: How To Make a Simple LED Display
Creating a basic LED display can be a rewarding project that illustrates the principles of LED control and display technology. Below is a step-by-step guide to making a simple 8×8 LED matrix display using an Arduino microcontroller.
Step 1: Gather Materials
- 8×8 LED matrix module
- Arduino Uno or compatible microcontroller
- MAX7219 LED driver IC (often integrated into LED matrix modules)
- Jumper wires
- Breadboard (optional)
- Power supply (USB power from Arduino or external 5V supply)
Step 2: Connect the LED Matrix to the Arduino
Most 8×8 LED matrix modules with MAX7219 drivers have a standard pin layout. Connect the module’s pins to the Arduino as follows:
- VCC to Arduino 5V
- GND to Arduino GND
- DIN to Arduino digital pin 11 (MOSI)
- CS to Arduino digital pin 10
- CLK to Arduino digital pin 13 (SCK)
This setup allows the Arduino to communicate with the LED driver chip using SPI protocol.
Step 3: Install Required Libraries
To simplify programming, install the LedControl library in the Arduino IDE. This library provides functions to control the MAX7219 chip easily.
Step 4: Write the Code
Here is a simple example code that lights up a pattern on the LED matrix:
#include <LedControl.h>// Pins: DIN=11, CLK=13, CS=10LedControl lc=LedControl(11,13,10,1);void setup() { lc.shutdown(0,false); // Wake up the MAX7219 lc.setIntensity(0,8); // Set brightness (0-15) lc.clearDisplay(0); // Clear display}void loop() { // Light up the diagonal LEDs for (int i=0; i<8; i++) { lc.setLed(0,i,i,true); delay(200); } delay(1000); lc.clearDisplay(0); delay(1000);}This program lights up LEDs diagonally across the matrix, creating a simple animation.
Step 5: Upload and Test
Connect the Arduino to your computer via USB, upload the program, and observe the LED matrix lighting up according to the code. Experiment with different patterns and animations to explore the capabilities of your display.
Advanced Considerations for Larger LED Displays
While the above example is ideal for beginners, larger or more complex LED displays require additional considerations.
Modular Design and Scalability
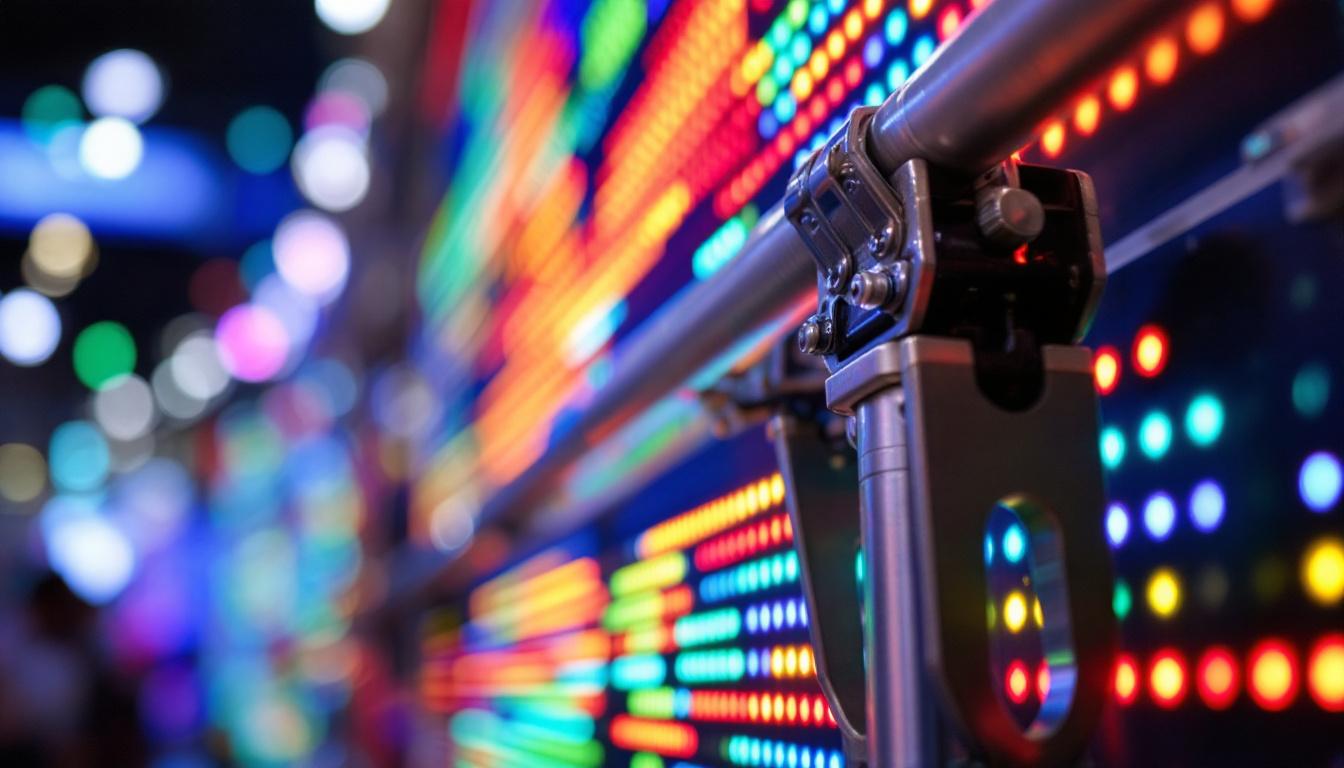
Large LED displays are often constructed from multiple smaller modules tiled together. This modular approach simplifies manufacturing, maintenance, and scalability. Each module contains its own LEDs and driver circuitry, and they are connected in series or parallel to form a larger screen.
Data Transmission and Refresh Rates
High-resolution LED displays require fast data transmission to update images smoothly. Techniques such as multiplexing and pulse-width modulation (PWM) are used to control brightness and reduce power consumption. Refresh rates must be high enough to avoid flicker, typically above 60 Hz for comfortable viewing.
Heat Management
LEDs generate some heat, especially in large arrays. Proper heat dissipation through heat sinks or ventilation is necessary to maintain performance and longevity.
Software and Content Management
Advanced LED displays often include dedicated controllers and software suites to manage content, schedule displays, and integrate with external data sources. This is particularly important for commercial applications like advertising or public information systems.
Applications and Benefits of LED Displays
LED displays are highly versatile and offer numerous advantages over other display technologies.
Energy Efficiency and Longevity
LEDs consume significantly less power than incandescent or fluorescent lighting, reducing operational costs. Their lifespan can exceed 50,000 hours, minimizing maintenance and replacement expenses.
Brightness and Visibility
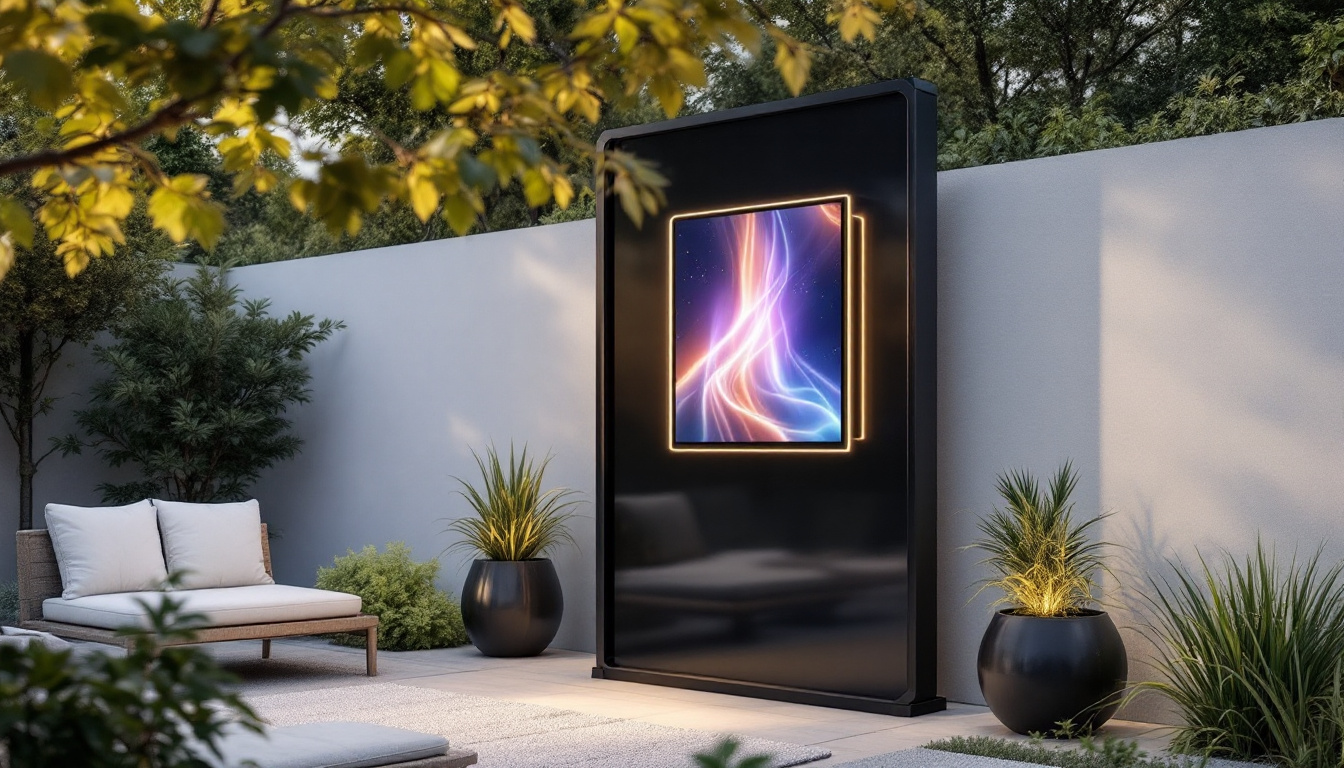
LED displays offer excellent brightness levels, making them visible even in direct sunlight. This makes them ideal for outdoor signage and public information boards.
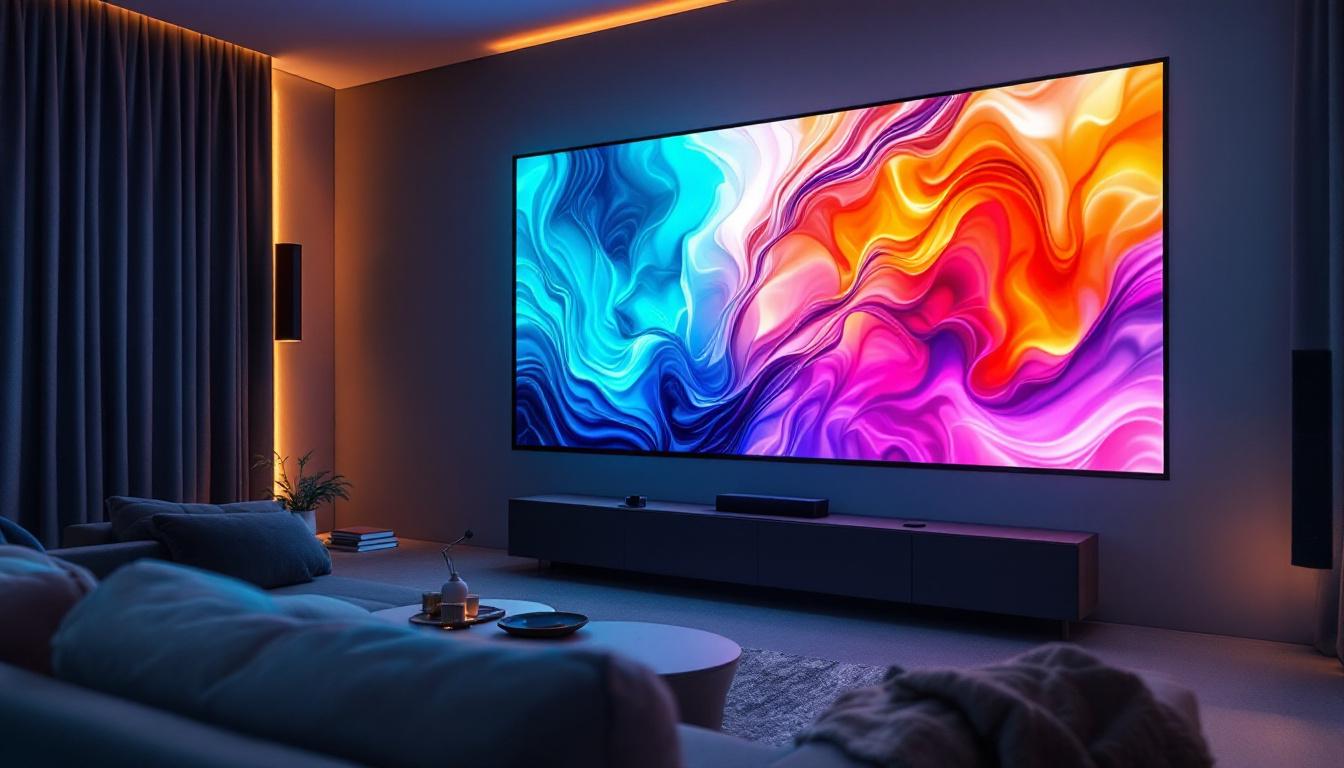
Flexibility and Customization
LED displays can be made in various shapes and sizes, from small wearable devices to massive stadium screens. Their modular nature allows for custom configurations tailored to specific needs.
Environmental Impact
Due to their low energy consumption and absence of hazardous materials like mercury, LEDs are considered environmentally friendly.
Conclusion
Making an LED display involves understanding the principles of LED operation, selecting the right components, and programming the control electronics to create the desired visual output. Whether building a simple 8×8 matrix for a hobby project or designing a large-scale commercial display, the fundamentals remain the same.
LED displays continue to evolve with advances in technology, offering brighter, more efficient, and more flexible solutions for visual communication. By mastering the basics outlined in this article, enthusiasts and professionals alike can harness the power of LEDs to create compelling and effective displays.
Discover LumenMatrix’s Advanced LED Display Solutions
Ready to take your LED display projects to the next level? LumenMatrix offers a wide array of cutting-edge LED display modules perfect for any application, from captivating indoor and outdoor walls to dynamic vehicle displays and beyond. Embrace the future of visual communication with our innovative solutions like LED Sports Displays, Floor LEDs, and Custom Configurations. Elevate your brand’s presence and engage your audience like never before. Check out LumenMatrix LED Display Solutions today and transform your ideas into stunning visual realities.