Make Your Own LED: LED Display Explained
LED displays have become an integral part of modern technology, appearing in everything from smartphones to large outdoor billboards. Understanding how to create your own LED display can be a rewarding project, whether for personal use or educational purposes. This article will guide you through the fundamentals of LED displays, the components needed, and the steps to create your own.
Understanding LED Technology
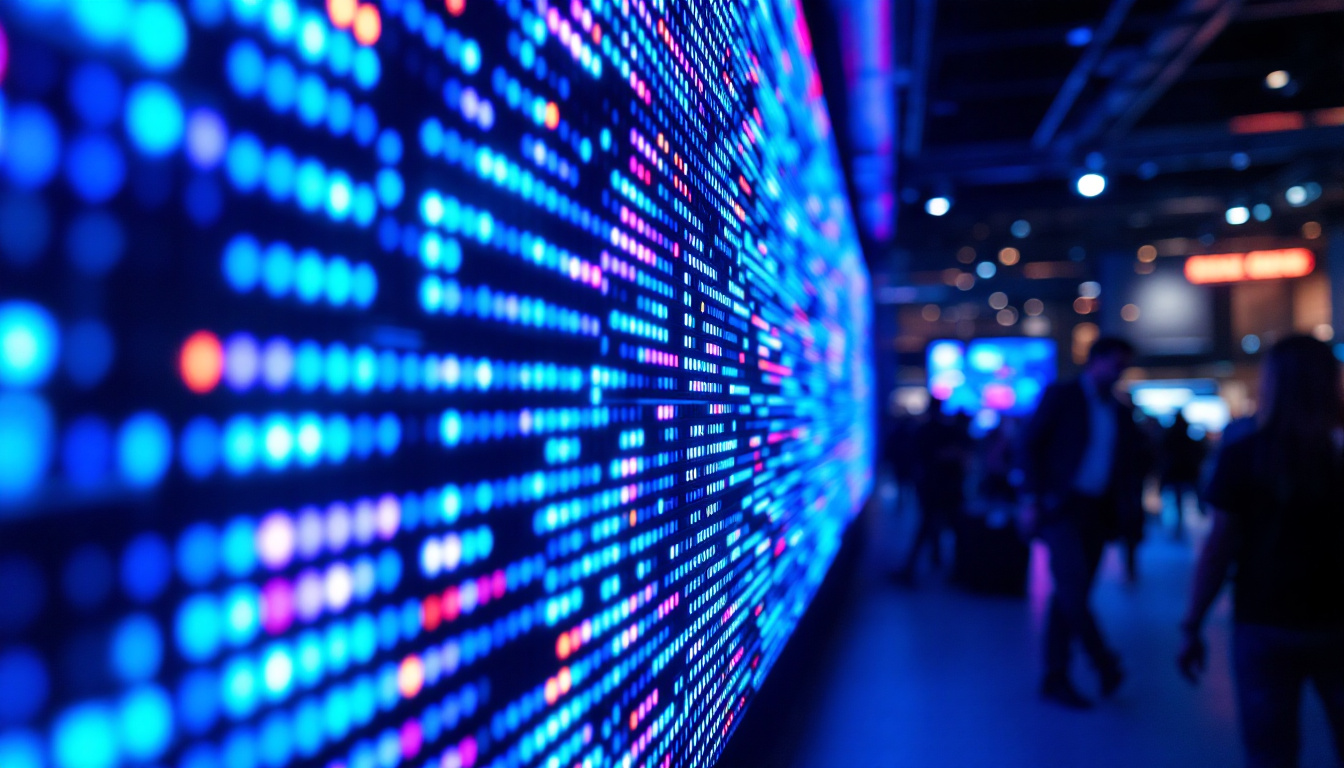
Light Emitting Diodes (LEDs) are semiconductor devices that emit light when an electric current passes through them. They are highly efficient and have a long lifespan compared to traditional incandescent bulbs. The basic principle behind LEDs involves electroluminescence, where the movement of electrons in a semiconductor material produces light. This remarkable technology has revolutionized the way we illuminate our surroundings, leading to significant energy savings and reduced environmental impact.
The Basics of LED Operation
When voltage is applied to an LED, electrons move across the junction of the semiconductor material, releasing energy in the form of photons. This process is what creates the visible light we see. The color of the light emitted depends on the materials used in the semiconductor. For example, gallium nitride produces blue light, while gallium phosphide can emit green light. Moreover, the efficiency of LEDs is often measured in lumens per watt, showcasing their ability to produce more light with less energy compared to traditional lighting solutions.
Types of LEDs
There are various types of LEDs, each suited for different applications. The most common types include:
- Standard LEDs: Used in indicators and displays.
- High-Power LEDs: Used in lighting applications.
- RGB LEDs: Capable of producing multiple colors by combining red, green, and blue light.
- OLEDs: Organic LEDs that offer flexibility and are used in screens.
In addition to these common types, there are also specialized LEDs designed for specific uses. For instance, UV LEDs are utilized in sterilization processes and curing applications, taking advantage of their ability to emit ultraviolet light. Furthermore, smart LEDs have emerged, which can be controlled via smartphone apps, allowing users to adjust brightness, color, and even set schedules for when lights turn on or off. This integration of technology not only enhances convenience but also promotes energy efficiency by allowing users to tailor their lighting needs precisely.
The versatility of LEDs extends beyond just lighting; they are also pivotal in the realm of horticulture. Grow lights that utilize specific wavelengths of light emitted by LEDs can significantly enhance plant growth, making them a popular choice among indoor gardeners and commercial growers. By optimizing the light spectrum, these LEDs can promote photosynthesis more effectively than traditional lighting methods, leading to healthier plants and improved yields. As research continues to evolve, the potential applications of LED technology seem boundless, paving the way for innovative solutions across various industries.
Components Needed for an LED Display
Creating an LED display requires several key components. Understanding each component’s role will help ensure a successful build.
LEDs
The primary component of any LED display is, of course, the LEDs themselves. Depending on the desired size and brightness of the display, various types of LEDs can be selected. For larger displays, high-brightness LEDs are recommended, while smaller projects can utilize standard or RGB LEDs.
Microcontroller
A microcontroller acts as the brain of the LED display. It processes input signals and controls the behavior of the LEDs. Popular microcontrollers for LED projects include Arduino and Raspberry Pi, both of which offer extensive libraries and community support for beginners.
Power Supply
LEDs require a specific voltage and current to operate effectively. A suitable power supply must be selected to match the requirements of the LEDs and microcontroller. It is crucial to ensure that the power supply can deliver sufficient current without exceeding the maximum ratings of the components.
Designing Your LED Display
Before diving into the assembly process, careful planning and design are essential. This stage involves determining the size, layout, and functionality of the display.
Layout and Size
Deciding on the layout involves determining how many LEDs will be used and how they will be arranged. Common configurations include grids or matrices, where LEDs are arranged in rows and columns. The size of the display will depend on the intended use; larger displays are suitable for outdoor use, while smaller ones can be used for personal projects.
Functionality
Consider what you want your LED display to do. Will it simply display static images, or will it need to show animations or text? Depending on the functionality, additional programming and components may be required. For instance, if the display needs to show scrolling text, a more complex microcontroller setup will be necessary.
Building Your LED Display
With the design in hand, it’s time to start building the LED display. This process can be broken down into several key steps.
Assembling the LEDs
Begin by arranging the LEDs according to the planned layout. Each LED will need to be soldered to a circuit board or a breadboard. Ensure that the polarity of each LED is correct, as connecting them backward can damage the components. It is advisable to use a resistor in series with each LED to limit the current and prevent overheating.
Connecting the Microcontroller
Once the LEDs are in place, connect them to the microcontroller. This typically involves wiring each LED to a digital output pin on the microcontroller. Depending on the complexity of the display, multiplexing techniques may be used to control multiple LEDs with fewer pins, allowing for a more compact design.
Programming the Microcontroller
The final step in the assembly process is programming the microcontroller. This involves writing code that dictates how the LEDs will behave. For beginners, many online resources and libraries are available that simplify this process. For example, Arduino IDE provides a user-friendly interface and numerous libraries for controlling LED displays.
Testing and Troubleshooting
After assembling the display and uploading the code, it is essential to test the functionality. This step ensures that everything operates as intended and allows for troubleshooting any issues that may arise.
Initial Testing
Start by powering on the display and observing the LED behavior. Check for any LEDs that do not light up or flicker inconsistently. These issues may be due to poor connections, incorrect wiring, or faulty components. A multimeter can be a valuable tool for diagnosing electrical problems.
Debugging Code
If the hardware appears to be functioning correctly but the display does not behave as expected, the issue may lie within the code. Review the program for any errors or logic issues. Utilizing debugging tools and print statements can help identify where the code may be failing.
Enhancing Your LED Display
Once the basic LED display is operational, there are numerous ways to enhance its functionality and appearance. These enhancements can make the display more versatile and visually appealing.
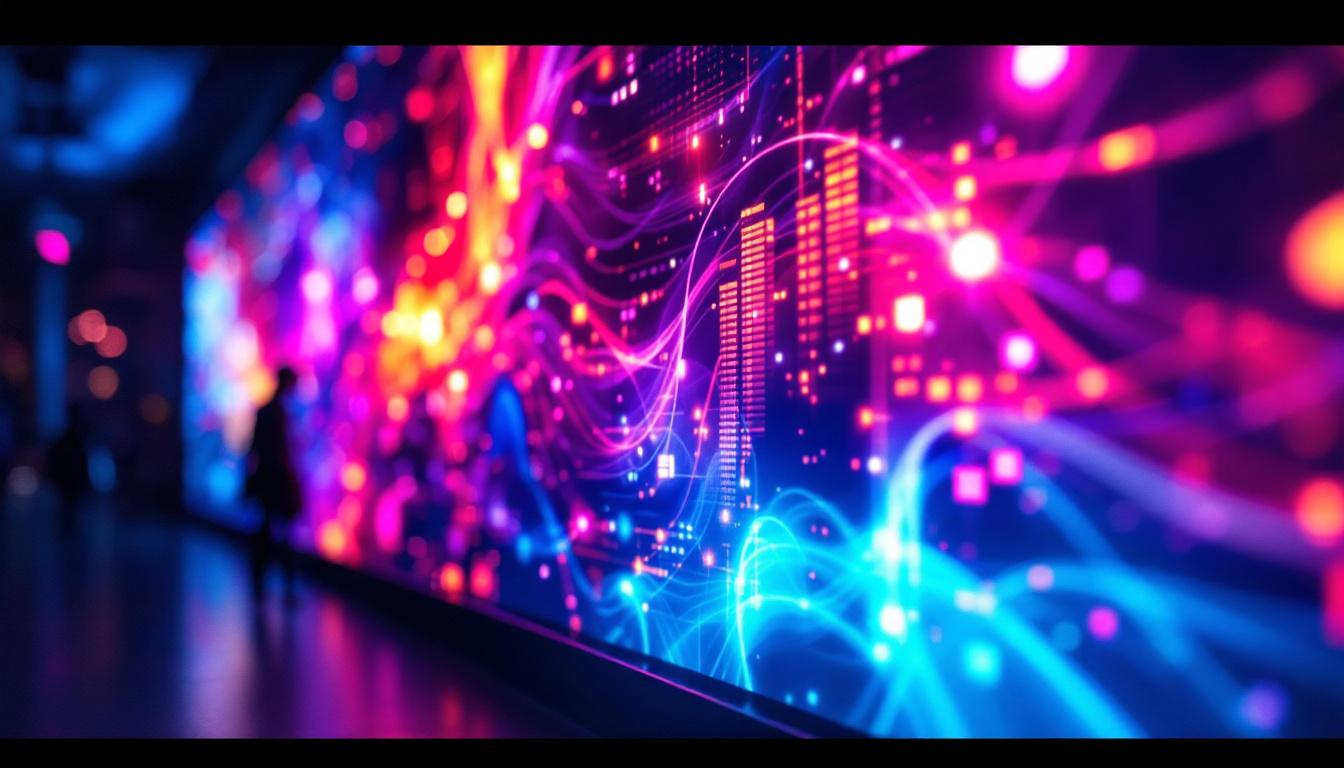
Adding Animation and Effects
Incorporating animations and visual effects can significantly improve the user experience. This can be achieved by modifying the code to include various patterns, transitions, and color changes. Libraries such as FastLED provide pre-built functions for creating stunning visual effects with minimal coding effort.
Integrating Sensors
For a more interactive display, consider integrating sensors that respond to environmental changes. For example, a light sensor could adjust the brightness of the display based on ambient light levels, while motion sensors could trigger animations when someone approaches the display. This interactivity can create a more engaging experience for viewers.
Remote Control and Connectivity
Adding remote control capabilities can make the LED display more versatile. This can be achieved through various methods, such as using Bluetooth, Wi-Fi, or infrared remote controls. With connectivity, users can change the display content or settings from a distance, making it ideal for presentations or events.
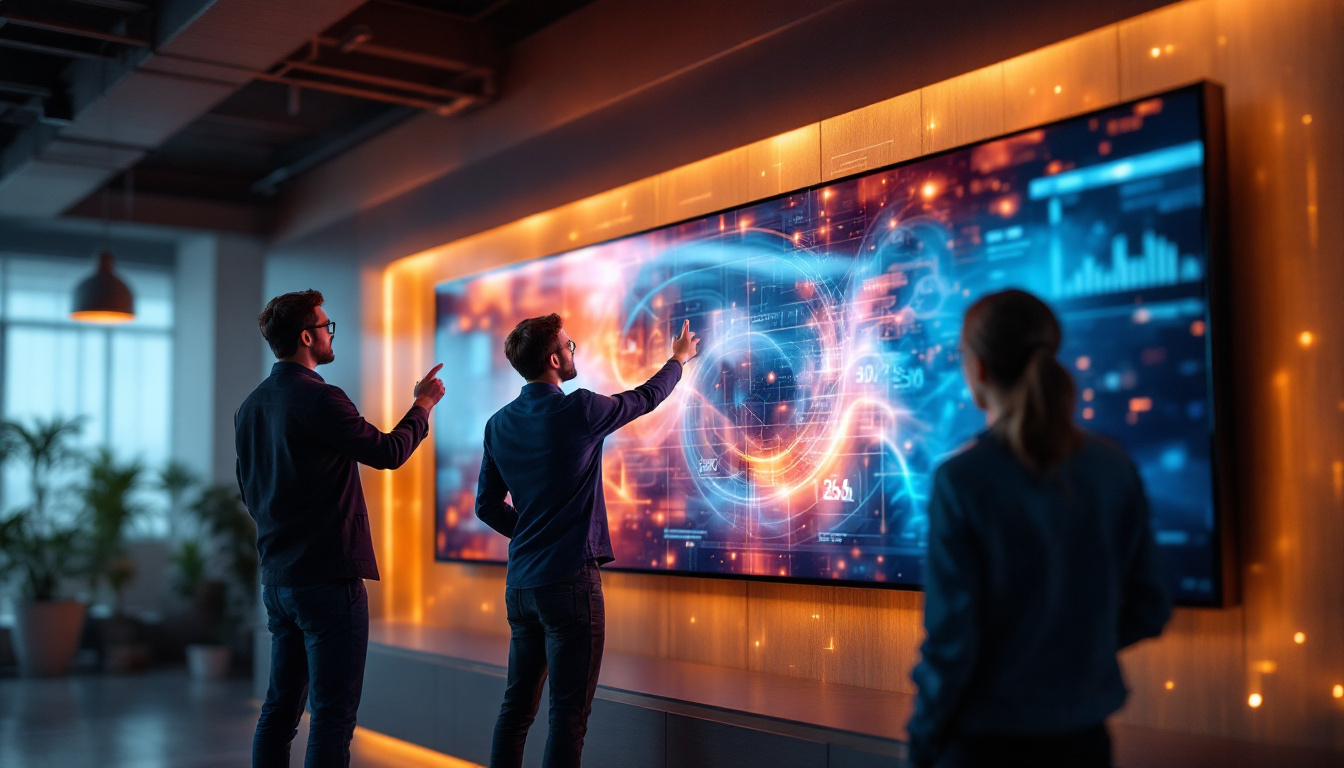
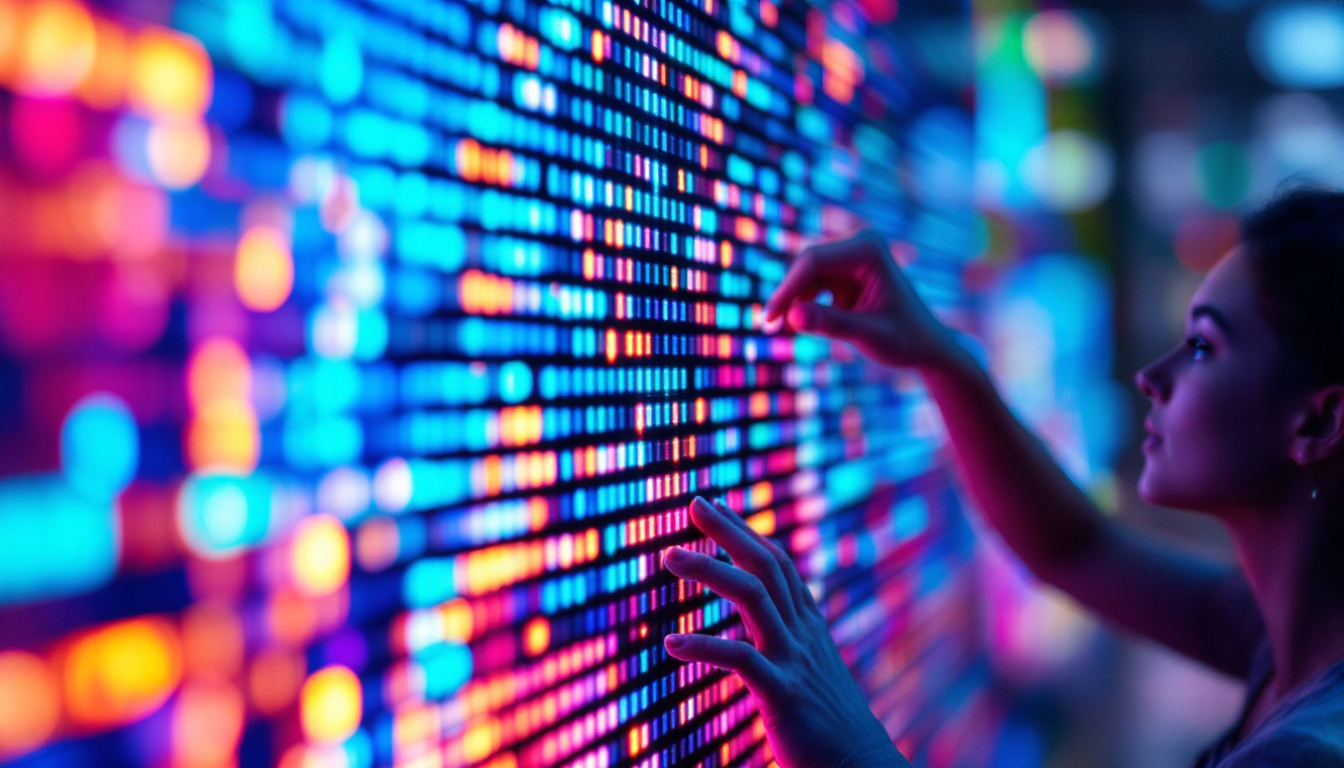
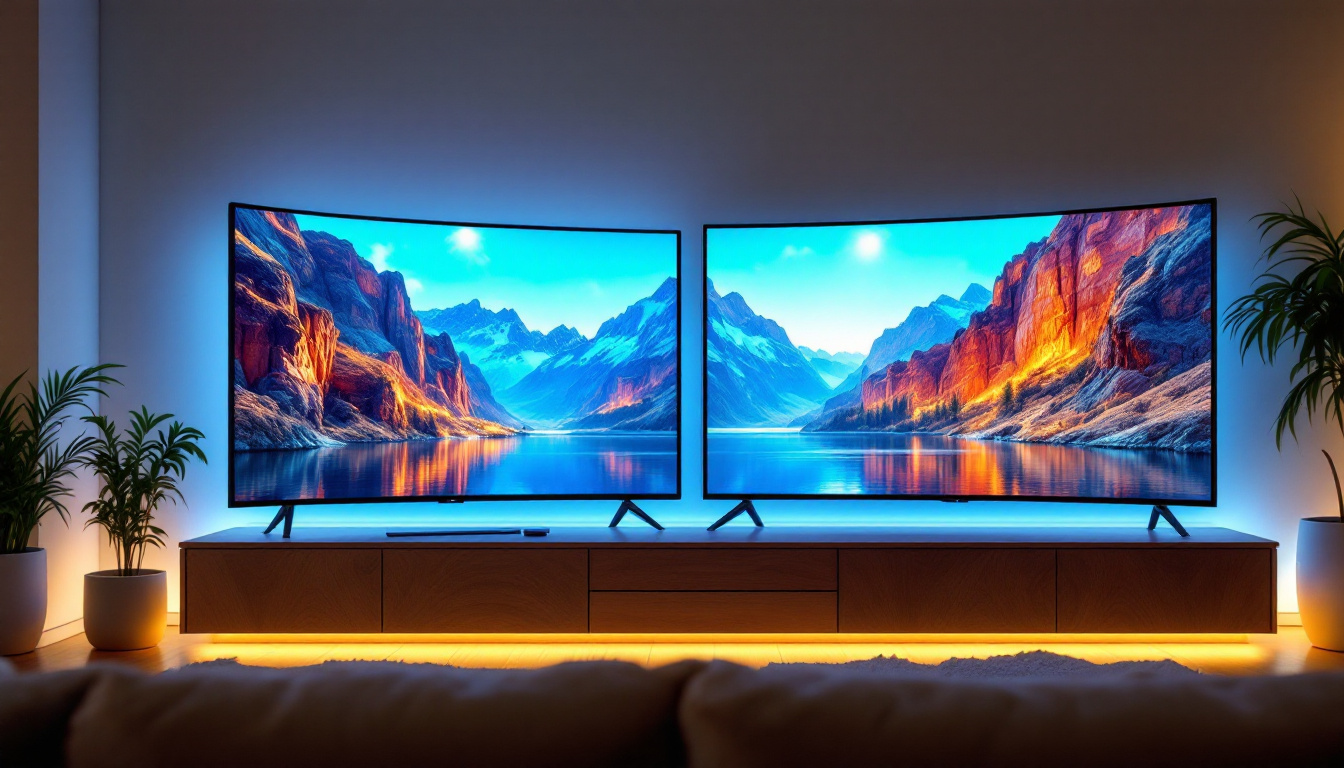
Applications of LED Displays
LED displays have a wide range of applications across various industries. Understanding these applications can inspire creative projects and innovative uses for personal LED displays.
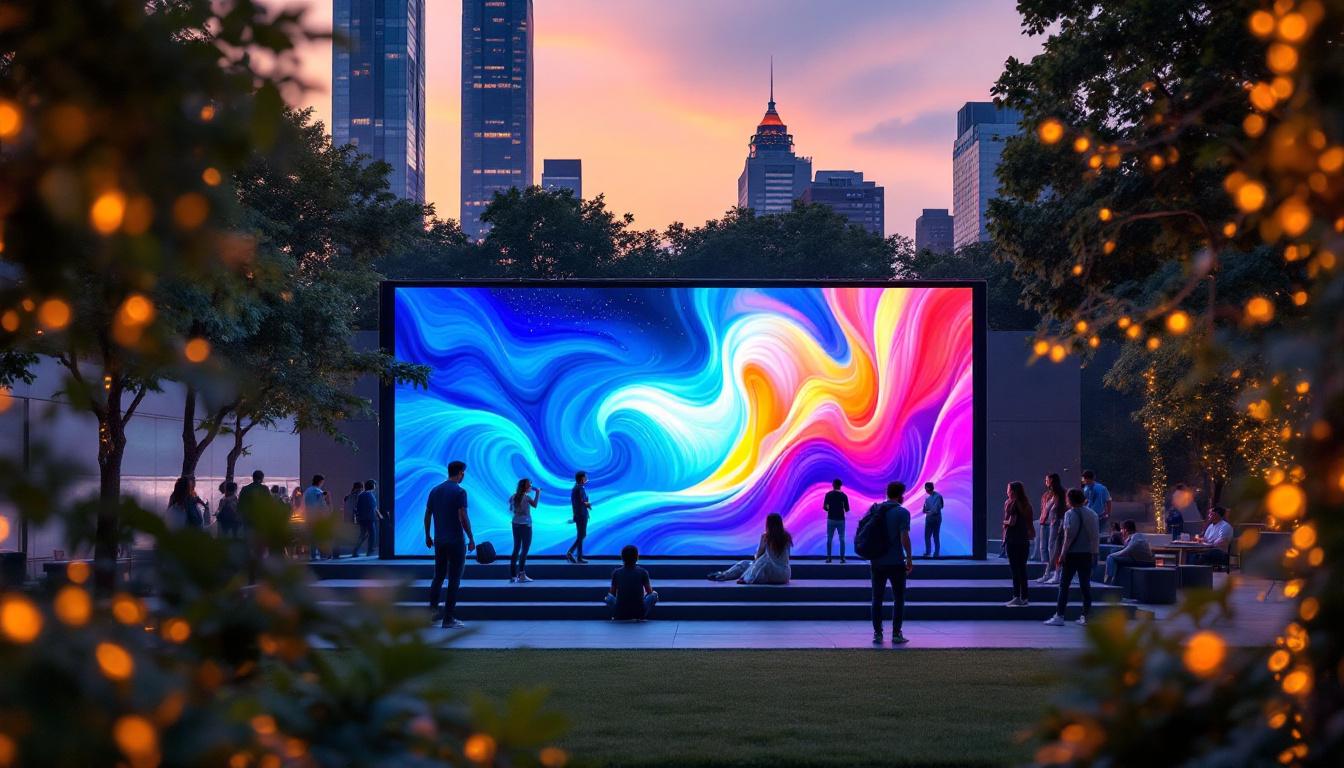
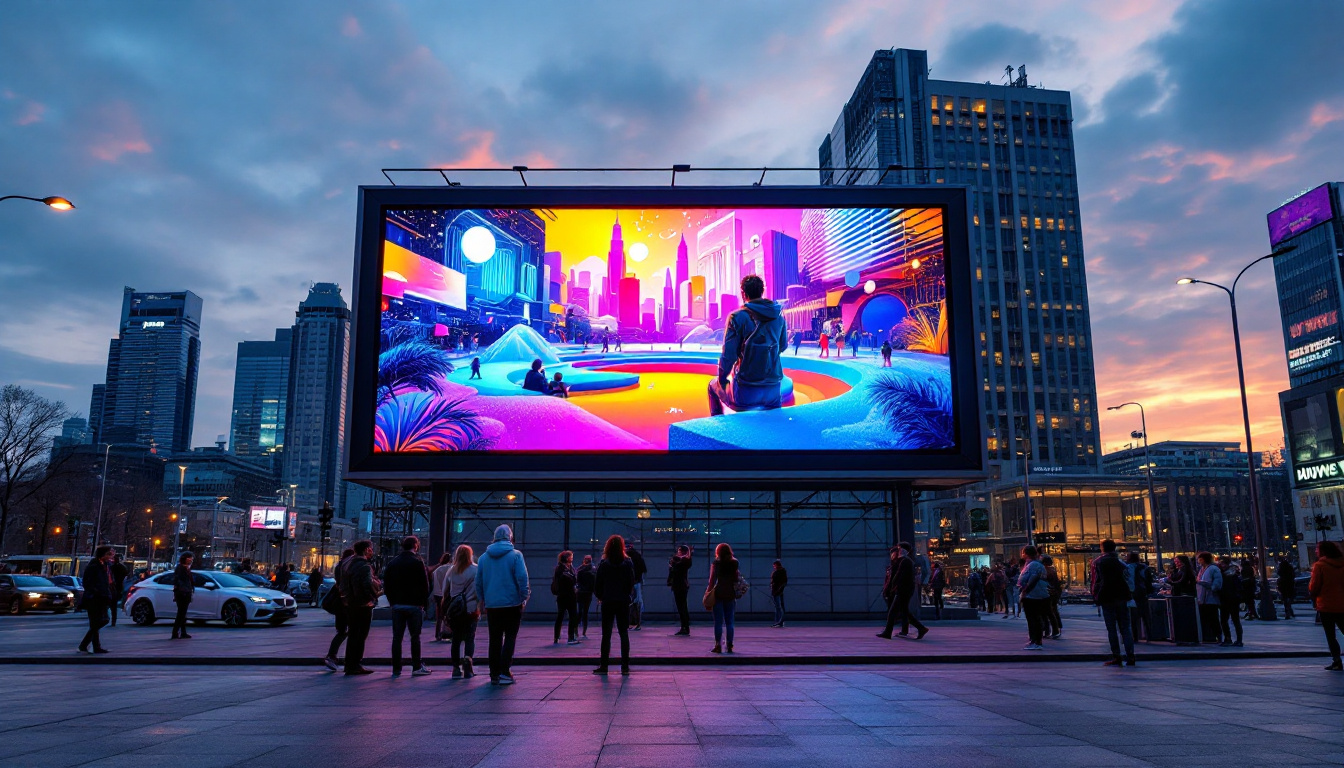
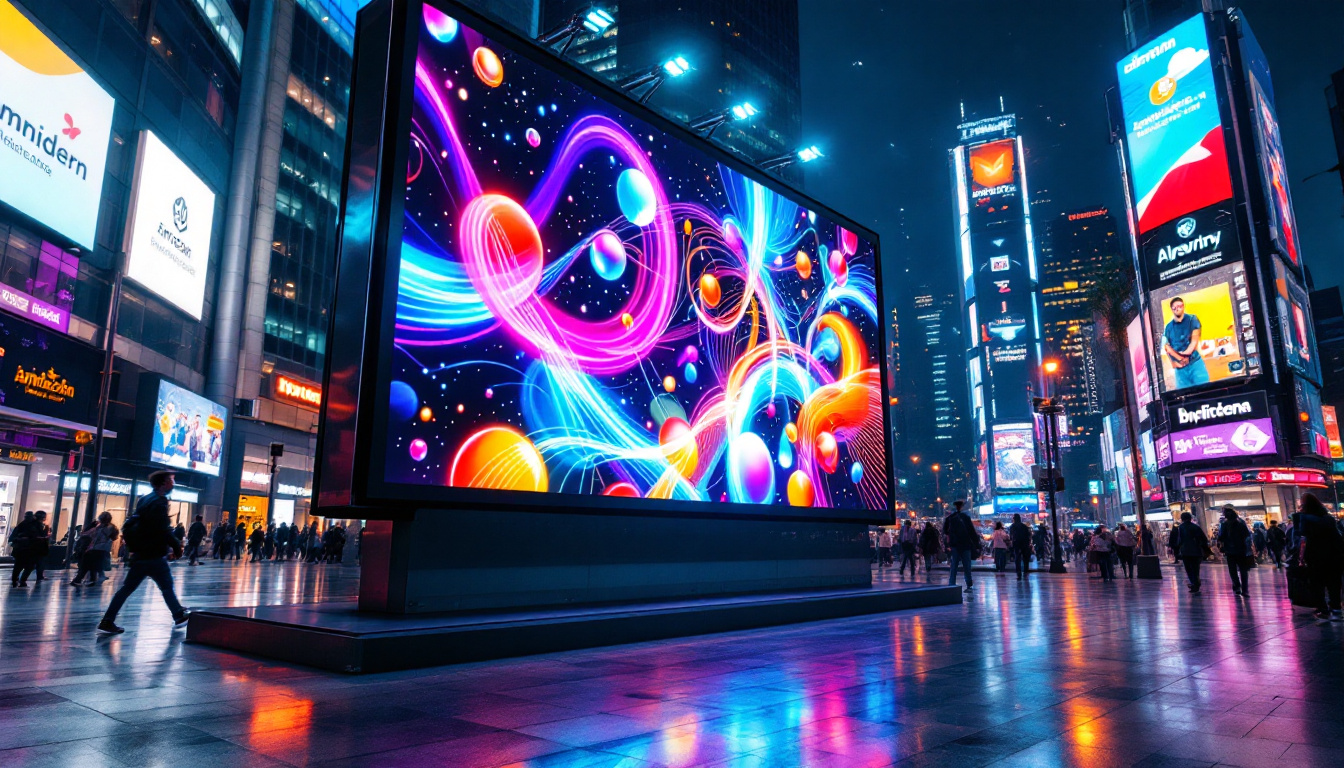
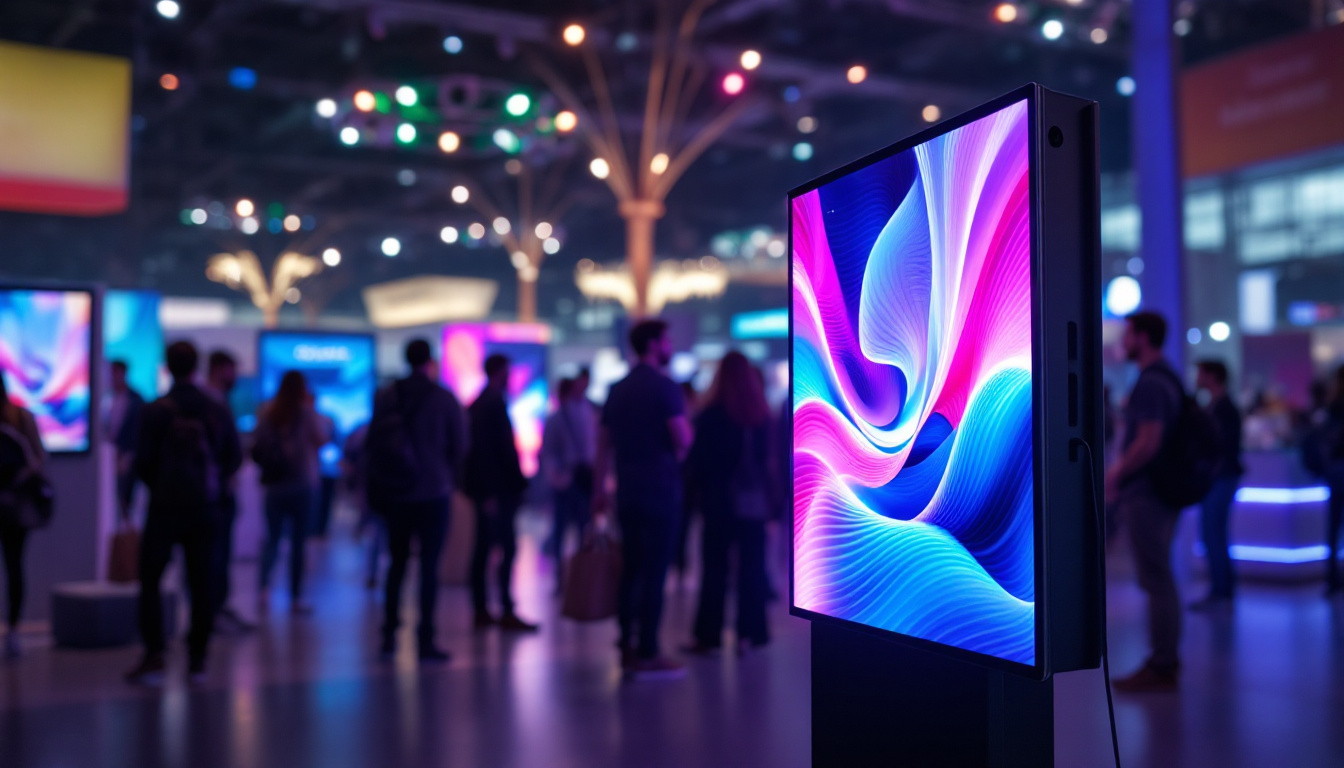
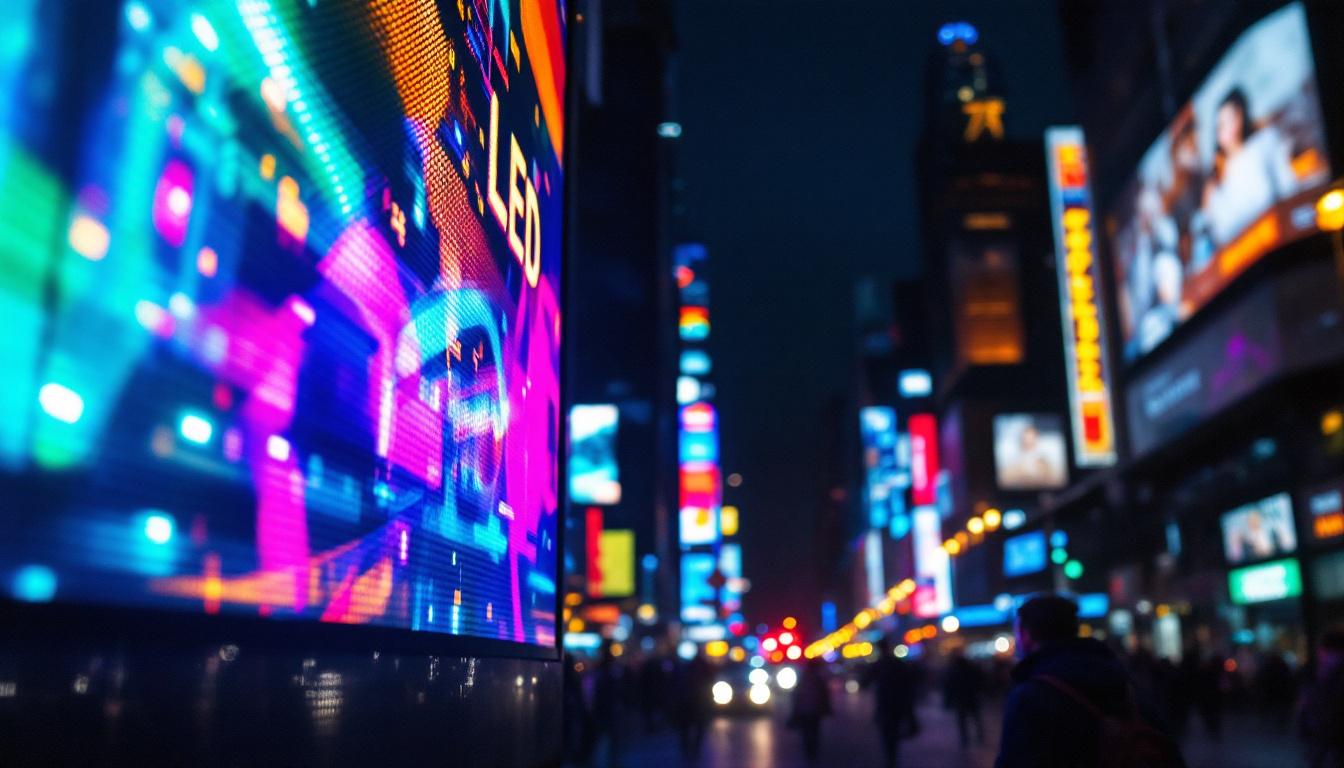
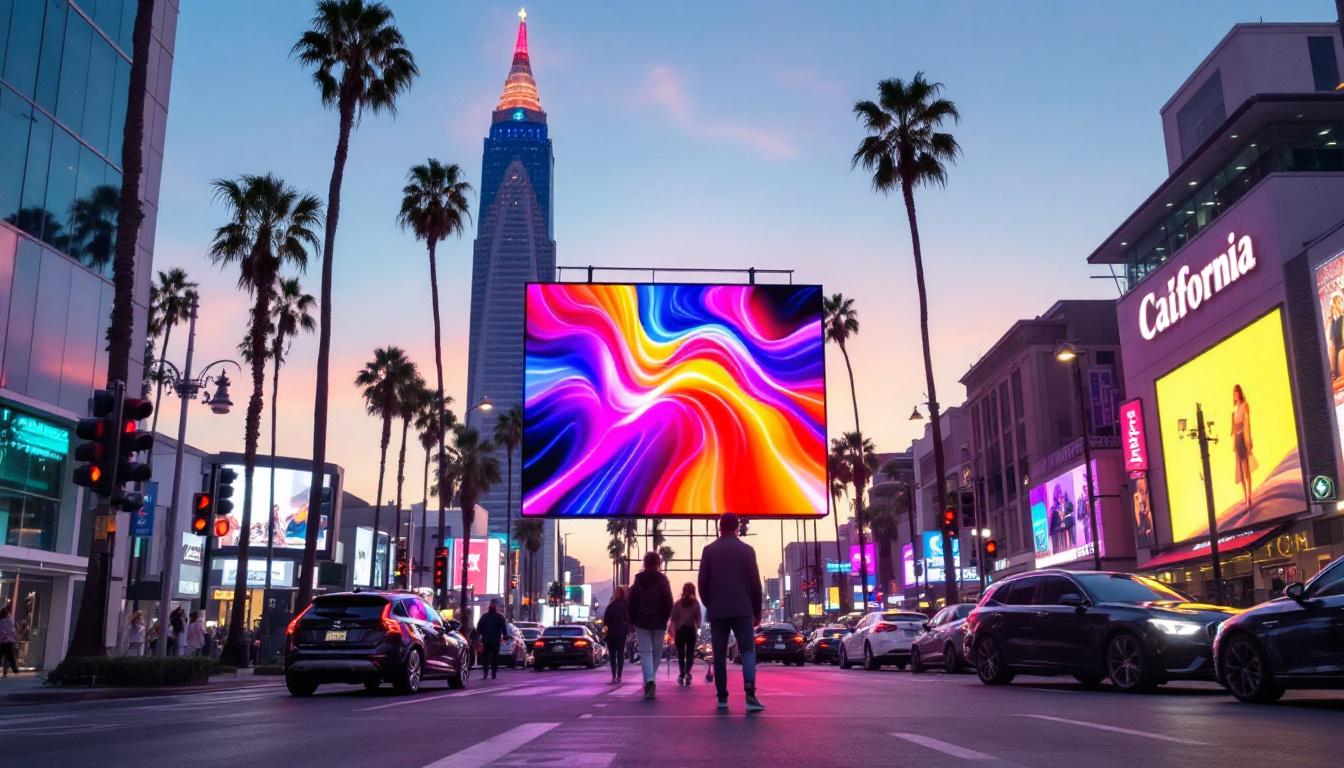
Advertising and Marketing
One of the most common uses of LED displays is in advertising. Businesses utilize large LED screens for dynamic advertisements that capture the attention of passersby. These displays can showcase videos, animations, and promotional messages, making them an effective marketing tool.
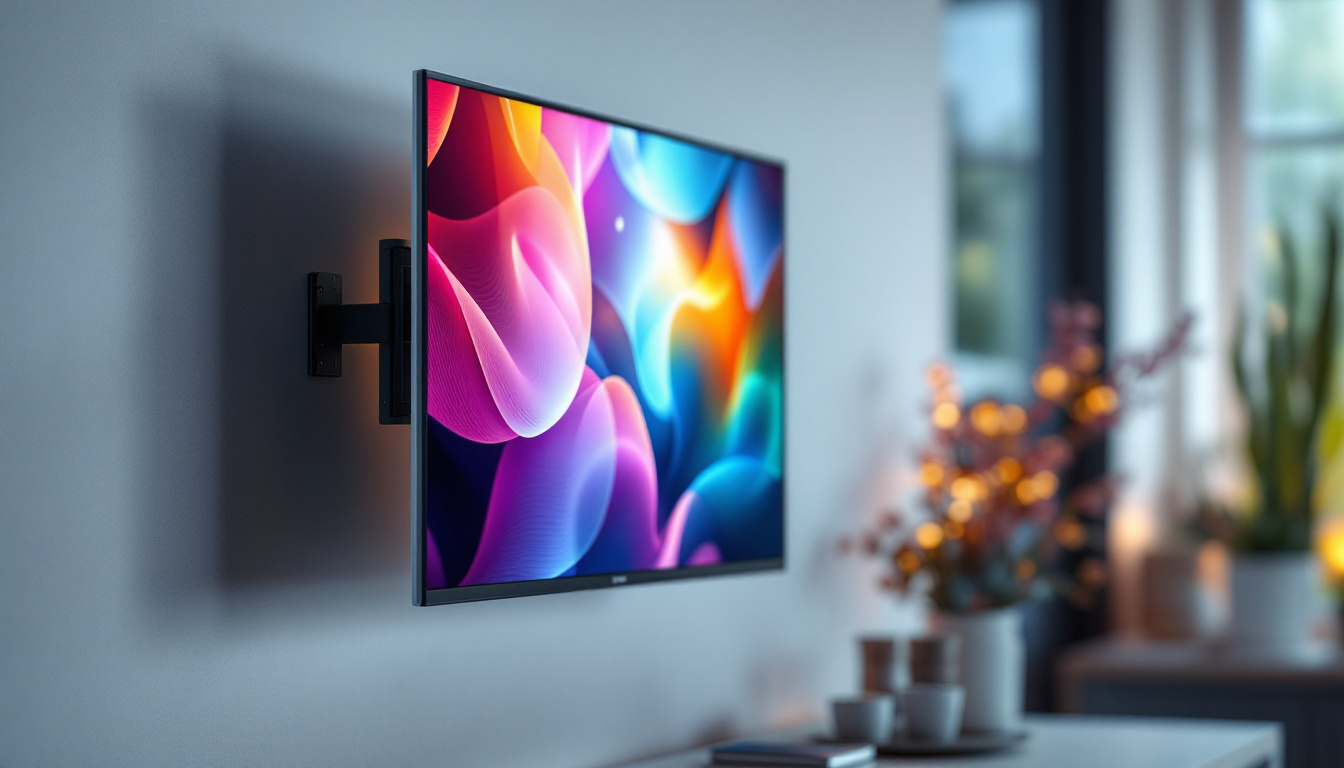
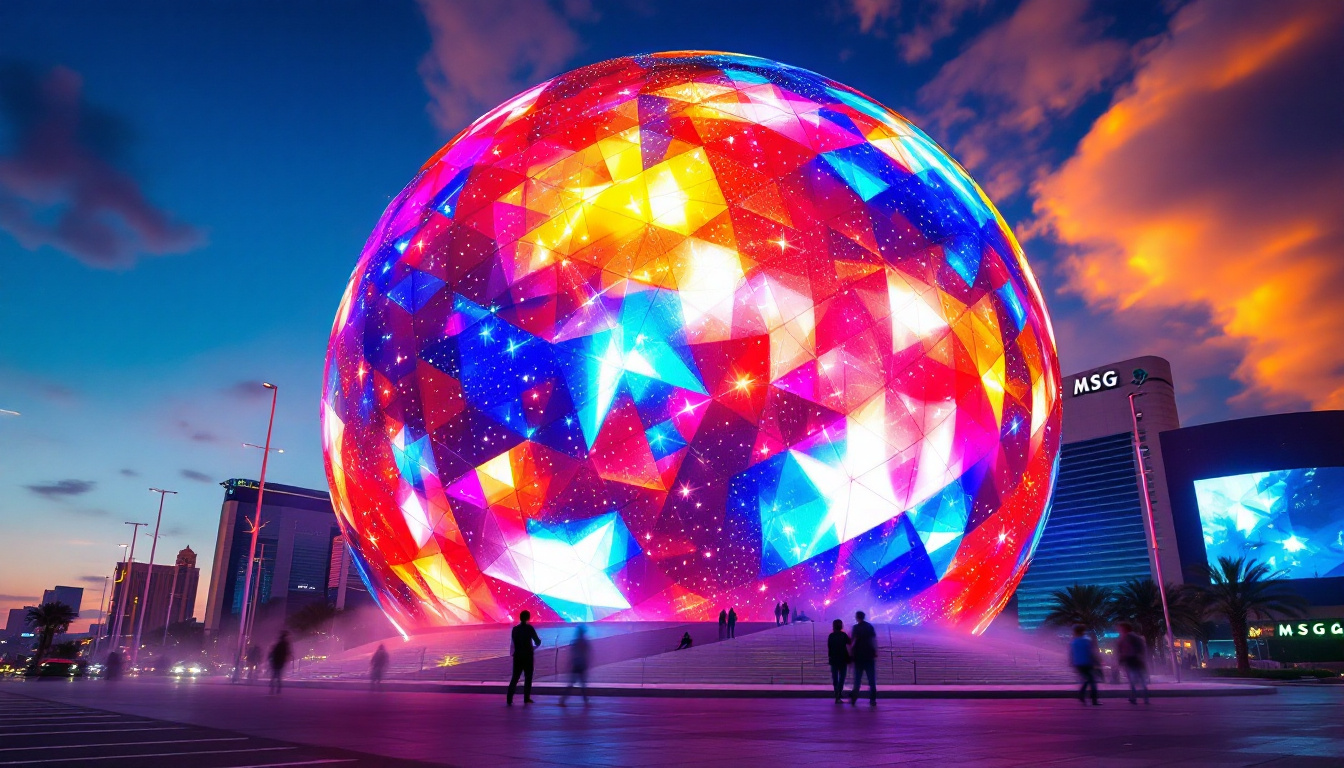
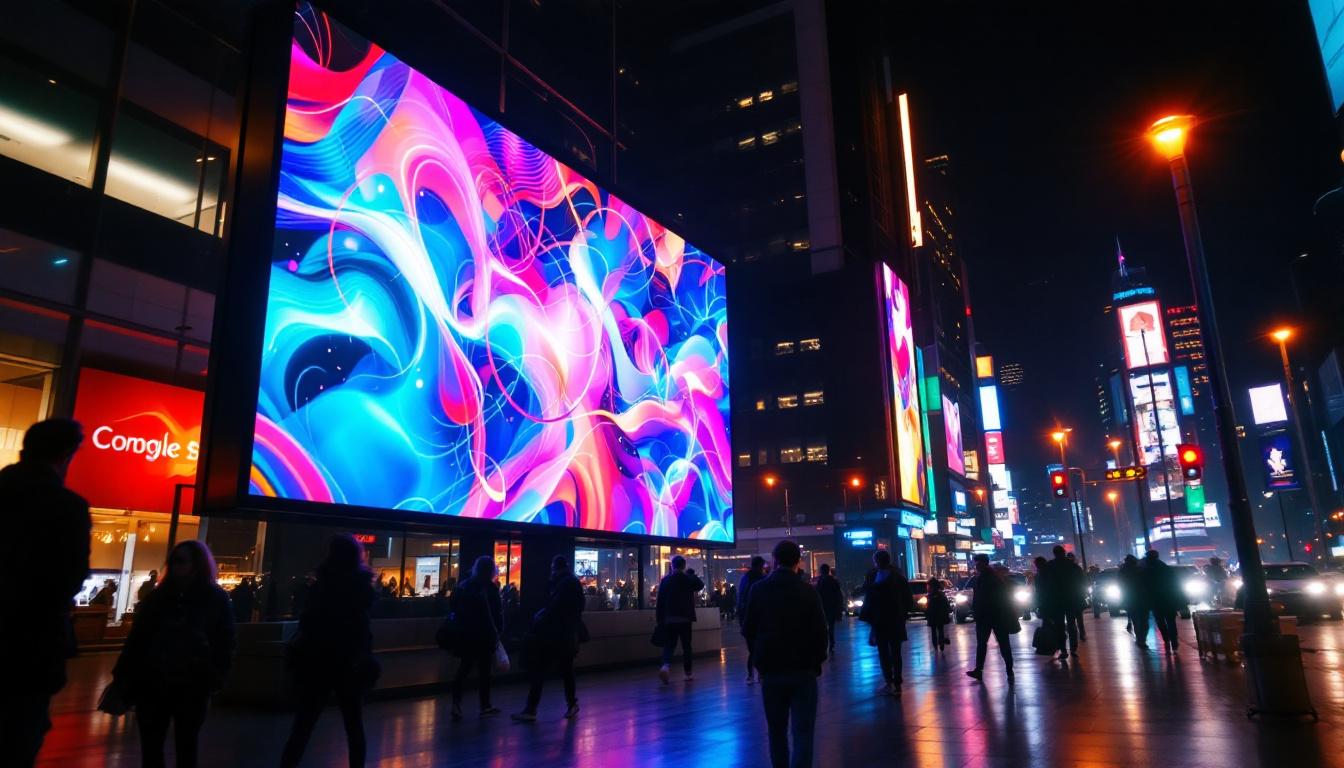
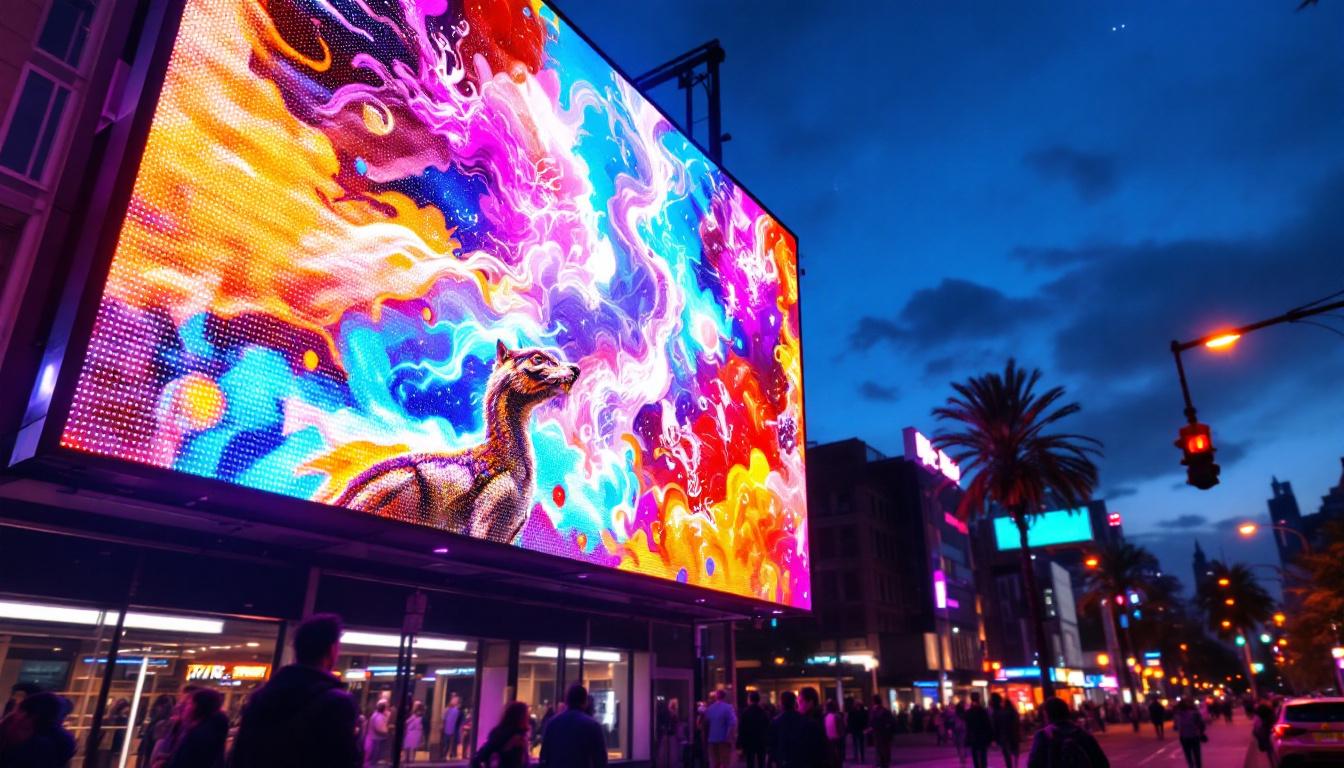
Art and Creativity
Artists and designers have begun to embrace LED technology as a medium for creative expression. LED displays can be used to create interactive art installations, light shows, and even wearable technology. The versatility of LEDs allows for endless possibilities in artistic endeavors.
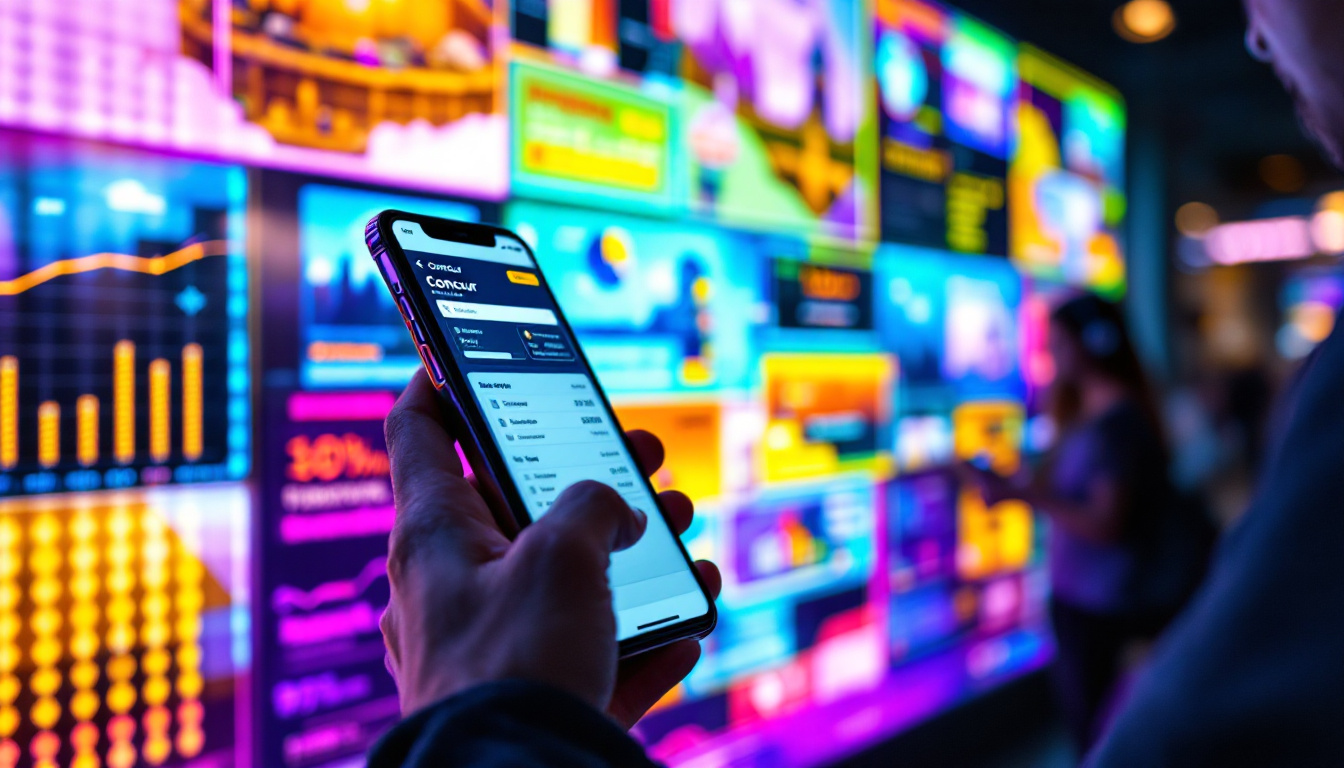
Information and Communication
LED displays are also widely used for informational purposes. From train station schedules to digital signage in corporate environments, these displays provide real-time information to the public. Their visibility and clarity make them ideal for conveying important messages effectively.
Conclusion
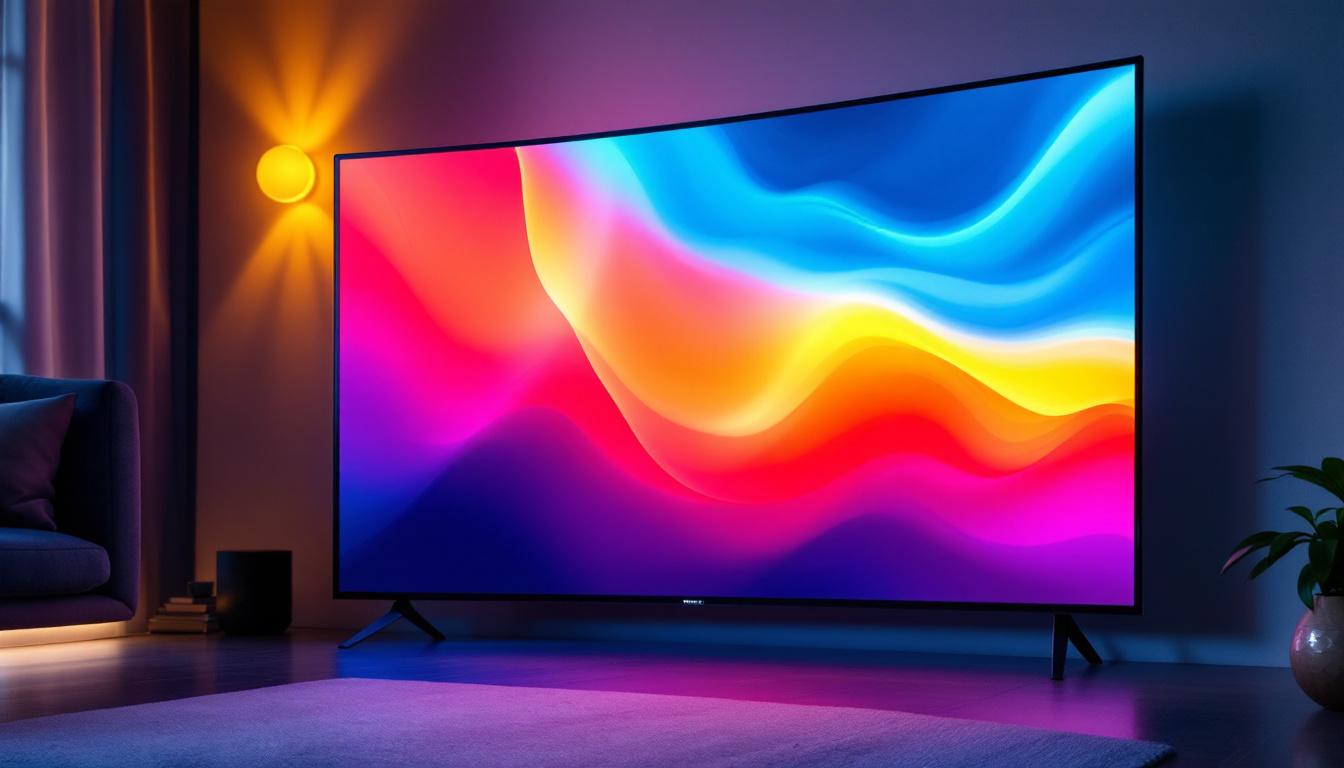
Creating your own LED display can be a fulfilling project that combines creativity with technical skills. By understanding the fundamentals of LED technology, the components required, and the steps involved in building and programming a display, anyone can embark on this exciting journey. Whether for personal enjoyment, artistic expression, or practical applications, LED displays offer a world of possibilities waiting to be explored.
As technology continues to evolve, the capabilities of LED displays will only expand, paving the way for innovative applications and creative projects. With the knowledge gained from this guide, the next step is to start experimenting and bringing unique LED display ideas to life.
Discover the Future of Visual Experience with LumenMatrix
Ready to take the next step in creating immersive and dynamic visual displays? LumenMatrix is at the forefront of LED display innovation, offering a wide array of solutions to bring your vision to life. From Indoor and Outdoor LED Wall Displays to specialized options like Vehicle, Sports, and Floor LED Displays, our technology is designed to captivate and engage. Whether you’re looking to enhance your brand’s visibility or create a unique visual experience, LumenMatrix has the cutting-edge solutions you need. Check out LumenMatrix LED Display Solutions today and start your journey towards revolutionizing visual communication.