Adjusting the brightness on a Dell computer, especially those equipped with LED displays, is a fundamental task that enhances user comfort, optimizes battery life, and protects eye health. Whether you are working in a dimly lit room or under bright sunlight, knowing how to efficiently control your screen’s brightness can significantly improve your computing experience.
This comprehensive guide explores the various methods to adjust brightness on Dell computers, explains the technology behind LED displays, and provides tips for optimal screen settings. Whether you are a novice user or a seasoned professional, understanding these concepts will help you get the most out of your Dell device.
Understanding LED Displays on Dell Computers
Dell laptops and monitors predominantly use LED (Light Emitting Diode) technology for their displays. Unlike traditional LCDs that use cold cathode fluorescent lamps (CCFLs) for backlighting, LED displays employ light-emitting diodes, which offer several advantages.
LED displays are known for their superior brightness, energy efficiency, and thinner form factors. They provide better color accuracy and contrast ratios, making them ideal for both everyday use and professional applications like graphic design and video editing. The vibrant colors and sharp images produced by LED technology can significantly enhance the viewing experience, whether you’re streaming your favorite series or working on intricate design projects.
How LED Backlighting Works
In an LED display, the screen’s pixels do not emit light themselves but are illuminated by an array of LEDs positioned behind or along the edges of the screen. These LEDs act as a backlight, shining through liquid crystal layers that control the color and intensity of each pixel.
The brightness adjustment essentially controls the intensity of this backlight. Increasing the brightness boosts the light output from the LEDs, making the screen easier to see in bright environments. Conversely, lowering the brightness reduces light emission, which can extend battery life and reduce eye strain in darker settings. This adaptability is particularly beneficial for users who work in varying lighting conditions, allowing for a more comfortable and efficient viewing experience.
Benefits of LED Displays on Dell Computers
Some key benefits of LED displays include:
- Energy Efficiency: LEDs consume less power compared to CCFL backlights, which helps extend battery life on laptops.
- Improved Brightness and Contrast: LED displays can achieve higher brightness levels and better contrast ratios, enhancing image clarity.
- Thin and Lightweight Design: The compact nature of LEDs allows Dell to produce slimmer and lighter laptops and monitors.
- Longer Lifespan: LEDs generally have a longer operational life, reducing the need for repairs or replacements.
Moreover, LED displays are often designed with advanced technologies such as HDR (High Dynamic Range), which further enhances the visual experience by providing a wider range of colors and improved detail in both the brightest and darkest parts of an image. This feature is particularly appealing for gamers and movie enthusiasts, as it allows for a more immersive experience. Additionally, many Dell monitors equipped with LED technology come with anti-glare coatings, making them suitable for use in bright office environments or during outdoor work sessions, where reflections can be distracting.
Another noteworthy aspect of LED technology is its environmental impact. As LEDs are more energy-efficient, they contribute to lower carbon footprints compared to traditional display technologies. Dell has made significant strides in sustainability, and the use of LED displays aligns with their commitment to reducing energy consumption and minimizing waste. This not only benefits the environment but also appeals to eco-conscious consumers looking for greener technology options.
Methods to Adjust Brightness on Dell Computers
Adjusting brightness on a Dell computer can be accomplished through several methods, depending on the model and operating system. Below are the most common and effective ways to control screen brightness.
Using Keyboard Shortcuts
Most Dell laptops come equipped with dedicated function keys to adjust brightness quickly. These keys typically have sun or light bulb icons and are located on the top row of the keyboard, often shared with the F keys.
To change brightness using keyboard shortcuts:
- Locate the brightness keys, usually marked with a sun icon – one with an upward arrow for increasing brightness, and one with a downward arrow for decreasing it.
- Press the Fn key (usually near the bottom-left corner of the keyboard) and simultaneously press the brightness up or down key.
- The screen brightness will adjust in increments, and an on-screen display usually shows the current brightness level.
This method is quick and convenient, especially when you need to adjust brightness on the fly.
Adjusting Brightness via Windows Settings
If keyboard shortcuts are unavailable or inconvenient, Windows offers built-in settings to control brightness:
- Windows 10 and 11: Click on the Action Center icon in the taskbar (a speech bubble icon) or press Windows + A to open it.
- Look for the brightness slider and drag it left or right to decrease or increase brightness, respectively.
- If the slider is missing, navigate to Settings > System > Display and find the brightness slider under the “Brightness and color” section.
This method provides a visual and precise way to control brightness and is especially useful for users who prefer mouse or touch input.
Using Dell Display Manager Software
Dell offers proprietary software called Dell Display Manager that allows users to customize display settings, including brightness, contrast, and color calibration. This software is particularly useful for Dell desktop monitors but can also be compatible with some laptops.
To use Dell Display Manager:
- Download and install the software from Dell’s official website if it’s not pre-installed.
- Open the application and navigate to the brightness control section.
- Adjust the brightness slider to your preferred level.
- Additionally, you can create profiles for different lighting environments or tasks.
This tool provides advanced control beyond the standard Windows settings and can help optimize display performance for professional use.
Adjusting Brightness in BIOS Settings
In rare cases, brightness settings can be adjusted at the BIOS level, especially if software controls are unresponsive. Accessing BIOS is more technical and should be done carefully:
- Restart your Dell computer and press F2 or Delete repeatedly during startup to enter BIOS setup.
- Navigate to the display or video settings section.
- Look for brightness or backlight options and adjust accordingly.
- Save changes and exit BIOS.
Note that not all Dell models provide brightness controls in BIOS, and improper changes can affect system stability. This method is recommended only for advanced users or under guidance from Dell support.
Optimizing Brightness for Comfort and Battery Life
Adjusting brightness is not just about visibility; it also impacts your health and device performance. Here are some best practices for optimizing brightness settings on your Dell computer.
Reducing Eye Strain
Prolonged exposure to overly bright or dim screens can cause eye strain, headaches, and fatigue. To minimize discomfort:
- Set brightness to match your ambient lighting conditions. For example, lower brightness in dark rooms and increase it in bright environments.
- Consider enabling Night Light or blue light filter features available in Windows to reduce blue light exposure during evening hours.
- Take regular breaks using the 20-20-20 rule: every 20 minutes, look at something 20 feet away for 20 seconds.
Extending Battery Life
Screen brightness is one of the largest power consumers on laptops. Lowering brightness can significantly extend battery life, especially when working on the go.
Windows also offers a Battery Saver mode that automatically dims the display and limits background activity to conserve power. To enable it:
- Click on the battery icon in the taskbar.
- Select Battery Saver or go to Settings > System > Battery and configure automatic activation thresholds.
Combining manual brightness adjustments with Battery Saver mode can maximize your Dell laptop’s endurance.
Troubleshooting Brightness Adjustment Issues on Dell Computers
Sometimes, users may encounter problems adjusting brightness on their Dell devices. Common issues include missing brightness controls, unresponsive keys, or the brightness slider being grayed out. Here are some troubleshooting tips:
Update Display Drivers
Outdated or corrupted display drivers can prevent brightness adjustments. To update drivers:
- Open Device Manager by right-clicking the Start button.
- Expand the Display adapters section.
- Right-click your graphics card and select Update driver.
- Choose Search automatically for updated driver software and follow prompts.
Alternatively, visit Dell’s support website to download the latest drivers tailored to your model.
Check Power Settings
Incorrect power plan settings can affect brightness control. To verify:
- Go to Control Panel > Hardware and Sound > Power Options.
- Select your active power plan and click Change plan settings.
- Click Change advanced power settings.
- Expand Display and check the Display brightness settings for both battery and plugged-in modes.
Ensure the brightness levels are set appropriately and not locked at a fixed value.
Enable Generic PnP Monitor
In some cases, the system may fail to recognize the display correctly. To fix this:
- Open Device Manager.
- Expand the Monitors section.
- If Generic PnP Monitor is disabled, right-click and select Enable device.
Restart the computer after making changes.
Reset BIOS to Default
If brightness controls remain inaccessible, resetting BIOS to default settings can help:
- Enter BIOS setup during startup (usually by pressing F2).
- Find the option to reset to default or optimized defaults.
- Save and exit BIOS.
This can resolve configuration conflicts affecting hardware controls.
Conclusion
Adjusting the brightness on a Dell computer with an LED display is a straightforward yet essential task that impacts usability, comfort, and device longevity. Whether using keyboard shortcuts, Windows settings, or Dell’s proprietary software, users have multiple options to tailor their screen brightness to their environment and needs.
Understanding the underlying LED technology helps appreciate why brightness adjustments matter and how they affect power consumption and visual quality. By following best practices and troubleshooting tips, Dell users can ensure their displays perform optimally, reducing eye strain and maximizing battery life.
For ongoing support, Dell’s official website and customer service provide valuable resources and assistance tailored to specific models and configurations.
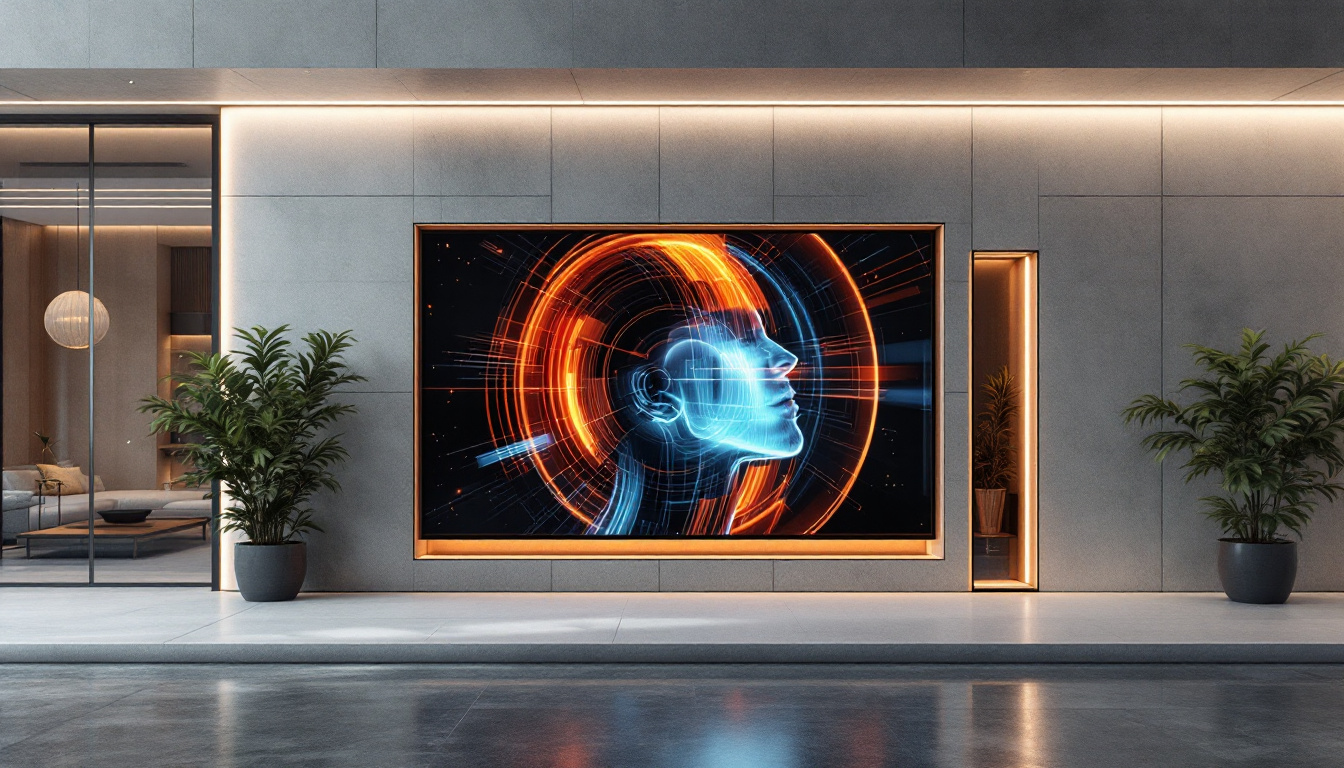
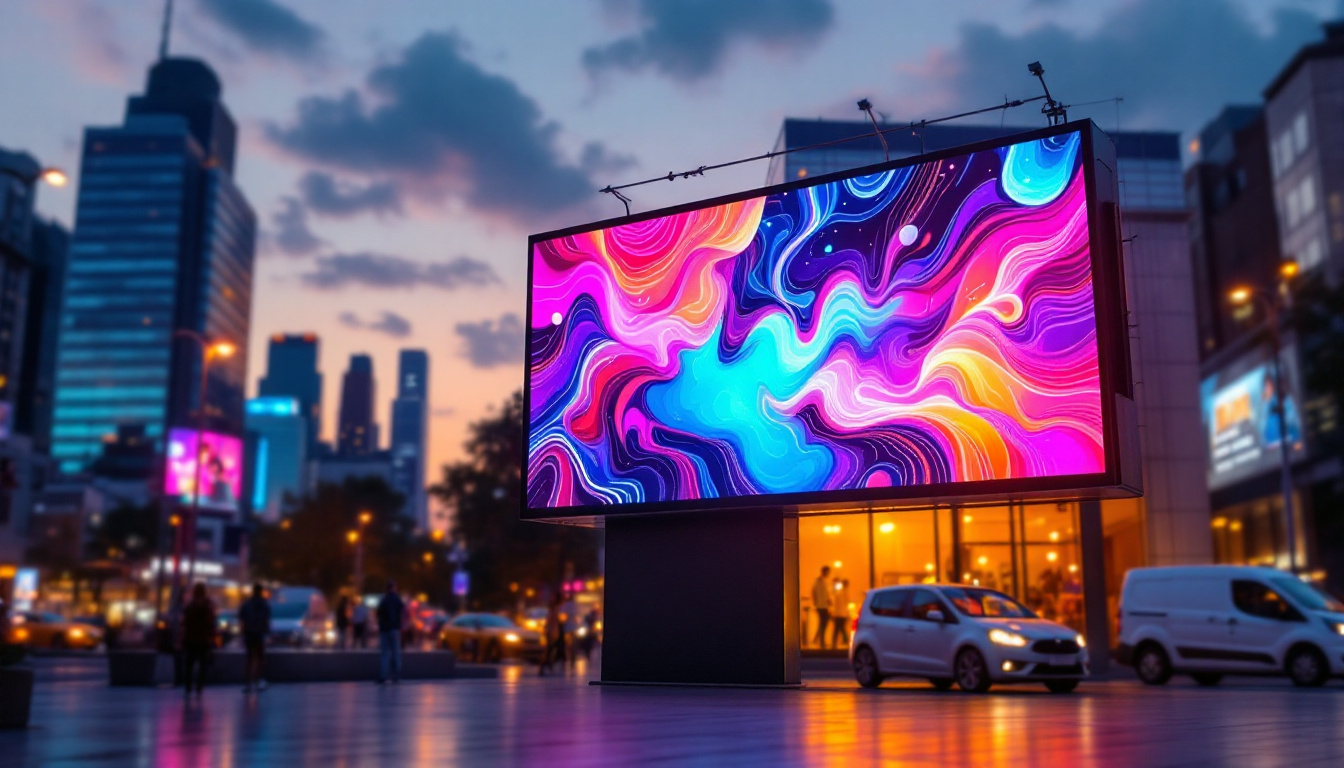
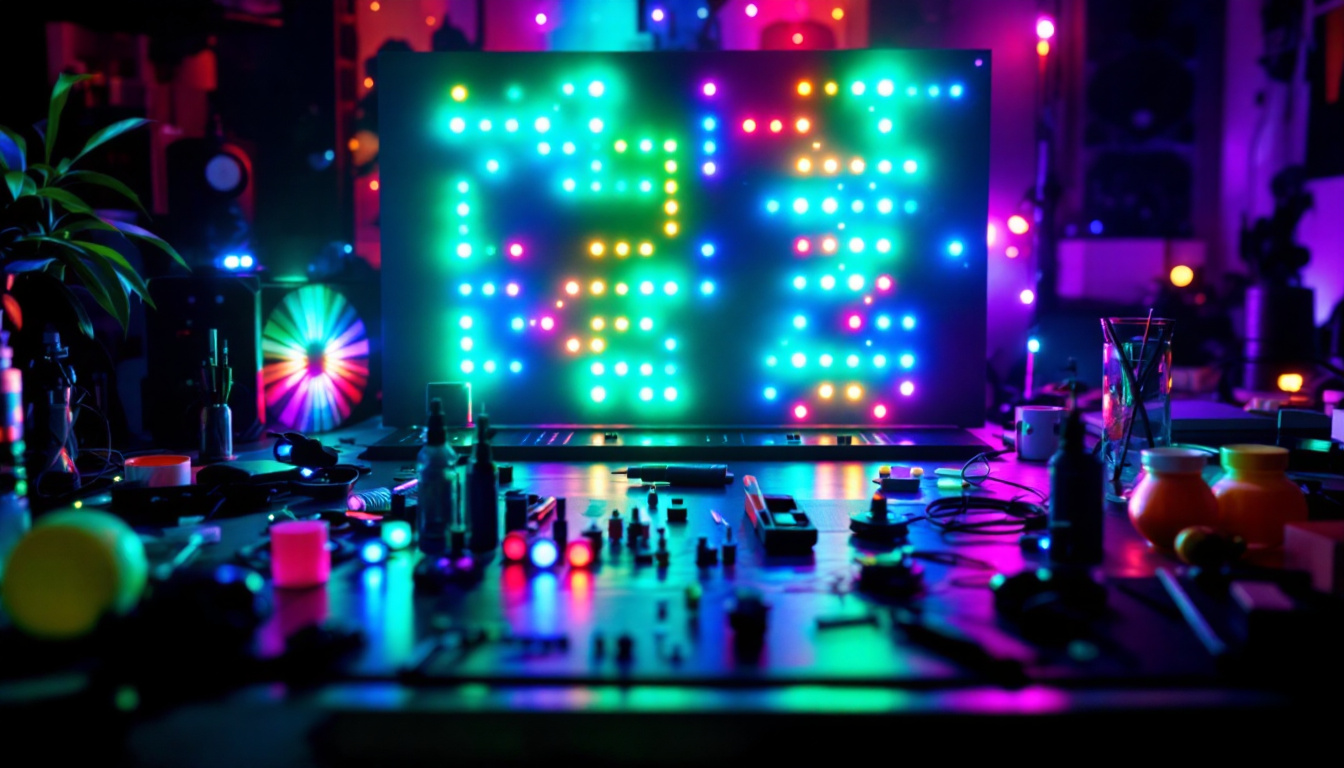
Explore Cutting-Edge LED Display Solutions
Now that you understand the importance of adjusting brightness for optimal display performance on your Dell computer, take the next step in visual innovation with LumenMatrix. As a leader in LED display technology, LumenMatrix offers an extensive range of products designed to transform your visual presentations and captivate your audience. From Indoor and Outdoor LED Wall Displays to specialized solutions like Vehicle LED Displays and Custom LED Displays, LumenMatrix is committed to enhancing your brand’s visibility with high-quality, dynamic digital signage. Discover how LumenMatrix can revolutionize your visual communication and create unforgettable experiences. Check out LumenMatrix LED Display Solutions today.