Creating a perfectly smooth wall surface is a fundamental step in interior design, renovation, and construction projects. Whether preparing a wall for painting, wallpapering, or installing an LED display, achieving a flawless finish can significantly enhance the final aesthetic and functional outcome. This article explores the techniques to smoothen a wall effectively and delves into how LED displays interact with wall surfaces, ensuring an optimal installation and visual experience.
Understanding Wall Smoothness and Its Importance
Wall smoothness refers to the evenness and flatness of a wall surface, free from bumps, cracks, or uneven textures. Achieving a smooth wall is essential for several reasons:
- Visual Appeal: A smooth wall provides a clean and polished look, enhancing the overall interior design.
- Surface Preparation: It ensures better adhesion of paint, wallpaper, or other finishes.
- Functional Requirements: For installations like LED displays, smooth walls prevent distortion and ensure proper mounting.
According to a survey by the National Association of Home Builders, 78% of homeowners prioritize wall smoothness when renovating, highlighting its impact on perceived quality and value.
Common Causes of Uneven Walls
Before addressing how to smoothen a wall, it’s important to understand why walls become uneven:
- Old Plaster Damage: Cracks, chips, and peeling are common in aging plaster walls.
- Improper Initial Finishing: Poor workmanship during construction can leave uneven surfaces.
- Moisture and Structural Movement: These can cause warping or bubbling in drywall and plaster.
In addition to these factors, environmental influences such as temperature fluctuations can also play a significant role in wall smoothness. For instance, as the temperature changes, materials expand and contract, which can lead to the formation of small cracks or gaps over time. This is particularly evident in older homes where the materials may not have been designed to withstand such shifts. Furthermore, the type of materials used in wall construction can affect smoothness; for example, drywall is generally more susceptible to dents and dings compared to more robust materials like plaster or concrete.
Another aspect to consider is the impact of furniture and fixtures on wall surfaces. Heavy items hung on walls, such as shelves or artwork, can create pressure points that may lead to indentations or even structural damage if not properly supported. Homeowners should also be aware that regular wear and tear, especially in high-traffic areas, can contribute to unevenness. Therefore, maintaining wall smoothness not only involves initial construction quality but also ongoing care and attention to how walls interact with their environment and the items placed against them.
Step-by-Step Guide to Smoothen a Wall
Smoothening a wall is a multi-step process that requires patience and attention to detail. Below is a comprehensive guide suitable for both DIY enthusiasts and professionals.
1. Assessing the Wall Condition
Start by inspecting the wall thoroughly. Look for cracks, holes, peeling paint, or any surface irregularities. Use a bright light held at an angle to highlight imperfections.
For walls intended to support LED displays, it’s critical to ensure the surface is not only smooth but also structurally sound to bear the weight and mounting hardware. Additionally, consider the wall’s moisture levels; high humidity can lead to mold growth, which may compromise the integrity of the wall and the finish you aim to achieve.
2. Preparing the Surface
Remove any loose or flaking paint and clean the wall to eliminate dust, grease, or mold. Use a mild detergent solution and a sponge, then allow the wall to dry completely.
For walls with significant damage, consider applying a primer or bonding agent to improve adhesion of the smoothing compound. This step is particularly important if you’re transitioning from a darker to a lighter color, as it helps in achieving an even finish and reduces the number of paint coats needed later.
3. Filling Cracks and Holes
Use a high-quality filler or spackling compound to fill cracks and holes. Apply with a putty knife, pressing the filler firmly into the defects. For larger holes, mesh patches may be necessary for reinforcement.
Allow the filler to dry according to manufacturer instructions, which typically ranges from a few hours to overnight. During this waiting period, it can be beneficial to assess other areas of the wall for additional imperfections, ensuring a thorough approach to the smoothening process.
4. Sanding the Wall
Once the filler is dry, sand the wall using medium-grit sandpaper (120-150 grit) to level the filled areas with the surrounding surface. Follow with fine-grit sandpaper (220 grit) for a smoother finish.
Wear a dust mask and ensure proper ventilation during sanding to avoid inhaling dust particles. It’s also advisable to use a sanding block or an electric sander for larger areas, as this can save time and provide a more consistent finish.
5. Applying a Skim Coat
For walls with uneven texture or minor imperfections, applying a skim coat of joint compound or plaster is essential. This thin layer covers the entire wall surface, creating a uniform base.
Use a wide drywall knife or trowel to spread the compound evenly. Multiple thin layers are preferable to one thick layer, allowing each to dry and sanding lightly between coats. This technique not only enhances the smoothness but also minimizes the risk of cracking as the compound dries.
6. Final Sanding and Cleaning
After the skim coat dries, perform a final sanding with fine-grit sandpaper to achieve a perfectly smooth surface. Wipe the wall with a damp cloth to remove dust before proceeding with painting or installation.
At this stage, consider the type of paint you plan to use. A matte finish may highlight imperfections, while a satin or semi-gloss finish can reflect light and mask minor flaws. Choosing the right paint can enhance the overall look of the wall and contribute to the room’s ambiance, making this final step crucial in the smoothening process.
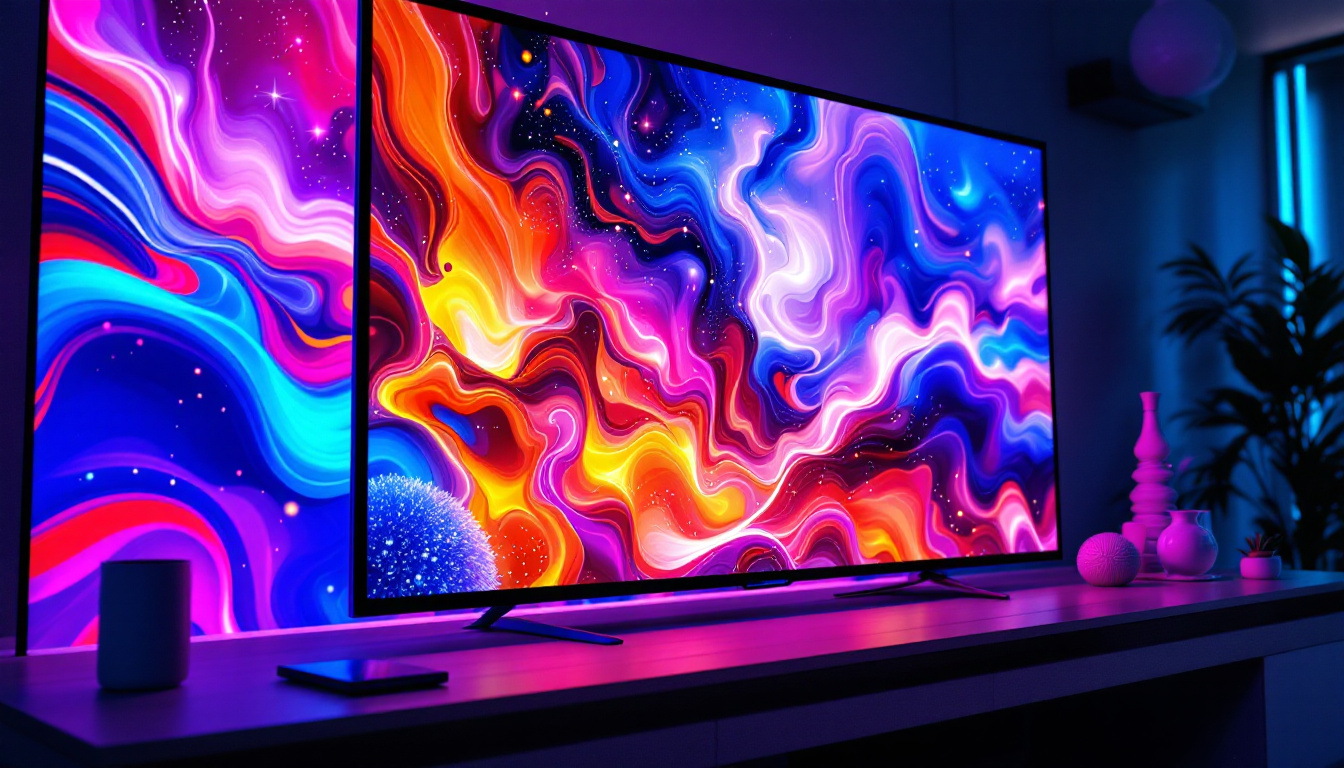
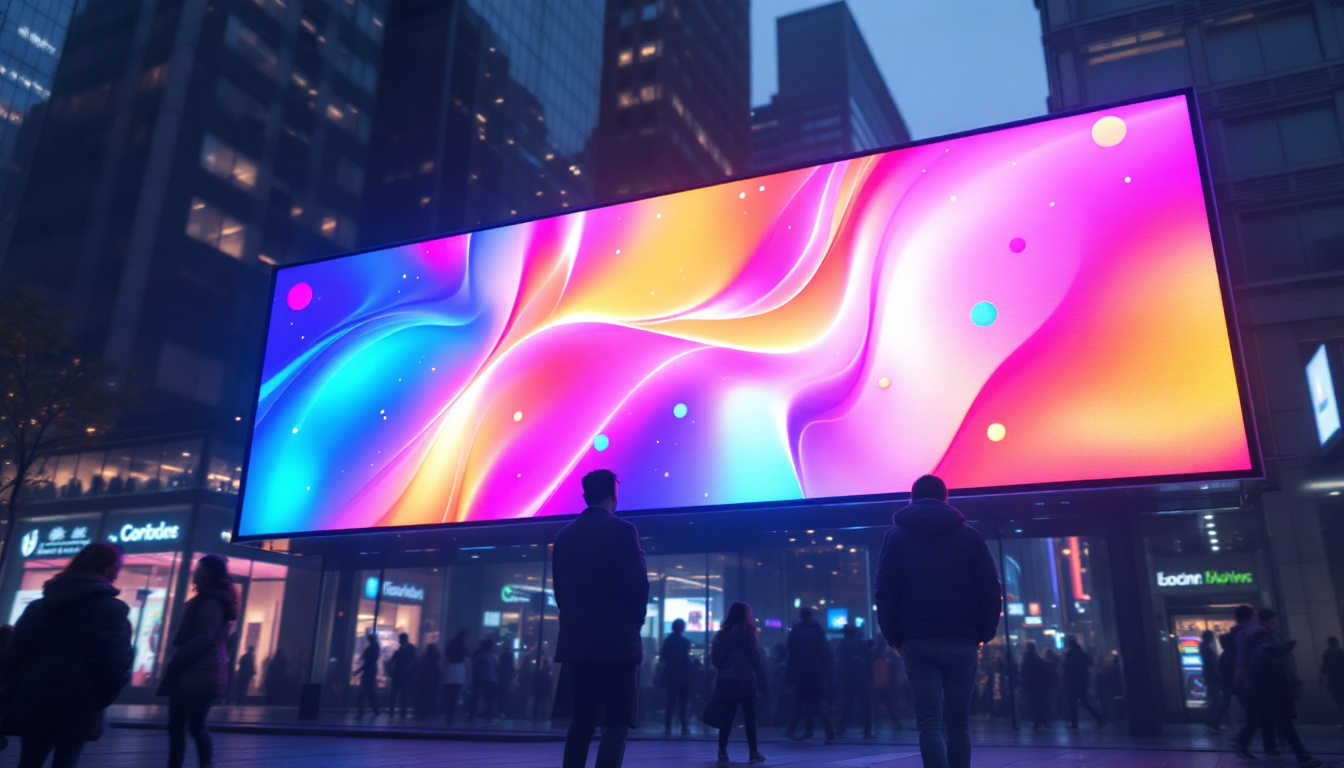
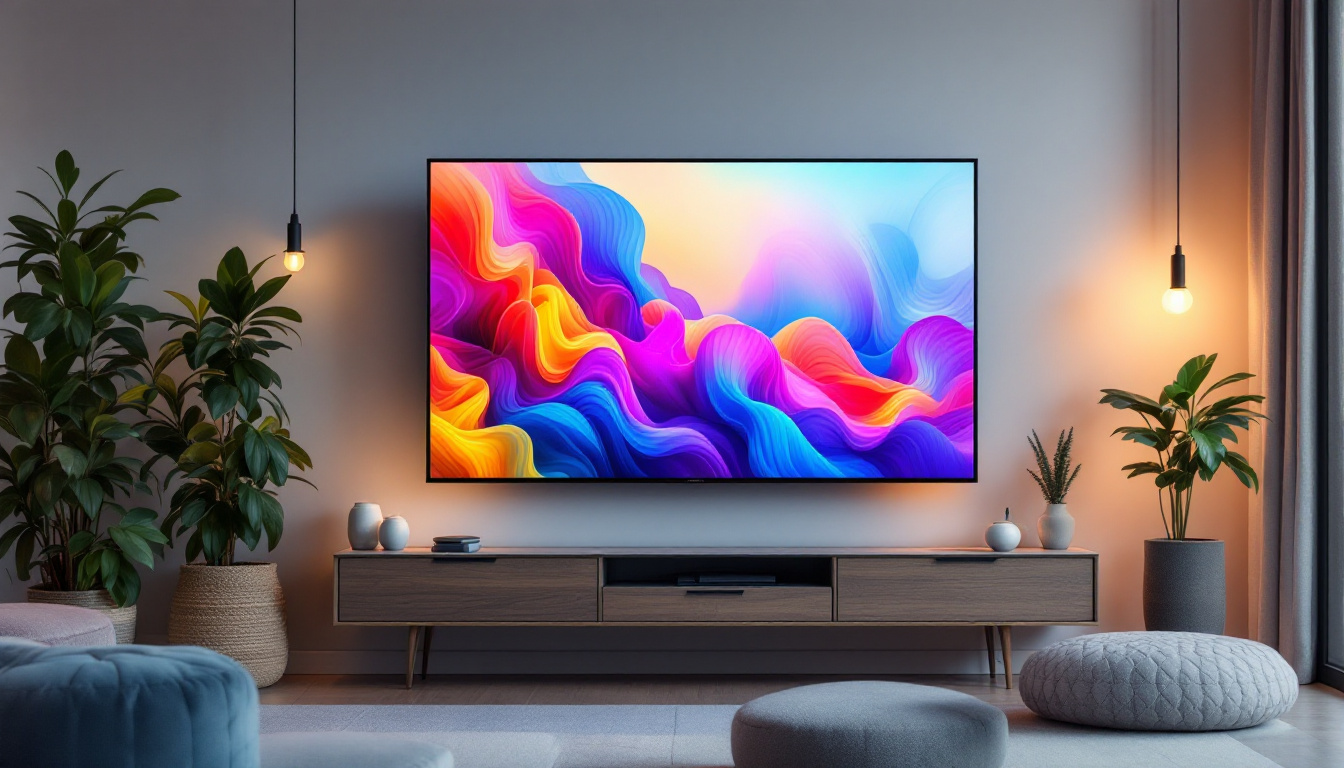
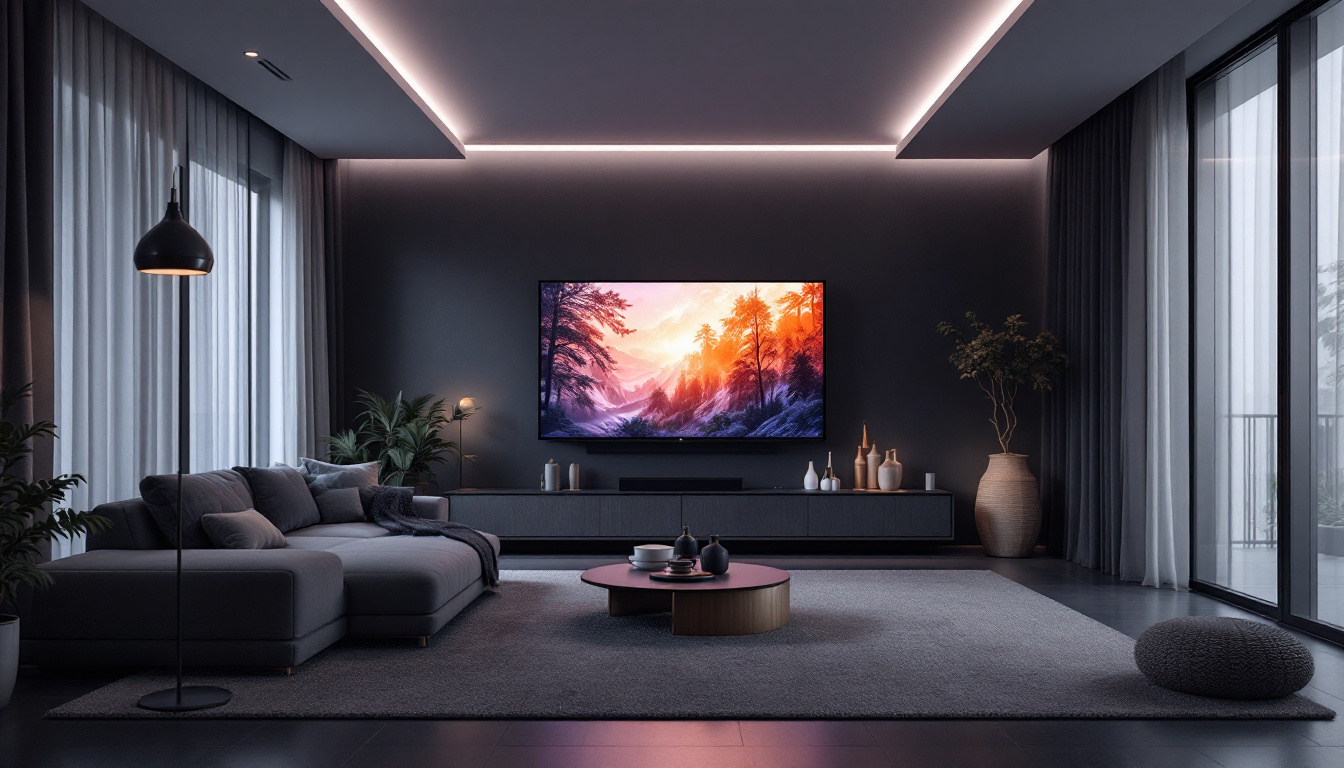
Preparing Walls for LED Display Installation
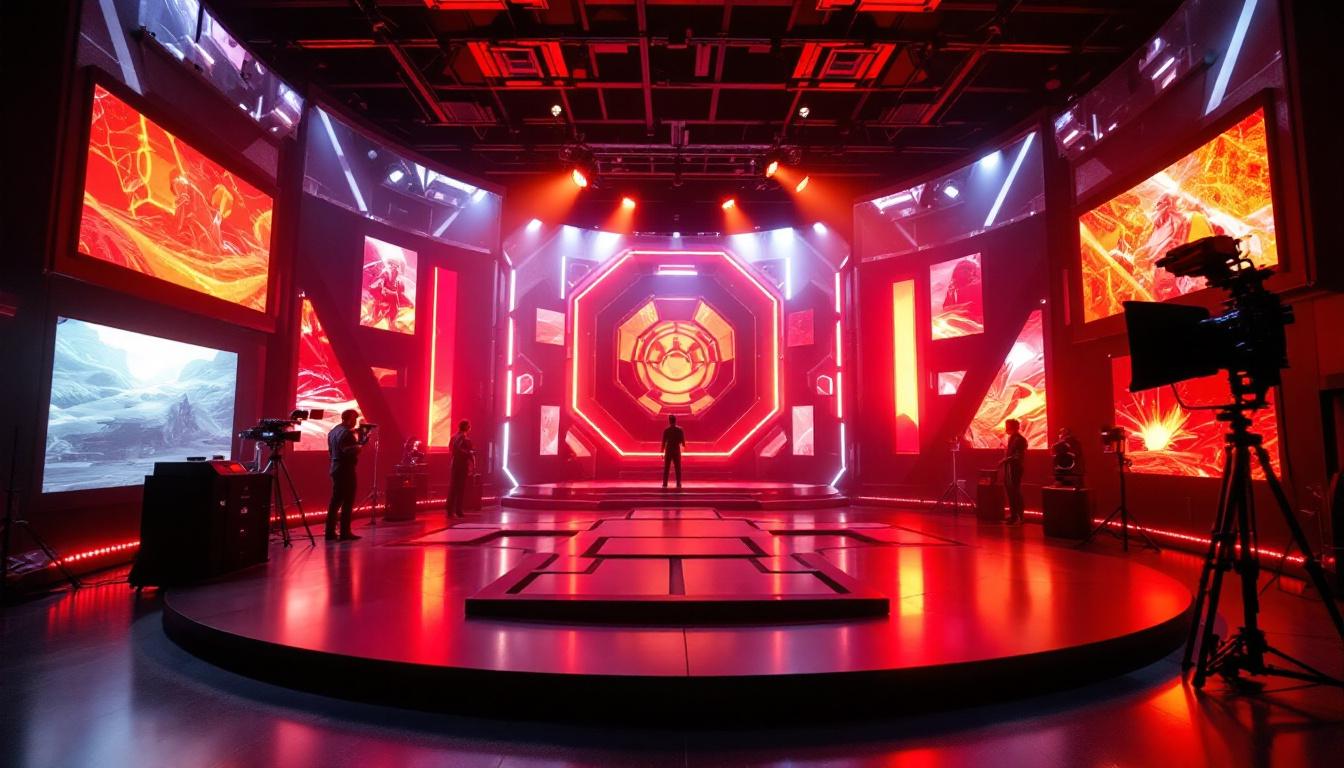
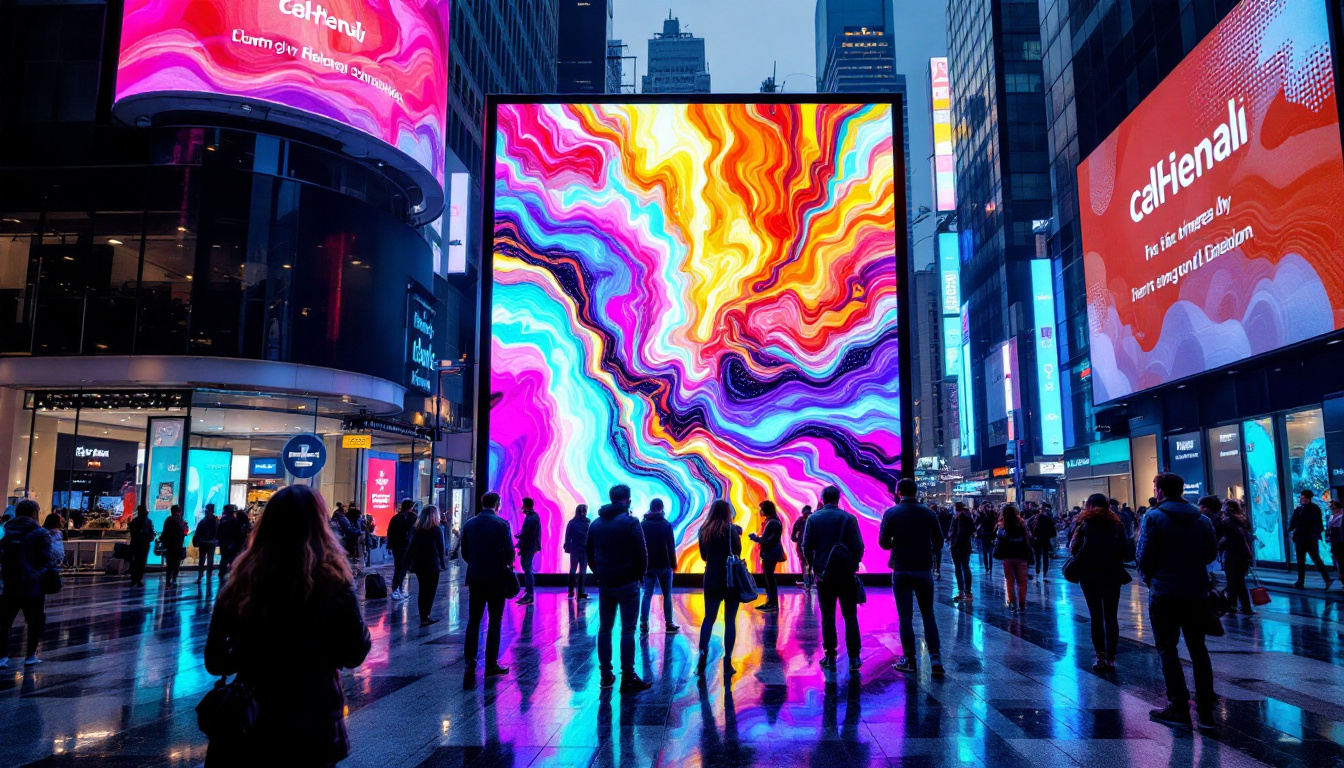
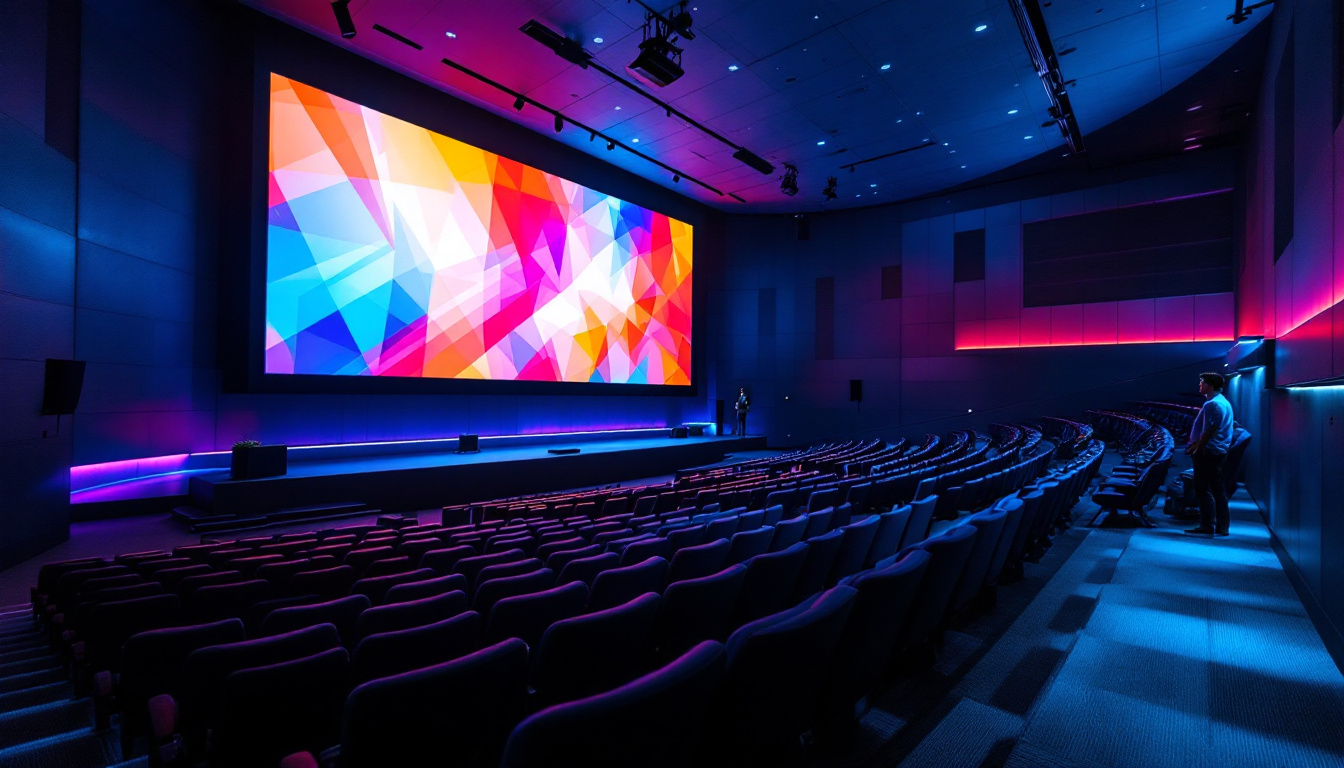
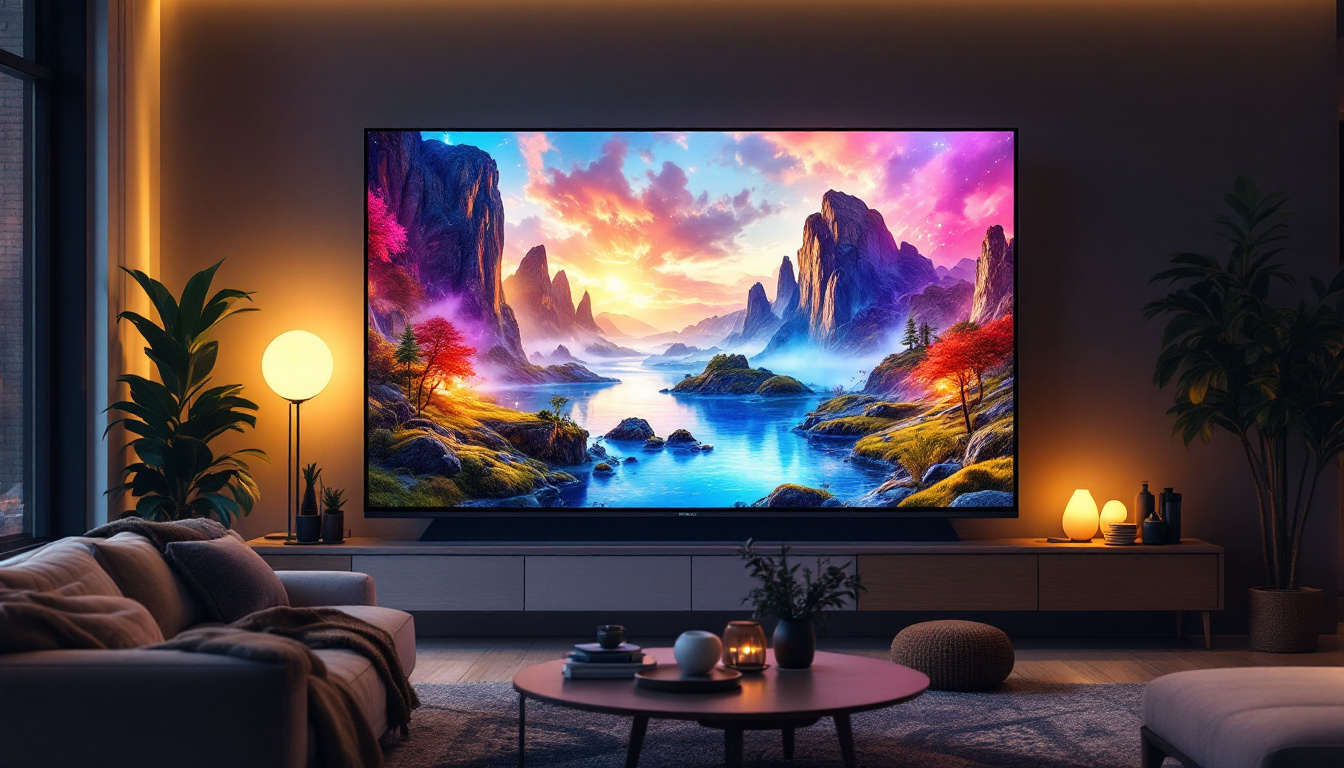
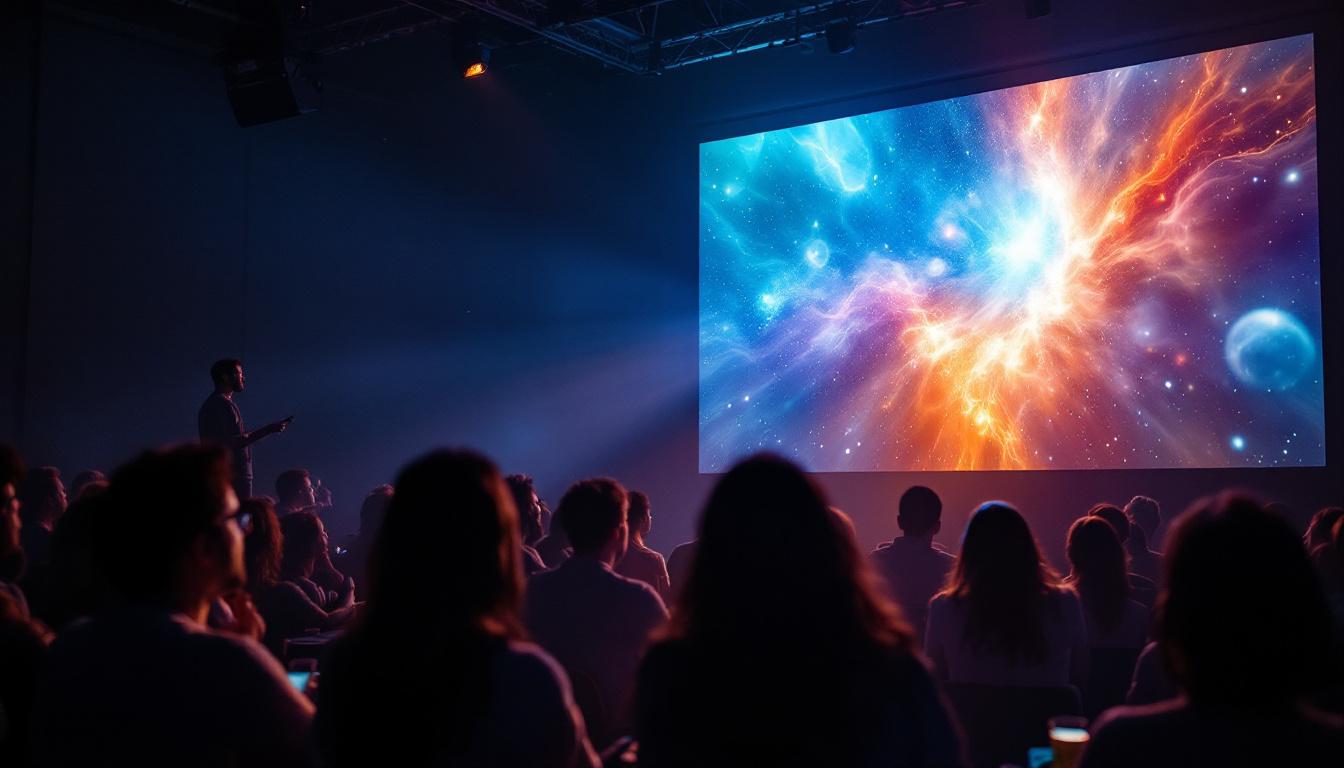
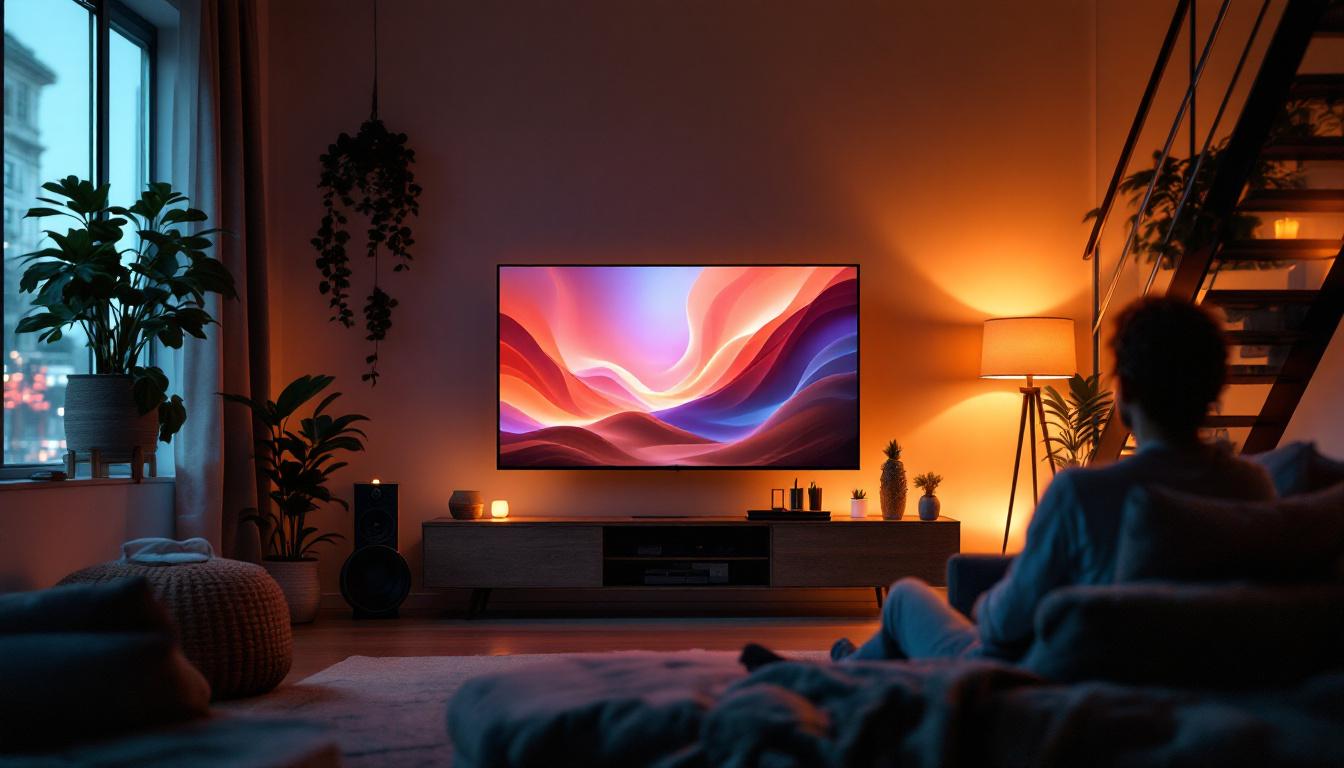
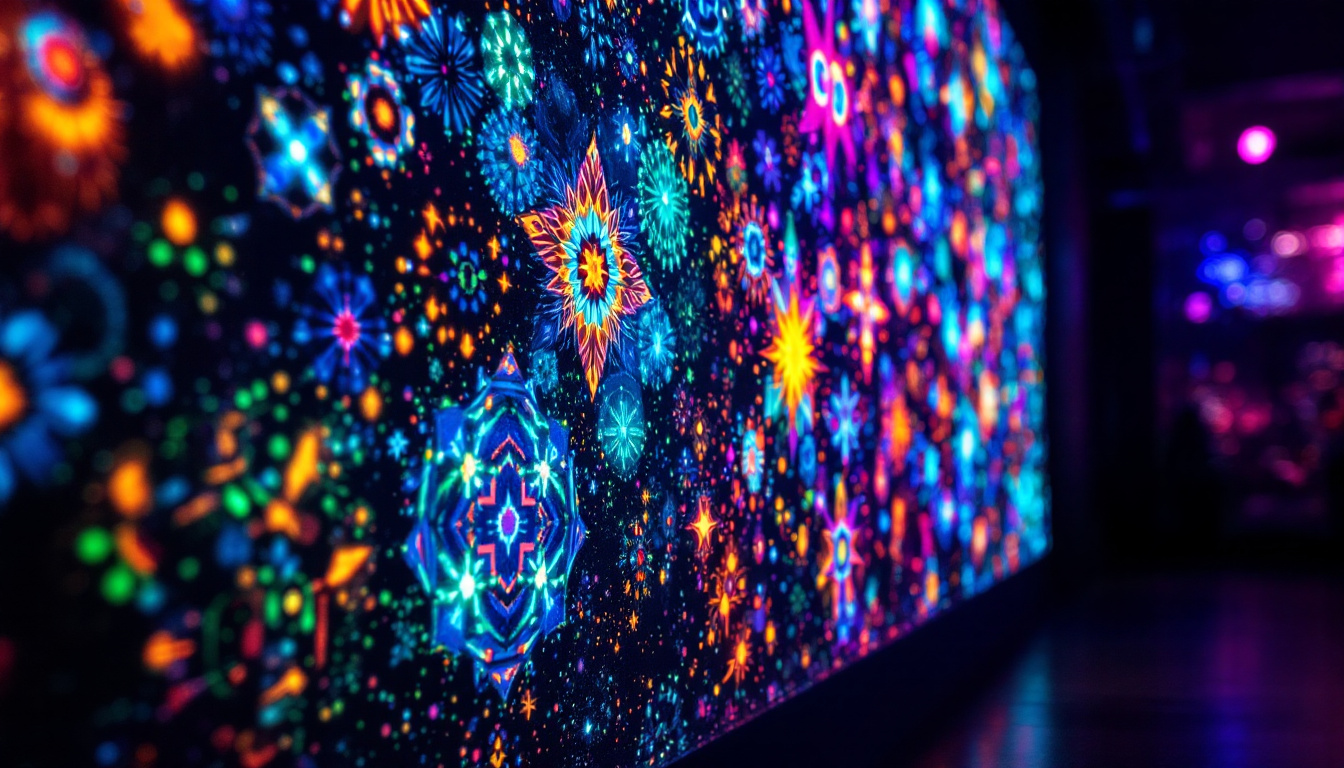
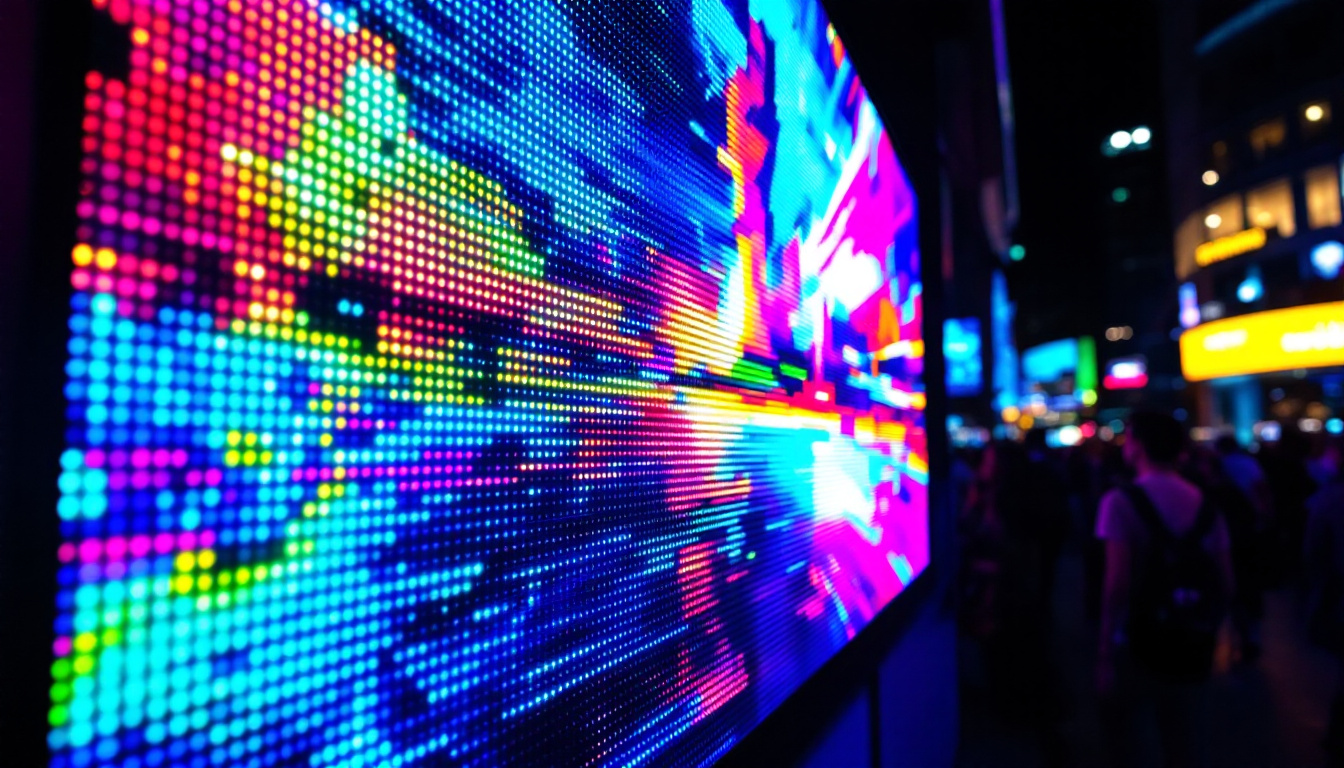
LED displays have become increasingly popular in both commercial and residential settings for their vibrant visuals and energy efficiency. However, the performance and appearance of an LED display are heavily influenced by the quality of the wall it is mounted on.
Why Wall Smoothness Matters for LED Displays
LED panels require a flat and stable mounting surface for several reasons:
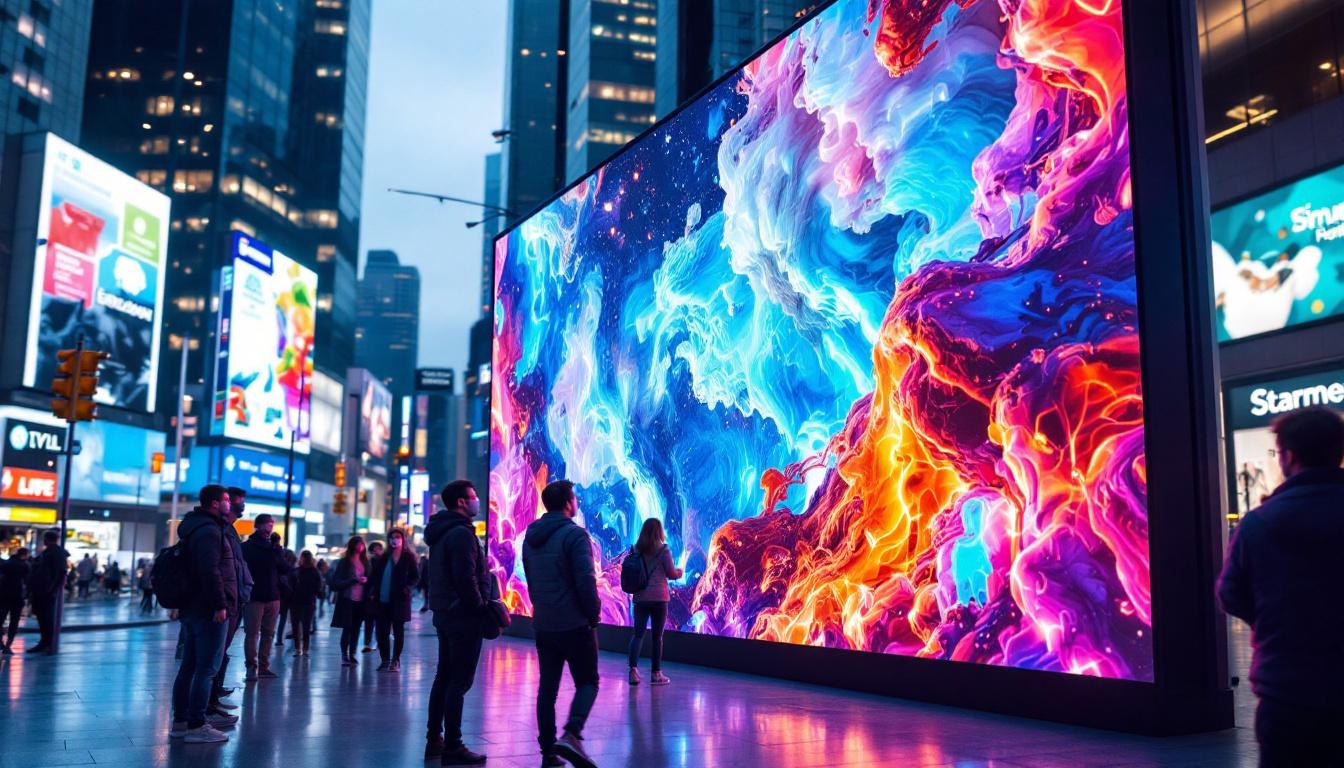
- Visual Consistency: Uneven walls can cause light distortion, resulting in a patchy or warped display image.
- Structural Stability: A smooth, solid wall ensures secure attachment, reducing the risk of damage or misalignment.
- Heat Dissipation: Proper wall preparation can aid in heat management, prolonging the lifespan of LED components.
Surface Treatments for Optimal LED Display Installation
In addition to smoothing, walls may require specific treatments depending on the LED display type and mounting system:
- Reinforcement: Installing plywood backings or metal frames behind drywall can provide extra support.
- Primer Application: Primers improve adhesion of mounting adhesives or brackets.
- Anti-Reflective Coatings: For displays installed in brightly lit areas, anti-reflective treatments on the wall can reduce glare.
Advanced Techniques and Tools for Wall Smoothening
While traditional methods are effective, modern technology and tools can streamline the process and improve results, especially for large-scale projects or commercial installations.
Using Power Tools for Efficiency
Electric drywall sanders and orbital sanders can significantly reduce the time and effort required for sanding. These tools provide consistent pressure and speed, leading to a more uniform finish.
For skim coating, spray machines can apply joint compound evenly over large surfaces, minimizing manual labor and ensuring a smooth coat.
Self-Leveling Compounds
Self-leveling compounds are advanced materials that flow and settle into a flat surface with minimal intervention. They are particularly useful for correcting uneven plaster or concrete walls before finishing.
These compounds cure quickly and provide a durable base for subsequent wall treatments or LED display mounting.
Laser Leveling and Measurement Tools
Laser levels and digital measuring devices help professionals assess wall flatness with high precision. These tools detect deviations as small as a fraction of a millimeter, guiding corrective actions.
Common Challenges and How to Overcome Them
Smoothening walls, especially in older buildings or complex environments, can present several challenges. Understanding these issues helps in planning and executing the project effectively.
Dealing with Moisture Damage
Moisture can cause paint to peel, plaster to crumble, and drywall to warp. Before smoothing, it’s vital to identify and address the source of moisture, whether it’s leaks, condensation, or poor ventilation.
Using moisture-resistant fillers and primers can help protect the wall after repairs.
Handling Textured Walls
Walls with heavy textures such as popcorn or knockdown finishes require special treatment. Removing texture can be labor-intensive, involving scraping, sanding, or applying a thick skim coat.
In some cases, installing new drywall over the existing wall may be more efficient.
Ensuring Dust-Free Environment
Sanding generates a significant amount of dust, which can be hazardous and messy. Using dust extraction systems, vacuum sanders, and sealing off work areas helps maintain a clean and safe environment.
Conclusion: Achieving the Perfect Wall for LED Displays
Smoothening a wall is a critical step that directly impacts the success of any finishing project, particularly when installing LED displays. A smooth, stable, and well-prepared wall ensures not only aesthetic excellence but also the functional integrity of the display.
By following a systematic approach—from assessing and preparing the surface to applying advanced smoothing techniques—homeowners and professionals can achieve impeccable results. Investing time and effort into wall smoothness pays dividends in the longevity and visual impact of LED installations, making it a worthwhile endeavor in modern interior design and technology integration.
Discover LumenMatrix LED Display Solutions
Now that you understand the importance of a smooth wall for the perfect LED display installation, it’s time to explore the innovative solutions that LumenMatrix has to offer. Whether you’re looking to enhance your brand visibility, create a captivating visual experience indoors or outdoors, or require a custom LED display solution, LumenMatrix is your go-to source for cutting-edge technology. Elevate your space and engage your audience like never before. Check out LumenMatrix LED Display Solutions today and take the first step towards transforming your visual communication.