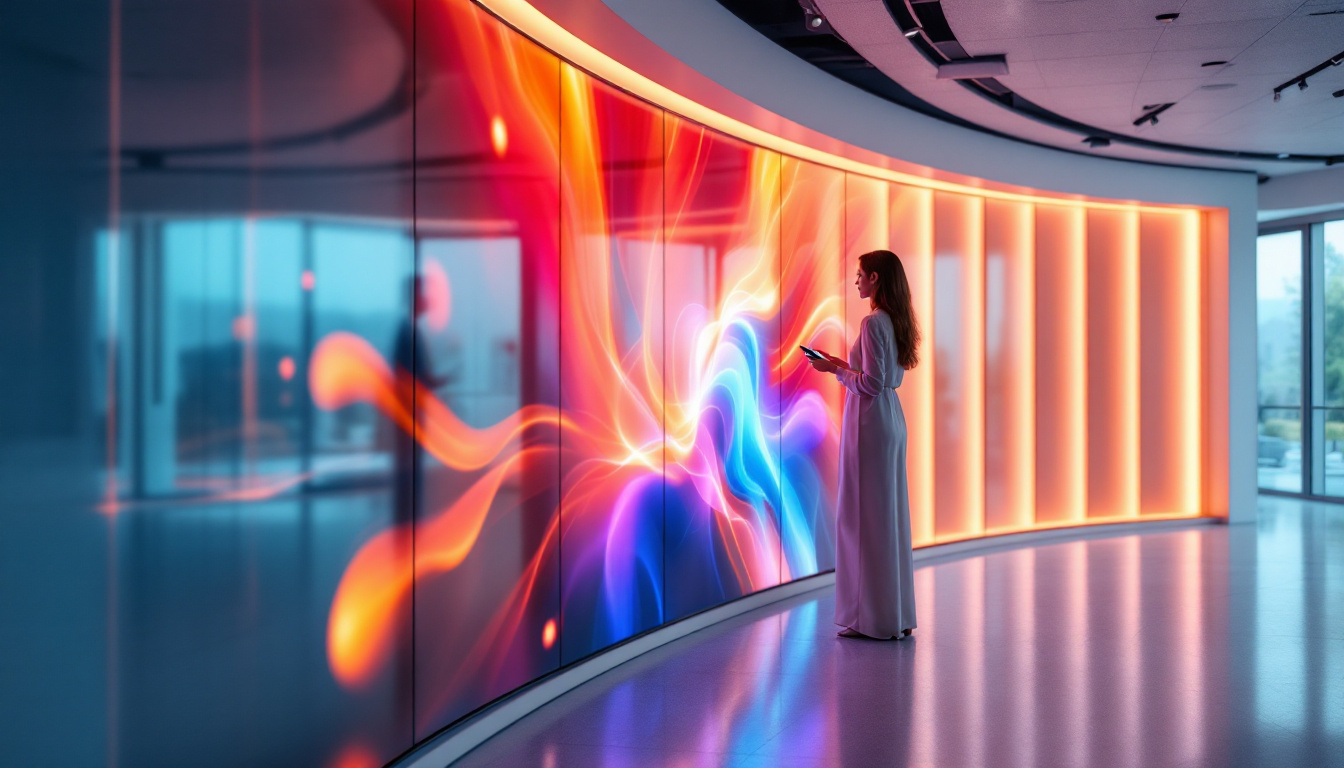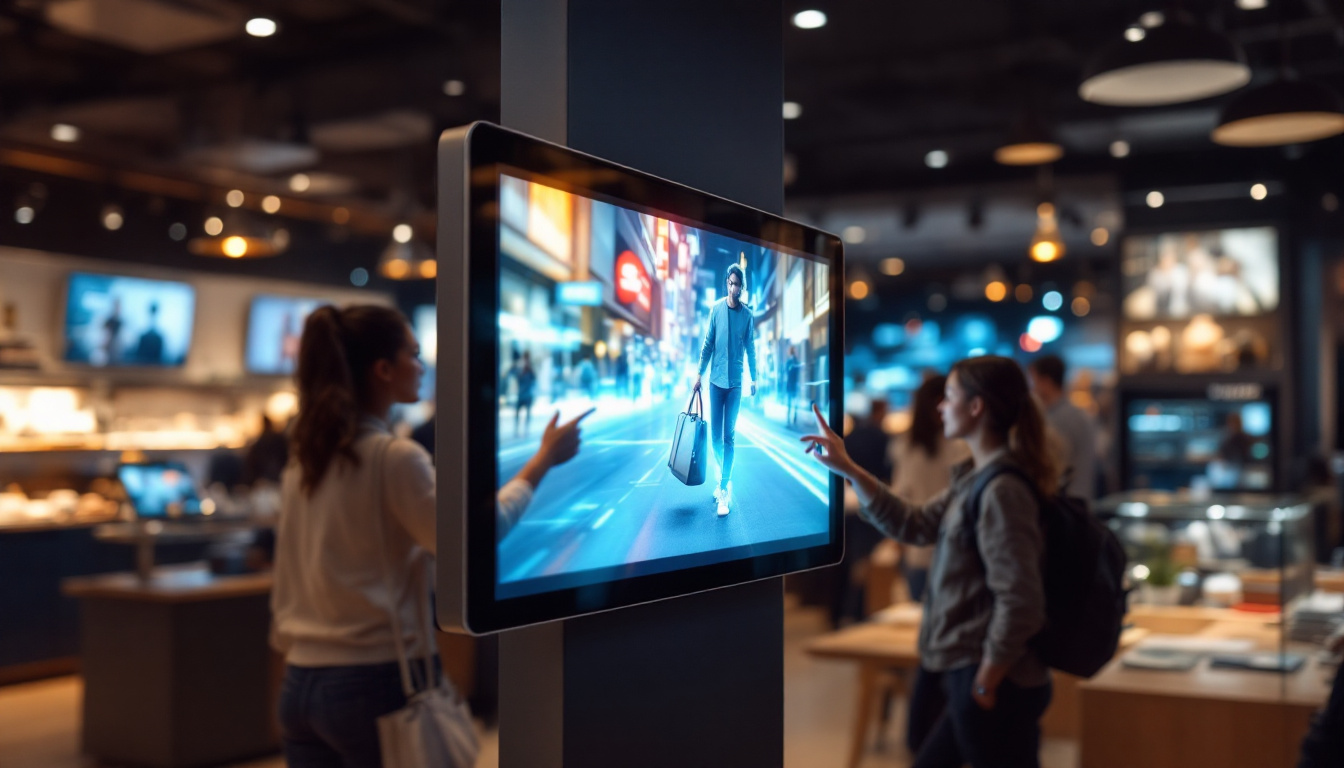
Mounting a flat screen TV on the wall is a popular way to enhance your living space, improve viewing angles, and save floor space. With the rise of LED display technology, flat screen TVs have become thinner, lighter, and more versatile, making wall installation easier than ever. However, the process requires careful planning, the right tools, and an understanding of the technology to ensure a safe and aesthetically pleasing setup.
Understanding LED Flat Screen TVs
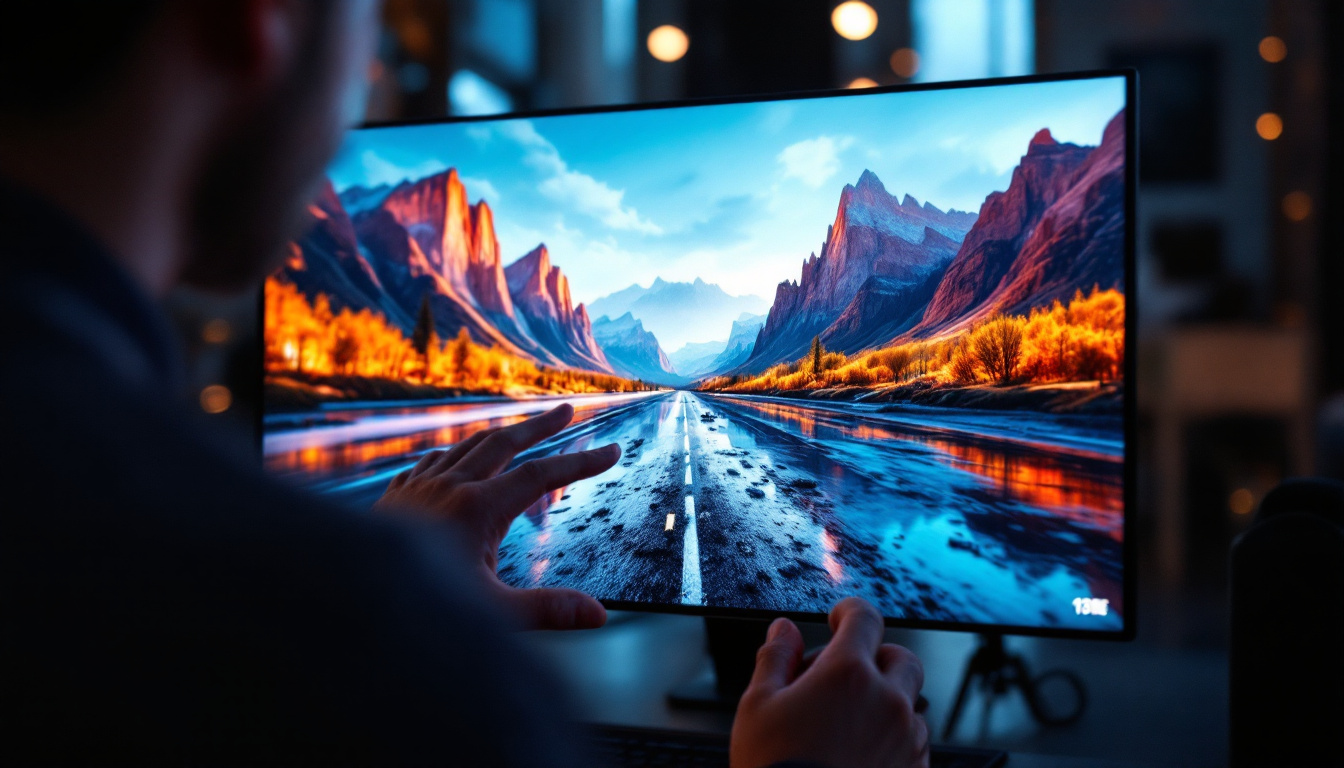
Before diving into the installation process, it’s important to understand what sets LED flat screen TVs apart from other display types. LED (Light Emitting Diode) TVs use an array of LEDs to illuminate the screen, which offers several advantages over older LCD or plasma models.
LED TVs are known for their thinner profiles and energy efficiency. According to the Consumer Technology Association, LED TVs consume up to 30% less power compared to traditional LCD TVs, making them an eco-friendly choice. Their lightweight design also simplifies wall mounting, reducing the need for heavy-duty support structures.
Types of LED Displays
There are primarily two types of LED backlighting used in flat screen TVs: edge-lit and full-array. Edge-lit LED TVs place LEDs around the edges of the screen, allowing for ultra-thin designs but sometimes compromising uniform brightness. Full-array LED TVs distribute LEDs evenly across the back of the screen, offering better contrast and brightness but usually at a slightly thicker profile.
In addition to these two primary types, there are also variations such as local dimming and quantum dot technology that enhance the viewing experience. Local dimming allows certain areas of the screen to dim independently, which improves black levels and contrast, especially in darker scenes. Quantum dot technology, on the other hand, utilizes tiny semiconductor particles to produce more vibrant colors, providing a richer and more immersive picture quality. These advancements make it essential for consumers to consider not just the type of LED backlighting, but also the additional features that can significantly enhance their viewing experience.
Understanding these differences can help you select the best TV for your wall mount setup, especially if you want to minimize the distance between the TV and the wall for a sleek, flush appearance. Additionally, it’s worth noting that the size and resolution of the TV play a crucial role in the overall viewing experience. With options ranging from Full HD to 4K and even 8K resolutions, choosing the right size and resolution can greatly impact how you enjoy movies, sports, and gaming on your new LED flat screen TV. The right combination will ensure that you not only have a stunning visual display but also a setup that complements your living space beautifully.
Preparing for Wall Mounting Your LED TV
Successful installation starts with preparation. This phase involves choosing the right location, selecting the appropriate wall mount, and gathering the necessary tools and materials.
Choosing the Right Location
Consider the room layout, viewing angle, and lighting conditions when selecting the wall for your TV. Ideally, the center of the screen should be at eye level when seated, which is generally around 42 to 48 inches from the floor. Avoid placing the TV opposite large windows or light sources to reduce glare and reflections.
Additionally, ensure the wall can support the weight of your TV and mount. Drywall alone is not sufficient; mounting into studs or a solid wall is essential for safety and stability.
Selecting the Appropriate Wall Mount
Wall mounts come in three main types: fixed, tilting, and full-motion (articulating). Fixed mounts hold the TV flat against the wall, offering a clean look but limited viewing angle adjustments. Tilting mounts allow the screen to angle up or down, which is helpful if the TV is mounted higher than eye level. Full-motion mounts provide the most flexibility, enabling you to swivel and extend the TV for optimal viewing from different positions.
When purchasing a mount, verify its compatibility with your TV’s size and VESA (Video Electronics Standards Association) mounting pattern. The VESA pattern is the standardized distance between the mounting holes on the back of your TV, typically measured in millimeters (e.g., 200×200, 400×400).
Gathering Tools and Materials
Common tools needed for installation include a stud finder, drill with appropriate bits, screwdriver, level, measuring tape, pencil, and socket wrench. Having a helper is highly recommended to safely lift and position the TV during mounting.
Additionally, consider cable management solutions such as in-wall rated power and HDMI cables, cable raceways, or cord covers to keep your installation neat and safe.
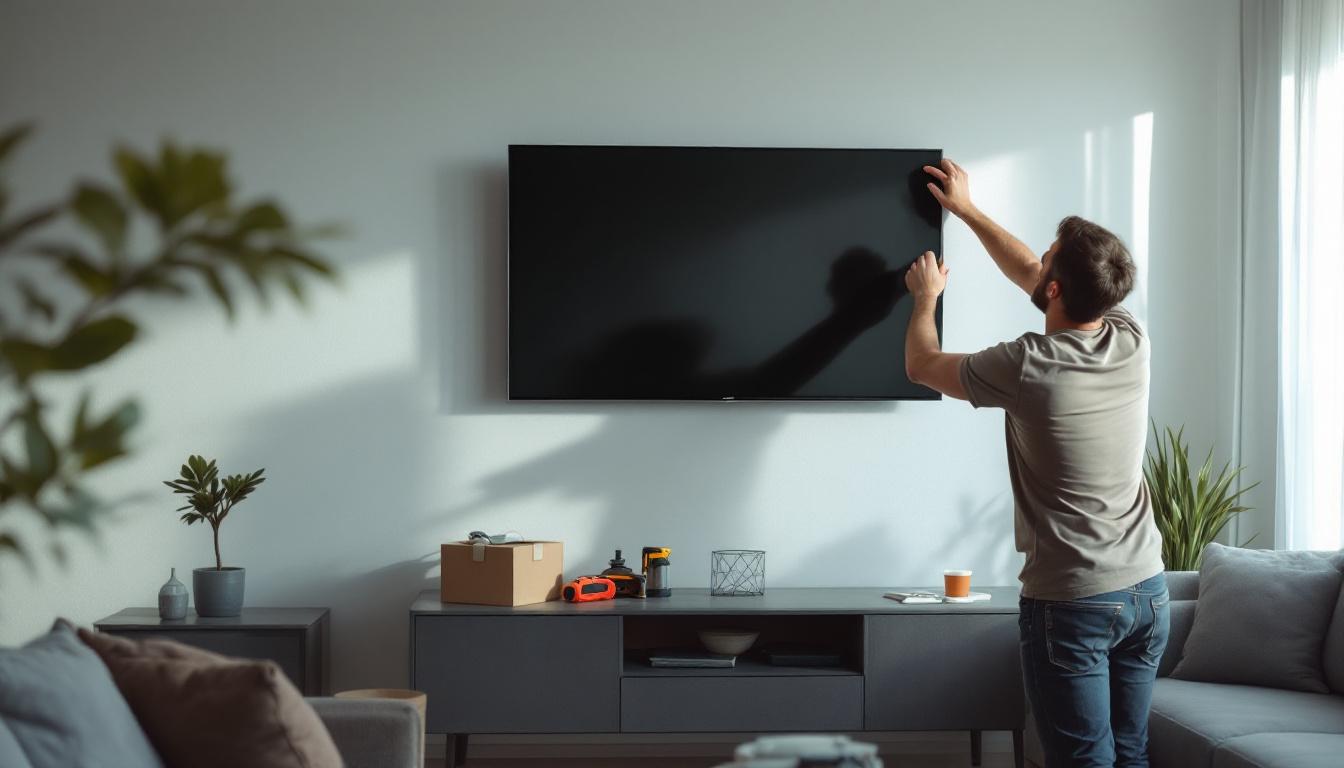
Step-by-Step Guide to Installing Your Flat Screen TV on the Wall
With preparation complete, follow these detailed steps to mount your LED TV securely and professionally.
Step 1: Locate the Wall Studs
Use a stud finder to locate the vertical framing studs behind the drywall. Mark the edges and center of each stud with a pencil. Mounting the TV bracket directly into studs provides the necessary support to hold the TV’s weight securely.
Step 2: Mark and Drill Mounting Holes
Hold the wall mount bracket against the wall at the desired height, ensuring it aligns with the studs. Use a level to make sure it is perfectly horizontal. Mark the drilling points through the mounting holes on the bracket.
Drill pilot holes into the studs at the marked points. These holes will guide the mounting screws and prevent the wood from splitting.
Step 3: Attach the Wall Bracket
Secure the wall bracket to the wall using lag bolts or heavy-duty screws provided with the mount. Use a socket wrench to tighten the bolts firmly but avoid overtightening, which could damage the wall or bracket.
Step 4: Attach the Mounting Plate to the TV
Locate the mounting holes on the back of your TV and attach the mounting plate or arms that came with your wall mount kit. Use the screws supplied with the mount, ensuring they fit the TV’s VESA pattern and are tightened securely.
Be careful not to overtighten, as this could damage the TV’s frame or internal components.
Step 5: Hang the TV on the Wall Bracket
With the help of a second person, lift the TV and hook the mounting plate onto the wall bracket. Most mounts have locking mechanisms or screws to secure the TV in place. Follow the manufacturer’s instructions to lock or tighten these safety features.
Step 6: Connect Cables and Manage Wires
Connect your power, HDMI, and other cables to the TV. To maintain a clean look, use cable management systems such as in-wall cable kits or surface-mounted raceways. This not only improves aesthetics but also prevents tripping hazards and cable damage.
Step 7: Final Adjustments and Testing
Adjust the tilt or swivel of the TV if your mount allows. Use a level to confirm the TV is perfectly straight. Turn on the TV and test all connected devices to ensure everything is functioning correctly.
Safety Tips and Common Mistakes to Avoid
Wall mounting a flat screen TV requires attention to safety and detail. Here are some important tips and pitfalls to avoid during installation.
Always Mount into Studs or Solid Walls
Drywall anchors are generally not strong enough to support the weight of a flat screen TV. Always use a stud finder to locate framing studs or mount on a solid concrete or brick wall using appropriate anchors.
Use the Correct Mount for Your TV Size and Weight
Check the mount’s specifications to ensure it can support your TV’s weight and size. Using an undersized mount can lead to dangerous falls and damage to your TV and property.
Don’t Overtighten Screws
Overtightening can strip screws or damage the TV and wall. Tighten screws firmly but stop as soon as they feel secure.
Consider Professional Installation for Large or Expensive TVs
If your TV is particularly large (over 65 inches) or valuable, or if you are unsure about the installation process, hiring a professional installer can ensure safety and optimal placement.
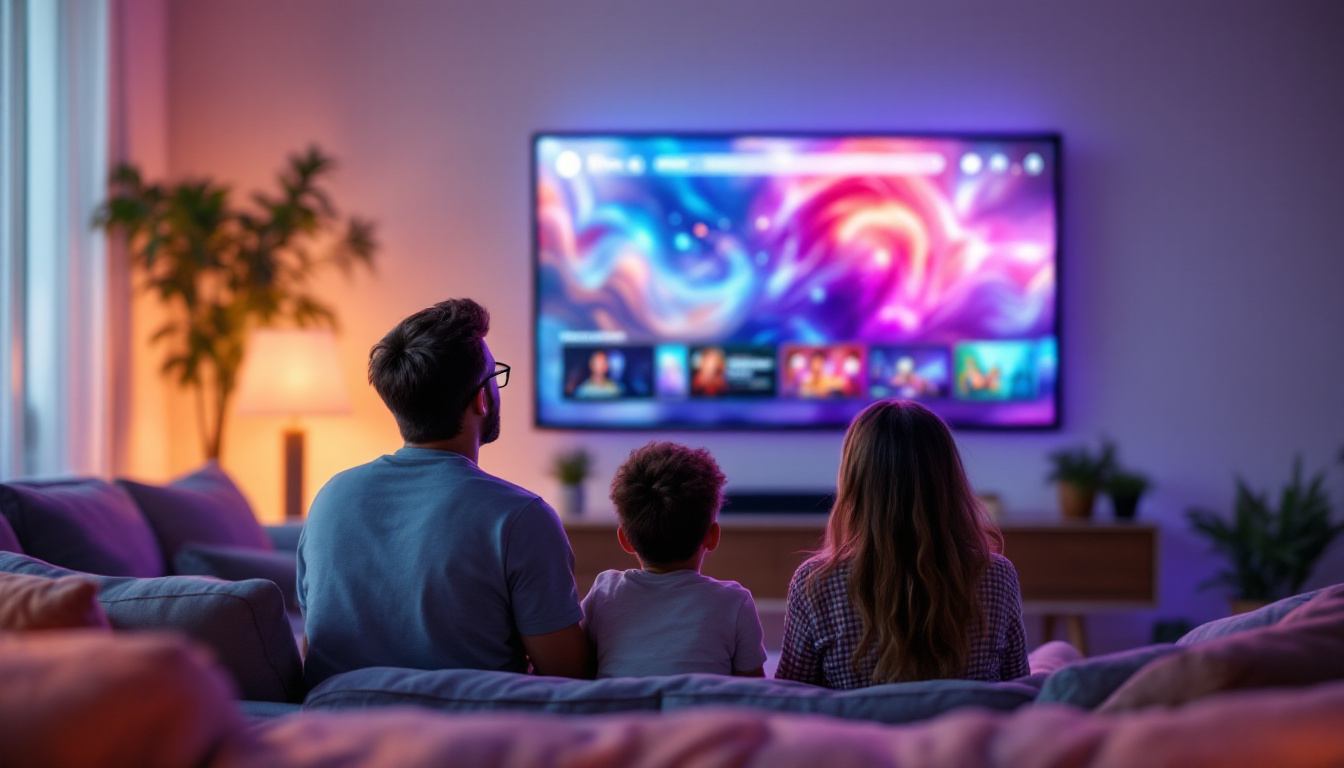
Enhancing Your Viewing Experience After Installation
Once your LED flat screen TV is mounted, there are additional steps to optimize your viewing experience and room aesthetics.
Calibrate Your TV Settings
Adjust brightness, contrast, color, and sharpness settings to suit your room’s lighting conditions. Many modern TVs offer presets like “Cinema” or “Game Mode” that optimize picture quality for different content types.
Optimize Sound Quality
Wall mounting can sometimes affect built-in speaker performance. Consider adding a soundbar or external speakers to enhance audio quality. Position speakers strategically to complement your TV placement.
Integrate Smart Home Features
Many LED TVs support smart home integration, allowing control via voice assistants or smartphone apps. Setting up these features can add convenience and modernize your entertainment setup.
Conclusion
Installing a flat screen LED TV on the wall is a practical way to elevate your home entertainment system. Understanding the technology behind LED displays, preparing properly, and following a systematic installation process ensures a secure and visually appealing setup. With the right tools, careful planning, and attention to safety, you can enjoy a sleek, clutter-free viewing experience that enhances your living space.
Whether you choose a fixed, tilting, or full-motion mount, the key is to match the mount to your TV and room needs. Don’t forget to manage cables neatly and consider sound and picture calibration for the best results. If in doubt, professional installation services are a worthwhile investment, especially for larger or more complex setups.
Enhance Your Space with LumenMatrix LED Displays
Ready to take your home entertainment to the next level? LumenMatrix offers a wide range of innovative LED display solutions that can transform any room into a dynamic visual experience. From sleek Indoor LED Wall Displays to immersive Custom LED Displays, our technology is designed to captivate and engage. Elevate your viewing experience with our cutting-edge LED display modules and discover the perfect match for your newly mounted flat screen TV. Check out LumenMatrix LED Display Solutions today and revolutionize the way you enjoy media and share your message.