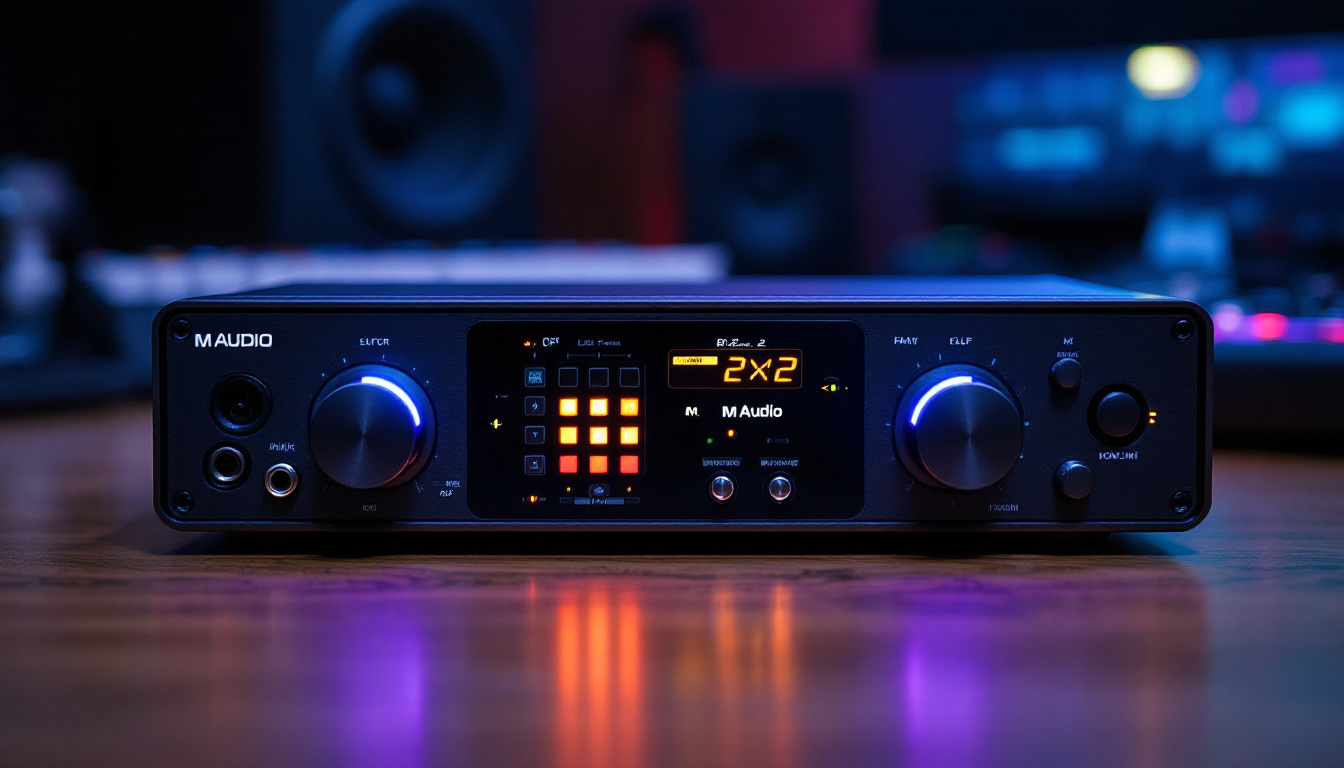
The M Audio 2X2 interface has gained popularity among musicians, podcasters, and audio engineers for its reliability and user-friendly features. One of the standout elements of this device is its LED display, which provides crucial information at a glance. Understanding how to interpret this display can significantly enhance the user experience and improve workflow. This article delves into the intricacies of the M Audio 2X2 driver and the functionality of its LED display.
Overview of the M Audio 2X2 Interface
The M Audio 2X2 is a compact audio interface designed for both studio and mobile use. It features two inputs and two outputs, making it versatile for various applications, from recording vocals to capturing instruments. The device is compatible with most digital audio workstations (DAWs), allowing for seamless integration into any setup. Its portability makes it an excellent choice for musicians and podcasters who need to record high-quality audio on the go, whether in a coffee shop, a home studio, or even during live performances.
Key Features
Some of the notable features of the M Audio 2X2 include high-quality preamps, 24-bit/192kHz audio resolution, and a robust USB interface. These elements work together to ensure that audio quality remains pristine, whether recording in a studio or on the go. Additionally, the interface is equipped with MIDI input and output, expanding its functionality for those who work with MIDI instruments. This feature allows users to connect keyboards, drum machines, and other MIDI-enabled devices, making it a comprehensive tool for music production. The interface also supports direct monitoring, which eliminates latency issues, allowing musicians to hear their performance in real-time without any delay.
Importance of the LED Display
The LED display on the M Audio 2X2 serves as a vital component for monitoring levels and ensuring optimal performance. It provides real-time feedback on input and output levels, allowing users to make immediate adjustments as needed. Understanding how to read and interpret the LED indicators can help users avoid common pitfalls, such as clipping or insufficient gain. The clarity of the display is particularly beneficial in live settings where quick adjustments may be necessary. Moreover, the color-coded indicators provide an intuitive way to assess levels at a glance, making it easier for users to focus on their performance rather than getting bogged down in technical details.
Beyond just level monitoring, the LED display also enhances the user experience by offering visual cues during the recording process. For instance, when the interface is powered on, the LED lights up, confirming that the device is ready for use. Additionally, during playback, the indicators can reflect the audio signal’s dynamics, giving users a visual representation of their sound. This feature can be especially useful for sound engineers and producers who rely on visual feedback to make critical mixing decisions. Overall, the LED display not only aids in technical monitoring but also contributes to a more engaging and user-friendly interface experience.
Understanding the LED Display
The LED display on the M Audio 2X2 consists of several indicators that convey important information about the device’s status. Each LED light has a specific meaning, and recognizing these can enhance the user experience significantly.
Input Level Indicators
The input level indicators are crucial for monitoring the audio signals coming into the interface. Typically, these indicators will light up in different colors to represent various levels of audio input. For instance, a green light often indicates a healthy signal, while yellow may suggest that the signal is approaching the clipping point. If the indicator turns red, it typically means that the input level is too high, which can lead to distortion in the recorded audio.
To achieve optimal recording levels, it is advisable to keep the input levels in the green range. This ensures that the audio is captured clearly without any unwanted distortion. Users should regularly check these indicators while recording to maintain the desired sound quality. Additionally, understanding the dynamics of the audio source can help in setting the appropriate levels. For instance, a vocalist may have varying dynamics, and adjusting the input gain accordingly can prevent sudden spikes that push the signal into the red zone.
Output Level Indicators
Similar to the input level indicators, the output level indicators provide feedback on the audio being sent out from the interface. These indicators help users monitor the levels being sent to speakers or headphones. Maintaining proper output levels is essential to prevent damage to speakers or hearing loss from excessively loud audio.
When using the M Audio 2X2, it is important to adjust the output levels according to the connected devices. For instance, if headphones are connected, the output level should be set to a comfortable listening level. On the other hand, when connecting to studio monitors, the output should be adjusted to match the monitors’ specifications. Furthermore, it’s beneficial to familiarize oneself with the acoustic environment of the studio or room. Factors such as room acoustics and speaker placement can significantly affect how audio is perceived, making it crucial to monitor the output levels in context to the listening environment. Regularly calibrating your setup can lead to a more accurate representation of your audio work, ensuring that mixes translate well across different playback systems.
Common Issues and Troubleshooting
While the M Audio 2X2 is designed for ease of use, users may encounter some common issues related to the LED display and overall functionality. Understanding these issues and their solutions can save time and frustration.
Clipping and Distortion
One of the most frequent issues users face is clipping, which occurs when the input levels exceed the maximum threshold. This is often indicated by the red LED lights on the input level indicators. To resolve this, users should lower the gain on the input channel to bring the levels back into the green zone. Additionally, using a compressor or limiter during recording can help manage peaks in audio levels. It’s also beneficial to monitor the audio levels visually and audibly, as relying solely on the LED indicators may not provide a complete picture of the sound quality. Regularly checking the gain staging throughout the recording process can prevent distortion and ensure a cleaner mix.
LED Display Malfunctions
In some cases, users may experience malfunctions with the LED display, such as flickering lights or unresponsive indicators. This can often be attributed to a faulty USB connection or outdated drivers. To troubleshoot, ensure that the USB cable is securely connected and try using a different port on the computer. If the problem persists, updating the M Audio 2X2 driver through the manufacturer’s website may resolve the issue. Additionally, users should consider checking for any software conflicts that may arise from other connected devices. Sometimes, other audio interfaces or peripherals can interfere with the M Audio 2X2’s performance, leading to display issues. A clean installation of the drivers or using the device on a different computer can also help isolate the problem and confirm whether the issue lies with the interface itself or the computer setup.
Best Practices for Using the M Audio 2X2
To maximize the performance of the M Audio 2X2 and its LED display, users should follow several best practices. These practices not only enhance the user experience but also contribute to better audio quality.
Regularly Monitor Levels
Consistent monitoring of input and output levels is essential for achieving optimal sound quality. Users should make it a habit to glance at the LED indicators frequently during recording sessions. This practice helps to catch any potential issues early, allowing for quick adjustments before they affect the recording. Additionally, employing a pair of good quality headphones can further assist in identifying subtle changes in sound, ensuring that the output is as clear and precise as intended. This dual approach of visual and auditory monitoring creates a more comprehensive understanding of the audio landscape, leading to a more polished final product.
Utilize Proper Gain Staging
Gain staging is a critical aspect of audio recording that involves setting the appropriate levels at each stage of the signal chain. By ensuring that levels are neither too low nor too high, users can prevent noise and distortion. The LED display serves as a valuable tool for achieving proper gain staging, guiding users in setting levels that are both safe and effective. Moreover, it is beneficial to familiarize oneself with the dynamic range of the instruments or vocals being recorded, as this knowledge allows for more informed decisions regarding gain settings. Understanding how different sound sources interact with the gain structure can lead to a more harmonious mix, where each element sits well within the overall audio spectrum.
Conclusion
The M Audio 2X2 interface, with its intuitive LED display, is an invaluable tool for anyone involved in audio production. By understanding the various indicators and how to interpret them, users can enhance their recording experience and ensure high-quality audio output. Whether you are a seasoned professional or a beginner, mastering the use of the LED display can lead to better recordings and a more efficient workflow.
In summary, the M Audio 2X2 driver and its LED display are designed to provide users with essential information at a glance. By following best practices and troubleshooting common issues, users can fully leverage the capabilities of this powerful audio interface. With the right knowledge and approach, the M Audio 2X2 can significantly elevate any audio project.
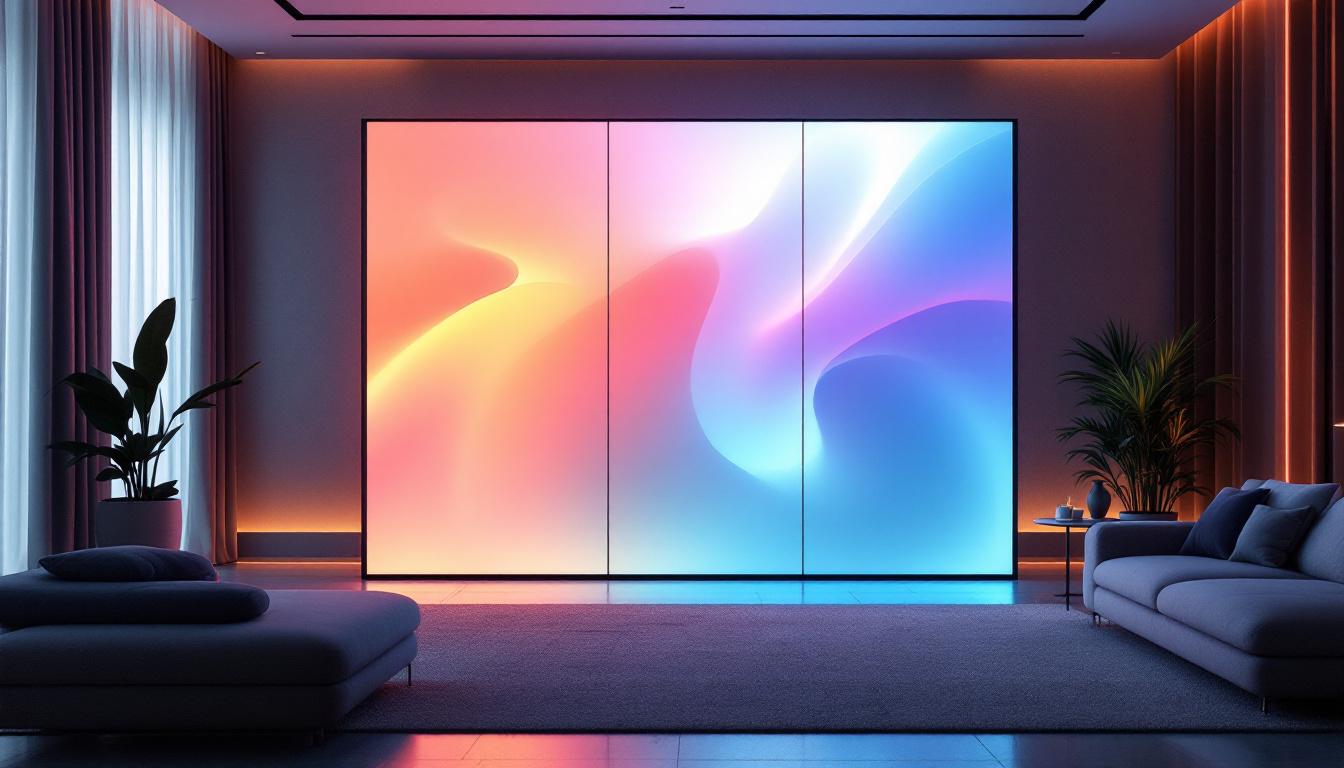
Enhance Your Audio Production with LumenMatrix LED Displays
As you strive for precision and clarity in your audio projects with the M Audio 2X2 interface, consider elevating your studio with the visual excellence of LumenMatrix’s LED display technology. LumenMatrix is at the forefront of creating immersive visual experiences that complement your audio production. From Indoor and Outdoor LED Wall Displays to innovative solutions like LED Sports and Floor Displays, LumenMatrix has the perfect LED display to bring your studio to life. Check out LumenMatrix LED Display Solutions today and transform your creative space into a hub of inspiration and high-impact visual storytelling.