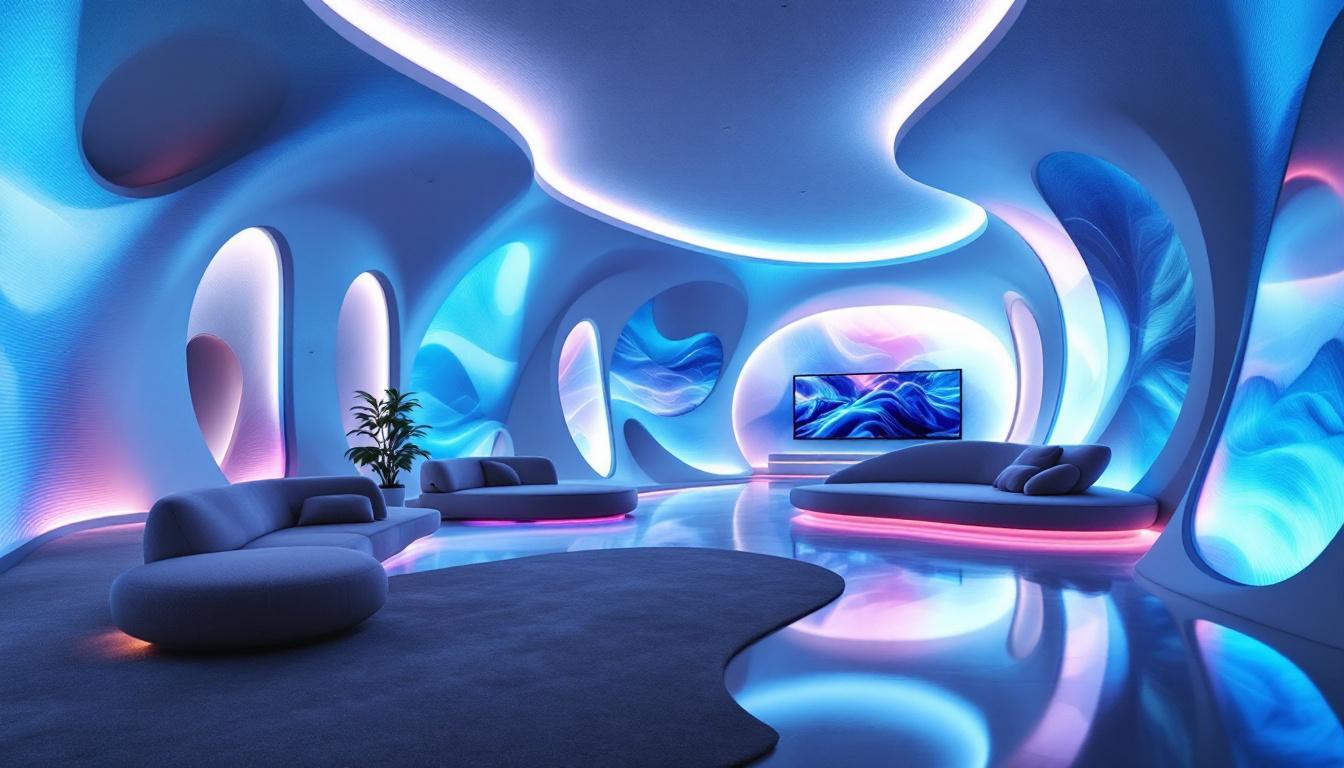
Creating curved walls in architectural design has become increasingly popular, especially in projects involving dynamic spaces such as exhibition halls, retail environments, and modern office interiors. When combined with LED displays, curved walls can transform a space into an immersive, visually captivating environment. Autodesk Revit, a leading Building Information Modeling (BIM) software, offers powerful tools to design these complex geometries with precision and flexibility.
This article explores how to create curved walls in Revit and integrates LED display considerations to help architects, designers, and engineers bring innovative curved wall designs to life.
Understanding Curved Walls in Revit
Curved walls are non-linear wall elements that can follow arcs, splines, or complex curves. Unlike straight walls, they require careful planning and execution to ensure structural integrity and aesthetic appeal. The design of curved walls often involves a deep understanding of both architectural principles and engineering constraints, making them a fascinating challenge for architects and designers alike.
In Revit, curved walls are created using specific tools that allow designers to define the radius, arc length, and curvature type. These walls are essential for projects that aim to break away from traditional rectilinear forms and embrace organic or fluid architectural expressions. The flexibility offered by Revit’s modeling capabilities enables architects to experiment with various forms, leading to innovative designs that can redefine spatial experiences within a building.
Why Use Curved Walls?
Curved walls offer several advantages in architectural design:
- Visual Interest: They create dynamic spaces that capture attention and evoke emotion.
- Functional Flow: Curved walls can guide movement and improve circulation within a building.
- Integration with Technology: Curved surfaces are ideal for mounting LED displays, enabling seamless digital installations.
According to a 2023 survey by the American Institute of Architects, over 35% of contemporary commercial projects incorporate curved elements to enhance spatial experience. This trend highlights a growing recognition of the importance of aesthetics in functionality, as curved walls can transform ordinary spaces into extraordinary environments that foster creativity and collaboration.
Additionally, the use of curved walls can significantly impact acoustics and lighting within a space. The gentle contours of these walls can help diffuse sound, creating a more pleasant auditory experience, while their unique shapes can allow for innovative lighting designs that enhance the mood and atmosphere of the environment. As a result, architects are increasingly considering curved walls not just for their visual appeal, but also for their functional benefits in creating harmonious and engaging spaces.
Types of Curved Walls in Revit
Revit supports several types of curved walls, including:
- Arc Walls: Walls that follow a circular arc defined by a radius and angle.
- Spline Walls: Walls that follow a smooth curve defined by multiple control points.
- Multi-segment Walls: Walls composed of multiple straight and curved segments.
Each type serves different design intents and complexity levels, with arc walls being the most straightforward to create and spline walls offering greater flexibility for organic forms. The choice of wall type can significantly influence the overall design narrative, allowing architects to express their vision in a way that resonates with the intended use of the space. For instance, a spline wall might be ideal for a gallery that aims to create a fluid flow of movement, while an arc wall could serve as a striking focal point in a lobby or atrium.
Moreover, the integration of curved walls with other architectural elements, such as roofs and floors, can lead to unique junctions and intersections that further enhance the design. This interplay between different components can create visually stunning effects and contribute to the overall coherence of the architectural language. As technology continues to evolve, the possibilities for incorporating curved walls into architectural designs will expand, pushing the boundaries of creativity and innovation in the built environment.
Step-by-Step Guide to Creating Curved Walls in Revit
Designing curved walls in Revit involves a series of deliberate steps to ensure accuracy and design intent. Below is a comprehensive guide to creating curved walls effectively.
1. Setting Up the Project Environment
Before starting, ensure your Revit project is properly set up with the correct levels, grids, and reference planes. This foundation facilitates precise placement and alignment of curved walls.
It is also advisable to enable worksharing if collaborating with a team, as curved wall design often requires coordination with structural and MEP disciplines.
2. Selecting the Wall Tool
Navigate to the Architecture tab and select the Wall tool. In the properties palette, choose the desired wall type. For curved walls, it is important to select a wall type that supports curvature, such as curtain walls or basic walls with flexible profiles.
3. Using the Arc Wall Tool
To create an arc wall:
- Click the drop-down arrow next to the wall tool and select Arc.
- Click to place the start point of the arc.
- Drag to define the end point.
- Adjust the arc by dragging the midpoint or entering precise radius values in the options bar.
This method is ideal for walls that follow a consistent circular curve.
4. Creating Spline Walls
Spline walls follow more complex curves and are created by:
- Selecting the Wall tool.
- Choosing the Spline option in the draw panel.
- Clicking multiple points to define the curve.
- Adjusting control points to refine the curvature.
Spline walls are perfect for organic shapes and freeform designs.
5. Modifying Wall Properties
Once the curved wall is placed, customize its properties:
- Height: Adjust base and top constraints to control wall height.
- Thickness: Modify wall thickness for structural or aesthetic needs.
- Materials: Assign finishes that complement LED display installation.
These adjustments ensure the wall fits the overall building design and functional requirements.
6. Adding Openings and Supports
Curved walls often require openings for doors, windows, or integrated technology. Use the Door and Window tools to place openings, ensuring they conform to the wall’s curvature.
Structural supports such as columns or beams can be added to maintain stability, especially for large curved walls.
Integrating LED Displays with Curved Walls
Curved walls provide an excellent surface for LED display installations, offering immersive and engaging visual experiences. However, integrating LED technology with curved surfaces requires careful consideration.
Challenges of Mounting LED Displays on Curved Walls
Mounting LED panels on curved walls presents unique challenges:
- Panel Flexibility: Standard LED panels are rigid and may not conform to tight curves.
- Structural Support: The wall must support the weight and mounting hardware of the LED display.
- Viewing Angles: Curvature affects how viewers perceive the display, requiring precise calibration.
Addressing these challenges early in the design phase ensures a successful installation.
Design Considerations for LED Displays on Curved Walls
When planning LED displays on curved walls, consider the following:
- Curvature Radius: Larger radii are easier to accommodate with standard LED panels, while tighter curves may require flexible or custom panels.
- Wall Material and Finish: The wall surface should support mounting hardware and provide a smooth, stable base.
- Access for Maintenance: Design access points or removable panels for servicing the LED display.
- Electrical and Data Routing: Plan conduit and cable pathways within or behind the wall to maintain aesthetics and functionality.
Using Revit to Model LED Display Integration
Revit’s BIM capabilities allow designers to model LED displays as part of the wall assembly, facilitating coordination and visualization.
Steps include:
- Creating Families: Develop or import LED panel families that represent the physical dimensions and mounting requirements.
- Placing Panels: Position LED panels along the curved wall surface, ensuring alignment with the wall’s curvature.
- Clash Detection: Use Revit’s interference checking tools to identify conflicts with structural elements or MEP systems.
- Rendering: Generate realistic visualizations to assess the aesthetic impact of the LED display on the curved wall.
This integrated approach minimizes surprises during construction and installation.
Advanced Techniques and Tips for Curved Wall Design
For projects that demand higher complexity or precision, advanced techniques in Revit can enhance curved wall design and LED display integration.
Using Adaptive Components for Custom Curved Elements
Adaptive components in Revit allow for parametric modeling of custom shapes that adjust to varying conditions. This is particularly useful for designing LED display mounts that conform precisely to curved walls.
By linking adaptive components to wall geometry, designers can automate adjustments and ensure perfect fit throughout the project lifecycle.
Employing Dynamo for Automation
Dynamo, a visual programming extension for Revit, can automate repetitive tasks such as:
- Generating curved wall segments based on complex mathematical curves.
- Placing LED panels evenly along a curved surface.
- Calculating structural loads and optimizing support placement.
Automation reduces manual errors and accelerates design iterations.
Collaboration and Coordination
Curved walls with integrated LED displays require close collaboration among architects, structural engineers, MEP consultants, and technology specialists.
Using Revit’s cloud-based collaboration tools, teams can share models in real-time, coordinate changes, and resolve conflicts early, ensuring a smooth construction process.
Case Studies: Curved Walls and LED Displays in Practice
Examining real-world examples highlights how curved walls and LED displays can transform spaces.
Case Study 1: Retail Flagship Store
A global electronics retailer designed a flagship store featuring a sweeping curved wall embedded with a high-resolution LED display. The wall served as a dynamic backdrop for product launches and interactive content.
Using Revit, the design team modeled the curved wall with a 15-meter radius arc and integrated LED panel families. Coordination with structural engineers ensured the wall supported the display’s weight. The project resulted in a visually stunning and functional retail environment.
Case Study 2: Museum Exhibition Hall
A contemporary art museum incorporated curved walls with embedded LED displays to create immersive exhibition spaces. The walls followed complex spline curves, requiring custom flexible LED panels.
Revit’s adaptive components and Dynamo scripts facilitated precise placement and alignment of the panels. The BIM model helped coordinate electrical and data routing, ensuring seamless integration.
Conclusion
Curved walls in Revit offer architects and designers powerful means to create innovative, fluid spaces that stand out architecturally. When combined with LED displays, these walls become dynamic canvases for digital storytelling and interactive experiences.
Mastering the creation of curved walls in Revit, understanding the technical challenges of LED display integration, and leveraging advanced tools like adaptive components and Dynamo can elevate design projects significantly.
By following best practices and collaborating closely across disciplines, design teams can deliver curved wall installations that are both visually compelling and technically sound, meeting the demands of modern architectural innovation.
Explore LumenMatrix LED Display Solutions
Ready to bring your architectural designs to life with the seamless integration of LED displays? Discover the innovative solutions offered by LumenMatrix, a leader in LED display technology. From indoor and outdoor spaces to custom and transparent displays, LumenMatrix provides a range of options to elevate your projects. Enhance your designs with our state-of-the-art LED modules and create environments that resonate with audiences. Check out LumenMatrix LED Display Solutions today and transform your creative vision into a captivating reality.