Integrating inwall speakers into your home or office environment offers a sleek, modern audio solution that blends seamlessly with your décor. Whether you’re upgrading your home theater system or enhancing background music in a commercial space, inwall speakers provide high-quality sound without the clutter of traditional speaker setups. Meanwhile, understanding the role of LED displays in audio systems can further elevate your experience by offering intuitive control and visual feedback.
This comprehensive guide will walk you through the essential steps to install inwall speakers effectively, while also explaining how LED displays complement these systems. From planning and preparation to wiring and final setup, each phase is crucial for achieving optimal sound performance and aesthetic appeal.
Why Choose Inwall Speakers?
Inwall speakers have surged in popularity due to their discreet design and impressive sound quality. According to a 2023 survey by the Consumer Electronics Association, over 40% of new home audio installations now include inwall or in-ceiling speakers, reflecting a growing trend toward minimalist setups.
Unlike traditional bookshelf or floor-standing speakers, inwall units are embedded directly into your walls, saving space and reducing visual clutter. This makes them ideal for rooms where aesthetics are as important as audio performance, such as living rooms, conference rooms, or upscale retail environments.
Moreover, inwall speakers often come with customizable grilles that can be painted to match your wall color, further enhancing their discreet appearance. Their placement also allows for immersive surround sound configurations, which are essential for home theaters and gaming setups.
In addition to their aesthetic advantages, inwall speakers are designed with advanced audio technology that can rival traditional speaker systems. Many models utilize high-quality components, such as woofers and tweeters, that deliver a balanced sound profile across various frequencies. This means that whether you’re listening to music, watching movies, or playing video games, the audio experience is rich and engaging. Furthermore, some inwall speakers are equipped with built-in amplification, which can simplify installation and reduce the need for additional equipment.
Another significant benefit of inwall speakers is their ability to enhance the acoustics of a room. By strategically placing these speakers within the walls, sound can be distributed evenly throughout the space, minimizing dead spots and ensuring that every corner of the room benefits from high-quality audio. This is particularly advantageous in larger spaces where traditional speakers might struggle to fill the area with sound. Additionally, many inwall speaker systems are compatible with smart home technology, allowing users to control their audio experience seamlessly through mobile apps or voice commands, further integrating sound into the modern lifestyle.
Planning Your Inwall Speaker Installation
Assessing Your Space and Audio Needs
Before purchasing speakers or starting installation, evaluate the room’s size, shape, and acoustics. Large rooms may require multiple speakers or higher wattage units to ensure even sound distribution, while smaller rooms might benefit from fewer, strategically placed speakers.
Consider the primary use of the audio system. For example, a home theater demands surround sound with speakers positioned at ear level and behind seating areas, whereas a multi-room audio system may prioritize background music with speakers placed in open areas.
Choosing the Right Speakers
Inwall speakers come in various sizes and configurations, including two-way and three-way models, which refer to the number of drivers handling different frequency ranges. Two-way speakers typically have a woofer and a tweeter, suitable for general listening, while three-way speakers add a midrange driver for enhanced clarity.
Additionally, check the speaker’s impedance and power handling capacity to ensure compatibility with your amplifier or receiver. Most home audio systems use 8-ohm speakers, but some commercial installations might require 4-ohm units.
Planning Speaker Placement
Proper placement is critical for optimal sound quality. Ideally, speakers should be installed at ear level when seated, approximately 36 to 48 inches from the floor. Avoid placing them too close to corners or behind furniture, as this can cause sound distortion or muffling.
Use a stud finder to locate wall studs and avoid placing speakers where they will be obstructed. Also, consider the location of electrical wiring and plumbing to prevent accidental damage during installation.
Tools and Materials Needed for Installation
Having the right tools and materials on hand will streamline the installation process and reduce the risk of errors. Essential items include:
- Stud finder: To locate studs and avoid obstacles within the wall.
- Drywall saw or keyhole saw: For cutting precise holes in the wall.
- Fish tape or wire puller: To guide speaker wires through walls.
- Speaker wire: Typically 16-gauge or 14-gauge, depending on run length and power requirements.
- Wire strippers and cutters: For preparing speaker wire ends.
- Screwdriver and drill: For securing speaker mounts and running cables.
- Level: To ensure speakers are installed straight.
- LED display or control panel (optional): For systems incorporating visual feedback and control.
Step-by-Step Guide to Installing Inwall Speakers
Step 1: Marking the Speaker Location
Begin by marking the desired speaker location on the wall. Use a pencil and level to outline the speaker’s cutout template, which is usually provided by the manufacturer. Double-check measurements to ensure the speaker will fit without interfering with wall studs or other obstructions.
Step 2: Cutting the Wall Opening
Using a drywall saw, carefully cut along the marked outline. Take your time to make clean, precise cuts to avoid damaging surrounding drywall. Wear protective eyewear and a dust mask to safeguard against debris.
Step 3: Running Speaker Wire
Run speaker wire from your amplifier or receiver location to the speaker opening. Use a fish tape to pull the wire through the wall cavity, avoiding sharp bends and ensuring the wire is long enough to reach the speaker terminals comfortably.
For longer runs exceeding 50 feet, consider using thicker gauge wire (14-gauge) to minimize signal loss. Label each wire end to avoid confusion during connection.
Step 4: Connecting the Speaker Wire
Strip about half an inch of insulation from the wire ends using wire strippers. Connect the positive (usually red) and negative (usually black) wires to the corresponding terminals on the speaker. Ensure a secure connection to prevent audio dropouts or interference.
Step 5: Mounting the Speaker
Insert the speaker into the wall opening and secure it using the mounting clamps or screws provided. Use a level to confirm the speaker is straight before tightening. Avoid over-tightening, which can damage the drywall or speaker frame.
Step 6: Testing the Speaker
Before finishing the installation, test the speaker by playing audio through your system. Check for clear sound without distortion or buzzing. If issues arise, verify wiring connections and speaker placement.
Step 7: Installing the Speaker Grille
Attach the speaker grille, which is typically magnetically held or secured with clips. If desired, paint the grille to match the wall color for a seamless look. Use spray paint designed for metal or plastic surfaces to avoid clogging the grille holes.
Understanding LED Displays in Audio Systems
The Role of LED Displays
LED displays have become a common feature in modern audio systems, providing users with real-time information such as volume levels, input sources, equalizer settings, and track details. These displays enhance usability by offering visual feedback, making it easier to control complex systems.
In inwall speaker setups, LED displays are often integrated into wall-mounted control panels or amplifiers, allowing for convenient adjustments without needing to access the main audio equipment.
Types of LED Displays
LED displays vary from simple numeric readouts to full-color graphical interfaces. Common types include:
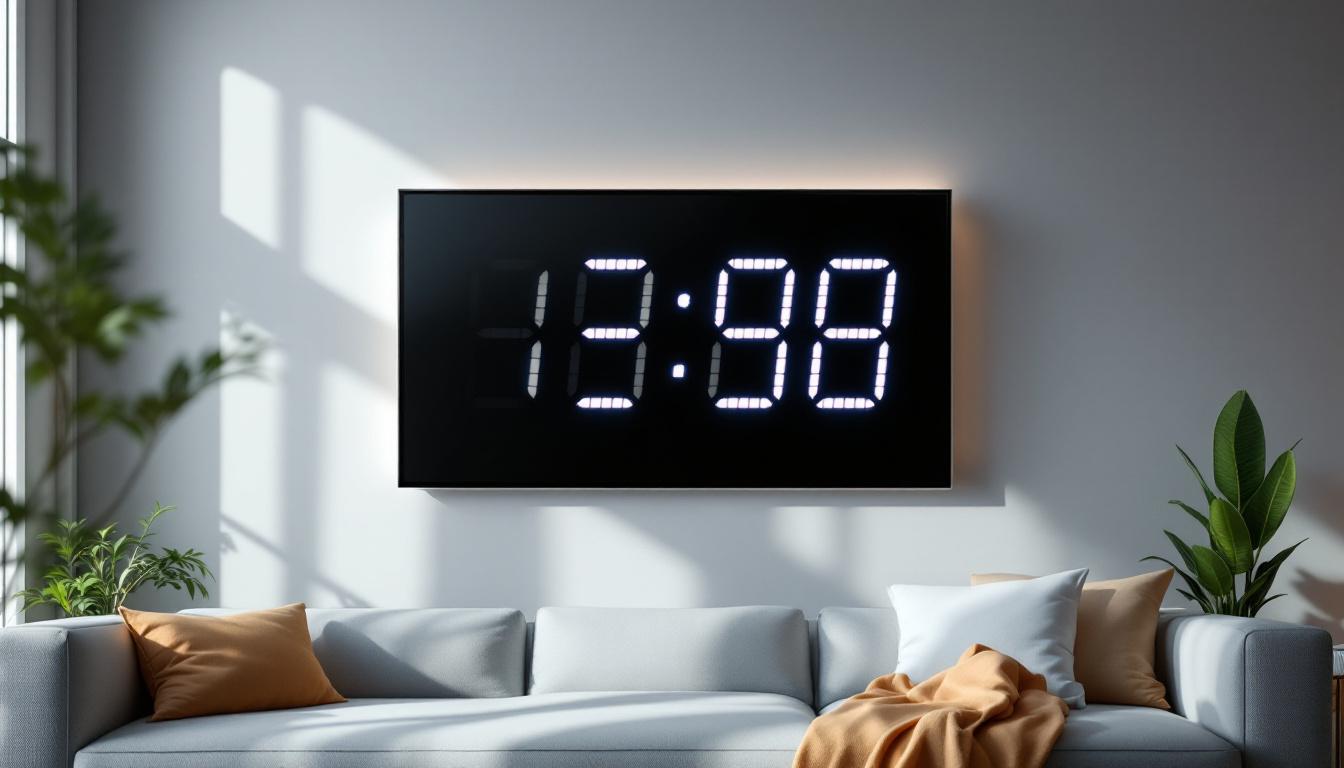
- Segment LED displays: Show basic information like volume or channel numbers.
- Dot matrix LED displays: Capable of displaying text and simple graphics.
- OLED and LCD panels with LED backlighting: Offer high-resolution visuals and touch control capabilities.
Integrating LED Displays with Inwall Speakers
When installing inwall speakers, consider incorporating an LED display control panel on the wall near the speaker location. This setup allows users to adjust audio settings locally, enhancing convenience and user experience.
Some advanced systems support smart home integration, enabling LED displays to show notifications, streaming information, or even voice assistant feedback. This integration can transform your audio system into a central hub for entertainment and home automation.
Common Challenges and How to Overcome Them
Dealing with Wall Obstacles
Walls often contain studs, electrical wiring, plumbing, or insulation that can obstruct speaker installation. Using a high-quality stud finder with live wire detection helps avoid these hazards. If obstacles are unavoidable, consider relocating the speaker or using surface-mounted enclosures as an alternative.
Ensuring Proper Sound Quality
Improper placement or poor wiring can degrade sound quality. To combat this, use quality speaker wire, maintain correct polarity, and position speakers according to acoustic principles. Acoustic treatments like wall panels or bass traps can also improve sound performance in challenging rooms.
Maintaining Aesthetic Appeal
Cutting into walls can damage paint or wallpaper. Use painter’s tape around cut lines to protect surfaces, and patch any imperfections with spackle before repainting. Choosing paintable grilles ensures a uniform finish that blends with your décor.
Conclusion: Achieving a Professional Inwall Speaker Installation
Installing inwall speakers is a rewarding project that combines technical skill with design sensibility. By carefully planning your installation, selecting appropriate equipment, and understanding the role of LED displays in modern audio systems, you can create an immersive sound environment that enhances your space without compromising aesthetics.
Whether upgrading a home theater, setting up a multi-room audio system, or outfitting a commercial venue, following these guidelines ensures a professional outcome. Remember that attention to detail during each installation phase—from cutting the wall to wiring and testing—makes all the difference in achieving superior sound quality and user satisfaction.
With the integration of LED displays, your audio system gains an intuitive interface that simplifies control and adds a touch of modern sophistication. Embrace these technologies to enjoy a seamless blend of form and function in your audio setup.
Enhance Your Audio Experience with LumenMatrix
Ready to elevate your inwall speaker setup with the ultimate visual complement? Discover LumenMatrix’s innovative LED display solutions, crafted to transform your audio environment into a visually stunning experience. From Indoor LED Wall Displays to Custom LED Displays, LumenMatrix offers a wide range of options to suit any need. Embrace the future of visual communication and captivate your audience with clarity and impact. Check out LumenMatrix LED Display Solutions today and see the difference for yourself.