Creating curved walls in Revit can elevate architectural designs by adding fluidity and modern aesthetics, especially when integrating dynamic elements like LED displays. This article explores the step-by-step process of modeling curved walls in Revit, with a focus on how these walls can be optimized for LED display installations. Whether you’re an architect, designer, or BIM specialist, understanding these techniques will enhance your project outcomes and client presentations.
Understanding Curved Walls in Revit
Curved walls are an essential design feature in contemporary architecture, often used to create organic shapes, improve spatial flow, or highlight specific areas such as lobbies or exhibition spaces. Revit, Autodesk’s powerful BIM software, offers multiple ways to create curved walls, each suited to different design intentions and technical requirements.
Before diving into the creation process, it’s important to grasp the types of curved walls available in Revit:
- Arc Walls: These are walls based on a single arc segment, perfect for simple curved forms.
- Multi-segment Curved Walls: Composed of multiple arcs or lines, these walls can form complex curves and shapes.
- Freeform Walls: Created using splines or adaptive components, these allow for highly customized, non-uniform curves.
Each type has implications for the structural integrity, fabrication, and installation of elements like LED displays. For example, a smooth arc wall may facilitate easier LED panel mounting compared to a segmented curve. Moreover, the choice of wall type can influence the overall aesthetic of the space, as the curvature can either soften the environment or create dynamic visual tension, depending on the design intent.
Understanding the nuances of curvature can also aid in optimizing material usage and minimizing waste during construction. By selecting the appropriate wall type, architects can ensure that the design not only looks good but is also cost-effective and sustainable. This consideration is particularly crucial in large-scale projects where budget constraints and environmental impact are significant factors.
Why Use Curved Walls for LED Displays?
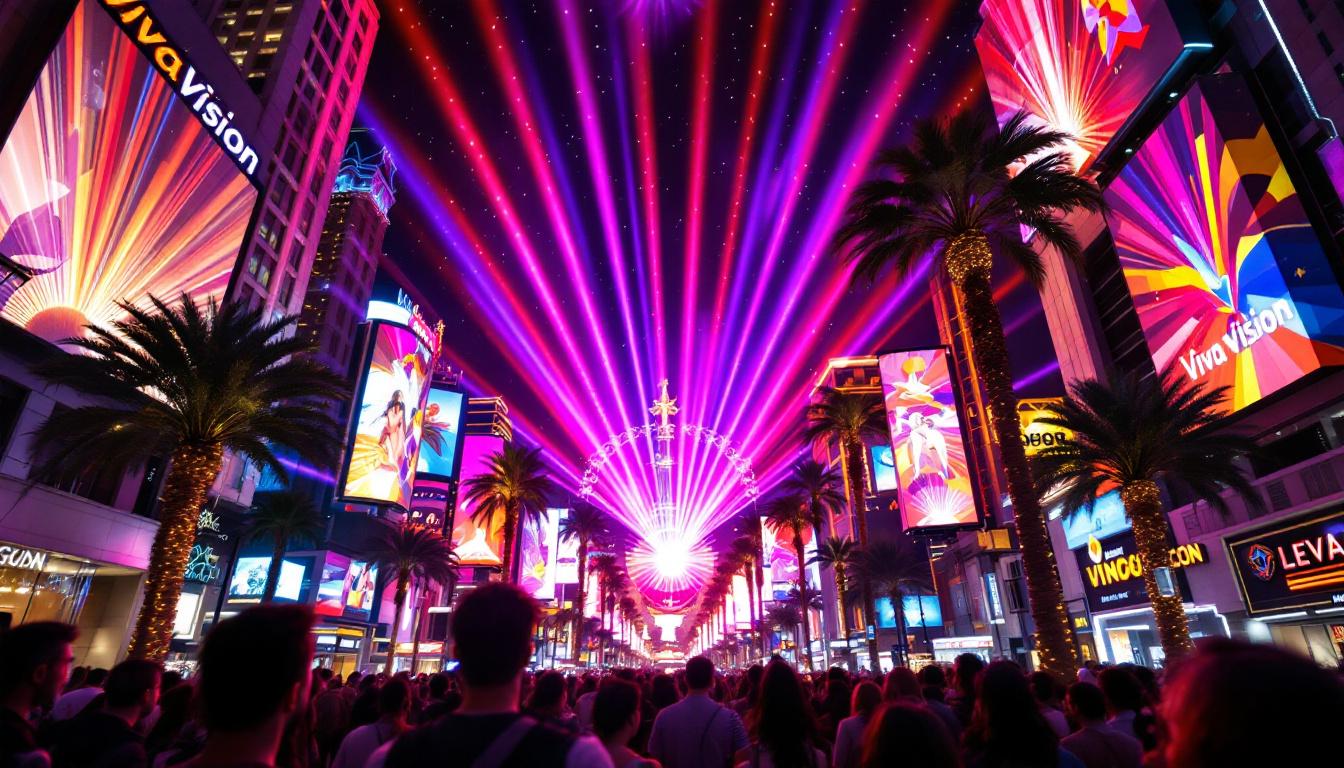
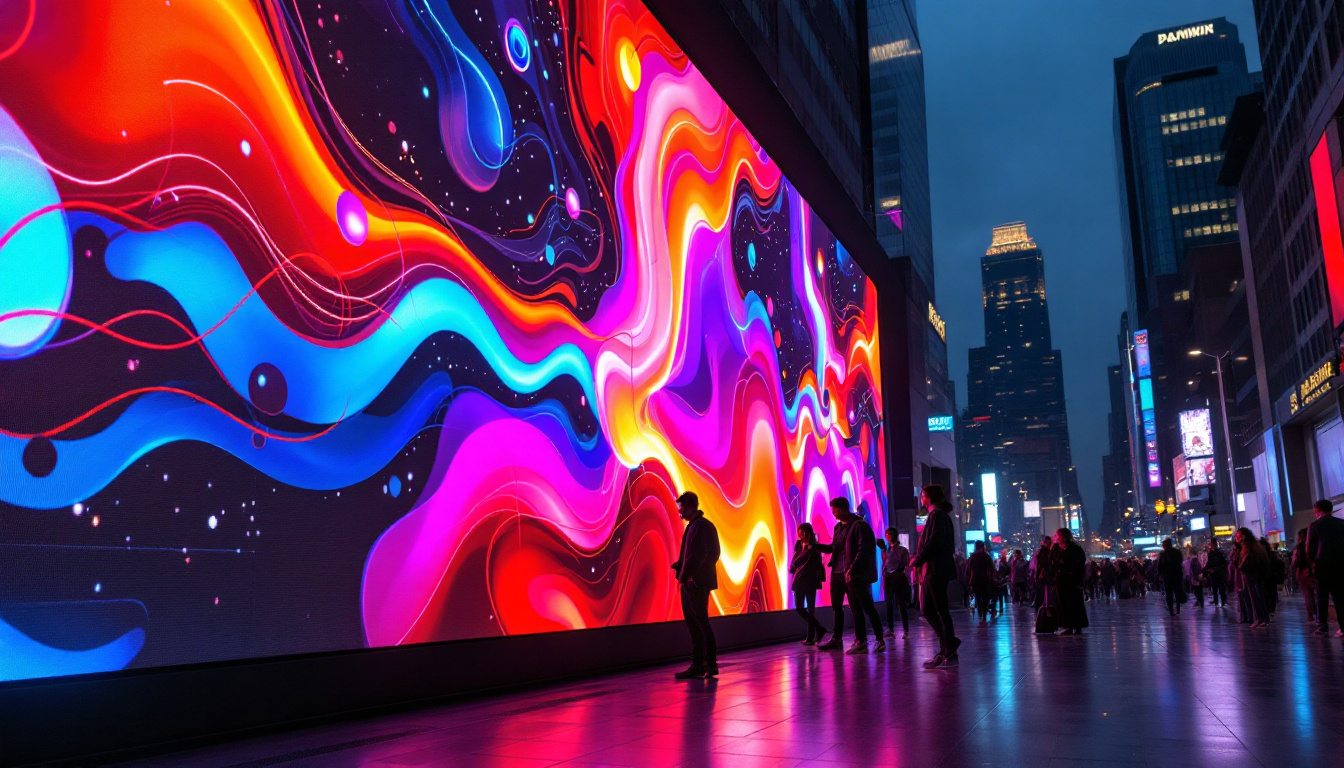
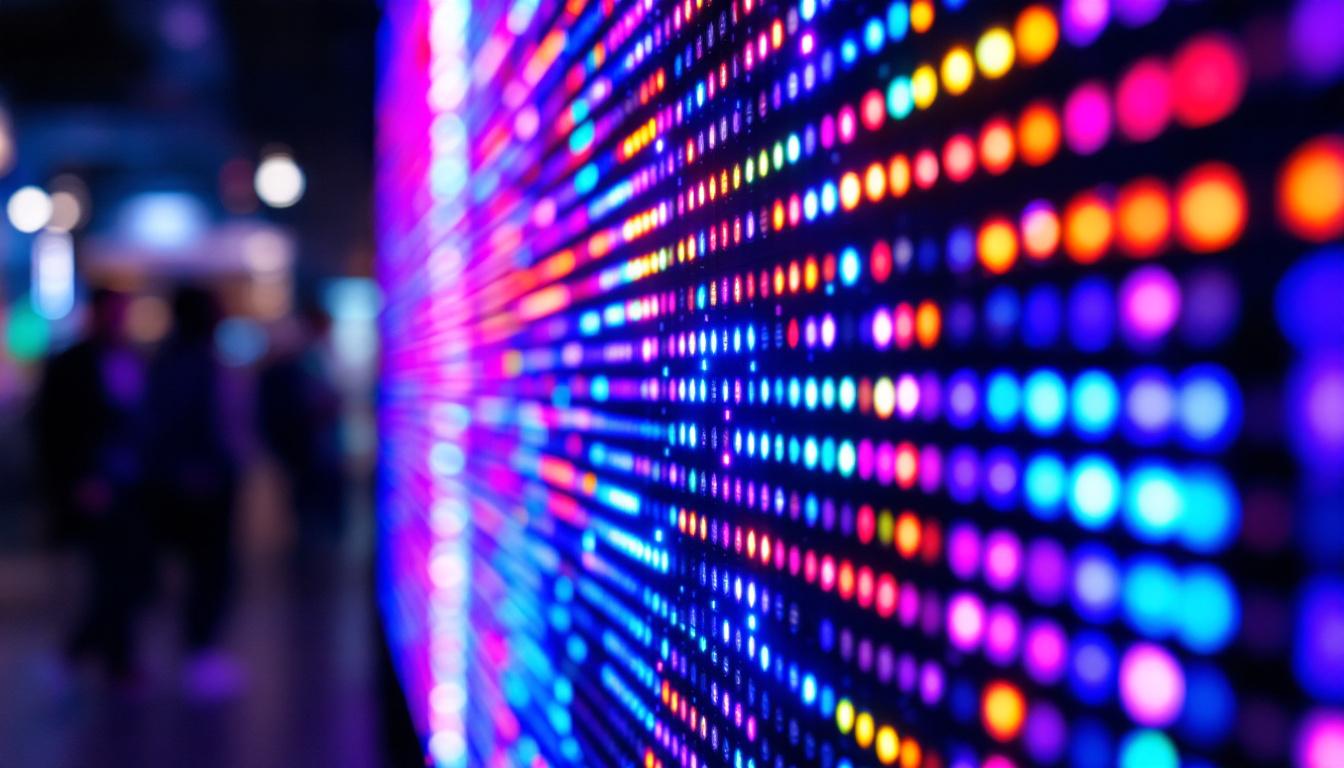
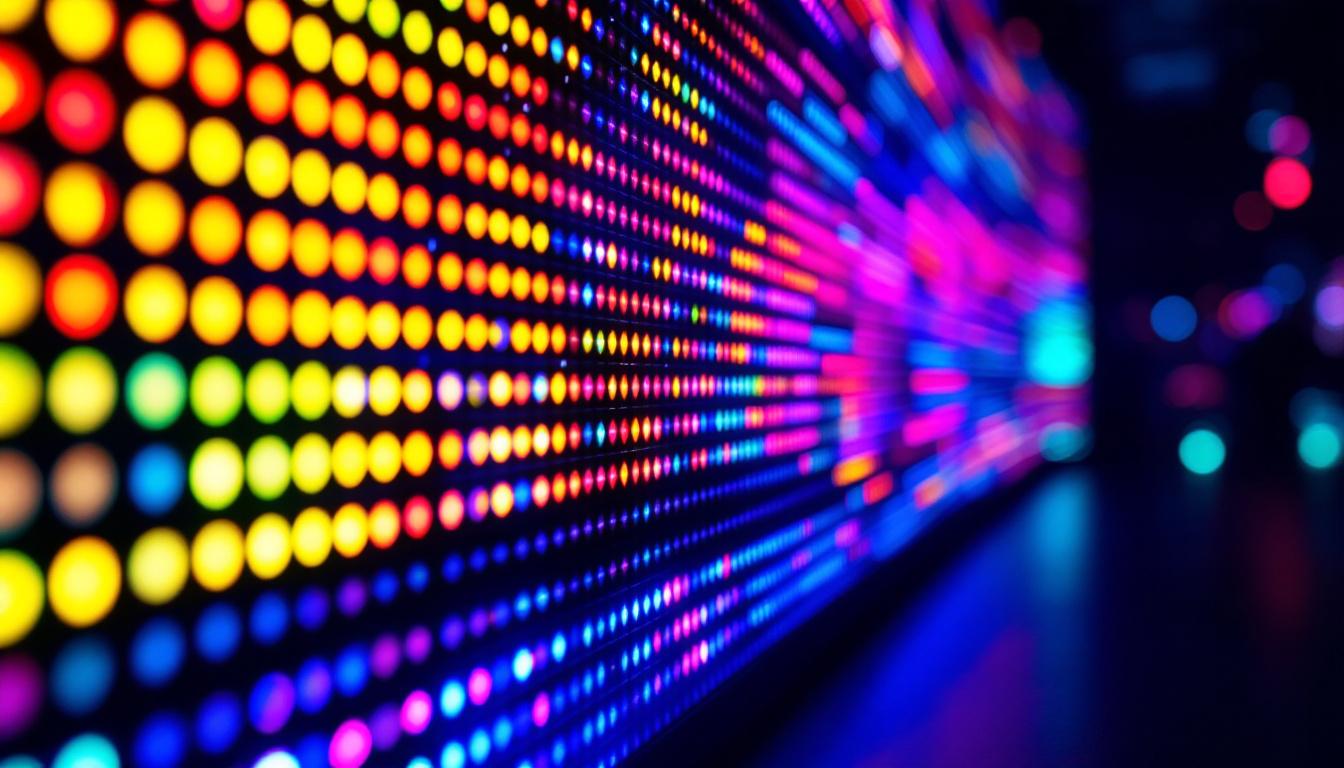
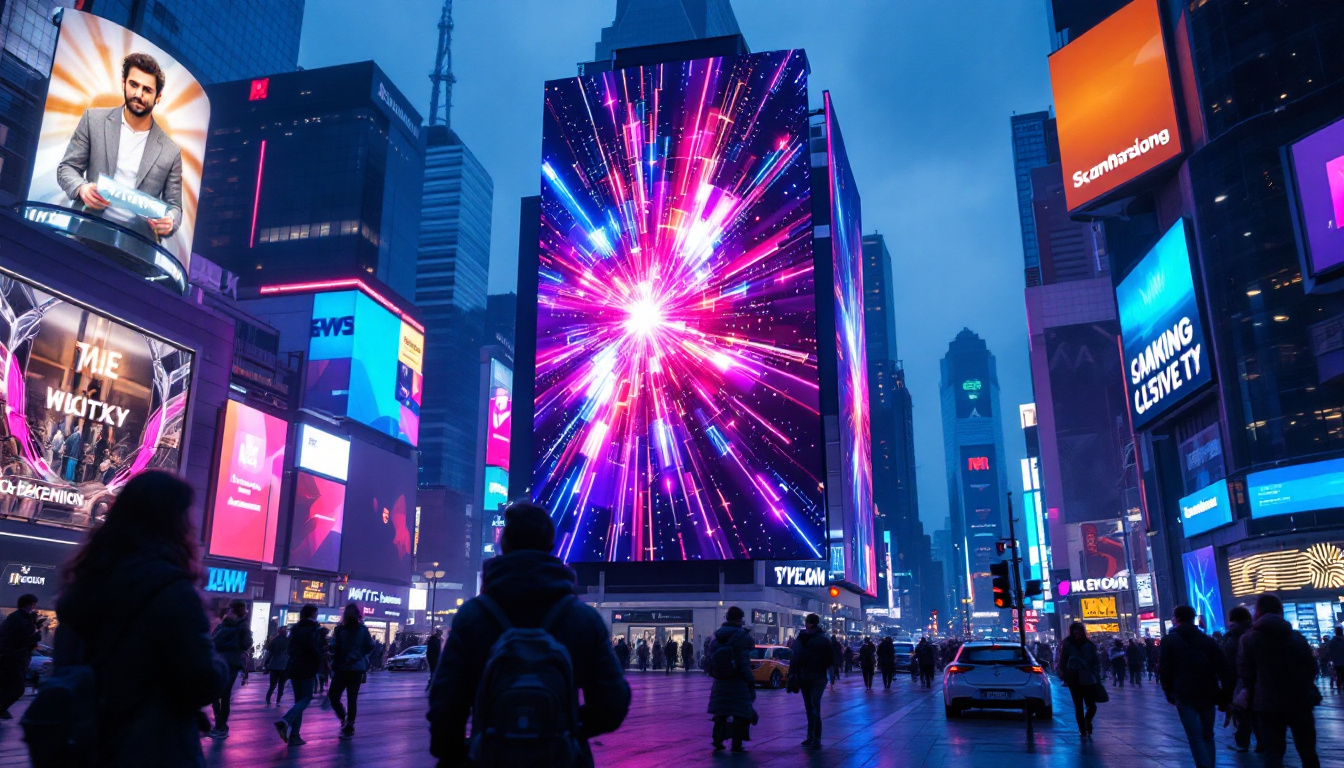
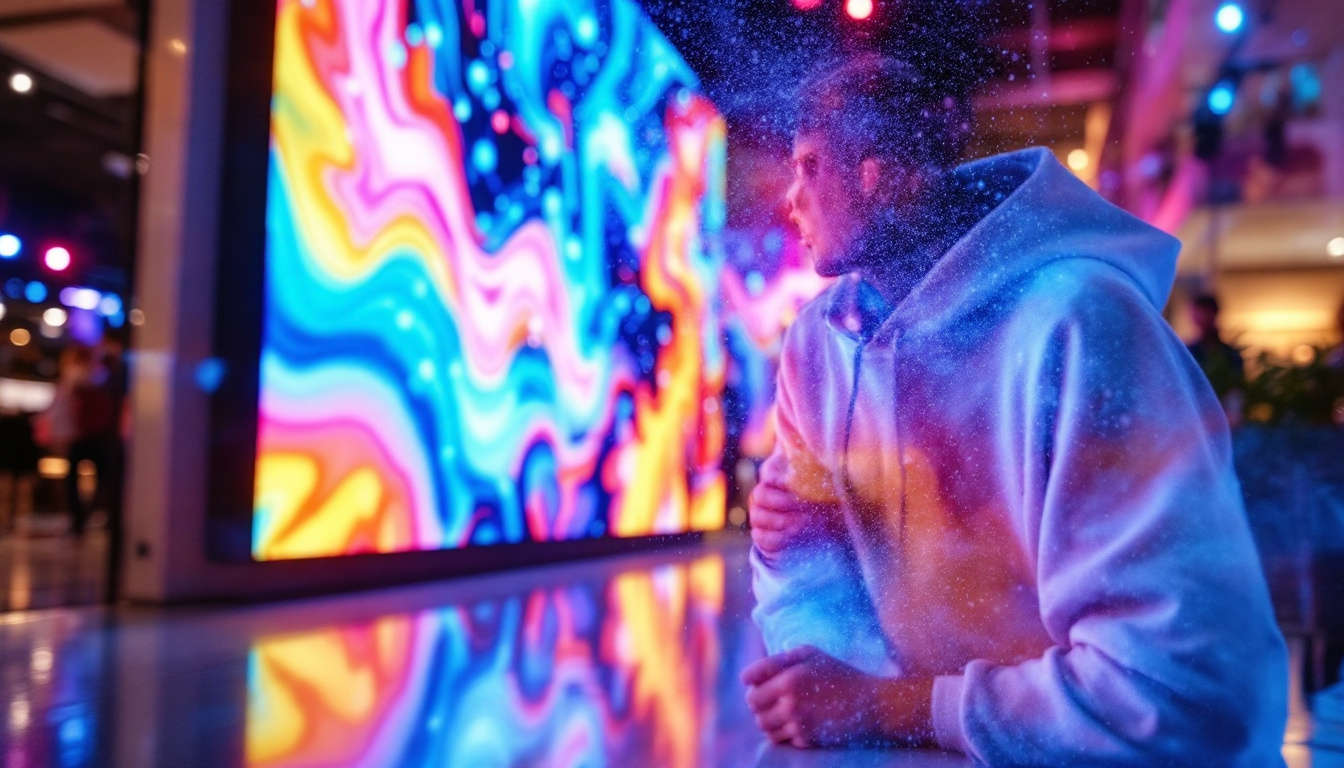
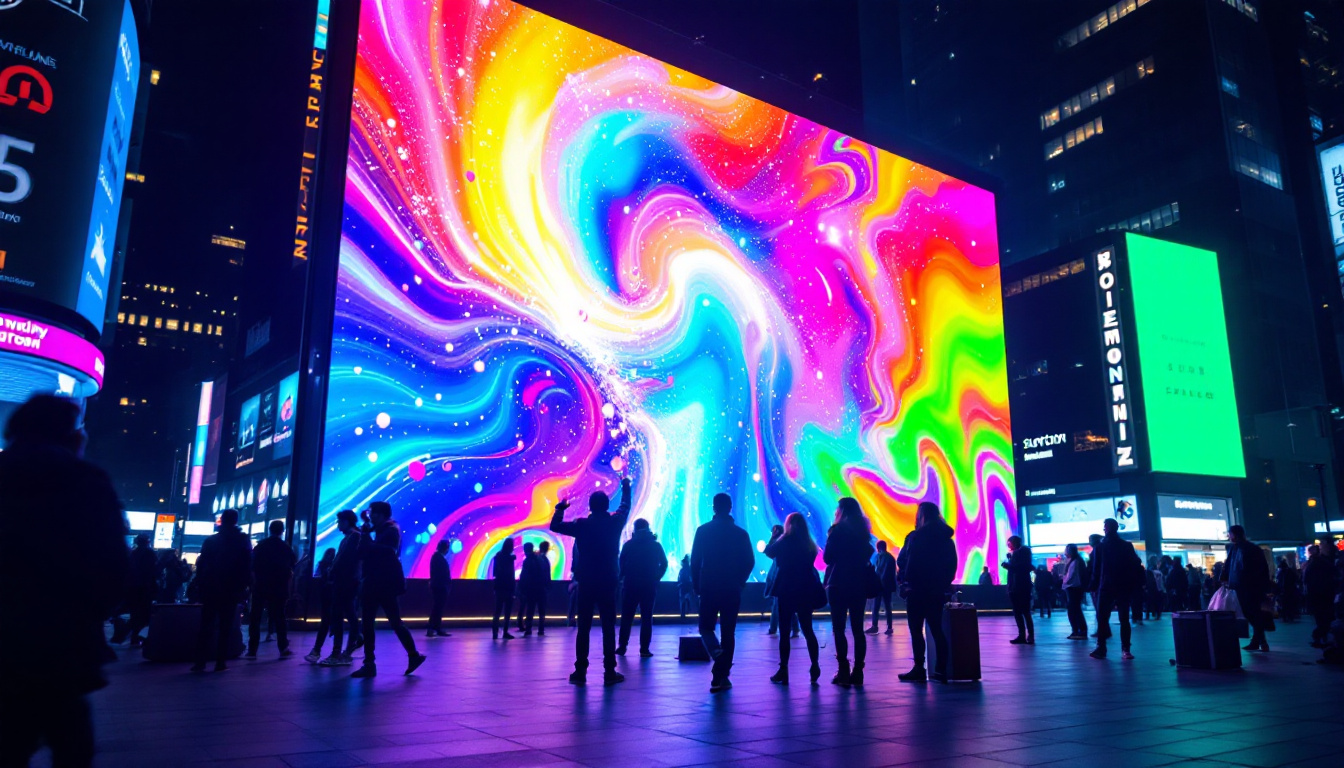
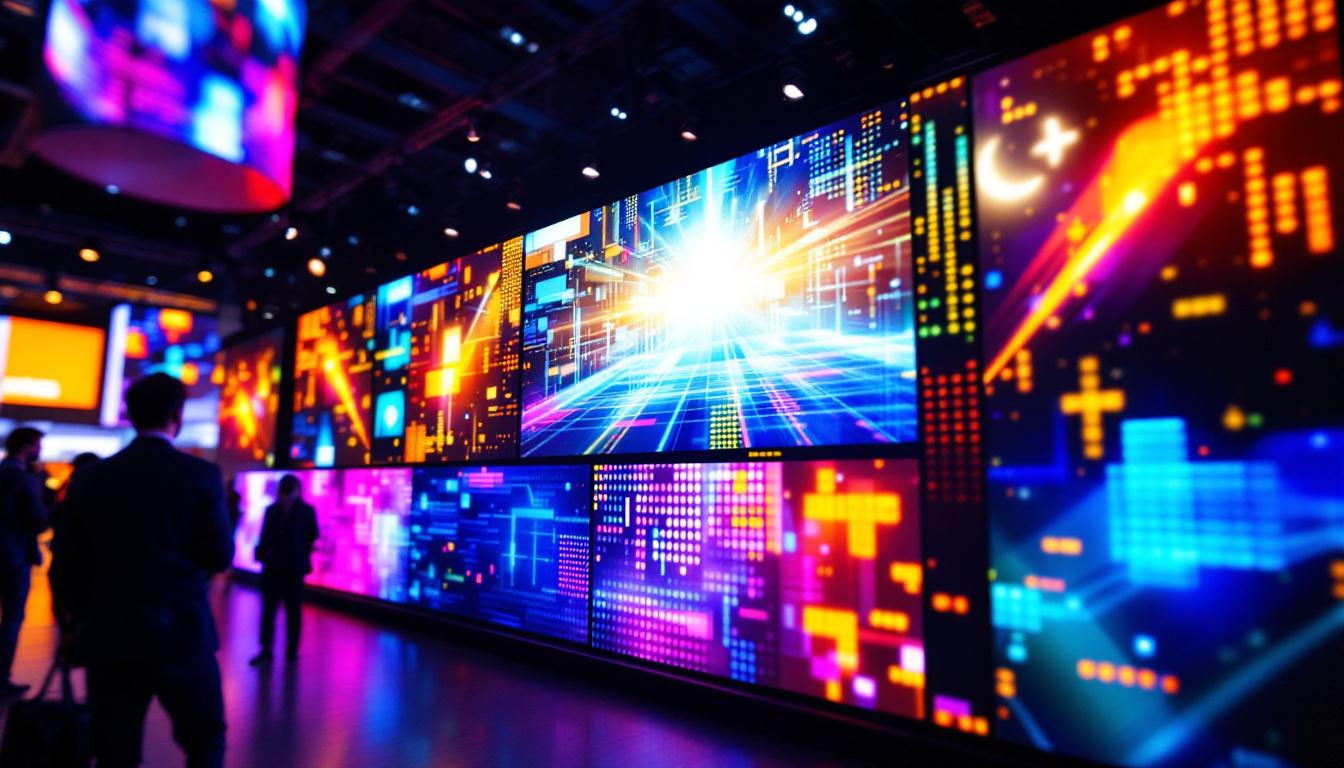
LED displays integrated into curved walls are increasingly popular in commercial and public spaces due to their immersive visual impact. Curved LED walls can wrap around corners, create panoramic views, and enhance audience engagement. However, designing these walls requires precise modeling to ensure the LED panels fit seamlessly and the electrical and structural components are properly accommodated.
Additionally, curved walls can improve sightlines and viewing angles for LED screens, making content more accessible and visually appealing. This is especially important in venues like museums, retail stores, airports, and stadiums. The ability to create a continuous visual experience can transform how information is presented and perceived, allowing for storytelling that captivates audiences and enhances their interaction with the space.
Furthermore, the integration of advanced technologies such as augmented reality (AR) and interactive displays can be significantly enhanced by the use of curved walls. These environments can facilitate immersive experiences where users can engage with content in a more dynamic way, blurring the lines between the physical and digital worlds. As designers continue to explore the possibilities of curved architecture, the potential for innovative applications in LED technology will undoubtedly expand, pushing the boundaries of what is possible in modern design.
Step-by-Step Guide to Creating Curved Walls in Revit
Creating a curved wall in Revit involves several key steps, from setting up the project to finalizing wall properties. Below is a detailed walkthrough to help you master this process.
1. Setting Up Your Project Environment
Before modeling, ensure your project units and levels are correctly set. Accurate levels help maintain consistency when placing walls and LED display components.
- Open your Revit project and verify the units (feet, meters, etc.) under Manage > Project Units.
- Set up levels corresponding to floor heights or display mounting heights.
- Create reference planes or grids to guide the placement of your curved wall.
2. Selecting the Wall Tool and Type
Navigate to the Architecture tab and select the Wall tool. Choose a wall type that suits your design, such as a generic wall or a curtain wall if you intend to integrate glass or LED panels.
For LED displays, curtain walls are often preferred because they allow for panel customization and easier integration of lighting elements. Additionally, consider the thermal performance and aesthetic qualities of the wall type you choose, as these factors can significantly impact the overall design and functionality of your space.
3. Drawing the Curved Wall
Revit offers two primary methods to draw curved walls:
- Using the Arc Tool: After selecting the wall tool, click the arc option in the draw panel. Click to place the start point, then the end point, and finally drag to define the arc’s bulge.
- Using the Spline Tool: For more complex curves, use the spline tool to create smooth, flowing curves by placing multiple points.
Adjust the radius and length of the curve to fit your design requirements. Use temporary dimensions and snapping tools to ensure precision. It’s also beneficial to visualize your design in 3D as you work, allowing you to see how the curved wall interacts with other architectural elements and ensuring that the flow of space remains intuitive and inviting.
4. Modifying Wall Properties
Once the curved wall is placed, customize its properties to accommodate LED display installation:
- Wall Thickness: Ensure the thickness allows for mounting brackets and wiring.
- Structural vs. Non-Structural: Decide if the wall will bear loads or serve as a partition.
- Materials: Select materials that support LED installation, such as metal studs or reinforced drywall.
Revit’s Type Properties dialog allows you to make these adjustments easily. Additionally, consider the acoustic properties of the materials chosen, especially in spaces where sound quality is essential, such as auditoriums or conference rooms. This attention to detail can enhance the user experience significantly.
5. Adding Openings and Supports for LED Displays
LED panels require precise openings for mounting and ventilation. Use the Wall Opening tool to create cutouts where necessary. Additionally, model structural supports such as brackets or frames using Revit families to ensure accurate coordination with the LED display components. It’s crucial to verify that these supports are positioned correctly to accommodate the weight and dimensions of the LED panels, as improper installation can lead to safety hazards.
6. Coordinating Electrical and Data Systems
LED displays need power and data connections. Use Revit’s MEP tools to model conduits, cable trays, and junction boxes within or behind the curved wall. This coordination helps prevent clashes and streamlines installation. Furthermore, consider the future scalability of your electrical and data systems; designing with flexibility in mind can save time and resources in the long run. Incorporating access points for maintenance can also enhance the longevity and performance of the LED displays.
Best Practices for Modeling LED Displays on Curved Walls
Choose the Right Wall Type
Curtain walls are highly flexible for LED integration because they allow panel-by-panel customization. If using a generic wall, consider embedding LED mounts as hosted families or using wall sweeps to simulate LED strips.
Use Adaptive Components for Complex Curves
For non-standard curves, adaptive components can be designed to conform to the wall’s geometry. This is particularly useful for custom LED modules that need to follow the curvature precisely.
Maintain Accurate Dimensions and Clearances
LED panels generate heat and require ventilation. Ensure your wall design includes sufficient clearance behind the panels and access points for maintenance. Revit’s section views and 3D visualization tools are invaluable for verifying these details.
Leverage Revit Families for LED Components
Utilize or create Revit families representing LED panels, mounts, and wiring. This approach enhances the model’s detail and facilitates quantity takeoffs and clash detection.
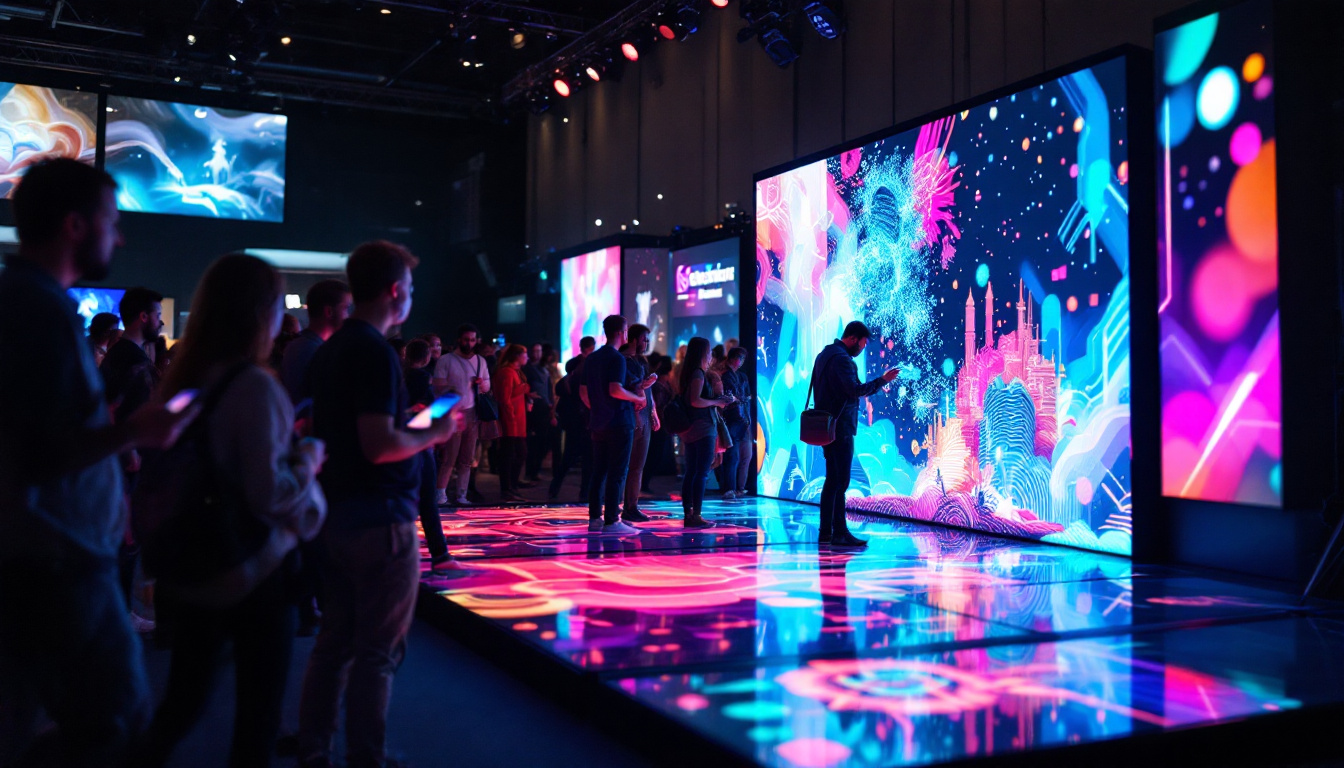
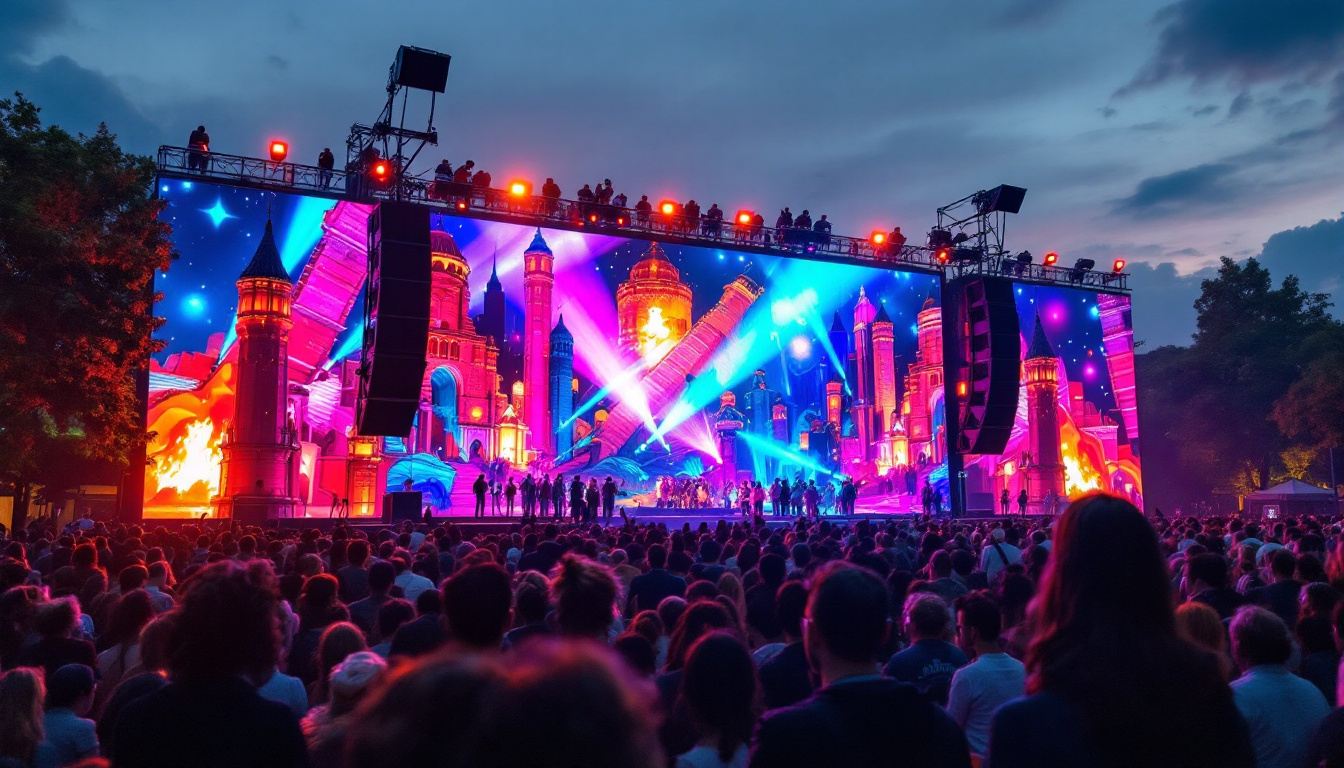
Case Study: Curved LED Wall in a Retail Environment
In a recent retail project, a curved LED wall was designed to wrap around a central atrium, creating an immersive advertising display. The design team used Revit to model a 180-degree arc wall with a radius of 15 meters.
The wall was created using the curtain wall tool, subdivided into panels matching the LED modules. Adaptive components were employed to accommodate slight variations in curvature, ensuring each LED panel fit perfectly.
MEP coordination was critical due to the extensive power requirements. Revit’s electrical modeling tools allowed the team to integrate conduits and junction boxes seamlessly, avoiding conflicts with structural elements.
This approach resulted in a visually stunning installation completed on schedule and within budget, demonstrating the value of detailed Revit modeling for curved LED walls.
Common Challenges and How to Overcome Them
Challenge: Panel Alignment on Curved Surfaces
Aligning LED panels on a curve can be tricky, especially when using rigid rectangular modules. To address this, designers can:
- Use smaller LED tiles that better conform to curves.
- Incorporate flexible LED strips for smoother transitions.
- Adjust panel placement in Revit using adaptive components to simulate real-world fitting.
Challenge: Structural Support Complexity
Curved walls may require custom brackets or framing. Collaborate closely with structural engineers and use Revit’s structural modeling tools to design supports that are both functional and aesthetically pleasing.
Challenge: Managing Electrical Routing
Complex curved geometries can complicate cable routing. Early coordination with MEP engineers and the use of Revit’s clash detection tools help identify and resolve potential issues.
Conclusion: Enhancing Designs with Curved Walls and LED Displays in Revit
Mastering the creation of curved walls in Revit opens up exciting possibilities for integrating LED displays that captivate and engage audiences. By understanding the types of curved walls, following a structured modeling process, and applying best practices for LED integration, designers can deliver innovative and practical solutions.
Revit’s robust tools for architecture, structure, and MEP coordination make it an indispensable platform for managing the complexities of curved LED walls. As LED technology continues to evolve, combining it with advanced BIM modeling will remain a key strategy for forward-thinking design professionals.
Embracing these techniques not only improves project accuracy and efficiency but also enhances the visual and functional impact of architectural spaces.
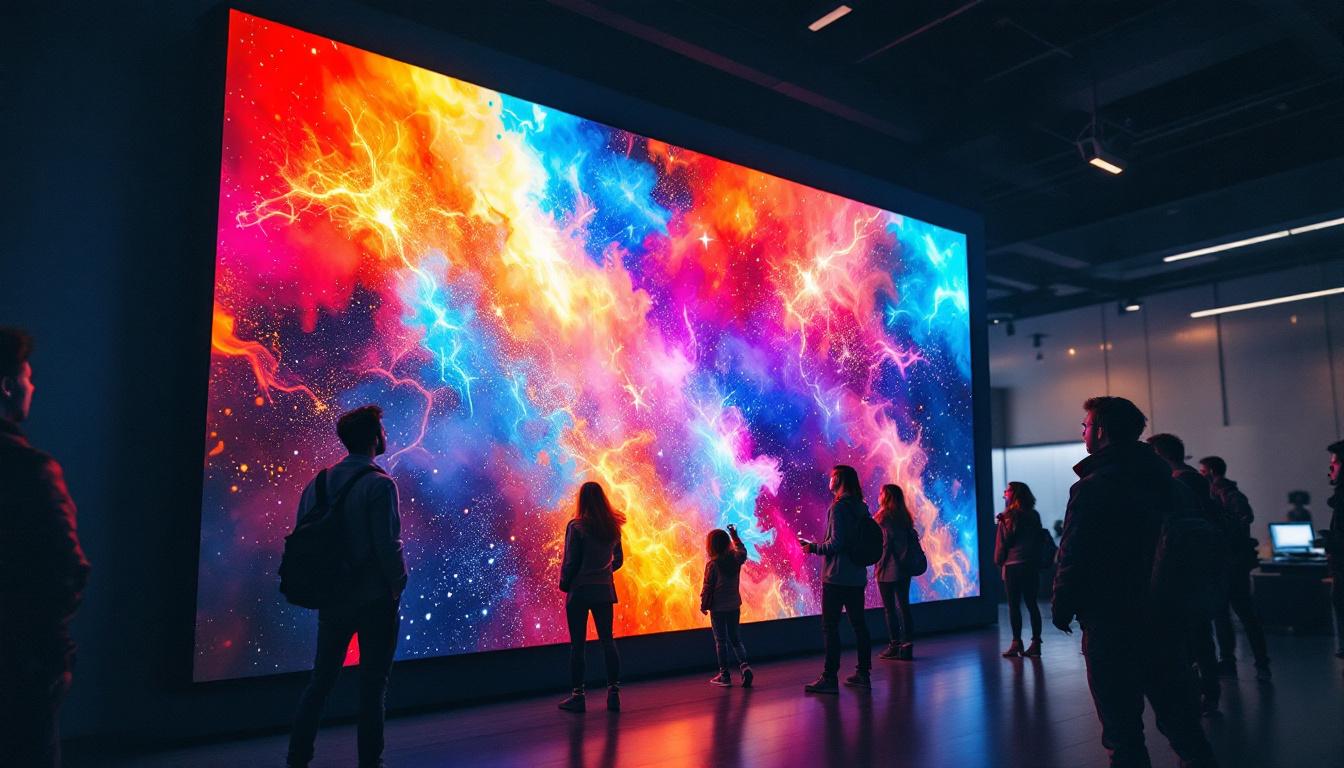
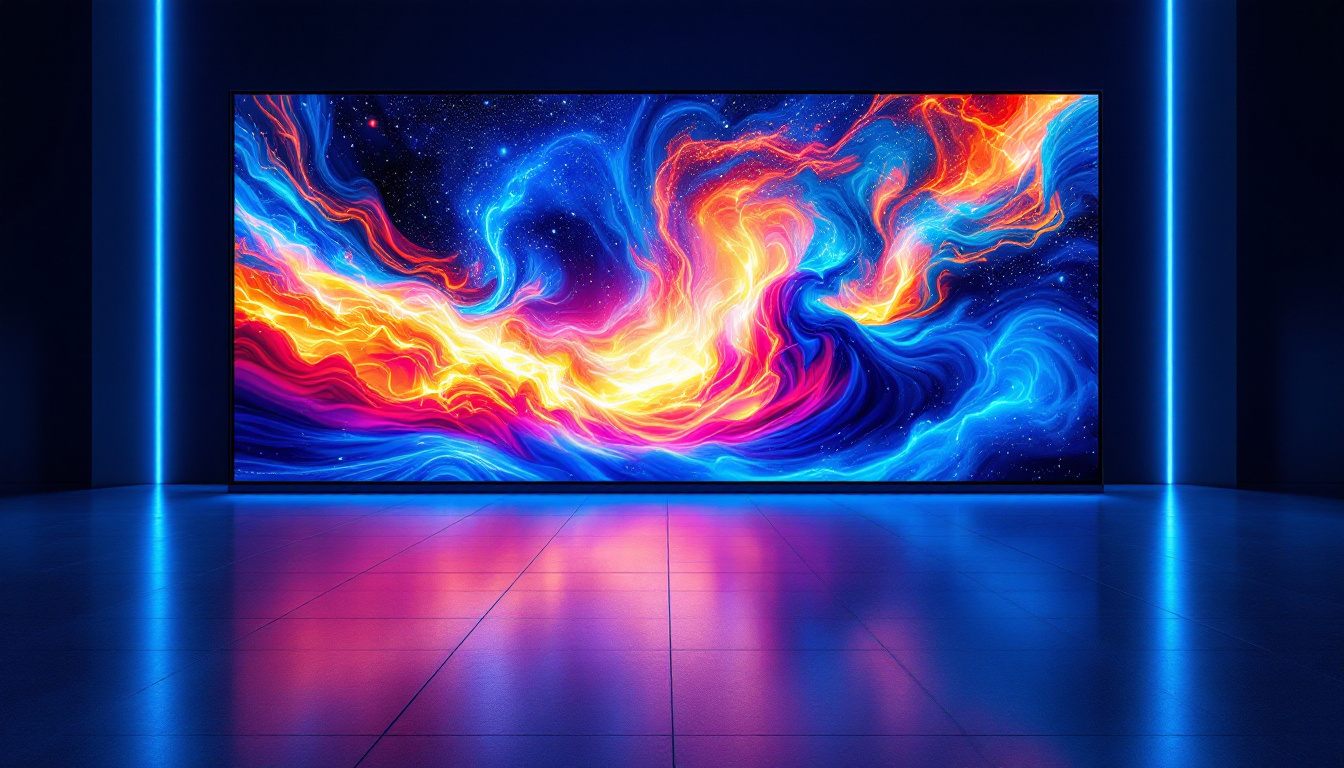
Discover LumenMatrix LED Display Solutions
Ready to bring your architectural designs to life with the seamless integration of LED displays? LumenMatrix is at the forefront of LED display technology, offering a wide array of solutions that transform spaces into dynamic visual experiences. From Indoor and Outdoor LED Wall Displays to innovative Custom and Transparent LED solutions, our products are designed to captivate and engage. Elevate your projects with the clarity and impact of LumenMatrix displays. Check out LumenMatrix LED Display Solutions and revolutionize the way you communicate visually.