In today’s fast-paced world, the demand for versatile and eye-catching display solutions has skyrocketed. Whether for trade shows, concerts, corporate events, or advertising campaigns, portable LED walls have become a go-to choice for delivering vibrant visuals on the move. But what exactly goes into making a portable wall, and how does LED technology power these dynamic displays? This article dives deep into the world of portable LED walls, explaining their components, design considerations, and practical tips for building one that suits your needs.
Understanding Portable LED Walls: What Are They?
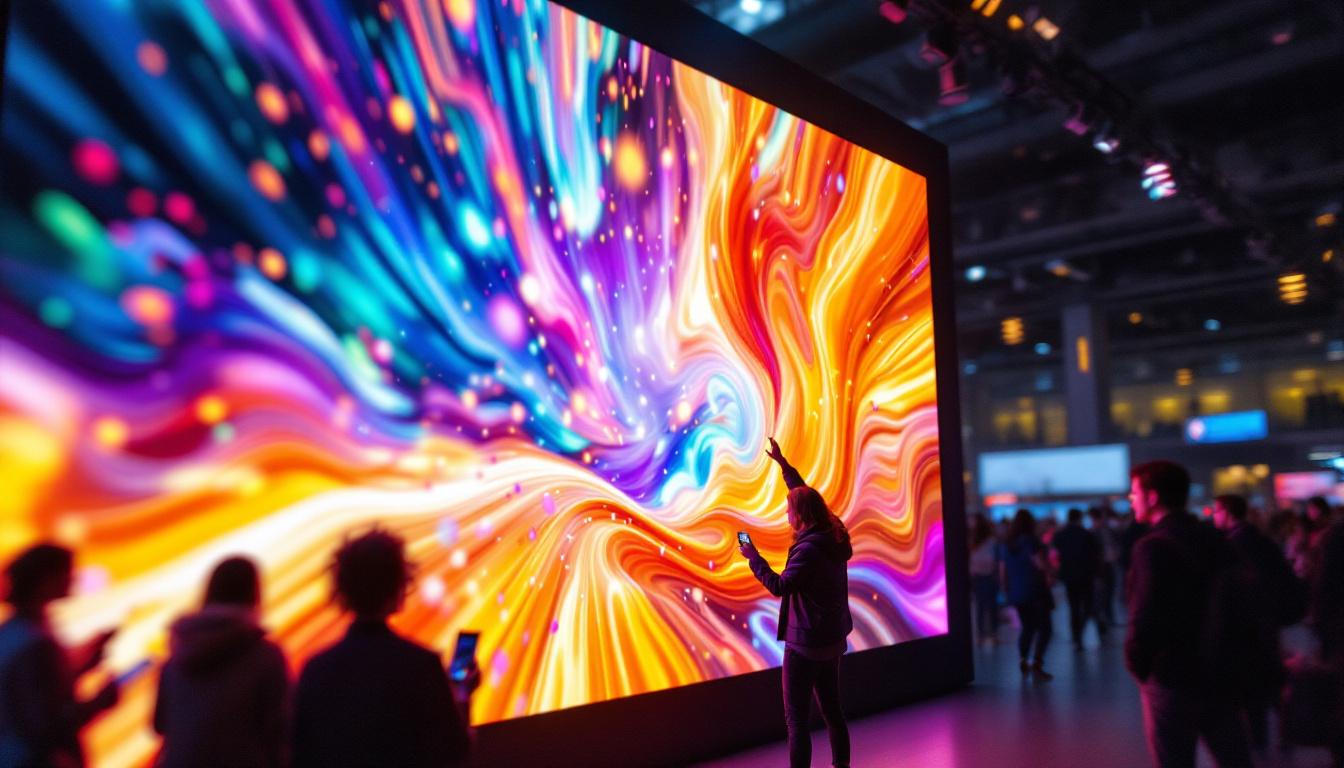
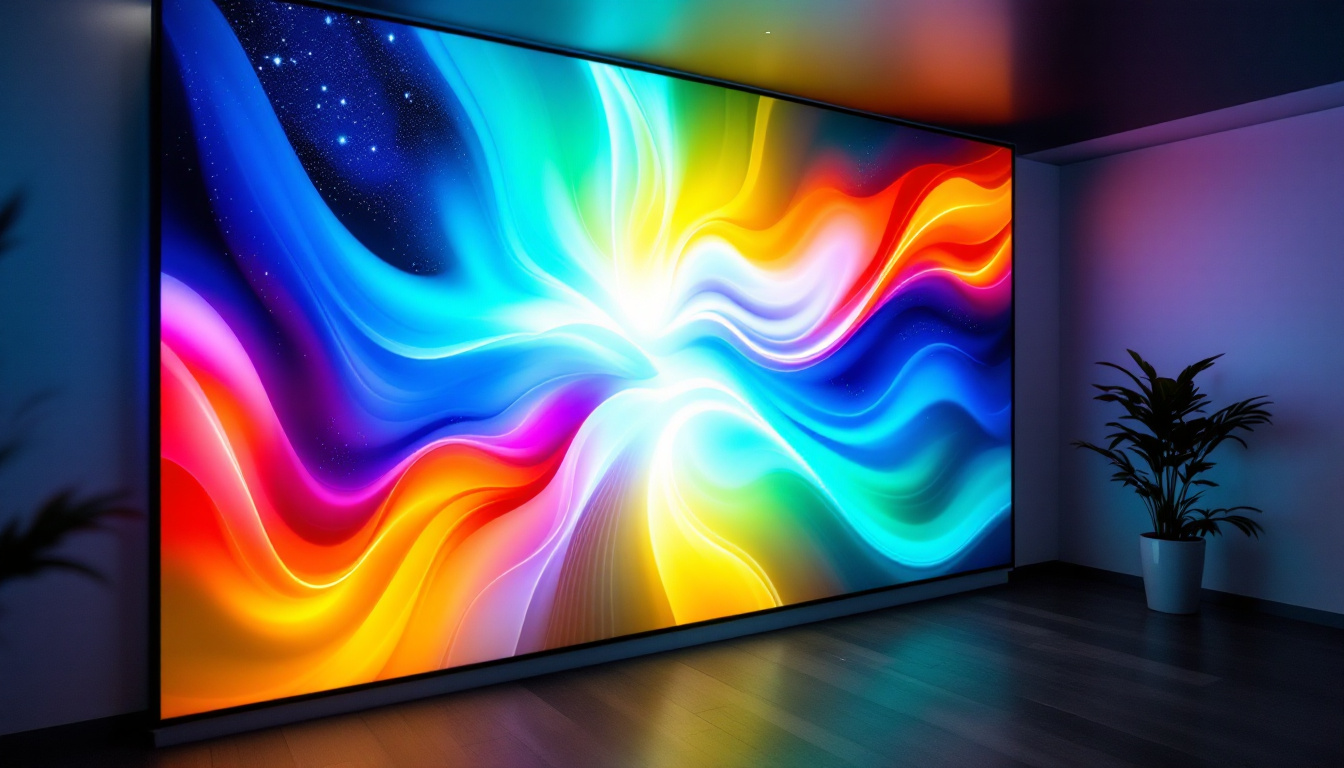
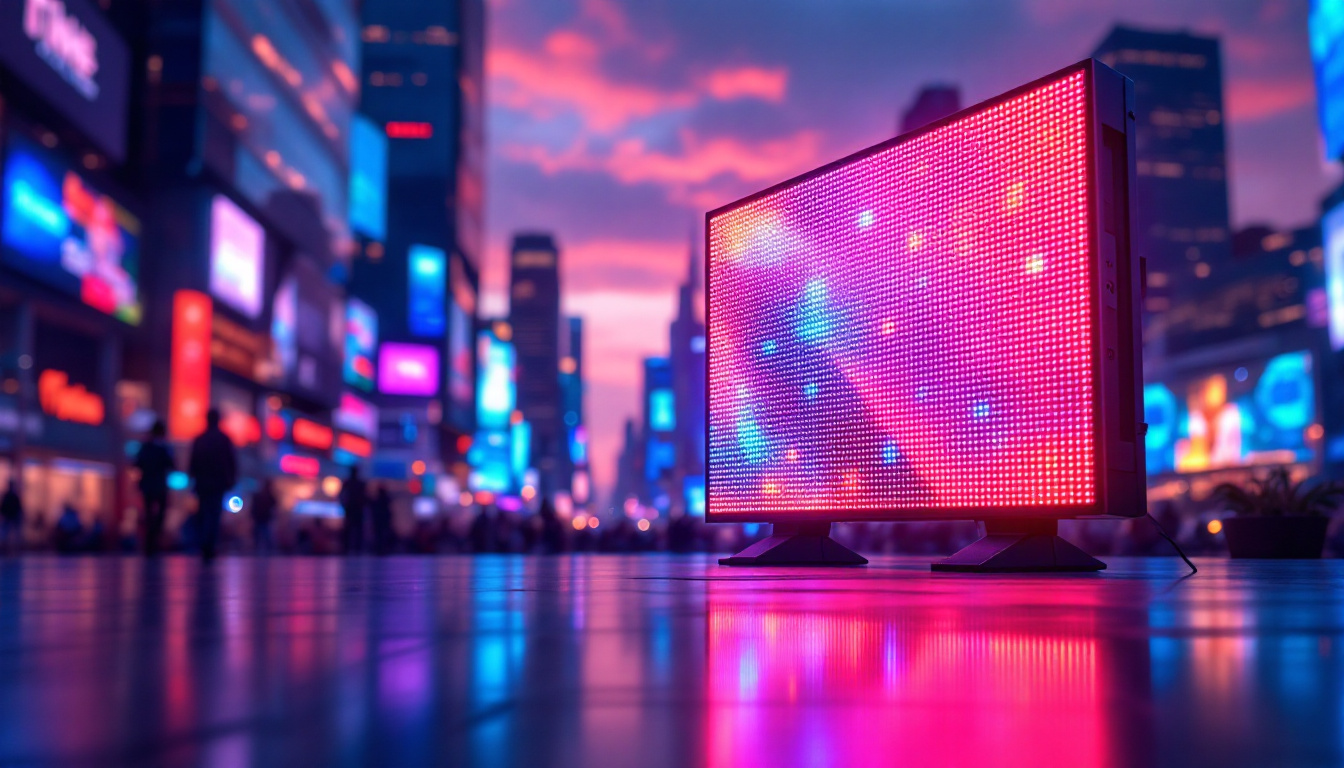
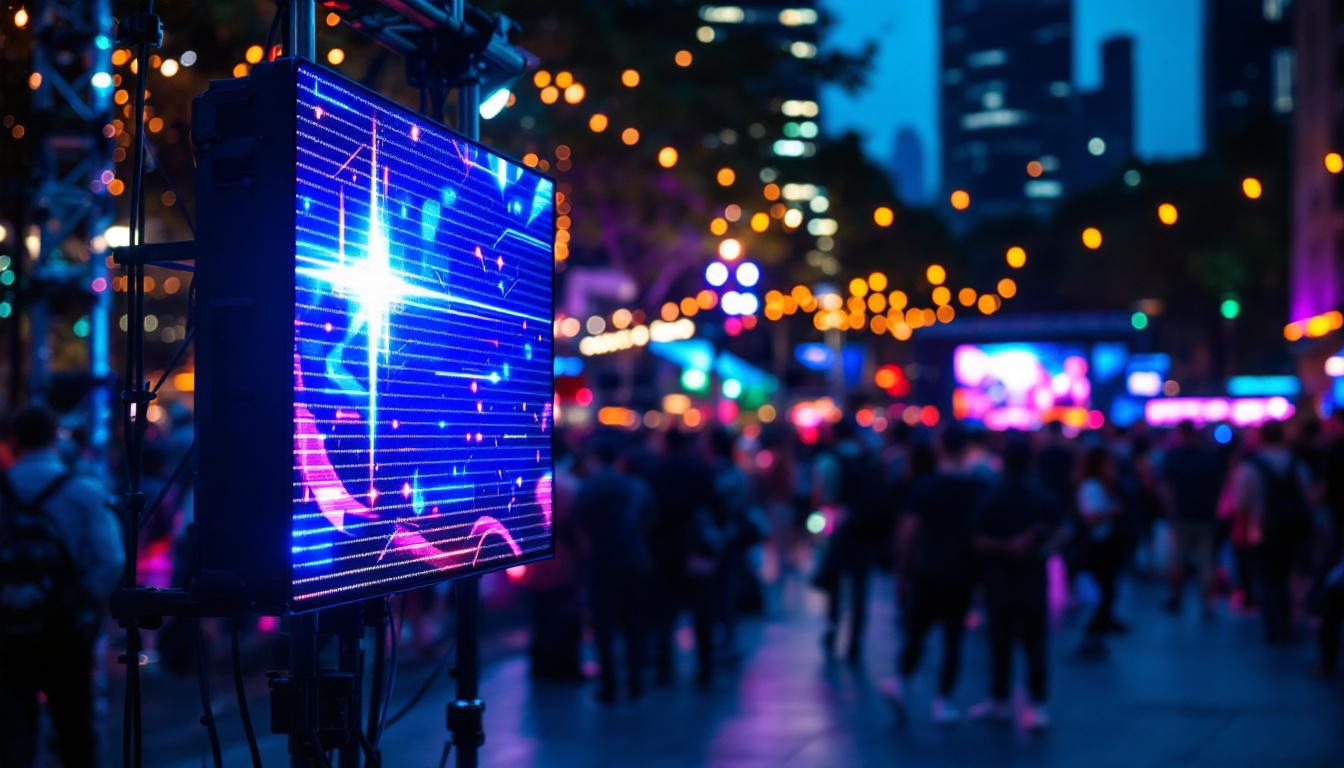
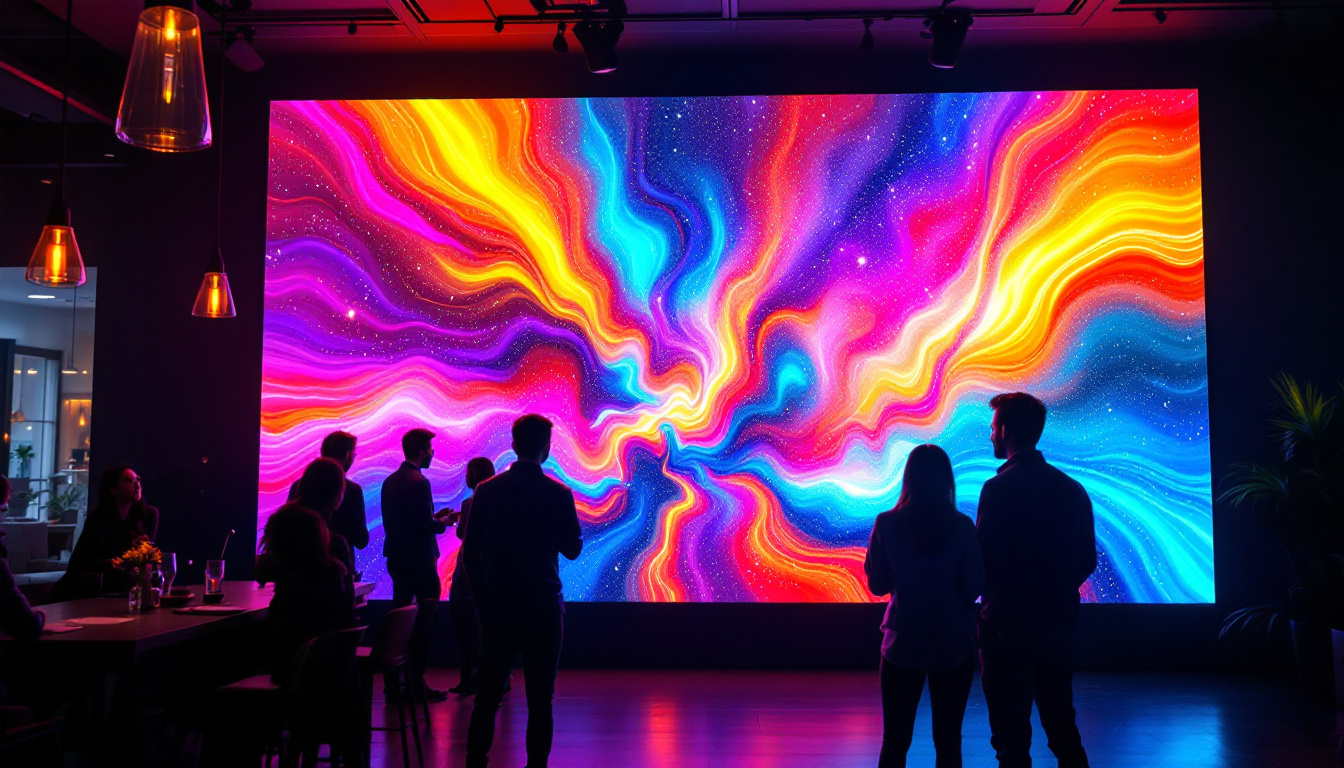
At its core, a portable LED wall is a modular display system composed of multiple LED panels that can be assembled and disassembled quickly for transport and setup. Unlike traditional fixed screens, these walls are designed to be lightweight, durable, and adaptable to different environments.
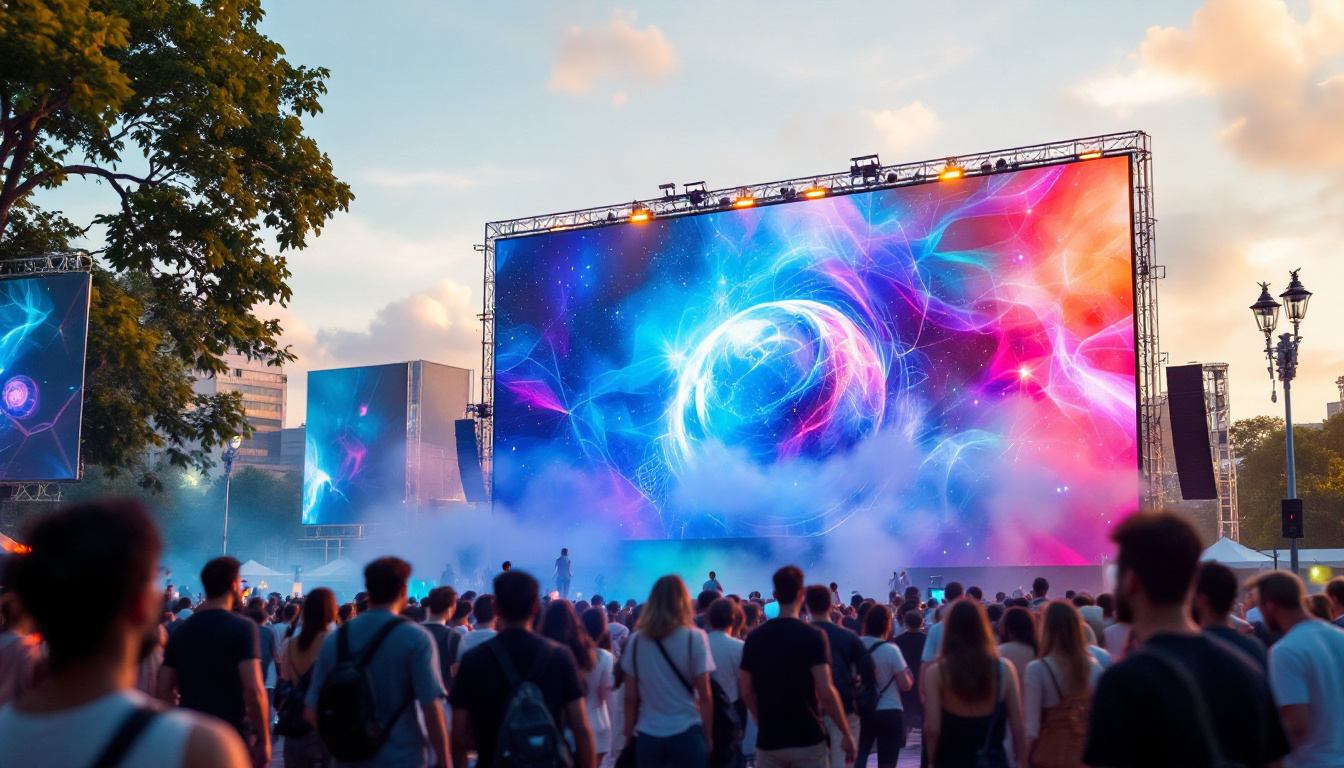
LED, or Light Emitting Diode, technology is favored for these walls due to its brightness, energy efficiency, and ability to produce vivid colors. Portable LED walls are commonly used for both indoor and outdoor applications, offering high resolution and excellent visibility even in bright daylight.
Why Choose a Portable LED Wall?
Portable LED walls offer several advantages over other display technologies such as LCD or projection screens:
- Brightness and Visibility: LED displays can reach brightness levels of 1,000 to 5,000 nits or more, making them clearly visible in various lighting conditions.
- Modularity: The panels can be configured into different sizes and shapes, allowing for customized display dimensions.
- Durability: Designed to withstand transportation and rough handling, portable LED walls often feature rugged frames and weatherproofing.
- Energy Efficiency: LEDs consume less power compared to other display types, which is crucial for events where power availability is limited.
- Seamless Image Quality: Advanced LED panels minimize bezels, creating a near-seamless image across the entire wall.
Key Components of a Portable LED Wall
Building a portable LED wall requires understanding the main components that make up the system. Each element plays a vital role in the performance and usability of the display.
1. LED Panels
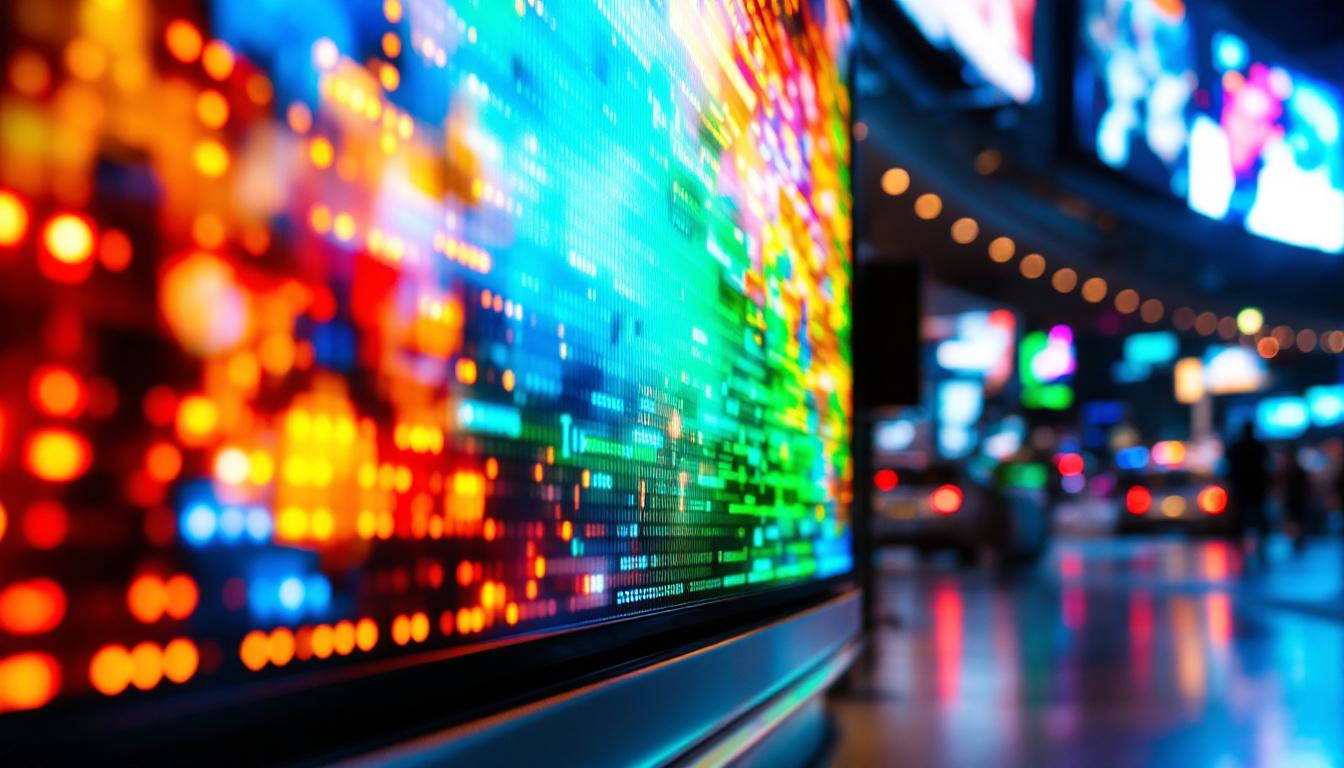
The LED panel is the fundamental building block of the wall. These panels contain arrays of LEDs arranged in a grid pattern. The resolution of the display depends on the pixel pitch, which is the distance between the centers of two adjacent pixels. Smaller pixel pitches (e.g., 1.2mm to 2.5mm) offer higher resolution and are ideal for close-up viewing, while larger pitches (e.g., 4mm to 10mm) are suited for outdoor or large venue use where viewers are farther away.
When selecting LED panels for portability, consider weight, thickness, and the ease of connecting panels together. Many manufacturers offer lightweight, slim-profile panels designed specifically for rental and touring applications.
2. Control System
The control system manages the input signals and synchronizes the LED panels to display a cohesive image or video. This typically includes a video processor or controller, which can handle multiple input sources such as HDMI, DisplayPort, or SDI.
Advanced control systems support real-time content management, color calibration, and diagnostics to ensure optimal image quality. For portable walls, it’s important to choose a controller that is compact and easy to integrate with your setup.
3. Power Supply and Cabling
Powering an LED wall requires stable and efficient power supplies. Portable walls often utilize distributed power supplies integrated into each panel or centralized units that feed power through the cabling system.
Cabling is another critical aspect. Signal cables (often Ethernet or proprietary data cables) connect the panels to the controller, while power cables ensure consistent delivery of electricity. Using quick-lock connectors and color-coded cables can significantly speed up assembly and reduce errors.
4. Mounting and Rigging Hardware
Since portability is a priority, the mounting system must allow for quick assembly and disassembly without compromising stability. Common solutions include lightweight aluminum frames, magnetic locks, or interlocking mechanisms that secure panels together.
For events requiring elevated displays, rigging hardware such as trusses, clamps, and safety cables are essential. These components must meet safety standards and be easy to transport.
Design Considerations for Building a Portable LED Wall
Before embarking on building or purchasing a portable LED wall, several design factors should be carefully evaluated to ensure the final product meets your specific requirements.
Determining the Size and Resolution
The size of your LED wall depends on the venue, viewing distance, and content type. A general rule of thumb is that the optimal viewing distance should be roughly 10 times the pixel pitch in millimeters. For example, a 4mm pixel pitch panel is best viewed from about 40 meters away.
Resolution impacts the clarity of the displayed image. For indoor events where audiences are close, a higher resolution with smaller pixel pitch is preferable. Outdoor or large-scale events can use larger pixel pitches without sacrificing perceived image quality.
Weight and Portability
Since the goal is portability, the weight of each panel and the overall system is crucial. Panels made from lightweight materials such as magnesium alloy or aluminum reduce transportation costs and ease setup. Additionally, consider the size of individual panels; smaller panels are easier to handle but may increase the number of connections and complexity.
Power and Cooling Requirements
LED walls generate heat during operation, especially at high brightness levels. Portable walls often incorporate passive or active cooling solutions to maintain optimal temperature and prevent overheating. Efficient power management also ensures the system can run on available power sources, including generators or battery packs for remote locations.
Durability and Weather Resistance
If the LED wall will be used outdoors, it’s essential to select panels with appropriate IP ratings (Ingress Protection). An IP65 rating or higher indicates resistance to dust and water, making the display suitable for various weather conditions.
Step-by-Step Guide to Making Your Own Portable LED Wall
Building a portable LED wall from scratch or assembling a kit requires careful planning and execution. Below is a general workflow to help guide the process.
Step 1: Define Your Requirements
Start by outlining the intended use cases, such as indoor presentations, outdoor concerts, or advertising. Determine the desired screen size, resolution, and brightness based on your audience and environment.
Also, consider logistical factors like transportation methods, setup crew size, and budget.
Step 2: Select and Purchase Components
Choose LED panels that fit your resolution and size requirements. Pay attention to weight, pixel pitch, and durability. Purchase a compatible control system that supports your input sources and desired content formats.
Don’t forget to acquire power supplies, cabling, and mounting hardware designed for portability.
Step 3: Assemble the Frame and Mount Panels
Construct the frame using lightweight materials with quick-locking mechanisms. Attach the LED panels securely, ensuring alignment to minimize visible seams.
Test the mechanical stability to prevent movement or vibration during use.
Step 4: Connect Power and Data Cables
Organize cables neatly and use color-coded or labeled connectors to streamline setup. Verify that all connections are secure and that power supplies are correctly rated for your system.
Step 5: Configure the Control System
Set up the video processor and load your content. Calibrate the display for color accuracy and uniform brightness. Run diagnostics to detect any faulty pixels or connectivity issues.
Step 6: Test and Optimize
Perform a full system test in conditions similar to your event environment. Adjust brightness, contrast, and color settings as needed. Train your setup crew on assembly and troubleshooting procedures.
Practical Tips for Using Portable LED Walls
To maximize the effectiveness of your portable LED wall, keep the following tips in mind:
- Plan for Transportation: Use protective cases and padding to prevent damage during transit. Consider the size and weight limits of your transport vehicles.
- Ensure Proper Ventilation: Avoid blocking cooling vents and provide airflow around the display to prevent overheating.
- Regular Maintenance: Clean panels regularly to remove dust and debris. Inspect connectors and cables for wear and tear.
- Content Optimization: Design content with the display’s resolution and viewing distance in mind. Avoid overly small text or intricate details that may not be visible.
- Safety First: Follow all rigging and electrical safety guidelines. Use safety cables and secure mounting hardware to prevent accidents.
Emerging Trends in Portable LED Wall Technology
The LED display industry continues to evolve rapidly, bringing innovations that enhance portability and performance.
MicroLED and MiniLED Panels
MicroLED technology promises even higher brightness and contrast with lower power consumption, while MiniLED backlighting improves color accuracy and uniformity. These advances could lead to thinner, lighter portable walls with superior image quality.
Wireless Data Transmission
New wireless solutions are emerging to reduce the complexity of cabling. Wireless synchronization between panels and controllers can speed up setup times and reduce trip hazards.
Flexible and Curved Displays
Flexible LED panels allow for curved or irregularly shaped walls, opening creative possibilities for event designers and advertisers. Portable systems are increasingly incorporating these panels for unique visual effects.
Conclusion
Portable LED walls represent a powerful and flexible solution for delivering high-impact visual content across a wide range of applications. Understanding the technology behind these walls—from LED panels and control systems to power management and mounting hardware—is essential for creating a display that is both effective and easy to transport.
By carefully considering your specific needs and following best practices in design and assembly, you can build or select a portable LED wall that elevates your event or business to the next level. As technology advances, these displays will become even more versatile, bright, and user-friendly, making them an indispensable tool in the modern visual communication landscape.
Discover LumenMatrix’s Advanced LED Display Solutions
Ready to take your visual presentations to the next level? Explore LumenMatrix’s comprehensive range of LED display solutions tailored to meet your every need. From captivating Indoor and Outdoor LED Wall Displays to innovative Custom and All-in-One LED Displays, LumenMatrix is at the forefront of transforming spaces with vibrant, energy-efficient, and easy-to-install LED modules. Elevate your brand’s visibility and create unforgettable experiences with our cutting-edge technology. Check out LumenMatrix LED Display Solutions today and see the difference for yourself.