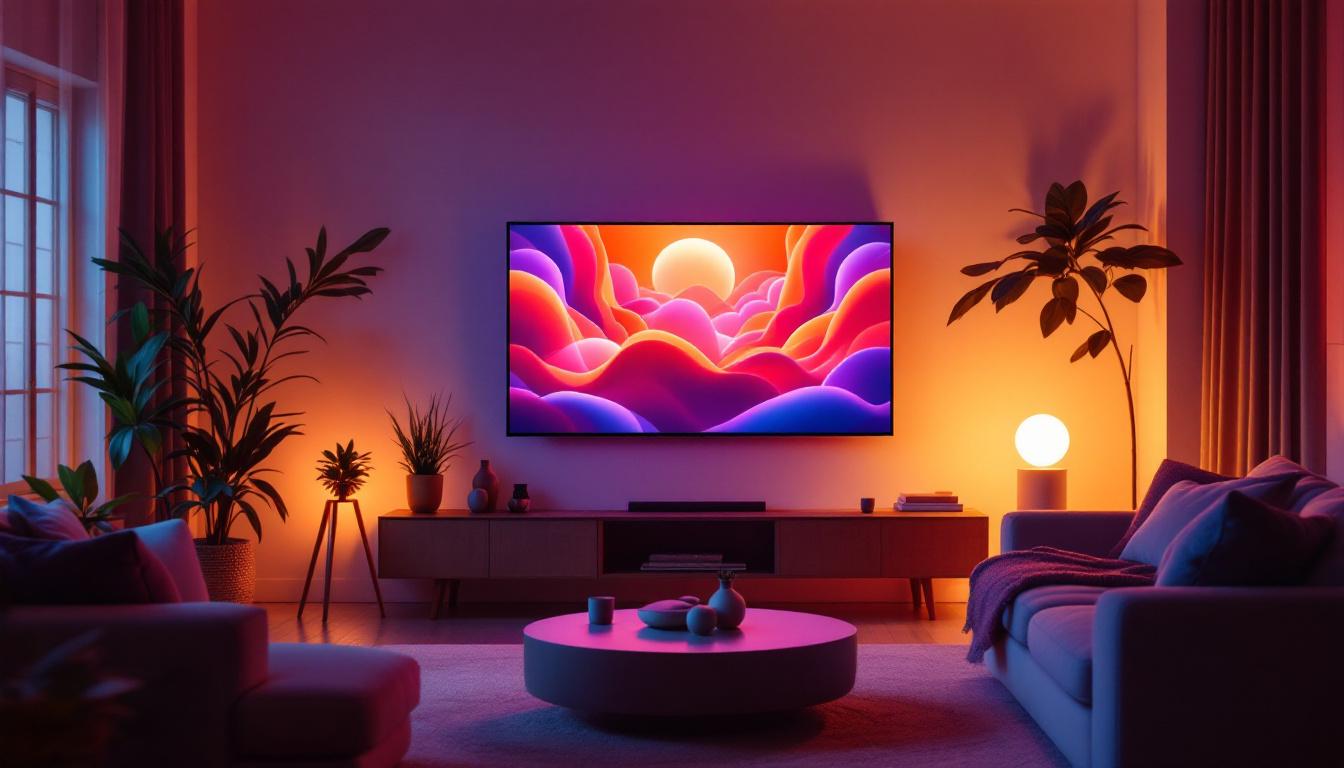
In today’s digital age, the quality and size of your monitor display play a critical role in productivity, entertainment, and overall user experience. LED displays have become the standard for monitors, offering vibrant colors, energy efficiency, and sleek designs. However, understanding how to adjust the display size on an LED monitor is essential for maximizing comfort and usability. This article delves into the fundamentals of LED displays, why adjusting display size matters, and practical methods to optimize your viewing experience.
Understanding LED Display Technology
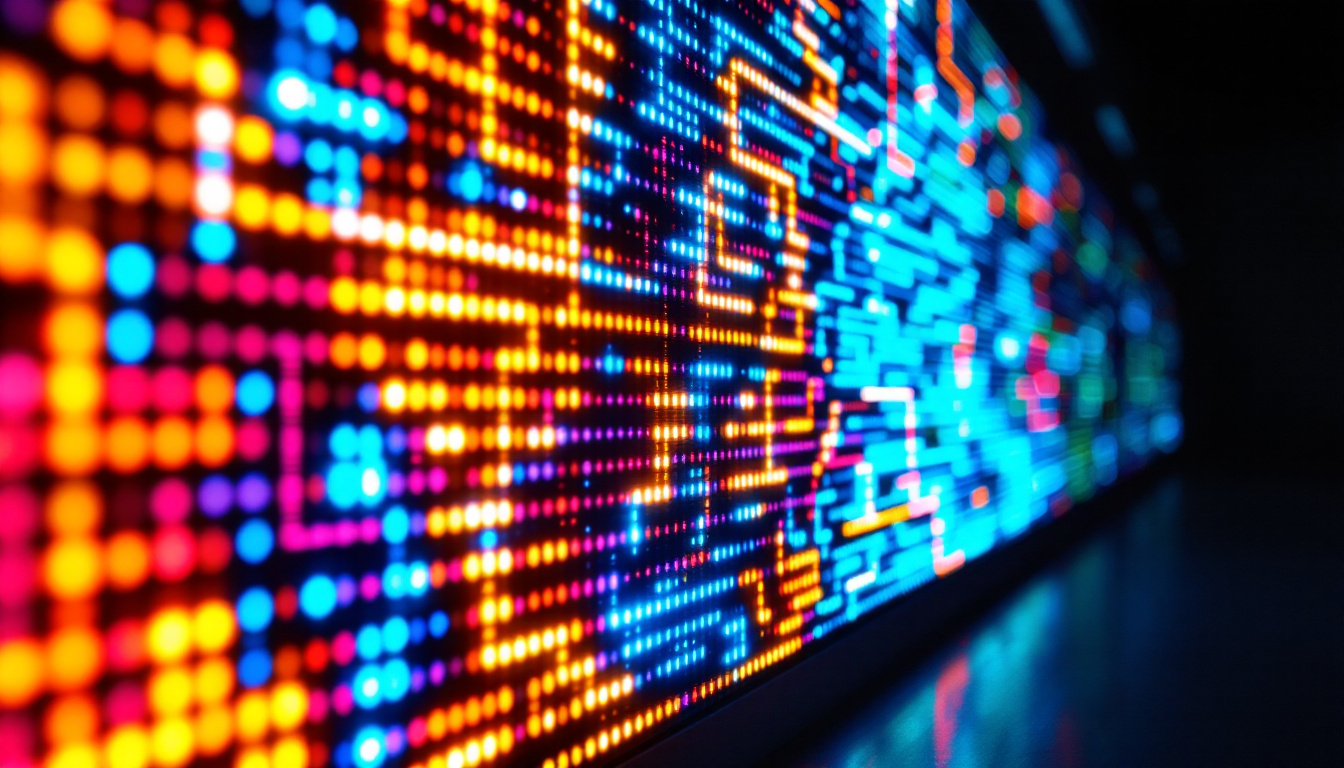
LED, or Light Emitting Diode, technology has revolutionized the way monitors deliver images. Unlike traditional LCDs that rely on cold cathode fluorescent lamps (CCFLs) for backlighting, LED monitors use light-emitting diodes to illuminate pixels. This advancement results in better brightness, contrast, and energy efficiency. The shift to LED technology not only enhances visual quality but also contributes to a more sustainable approach to display manufacturing, as LEDs consume significantly less power and have longer lifespans compared to their CCFL counterparts.
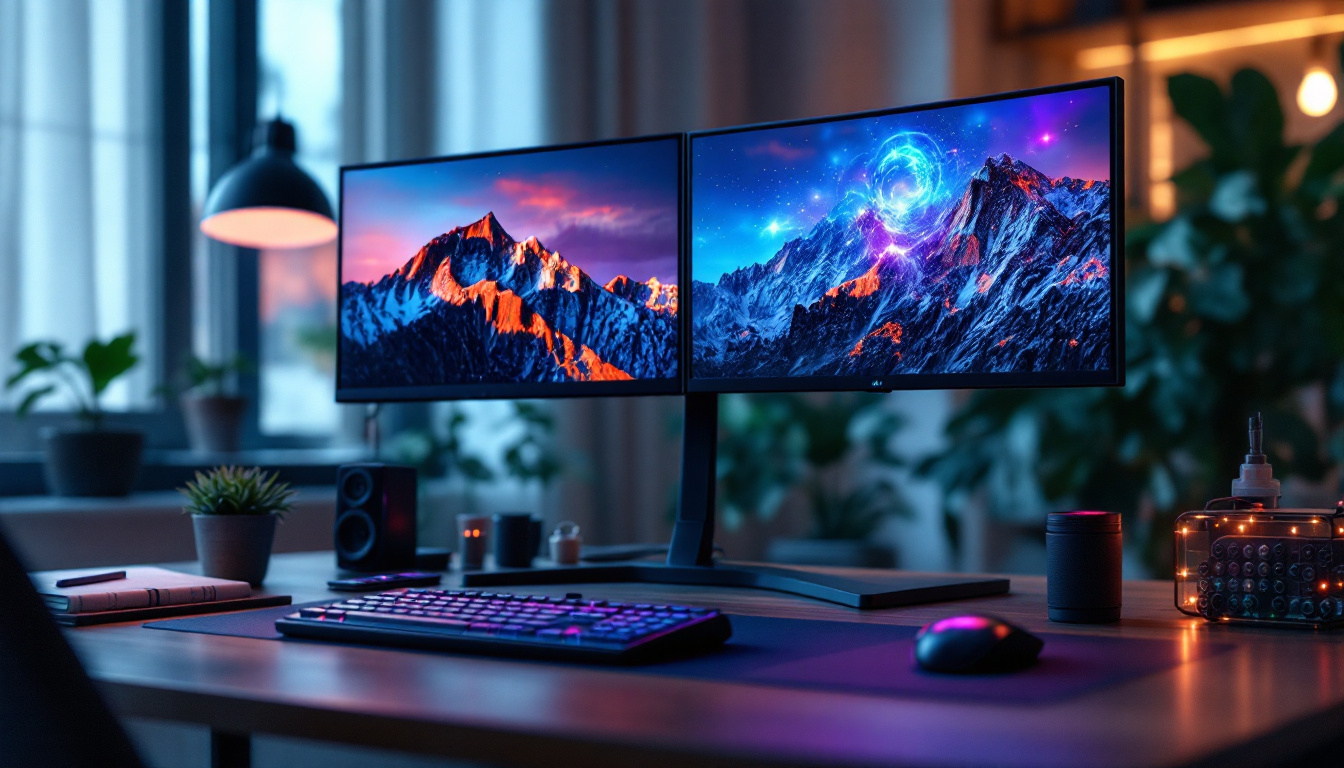
Modern LED monitors come in various sizes and resolutions, from compact 21-inch screens to expansive 49-inch ultrawide displays. The display size directly affects how content is rendered and perceived, making it crucial to understand the relationship between physical screen dimensions, resolution, and scaling. Furthermore, the aspect ratio plays a vital role in user experience; for instance, ultrawide monitors with a 21:9 ratio provide an immersive experience ideal for gaming and multitasking, allowing users to view multiple applications side by side without compromising on clarity.
How LED Displays Work
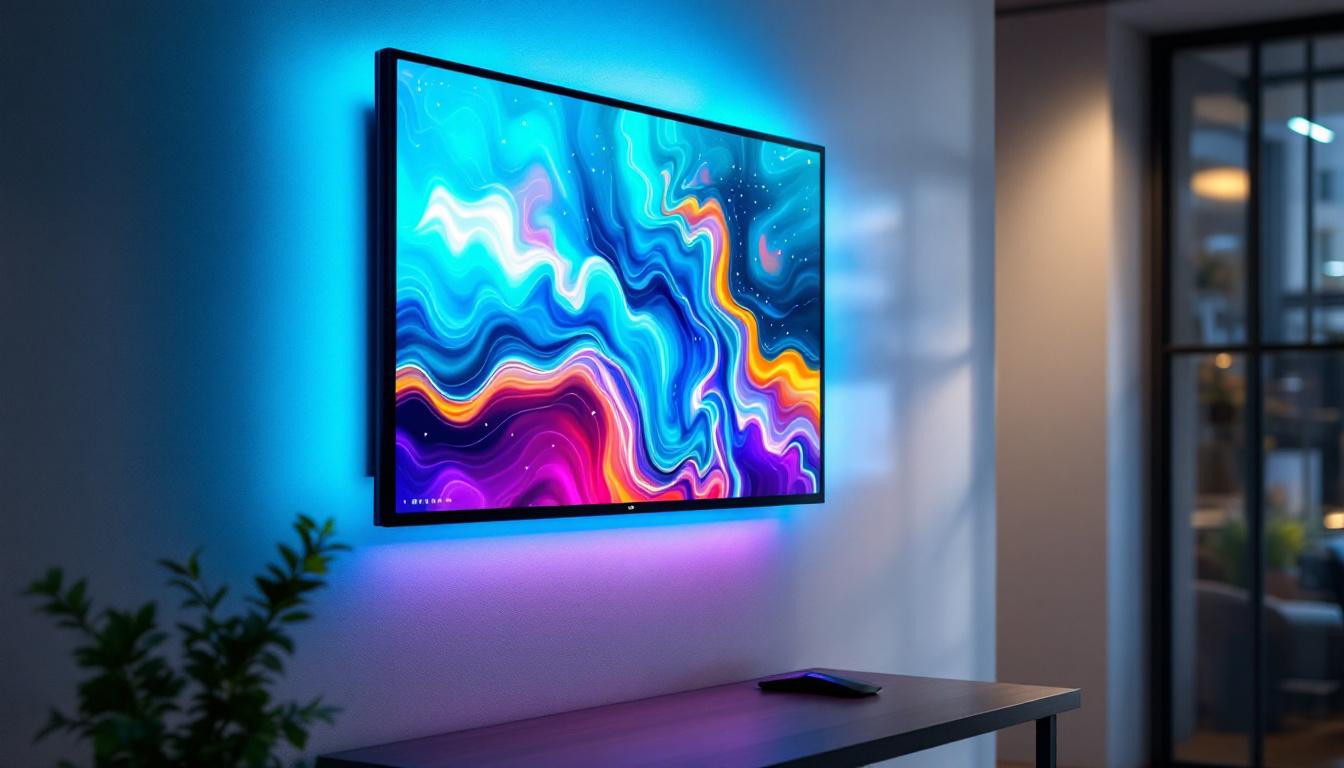
At the core of an LED monitor is an array of tiny LEDs that either serve as backlighting or, in the case of OLEDs, as individual pixels emitting light. These LEDs illuminate the liquid crystals in the panel, which then control the passage of light to create images. The precision of LED backlighting allows for deeper blacks and richer colors compared to older technologies. This capability is particularly beneficial for graphic designers and photographers who require accurate color representation and contrast for their work. Additionally, advancements in local dimming technology enable specific areas of the screen to be dimmed or brightened independently, further enhancing the overall picture quality.
Additionally, LED displays often support higher refresh rates and faster response times, which are vital for gaming, video editing, and other dynamic applications. This means that gamers can enjoy smoother gameplay with reduced motion blur, while video editors can achieve more precise frame-by-frame editing. The integration of technologies such as FreeSync and G-Sync in some LED monitors also helps eliminate screen tearing, providing a seamless visual experience that is essential for high-performance tasks.
Common LED Monitor Sizes and Resolutions
LED monitors come in a variety of standard sizes, including 24-inch, 27-inch, 32-inch, and larger ultrawide models. The resolution typically ranges from Full HD (1920×1080) to 4K Ultra HD (3840×2160) and beyond. The combination of size and resolution determines the pixel density, measured in pixels per inch (PPI), which influences image sharpness and clarity. Higher resolutions not only enhance the detail in images but also allow for more screen real estate, making it easier to work on multiple projects simultaneously.
For example, a 27-inch monitor with a 1440p resolution (2560×1440) offers a higher pixel density than a 32-inch monitor with the same resolution, resulting in crisper images. Understanding these parameters helps users decide how to adjust display size effectively. Moreover, as technology continues to evolve, we are seeing the emergence of 8K displays, which boast an astounding resolution of 7680×4320. While still in the early stages of adoption, these monitors promise to redefine visual experiences, particularly in fields like gaming, film production, and virtual reality, where every pixel counts in creating lifelike imagery.
Why Adjusting Monitor Display Size Matters
Adjusting the display size on your LED monitor is more than just a cosmetic preference; it impacts eye comfort, productivity, and the overall user experience. Incorrect display size settings can cause eye strain, headaches, and reduced efficiency, especially during prolonged use.
Enhancing Readability and Comfort
One of the primary reasons to adjust display size is to improve readability. Text that is too small can cause users to squint or lean closer to the screen, leading to eye fatigue. Conversely, excessively large text or icons might reduce the amount of usable screen real estate, forcing more scrolling and window switching.
By fine-tuning the display size, users can strike a balance that suits their vision and workspace. For instance, increasing the scaling to 125% or 150% on a 4K monitor can make text and interface elements comfortably visible without sacrificing sharpness.
Optimizing for Different Use Cases
Different tasks require different display size settings. Graphic designers and video editors often prefer native resolution with minimal scaling to ensure pixel-perfect accuracy. Meanwhile, office workers and casual users might prioritize larger text and icons for ease of use.
Gamers also benefit from adjusting display size to optimize performance and immersion. Some games scale UI elements differently based on resolution and display size, so tweaking these settings can enhance gameplay.
Accessibility Considerations
For users with visual impairments, adjusting display size is crucial for accessibility. Operating systems like Windows, macOS, and Linux provide built-in scaling options that allow users to enlarge text, icons, and interface elements without distorting images.
Ensuring that display size adjustments maintain clarity and do not introduce blurriness is vital for these users. LED monitors with high pixel density are particularly advantageous in this regard, as they support scaling without loss of detail.
How to Adjust Monitor Display Size on LED Monitors
Adjusting the display size on an LED monitor involves a combination of hardware settings and software configurations. The following sections outline the most effective methods across different platforms and devices.
Using Operating System Display Settings
Most modern operating systems offer straightforward options to adjust display size through scaling and resolution settings.
Windows
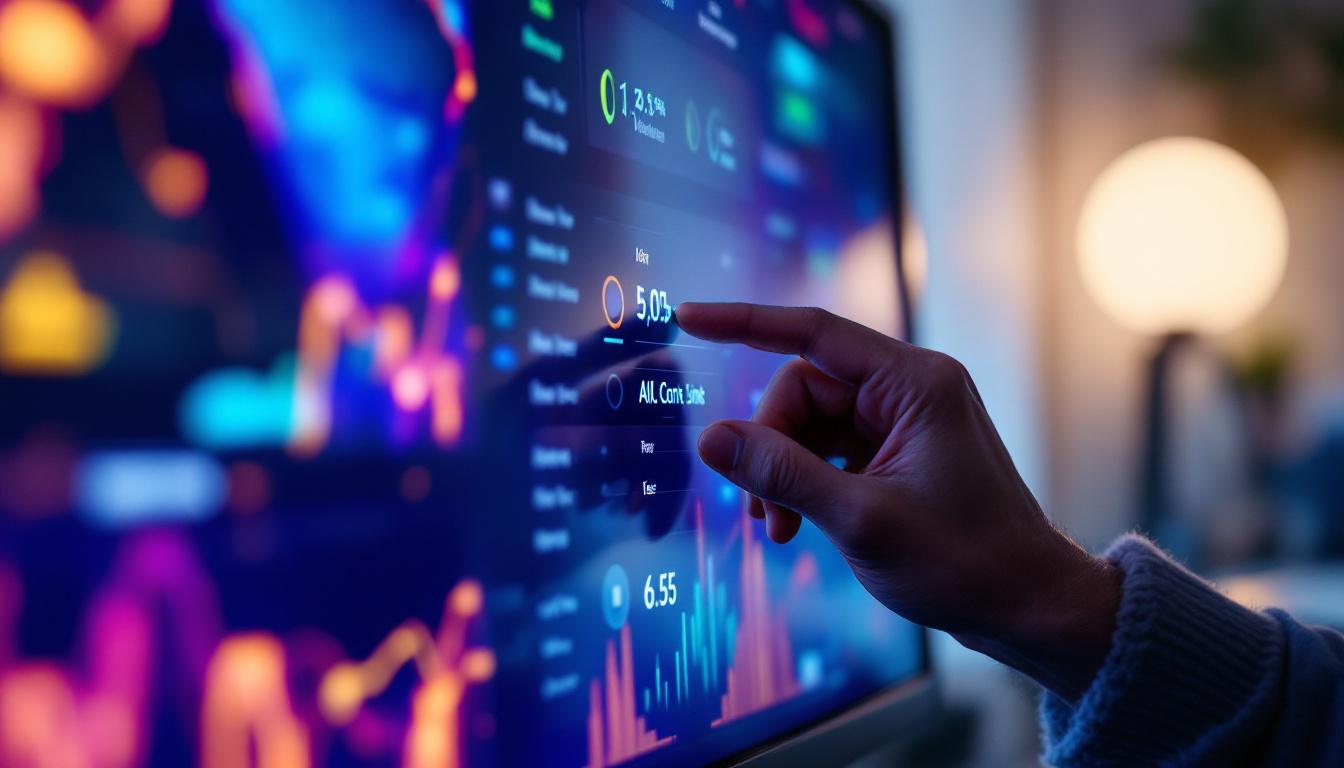
On Windows 10 and 11, users can adjust display size by navigating to Settings > System > Display. Here, the “Scale and layout” section allows users to change the scaling percentage, typically ranging from 100% to 200%. Increasing this value enlarges text, apps, and other items.
Additionally, users can adjust screen resolution to match the monitor’s native resolution for optimal clarity. Windows also supports custom scaling for more precise control.
macOS
macOS users can adjust display size by going to System Preferences > Displays. The “Display” tab offers “Default for display” and “Scaled” options. Selecting “Scaled” reveals multiple resolutions and scaling options, allowing users to choose a balance between space and text size.
Apple’s Retina displays handle scaling exceptionally well, maintaining sharpness even when scaling up interface elements.
Linux
Linux desktop environments such as GNOME and KDE provide display scaling options within their settings menus. Users can adjust resolution and scale factors, though support and implementation may vary depending on the distribution and desktop environment.
Adjusting Monitor Hardware Settings
Some LED monitors include physical buttons or on-screen menus that allow users to adjust display size or aspect ratio directly. These settings can be useful for fine-tuning image positioning, zoom, and scaling.
For example, certain monitors offer “Aspect Ratio” options to switch between 16:9, 4:3, or custom modes, which can affect how content is displayed. Users should consult their monitor’s manual to explore these features.
Using Graphics Card Control Panels
Graphics card manufacturers provide dedicated control panels that offer advanced display adjustment options. NVIDIA’s Control Panel, AMD’s Radeon Software, and Intel’s Graphics Command Center enable users to:
- Adjust resolution and refresh rate
- Set custom scaling options
- Configure multiple displays and their sizes
These tools often provide more granular control than operating system settings, making them ideal for power users and gamers.
Third-Party Software Solutions
Several third-party applications can assist with adjusting display size and scaling, especially when native options are limited or insufficient. Programs like DisplayFusion and Custom Resolution Utility (CRU) allow users to create custom resolutions and scaling profiles tailored to their needs.
While these tools offer flexibility, they require careful configuration to avoid display issues such as blurriness or improper scaling.
Best Practices for Adjusting Display Size on LED Monitors
To achieve the best viewing experience, consider the following best practices when adjusting your LED monitor’s display size.
Always Use Native Resolution When Possible
LED monitors are optimized for their native resolution, which ensures the sharpest and clearest images. Using non-native resolutions can cause blurriness and distortion. Therefore, it is generally recommended to keep the resolution at the monitor’s native setting and adjust scaling instead.
Choose Appropriate Scaling Levels
Scaling should be adjusted based on personal comfort and the monitor’s pixel density. For example, on a 27-inch 4K monitor, a scaling factor of 150% often provides a good balance between readability and screen real estate.
Experimenting with different scaling settings can help find the optimal configuration for your eyes and workflow.
Consider Viewing Distance and Environment
The distance between your eyes and the monitor affects how display size feels. A larger screen viewed from a greater distance may require different scaling than a smaller screen used up close.
Ambient lighting also plays a role; bright environments may benefit from slightly larger text and icons to reduce eye strain.
Regularly Update Drivers and Firmware
Keeping your graphics drivers and monitor firmware up to date ensures compatibility with the latest scaling technologies and fixes potential bugs that affect display size adjustments.
Conclusion: Maximizing Your LED Monitor Experience
Adjusting the monitor display size on LED screens is a vital step in tailoring your computing environment to your needs. Understanding the technology behind LED displays, recognizing the importance of display size adjustments, and utilizing the available tools can significantly enhance comfort, productivity, and visual enjoyment.
Whether you are a professional requiring precise visuals, a gamer seeking immersive experiences, or a casual user aiming for comfort, mastering display size adjustments empowers you to get the most out of your LED monitor.
Invest time in exploring your system’s settings, experiment with scaling options, and keep your hardware updated to ensure a vibrant and comfortable viewing experience every time you sit down at your screen.
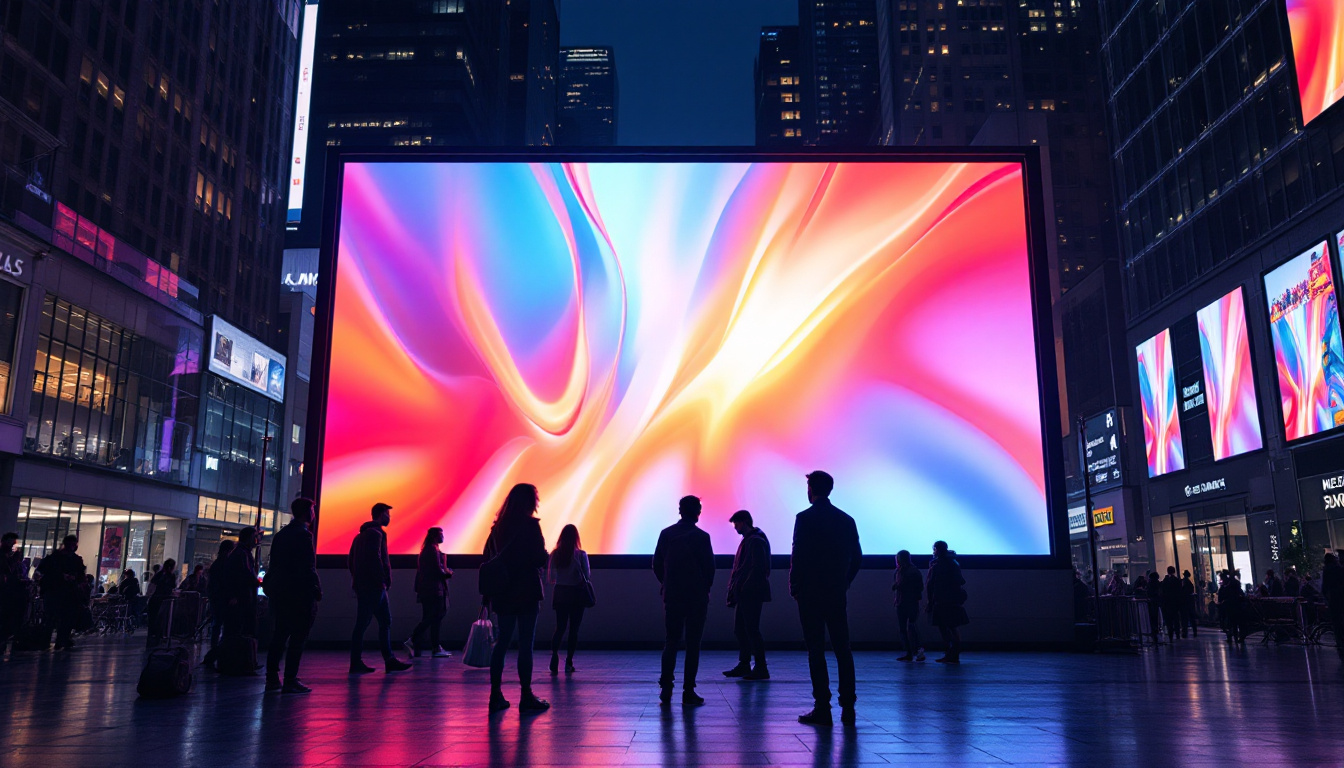
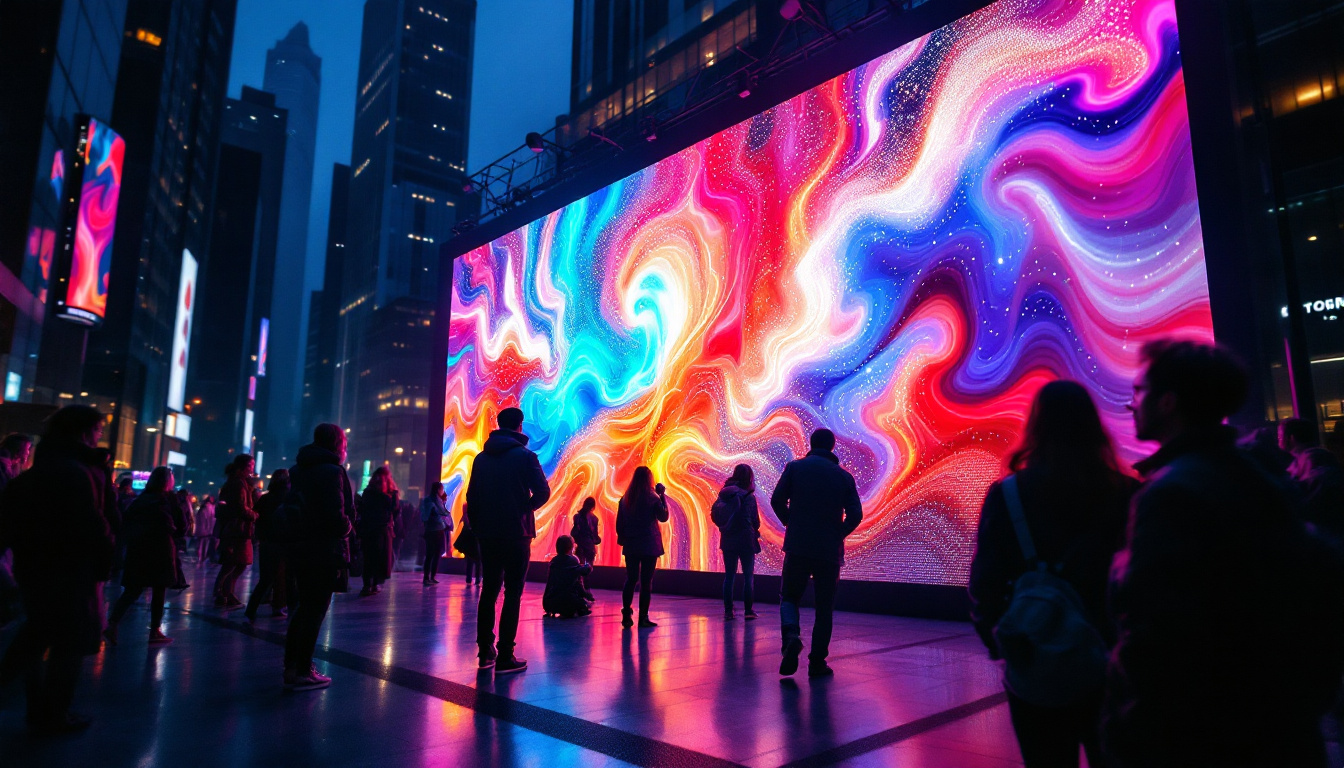
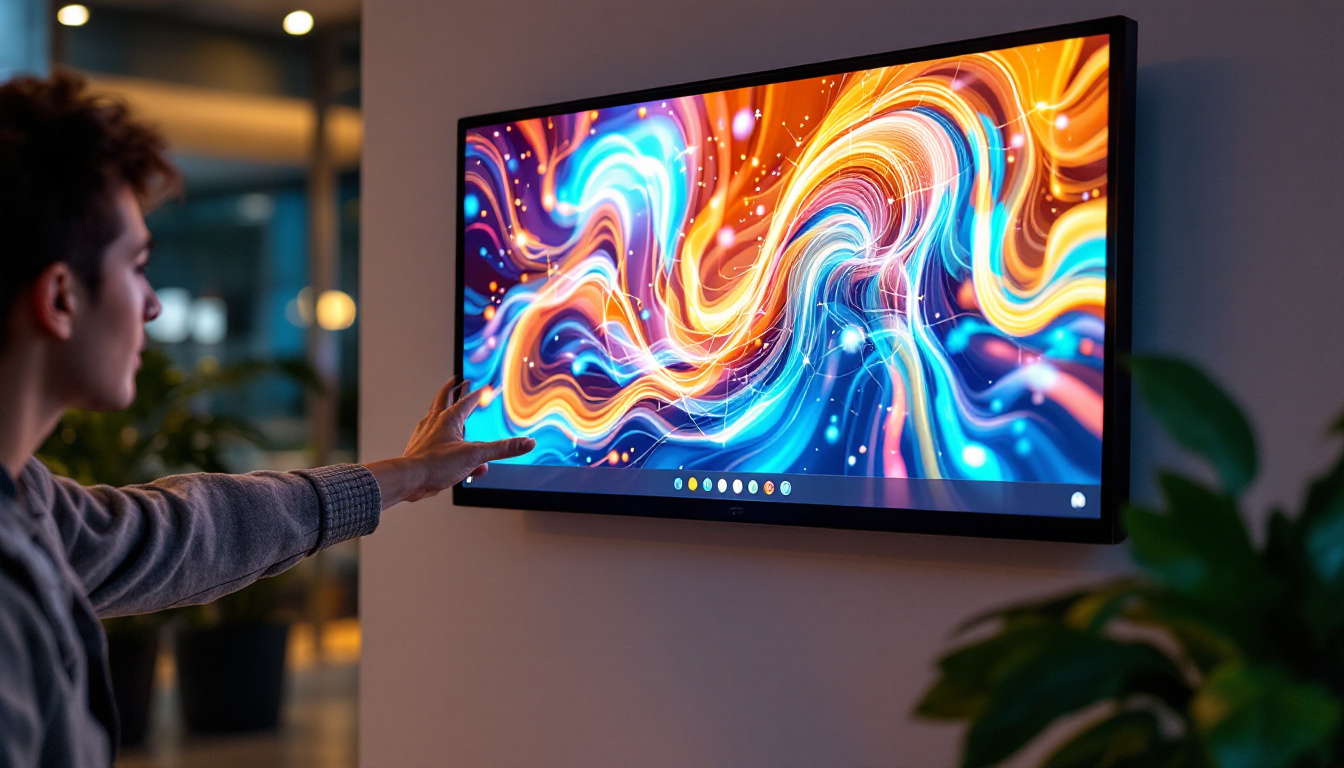
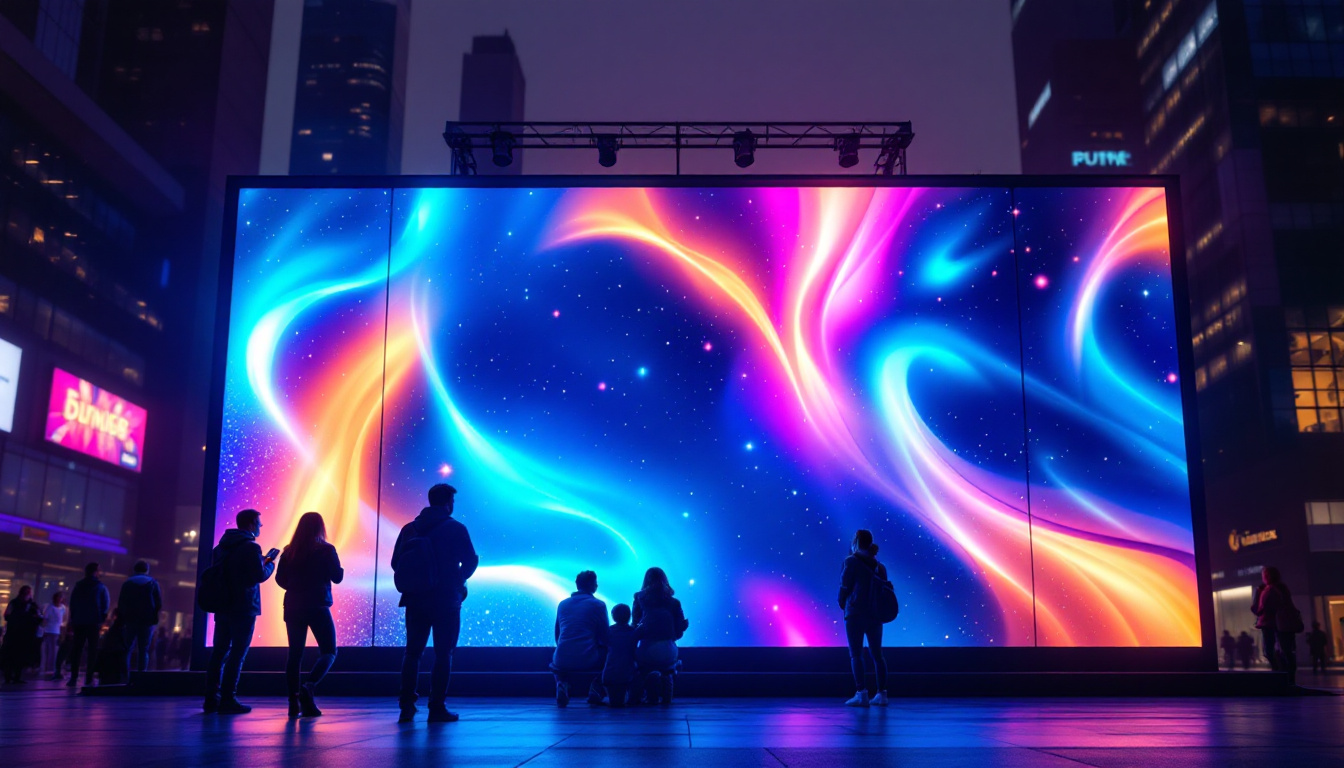
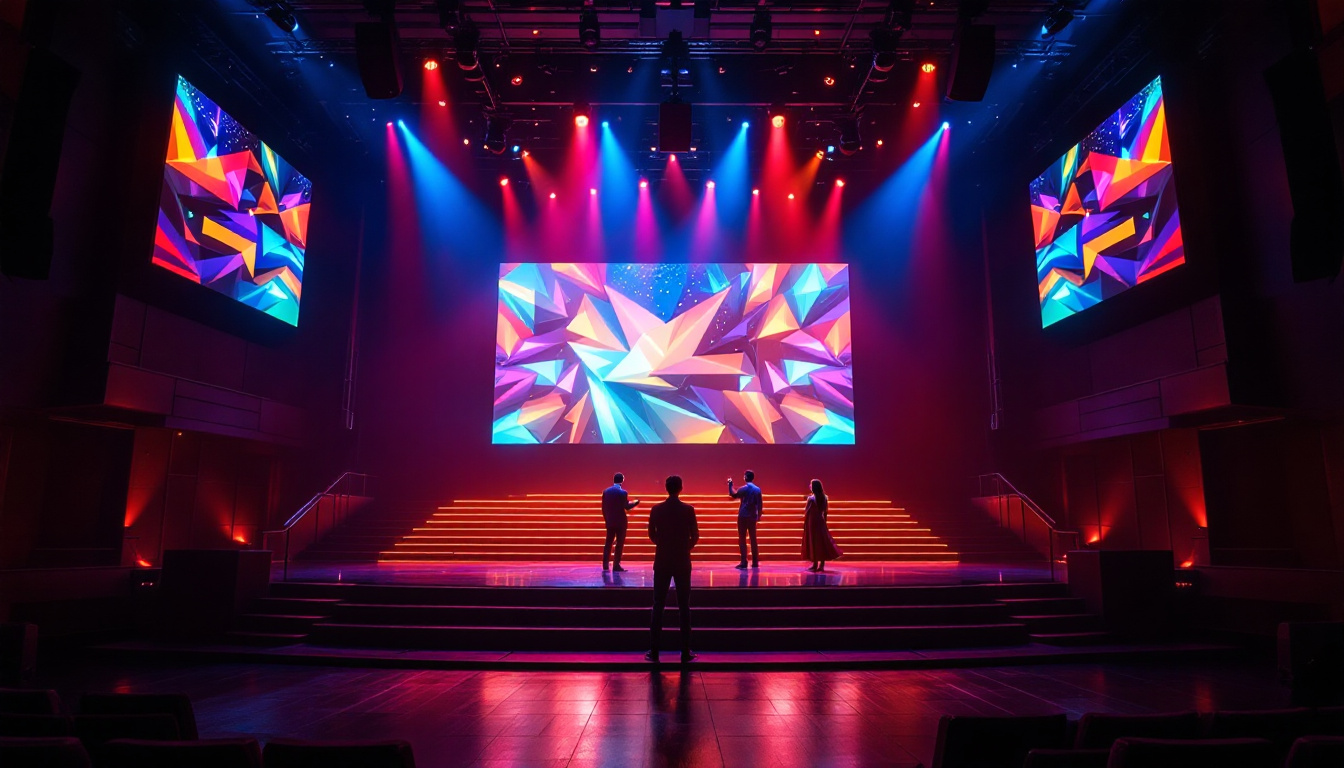
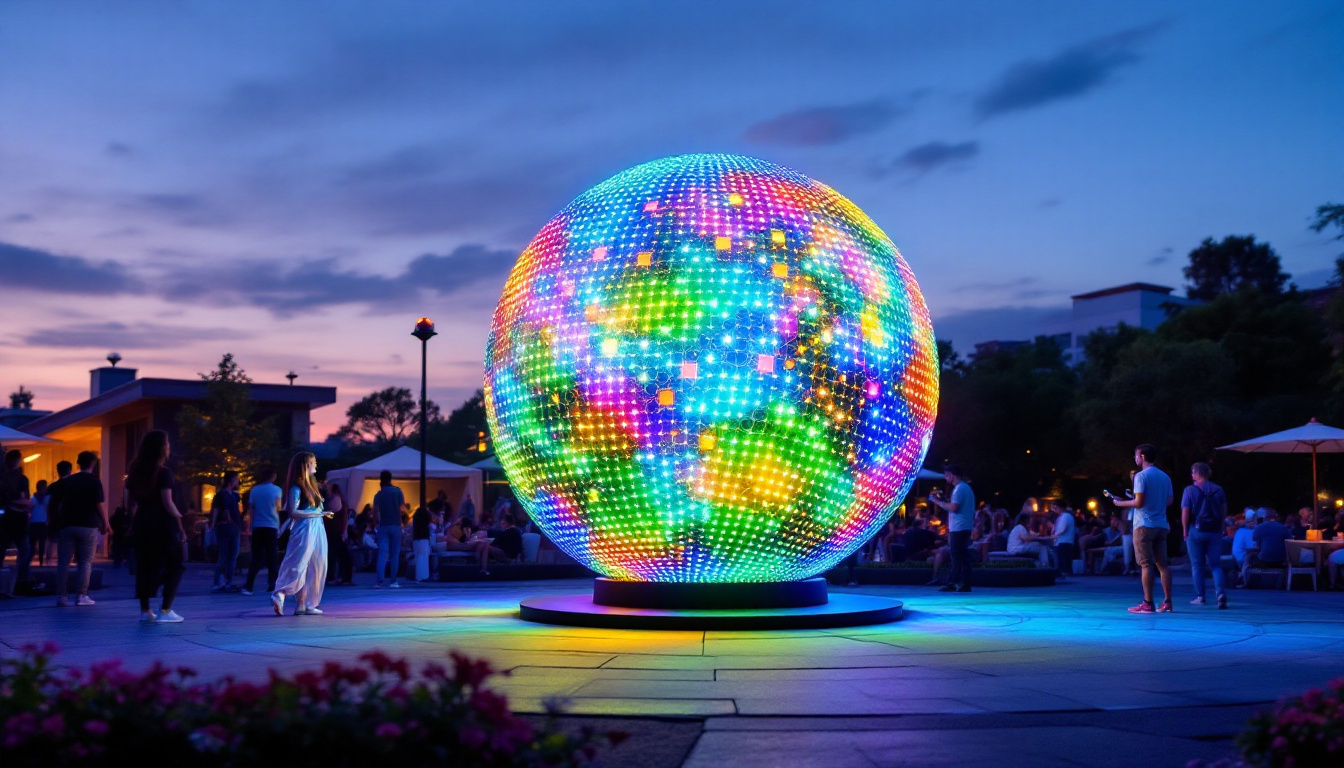
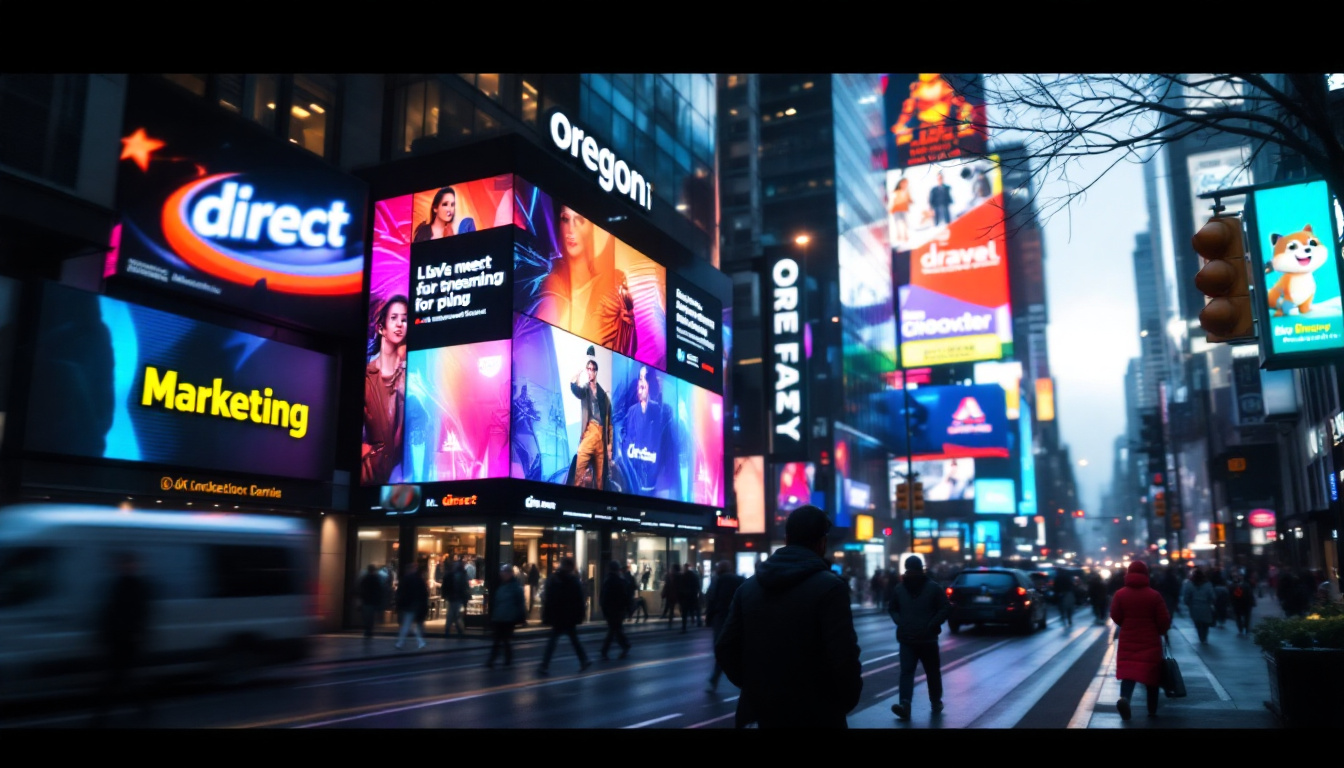
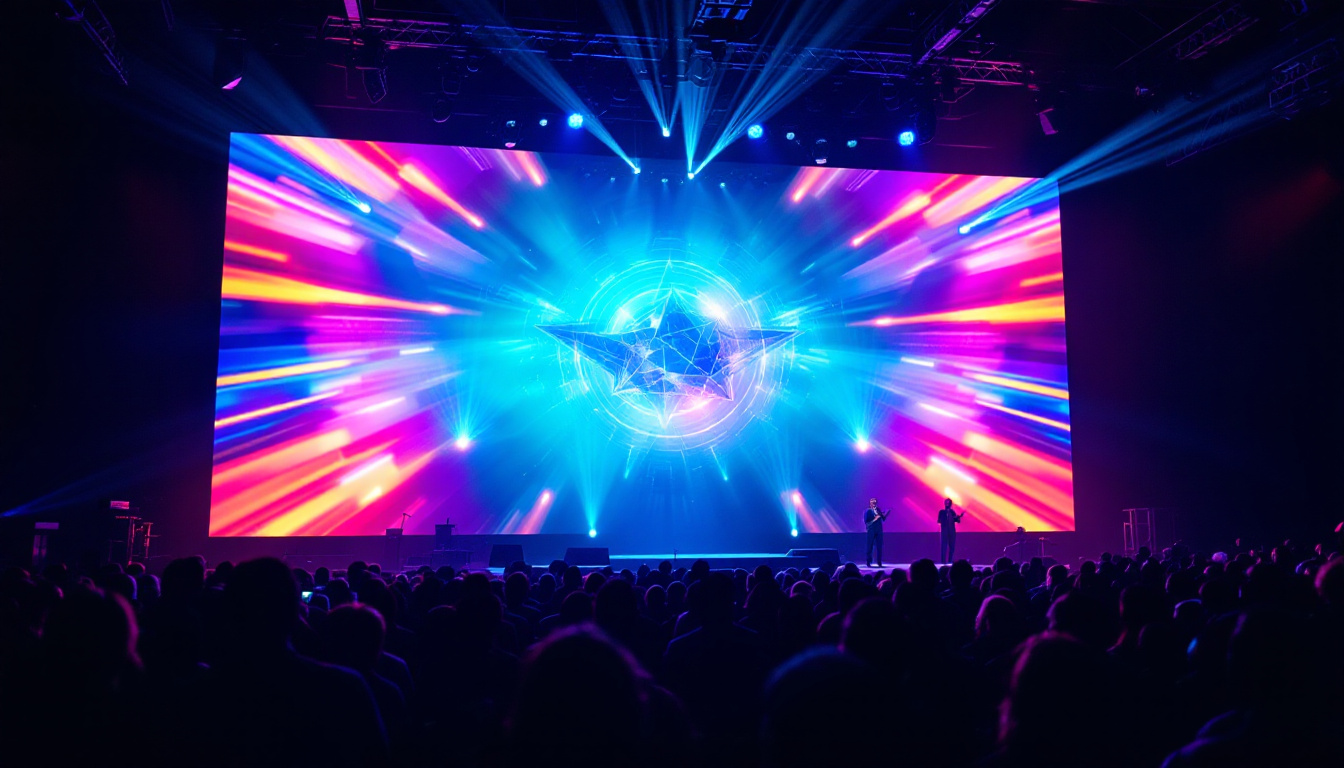
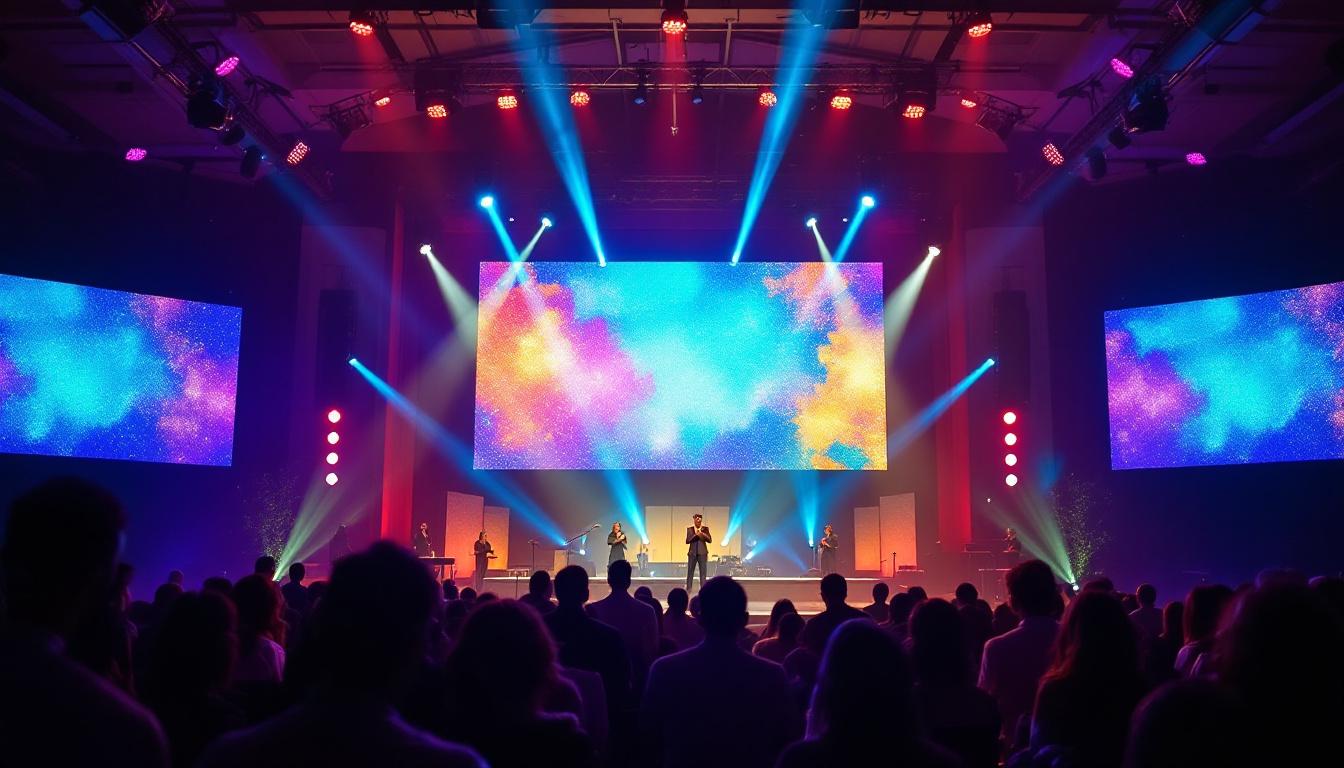
Discover the Future of Visual Display with LumenMatrix
Ready to elevate your visual experience to new heights? LumenMatrix is at the forefront of LED display innovation, offering a wide array of solutions that cater to any need—from dynamic Indoor LED Walls to vibrant Outdoor Displays and beyond. Embrace the power of cutting-edge technology and let your brand shine with unparalleled clarity and impact. Don’t miss out on the opportunity to transform your space. Check out LumenMatrix LED Display Solutions today and step into the future of visual communication.