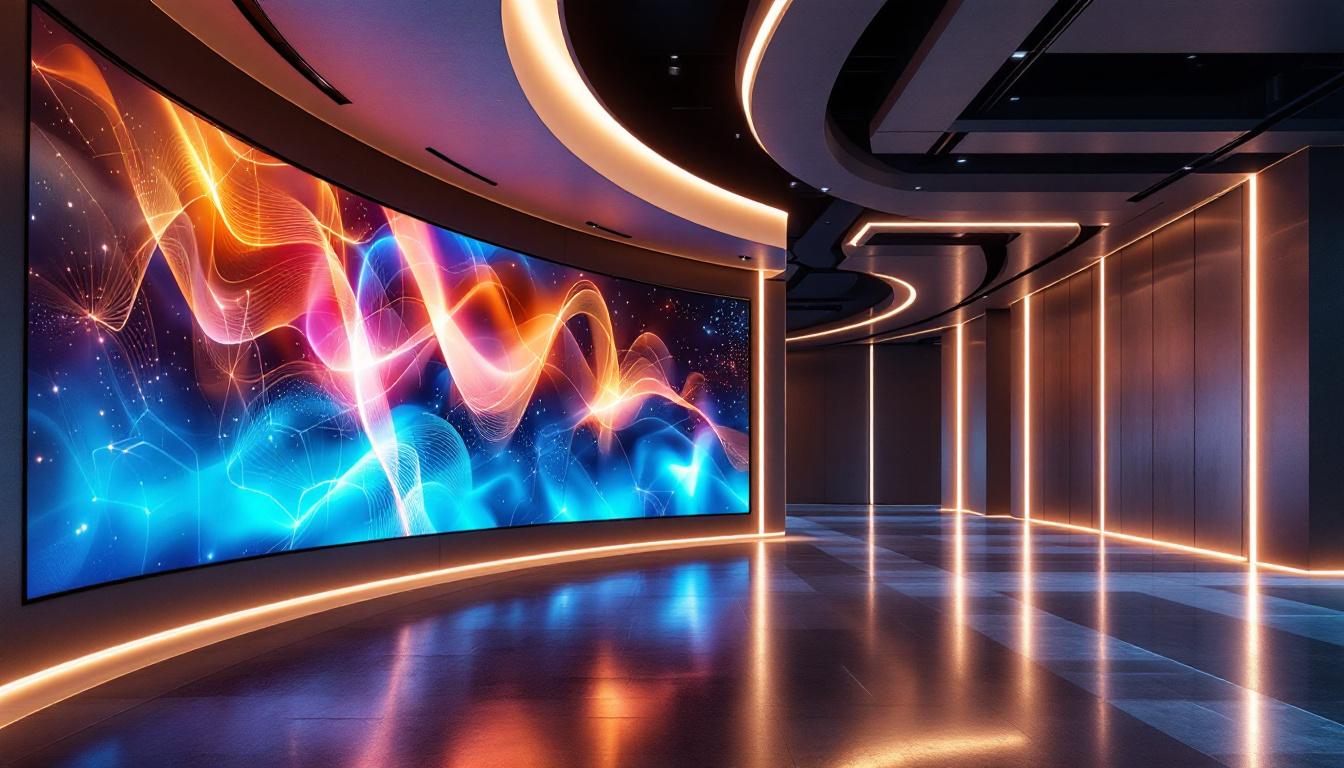
Creating curved walls in architectural design has become increasingly popular, especially in modern commercial spaces such as retail stores, museums, and corporate offices. These walls not only add aesthetic appeal but also enhance spatial dynamics and user experience. In the realm of digital design, Revit stands out as a powerful Building Information Modeling (BIM) software that allows architects and designers to bring these complex geometries to life efficiently.
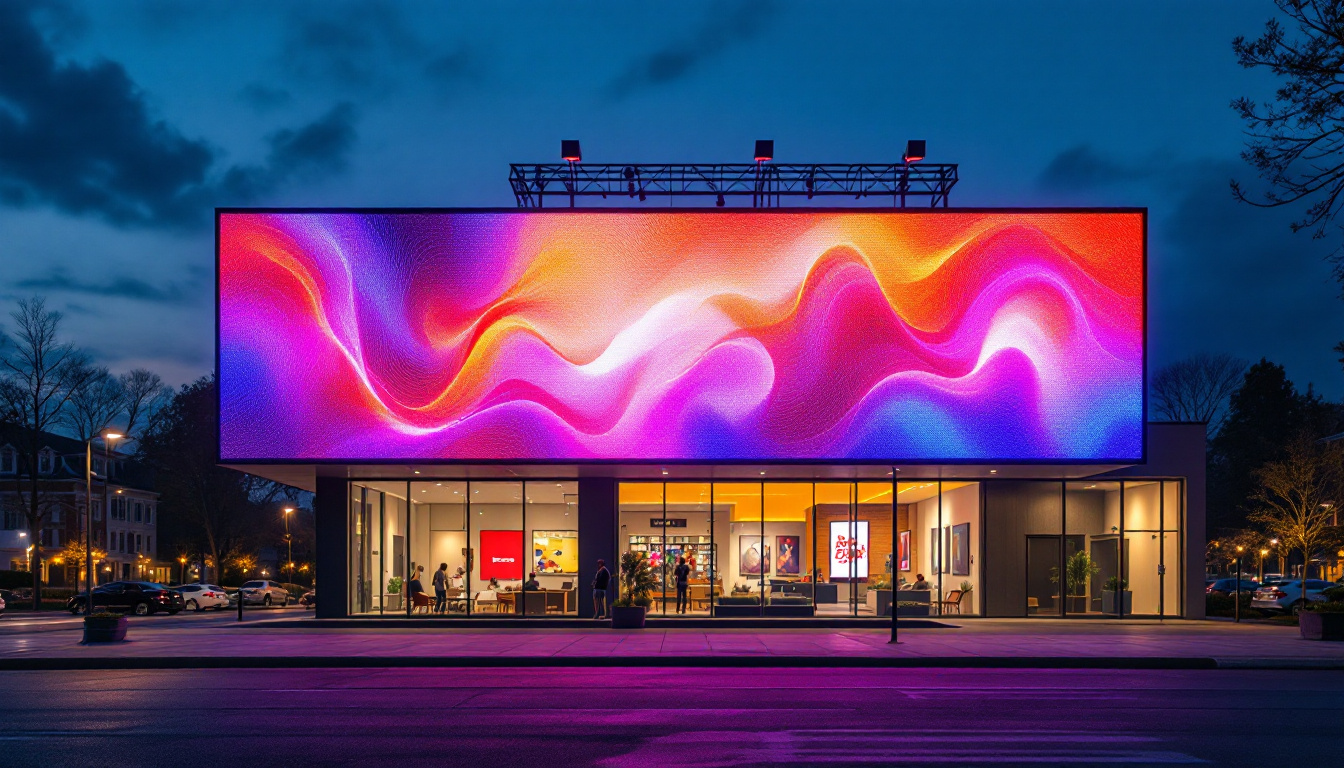
One particularly exciting application of curved walls is in the integration of LED display systems. Curved LED walls are transforming how information and visuals are presented in public and private spaces, offering immersive and dynamic experiences. This article explores how to create curved walls in Revit and how to effectively plan for LED display installations on these surfaces.
Understanding the Importance of Curved Walls in Modern Architecture
Curved walls are more than just a design statement; they serve functional and experiential purposes. According to a 2023 survey by the American Institute of Architects, over 40% of new commercial projects incorporate non-linear wall designs to create more engaging environments. Curved walls can guide foot traffic, create focal points, and improve acoustics in a space. Their organic shapes can soften the harsh lines often found in traditional architecture, promoting a sense of flow and harmony that resonates with occupants. This design choice not only enhances the aesthetic appeal but also contributes to the overall well-being of individuals within the space, as studies have shown that environments with softer, more fluid lines can reduce stress and increase comfort levels.
Incorporating LED displays on curved surfaces further elevates the architectural impact. These displays can be used for branding, wayfinding, interactive exhibits, or simply to enhance ambiance. The seamless integration of technology and architecture requires careful planning and precise modeling, which is where Revit’s capabilities become invaluable. Beyond mere functionality, the use of LED technology on curved walls allows for dynamic visual storytelling, transforming static spaces into immersive experiences. For instance, in retail environments, these displays can showcase products in an engaging manner, adapting to the time of day or specific marketing campaigns. Moreover, the ability to manipulate light and color on these surfaces can create mood shifts, making spaces feel more inviting or energizing, depending on the desired atmosphere. As architects continue to explore the possibilities of curved designs, we can expect to see even more innovative applications that push the boundaries of traditional architectural practices.
Getting Started: Setting Up Your Revit Project for Curved Walls
Choosing the Right Wall Type and Family
Before diving into creating curved walls, it’s essential to select or create a wall type that suits your project requirements. Revit offers several wall types, but for curved walls, you may need to customize materials and thicknesses to accommodate LED display hardware.
Start by duplicating an existing wall type and adjusting parameters such as structure layers, finishes, and thermal properties. This ensures that the wall can support the weight and electrical components of the LED system while maintaining the desired aesthetic.
Using the Arc Tool to Draw Curved Walls
Revit provides multiple methods to create curved walls, but the most straightforward approach is using the Arc Wall tool. This tool allows you to draw walls along an arc path, defining the radius and length precisely.
To create a curved wall:
- Navigate to the Wall tool in the Architecture tab.
- Select the “Wall: Arc” option from the draw panel.
- Click to set the start point, then define the arc by specifying the radius and endpoint.
- Adjust the wall height and constraints as needed.
This method ensures that the wall geometry is parametric, allowing for easy adjustments later in the design process.
Advanced Techniques: Using Model Lines and Sweeps
For more complex curved walls, such as double-curved or freeform surfaces, Revit’s standard tools may be limiting. In such cases, model lines and sweeps can be used to create custom wall profiles.
By sketching a path with model lines and applying a sweep or extrusion, designers can generate walls that follow intricate curves. This technique is particularly useful when designing walls that need to conform to unique LED panel shapes or when integrating with other architectural elements.
Integrating LED Displays with Curved Walls
Understanding LED Display Technology and Requirements
LED displays designed for curved surfaces are typically made of modular panels that can be bent or angled to match the wall curvature. These panels require precise alignment and mounting systems to ensure visual continuity and structural stability.
When planning an LED installation on a curved wall, it’s crucial to consider:
- Panel size and curvature tolerance
- Electrical wiring and power supply placement
- Heat dissipation and ventilation
- Maintenance access
Revit enables designers to model these components accurately, facilitating coordination with electrical and mechanical engineers.
Modeling LED Panels in Revit
To visualize the LED display on a curved wall, create a separate family representing the LED panels. These families can be designed to fit the curvature by adjusting their geometry or by using adaptive components that flex along the wall’s arc.
Once the LED panel family is created, place instances along the curved wall, ensuring alignment and spacing match the manufacturer’s specifications. This approach helps in detecting potential clashes and optimizing the installation layout.
Coordination with MEP Systems
LED displays require power and sometimes data connections, which means coordination with Mechanical, Electrical, and Plumbing (MEP) systems is essential. Using Revit’s multidisciplinary collaboration tools, architects and engineers can work within a shared model to plan conduit routes, power supplies, and cooling systems without interfering with the architectural design.
Early coordination reduces costly changes during construction and ensures that the LED display operates efficiently once installed.
Best Practices for Designing Curved Walls with LED Displays in Revit
Maintain Parametric Flexibility
One of Revit’s strengths is its parametric nature. When designing curved walls, keep parameters such as radius, height, and wall thickness adjustable. This flexibility allows for quick iterations based on client feedback or engineering requirements.
Similarly, design LED panel families with adjustable parameters to accommodate different sizes or configurations without recreating the family from scratch.
Use Reference Planes and Work Planes Effectively
Curved walls can be challenging to model and align. Using reference planes and work planes helps maintain accuracy. Set up reference planes along the arc’s centerline and at key points to guide wall placement and LED panel alignment.
This technique also aids in dimensioning and annotating the model for construction documentation.
Leverage Revit’s Visualization Tools
Visualizing curved walls with integrated LED displays is crucial for client presentations and design validation. Use Revit’s realistic visual styles and rendering capabilities to showcase how the LED display will look in the finished space.
Additionally, exporting the model to visualization software like Enscape or Lumion can create immersive walkthroughs that highlight the dynamic qualities of curved LED walls.
Common Challenges and How to Overcome Them
Managing Wall Thickness and Structural Integrity
Curved walls supporting LED displays must balance aesthetics with structural performance. Thin walls may not support the weight or mounting hardware, while overly thick walls can be costly and space-consuming.
Collaborate with structural engineers early in the design process to specify appropriate materials and reinforcements. Use Revit’s structural analysis add-ons to simulate load-bearing capacity.
Ensuring LED Panel Alignment on Complex Curves
Misalignment of LED panels can cause visual distortions and gaps in the display. To avoid this, model the exact curvature and panel dimensions meticulously. Use adaptive components that can adjust to subtle changes in curvature.
Regularly review the model in 3D views and section cuts to verify alignment before finalizing the design.
Handling Software Limitations
While Revit is powerful, it may struggle with extremely complex freeform surfaces. In such cases, consider integrating Revit with other software like Rhino or Dynamo for advanced geometry creation. These tools can generate complex curves and export them back into Revit for documentation and coordination.
Case Study: Curved LED Wall in a Corporate Lobby
A recent project involved designing a 20-meter-long curved wall in a corporate lobby to host a dynamic LED display showcasing company achievements and interactive content. The design team used Revit to model the wall with a 10-meter radius curve, ensuring the wall thickness accommodated LED panel mounts and concealed wiring.
The LED panels were modeled as adaptive families, allowing them to follow the wall’s curvature precisely. Coordination with the MEP team ensured power supplies were integrated seamlessly behind the wall, with ventilation ducts modeled to prevent overheating.
The final design was rendered in Revit and presented to the client, who appreciated the realistic visualization of the LED display in the lobby context. The project was completed on schedule, with minimal on-site adjustments due to the detailed modeling and coordination facilitated by Revit.
Conclusion: Mastering Curved Walls and LED Displays in Revit
Creating curved walls in Revit is a manageable and rewarding process when approached with the right tools and techniques. Integrating LED displays on these walls adds a layer of complexity but also opens up exciting possibilities for innovative architectural expression.
By understanding the technical requirements of both curved walls and LED technology, leveraging Revit’s parametric and collaborative features, and following best practices, designers can deliver projects that are both visually stunning and functionally robust.
As architectural trends continue to embrace dynamic forms and interactive technology, mastering curved wall creation and LED display integration in Revit will remain an essential skill for forward-thinking professionals.
Explore Cutting-Edge LED Display Solutions with LumenMatrix
Ready to elevate your architectural projects with the seamless integration of LED displays? Discover LumenMatrix’s innovative LED display technology, designed to transform any curved wall into a mesmerizing visual experience. From indoor and outdoor spaces to custom and interactive installations, LumenMatrix offers a diverse range of solutions that bring your designs to life. Embrace the future of visual communication and check out LumenMatrix LED Display Solutions today to create spaces that captivate and inspire.