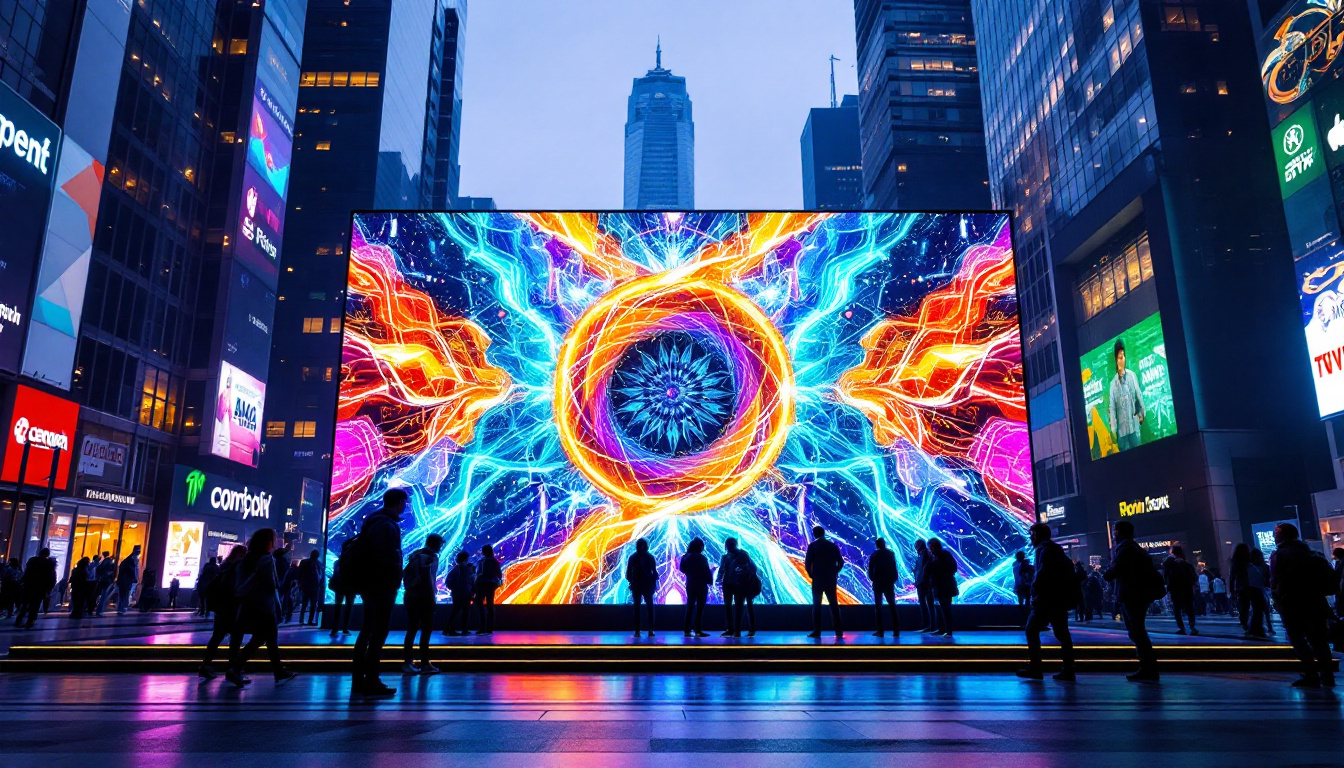
Creating a homemade video wall using LED displays has become an exciting and achievable project for tech enthusiasts, educators, small business owners, and DIY hobbyists alike. Video walls offer a dynamic way to showcase content, whether for advertising, presentations, gaming, or home entertainment. This article delves into the essentials of LED video walls, guiding you through the technology, design considerations, and practical steps to build your own display.
Understanding LED Video Walls: The Basics
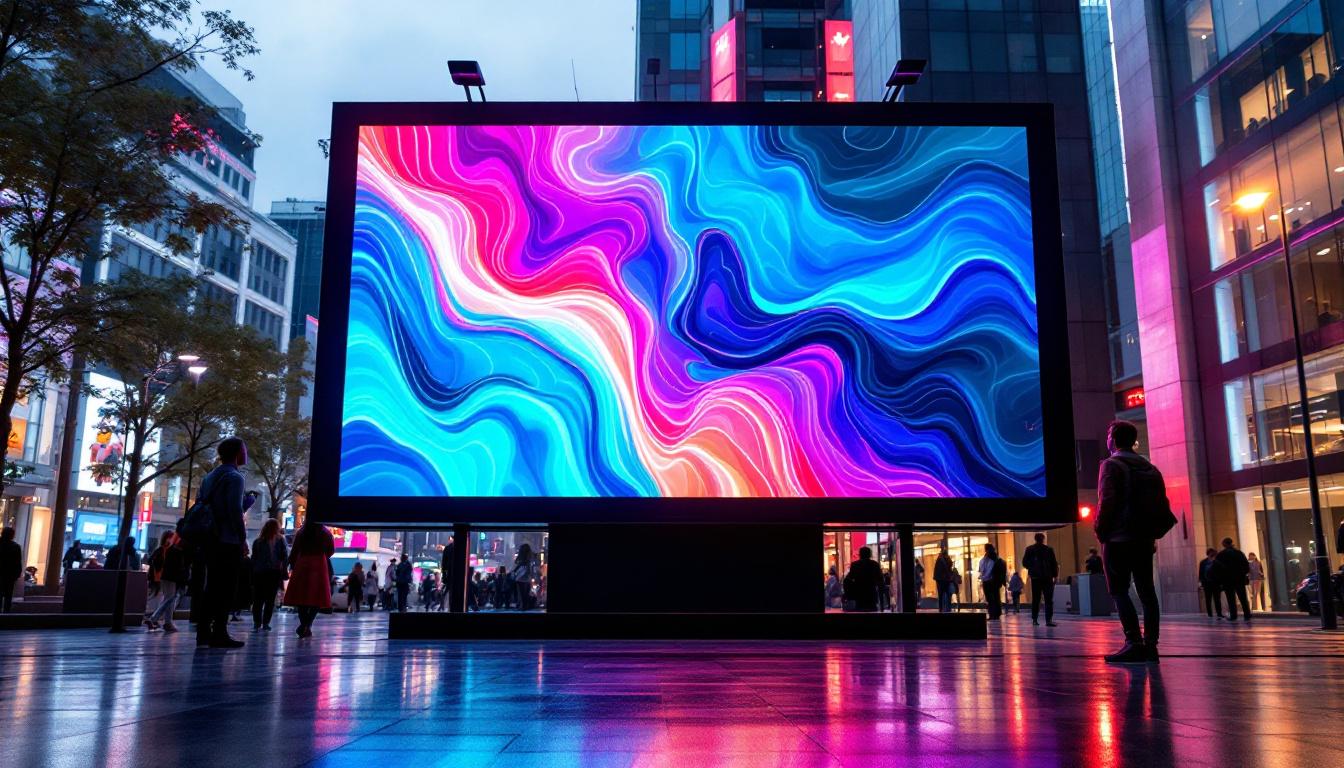
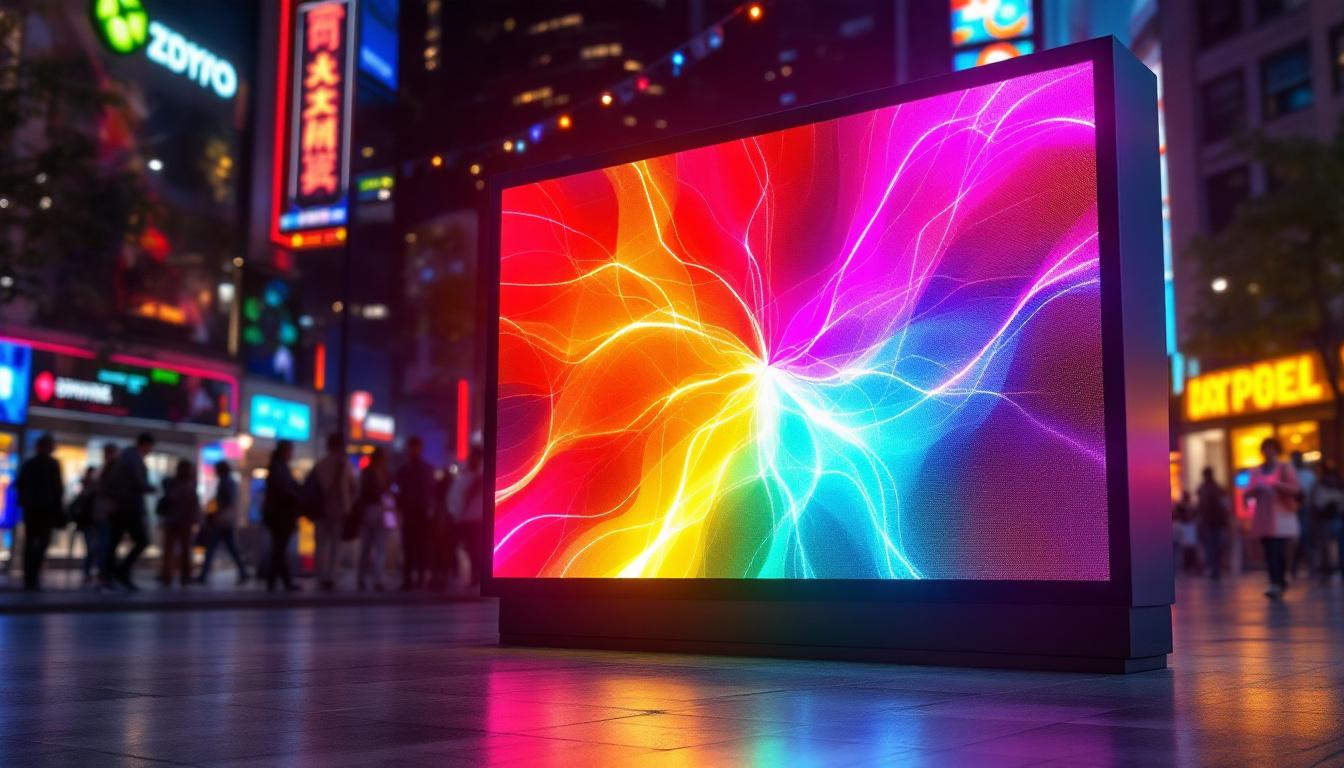
LED video walls are large-scale displays composed of multiple LED panels seamlessly tiled together to create a single, expansive screen. Unlike traditional LCD or projector setups, LED walls provide superior brightness, contrast, and viewing angles, making them ideal for both indoor and outdoor applications.
The core technology behind these walls relies on light-emitting diodes (LEDs), which are tiny semiconductor devices that emit light when an electrical current passes through them. By arranging thousands of these LEDs in a grid, each acting as an individual pixel, the display can render high-resolution images and videos with vibrant colors and deep blacks.
Types of LED Displays
There are two primary types of LED displays used in video walls: direct view LED (DV-LED) and LED-backlit LCD. For homemade video walls, DV-LED panels are the preferred choice due to their scalability and superior image quality.
- Direct View LED (DV-LED): These panels consist of LEDs arranged directly on the display surface, providing bright and uniform illumination. They are modular, allowing for easy expansion and repair.
- LED-backlit LCD: These use LEDs to backlight an LCD screen. While common in TVs and monitors, they are less suited for large video walls due to limited viewing angles and brightness.
Pixel Pitch and Resolution
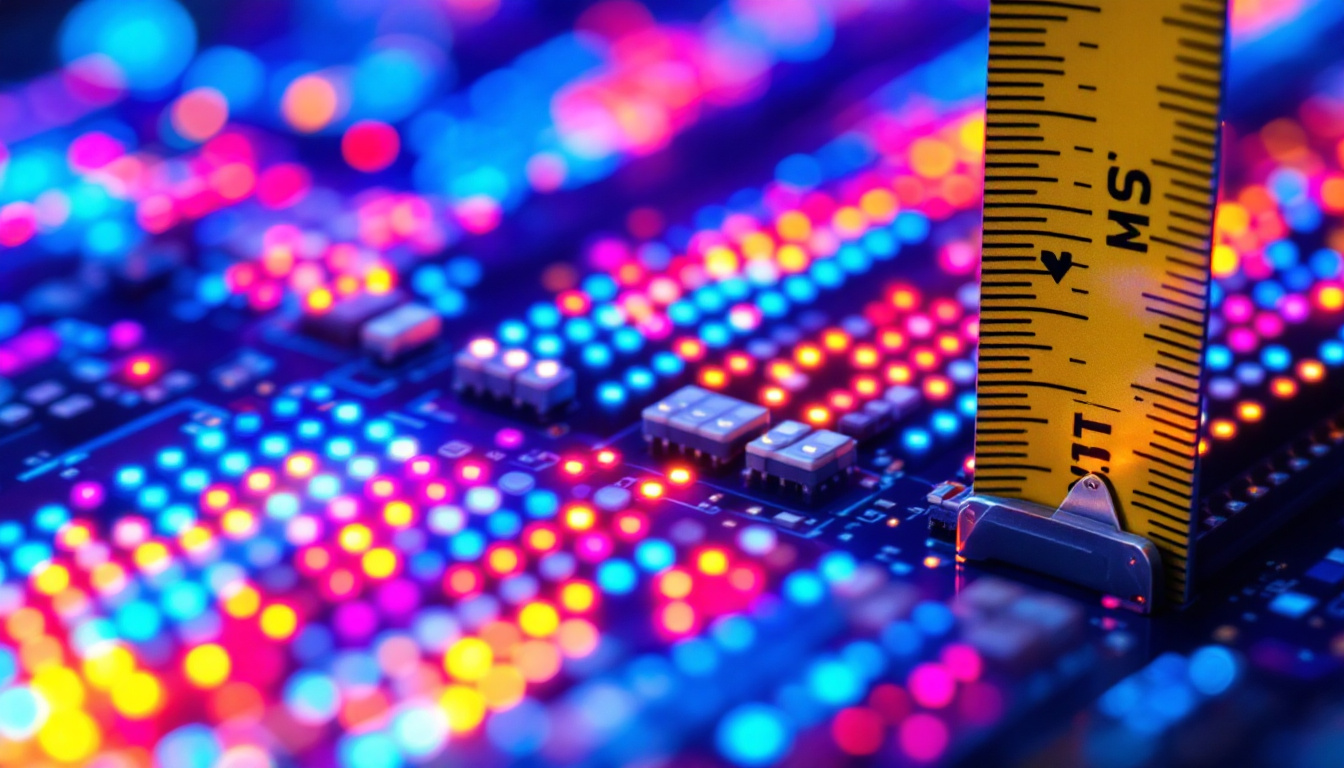
One of the most critical specifications for LED video walls is pixel pitch, which refers to the distance between the centers of two adjacent pixels, usually measured in millimeters. Smaller pixel pitches mean higher resolution and sharper images, especially at close viewing distances.
For example, a 1.5mm pixel pitch LED wall offers crisp visuals suitable for indoor environments where viewers are close to the display. Conversely, a 10mm pixel pitch is more appropriate for large outdoor walls where viewers are farther away.
Planning Your Homemade LED Video Wall
Before assembling your video wall, thorough planning is essential to ensure the final product meets your expectations and requirements. Several factors influence the design and functionality of the display.
Defining the Purpose and Location
Identifying the primary use of your video wall will guide many decisions, including size, resolution, and brightness. For instance, a video wall intended for a home theater setup will have different specifications than one designed for a retail storefront or a classroom.
Consider the installation environment carefully. Indoor walls require less brightness but may demand higher resolution and better color accuracy. Outdoor walls must be weather-resistant and have high brightness levels, often exceeding 5,000 nits, to remain visible in sunlight.
Determining the Size and Aspect Ratio
Video walls are highly customizable in size and shape. The total resolution depends on the number of LED panels tiled horizontally and vertically. Common aspect ratios include 16:9 (widescreen) and 4:3, but custom configurations are possible.
For example, a 4×3 array of 500mm x 500mm LED panels with a 2.5mm pixel pitch can create a display roughly 2 meters wide and 1.5 meters tall with a resolution of 1920 x 1440 pixels.
Budget Considerations
Costs can vary widely depending on the quality of LED modules, control systems, and accessories. As of 2024, entry-level indoor LED panels with a pixel pitch around 2.5mm typically cost between $500 and $1,000 per square foot, including controllers and power supplies.
DIY builders can reduce costs by sourcing panels from reputable manufacturers or surplus suppliers and assembling the control system themselves. However, investing in quality components is crucial for durability and image quality.
Components of a Homemade LED Video Wall
Building a video wall requires several key components working in harmony. Understanding each part’s role will help in sourcing and assembling your display.
LED Panels
The LED panels are the building blocks of the video wall. Each panel contains an array of LEDs arranged in a matrix. Panels come in standard sizes, commonly 500mm x 500mm or 640mm x 640mm, with varying pixel pitches.
When selecting panels, look for:
- Uniform brightness and color calibration
- High refresh rates (ideally 3,840 Hz or higher) to avoid flickering in video capture
- Robust construction for easy mounting and maintenance
Video Wall Controller
The controller acts as the brain of the video wall, managing the input signal and distributing the video data to each LED panel. Controllers vary from simple splitter boxes for small setups to advanced processors that support multiple inputs, scaling, and content management.
For homemade projects, popular options include PC-based software controllers combined with video distribution hardware, or standalone hardware controllers that support HDMI, DisplayPort, or SDI inputs.
Power Supply and Cabling
LED panels require stable and sufficient power. Each panel typically includes a dedicated power supply unit (PSU) that converts AC power to the low-voltage DC power LEDs need.
Ensure your power infrastructure can handle the total wattage of the assembled panels. Additionally, high-quality data cables (often CAT5e or CAT6 Ethernet cables) connect the panels to the controller and to each other, transmitting video data with minimal latency.
Mounting Structure
A sturdy frame or mounting system is essential to align the panels precisely and maintain a flat, seamless display surface. Many manufacturers offer modular mounting kits designed for their panels, but DIY builders may fabricate custom frames using aluminum extrusion or steel.
Proper ventilation and access for maintenance should also be considered in the mounting design.
Step-by-Step Guide to Building Your LED Video Wall
Constructing a homemade LED video wall is a rewarding challenge that requires careful assembly and calibration. The following steps outline the general process.
1. Assemble the Mounting Frame
Start by building or installing the frame that will hold the LED panels. Ensure the structure is level and rigid to prevent misalignment. Use precise measurements to maintain consistent gaps between panels.
2. Install LED Panels
Mount the LED panels onto the frame, connecting them securely. Panels should snap or bolt into place with minimal gaps. Handle panels carefully to avoid damaging the LEDs or circuitry.
3. Connect Data and Power Cables
Link the panels using the provided data cables, typically daisy-chained from the controller to each panel. Connect power cables to each panel’s PSU, ensuring proper voltage and current ratings.
4. Configure the Video Wall Controller
Set up the controller to recognize the layout of your panels. This includes specifying the number of panels horizontally and vertically, pixel pitch, and resolution. Upload or configure the content to be displayed.
5. Calibrate and Test
Perform color calibration to ensure uniform brightness and color accuracy across all panels. Test the display with various content types to check for dead pixels, flickering, or synchronization issues.
Practical Applications and Benefits of Homemade LED Video Walls
Homemade LED video walls offer versatile applications beyond commercial advertising. Their modularity and scalability make them ideal for a variety of environments.
Home Entertainment and Gaming
Enthusiasts can create immersive home theater experiences or gaming setups with custom-sized video walls. The high refresh rates and vivid colors of LED displays enhance visual immersion, especially for fast-paced games and high-definition movies.
Education and Training
Schools and universities can use video walls for interactive presentations, digital signage, and collaborative learning spaces. The ability to display multiple content streams simultaneously enhances engagement and information retention.
Small Business and Retail
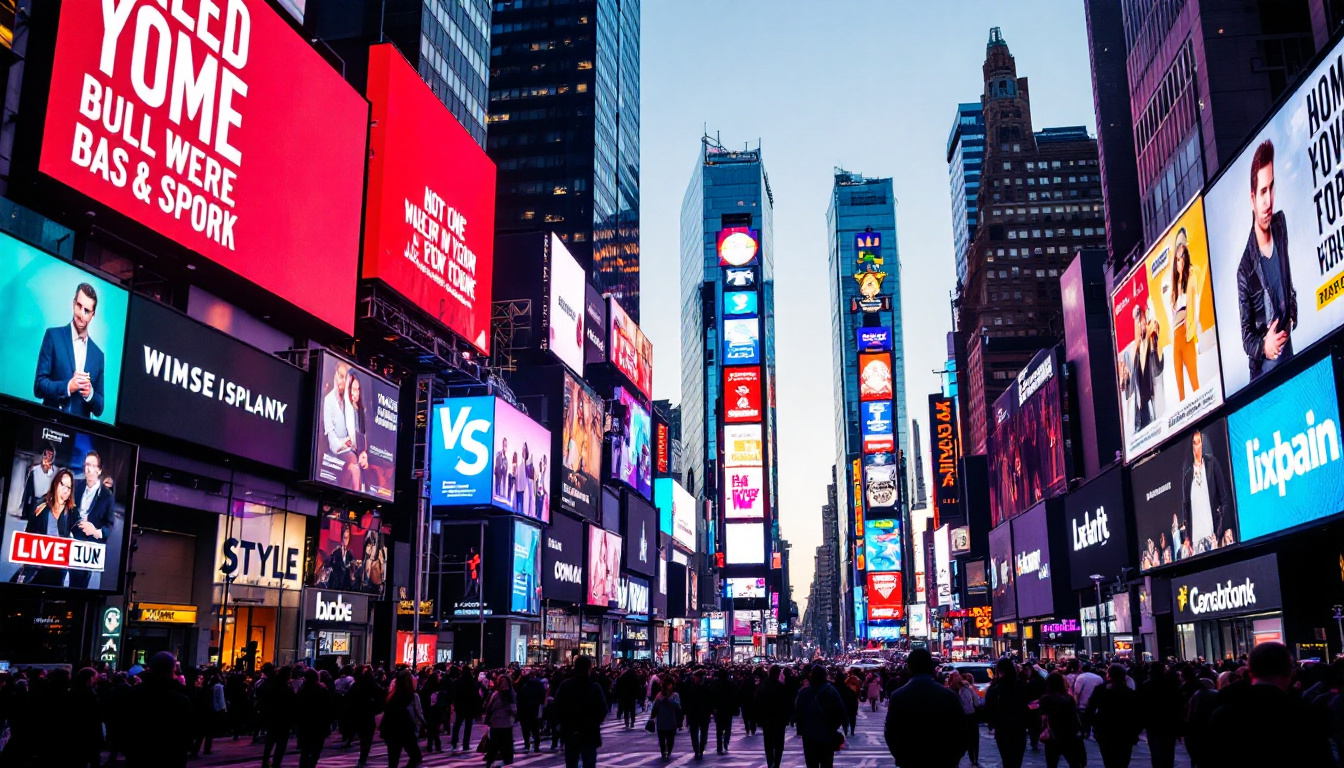
Small businesses can leverage video walls for dynamic advertising, product showcases, and customer engagement. DIY solutions reduce costs while providing professional-quality displays that attract attention and boost sales.
Events and Exhibitions
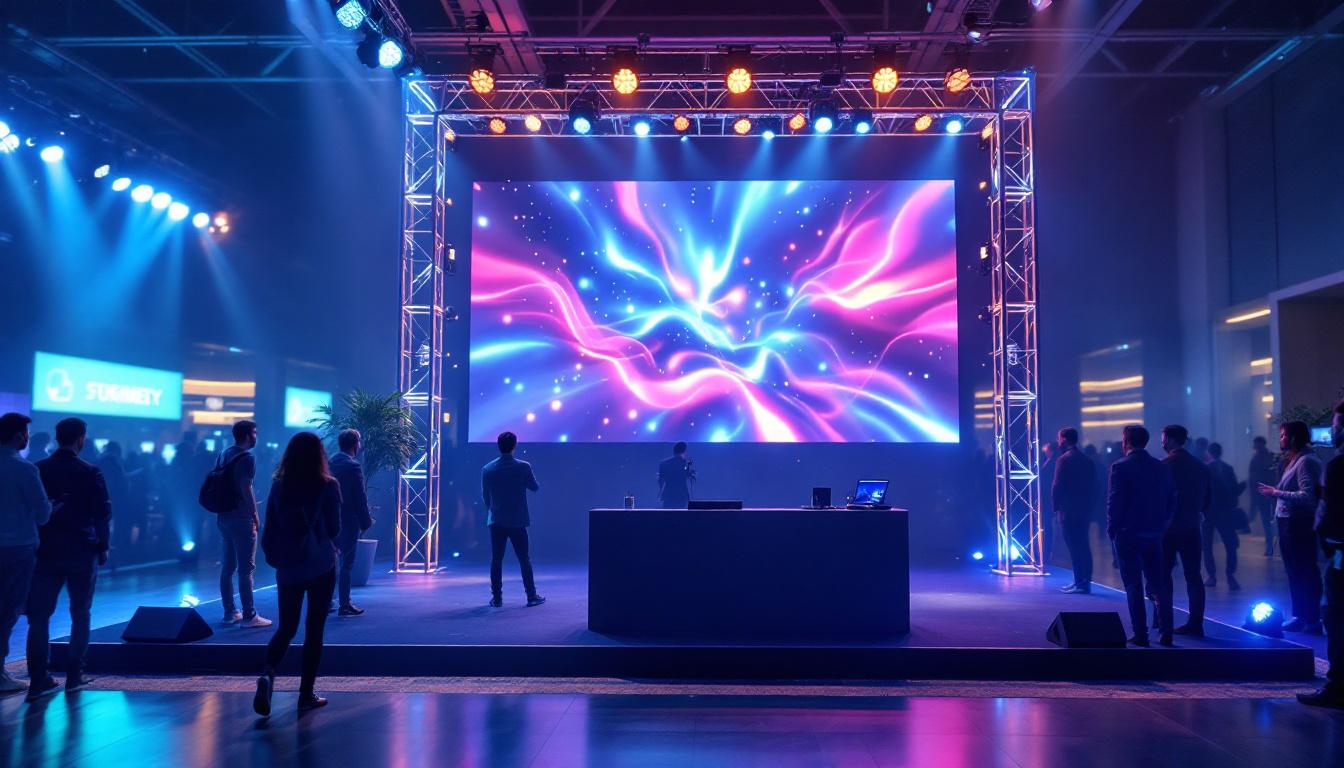
Temporary or permanent installations at trade shows, conferences, and exhibitions benefit from the portability and modularity of LED video walls. Custom content tailored to the event can be displayed with high impact.
Challenges and Tips for Success
While building a homemade LED video wall is rewarding, it comes with challenges that must be addressed for a successful project.
Ensuring Seamless Panel Alignment
Even slight misalignments can cause visible gaps or image distortion. Using precision mounting hardware and regularly checking alignment during assembly helps maintain a seamless appearance.
Managing Heat and Power Consumption
LED panels generate heat, especially in dense configurations. Adequate ventilation and cooling mechanisms prevent overheating, which can degrade performance and lifespan.
Power consumption can be significant; calculating total wattage and ensuring safe electrical installation is critical.
Software and Content Optimization
Optimizing content for the video wall’s resolution and aspect ratio ensures the best visual experience. Using video wall management software with features like edge blending, color correction, and scheduling enhances display quality and flexibility.
Maintenance and Longevity
Regular cleaning, firmware updates, and periodic calibration extend the life of your video wall. Designing the installation for easy access to panels simplifies maintenance and repairs.
The Future of DIY LED Video Walls
Advancements in LED technology and controller software continue to lower the barriers to building custom video walls. Innovations such as flexible LED panels, higher pixel densities, and AI-driven content management promise even more immersive and accessible displays.
As prices decrease and component availability improves, homemade LED video walls will become increasingly popular for personal, educational, and commercial use, transforming how people interact with digital content in physical spaces.
Conclusion
Building a homemade LED video wall is a complex but achievable project that combines technology, design, and creativity. Understanding the fundamentals of LED technology, carefully planning the installation, and selecting quality components are key to creating a stunning and functional display.
Whether for home entertainment, business promotion, or educational purposes, a DIY LED video wall offers a unique way to captivate audiences and elevate visual communication. With the right approach and attention to detail, anyone can bring this impressive technology into their own space.
Explore Cutting-Edge LED Solutions with LumenMatrix
Ready to transform your space with a homemade LED video wall? LumenMatrix is at the forefront of LED display innovation, offering a wide array of solutions tailored to your needs. From vibrant Indoor and Outdoor LED Wall Displays to dynamic Vehicle and Sports LED Displays, our technology is designed to captivate and engage. Discover the possibilities with our LED Poster, Floor, Custom, All-in-One, and Transparent Displays. Elevate your visual communication and make a lasting impression. Check out LumenMatrix LED Display Solutions today and start your journey towards a visually stunning environment.