In today’s digital age, LED signs have become an essential medium for businesses, events, and public information systems. Their vibrant colors, energy efficiency, and versatility make them a popular choice for advertising and communication. But how exactly do LED signs work, and what does it take to create one? This article dives deep into the world of LED displays, explaining their technology, components, and step-by-step guidance on how to make an LED sign yourself.
Understanding LED Display Technology
LED stands for Light Emitting Diode, a semiconductor device that emits light when an electric current passes through it. Unlike traditional incandescent bulbs, LEDs are highly energy-efficient, durable, and capable of producing bright, vivid colors. This makes them ideal for creating signs that need to be visible from a distance and under various lighting conditions. Furthermore, LEDs have a significantly longer lifespan, often exceeding 50,000 hours, which reduces the need for frequent replacements and maintenance, ultimately saving costs for businesses and municipalities alike.
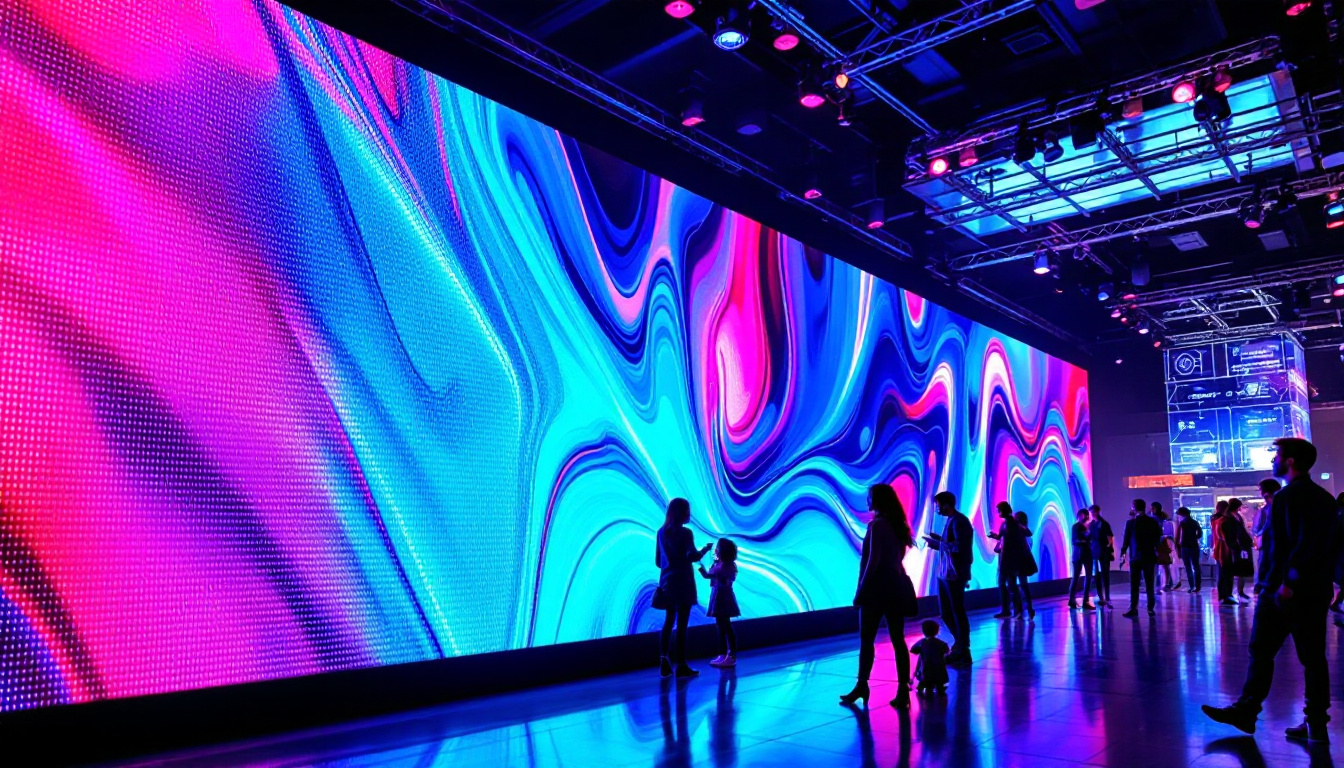
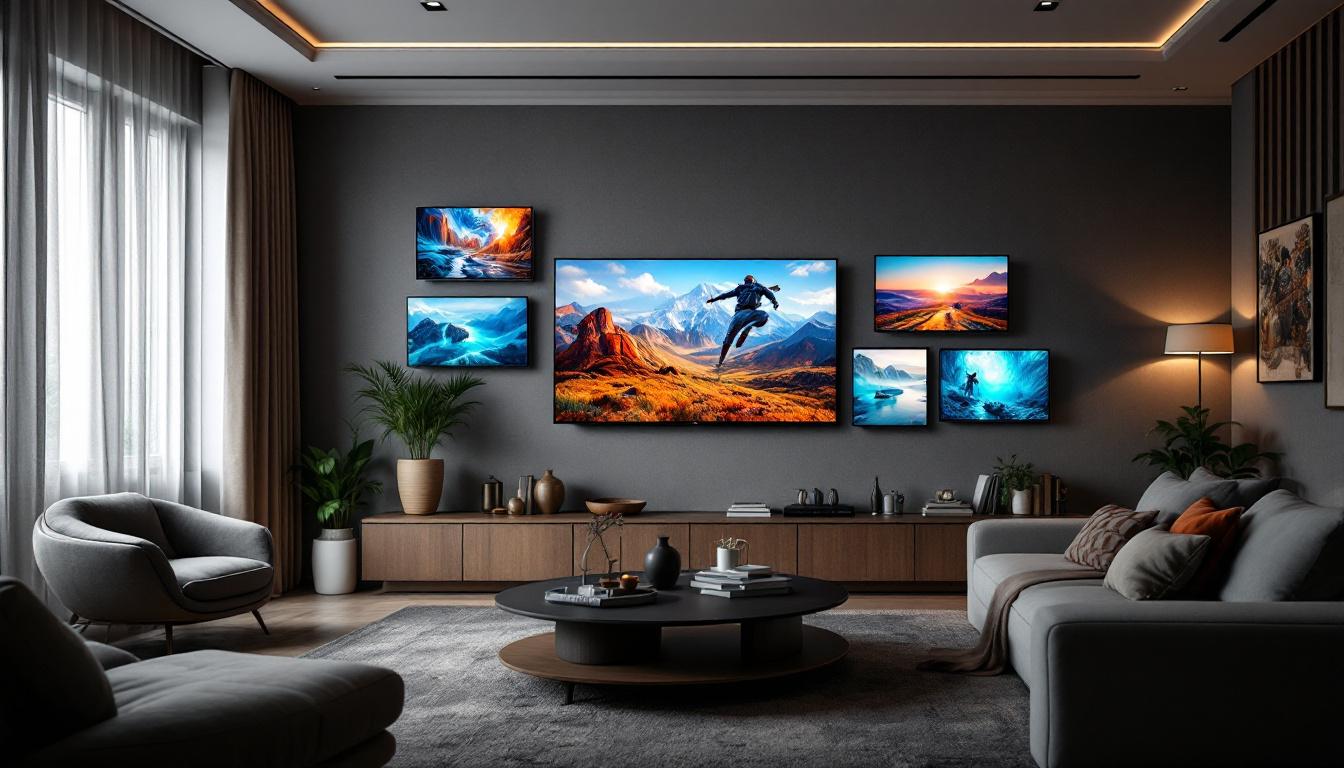
LED displays are composed of numerous tiny LEDs arranged in a grid or matrix. Each LED acts as a pixel, and by controlling the brightness and color of each pixel, the display can show images, text, and animations. There are two primary types of LED displays: monochrome and full-color. Monochrome displays use LEDs of a single color, typically red or amber, while full-color displays combine red, green, and blue LEDs to produce a wide spectrum of colors. The versatility of full-color displays allows for intricate designs and engaging advertisements that can capture the attention of passersby, making them a popular choice for marketing and communication purposes.
The Evolution of LED Displays
Since their inception in the 1960s, LEDs have evolved significantly. Early LED displays were limited to simple numeric readouts, such as those on calculators and digital clocks. Advances in semiconductor technology and manufacturing have enabled the creation of large-scale LED video walls and digital billboards that can display high-resolution video content. The introduction of surface-mounted device (SMD) technology has further enhanced the quality of LED displays, allowing for thinner profiles and improved viewing angles, which is especially beneficial in crowded environments where visibility is crucial.
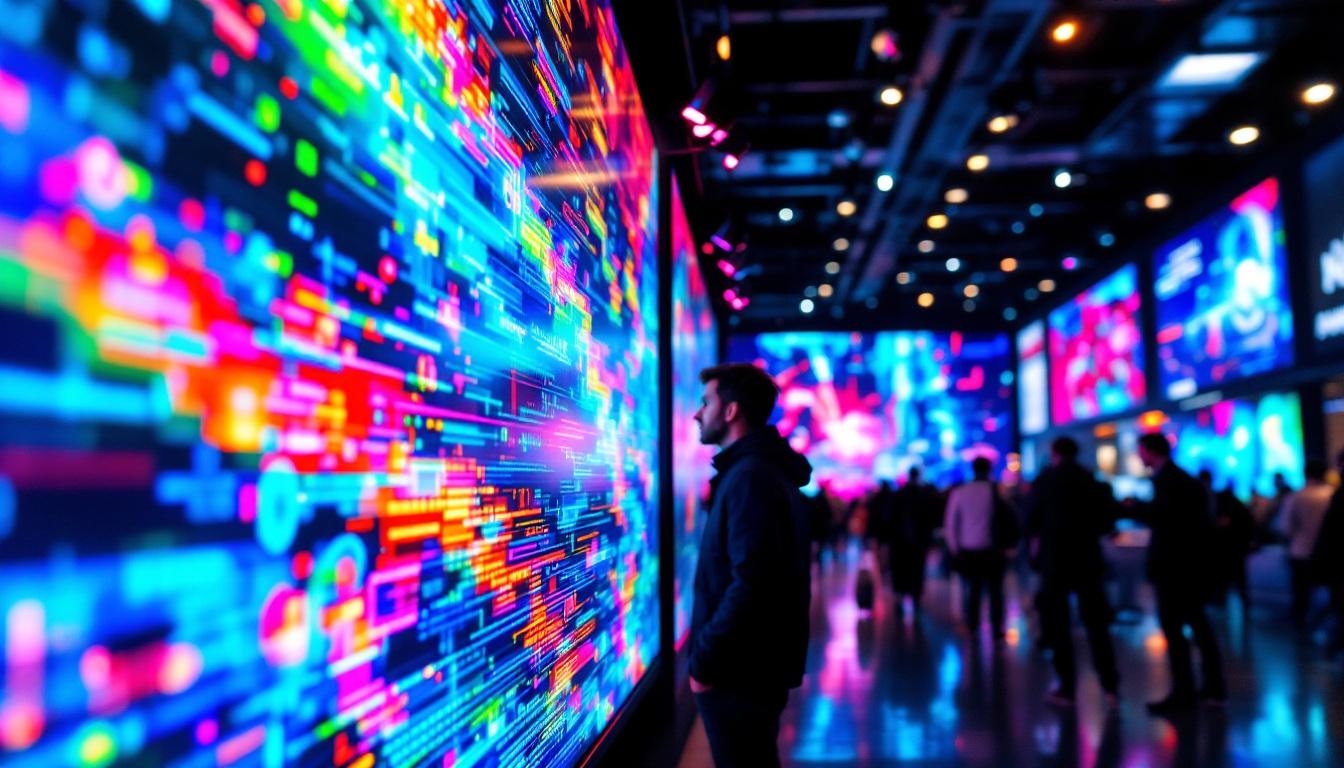
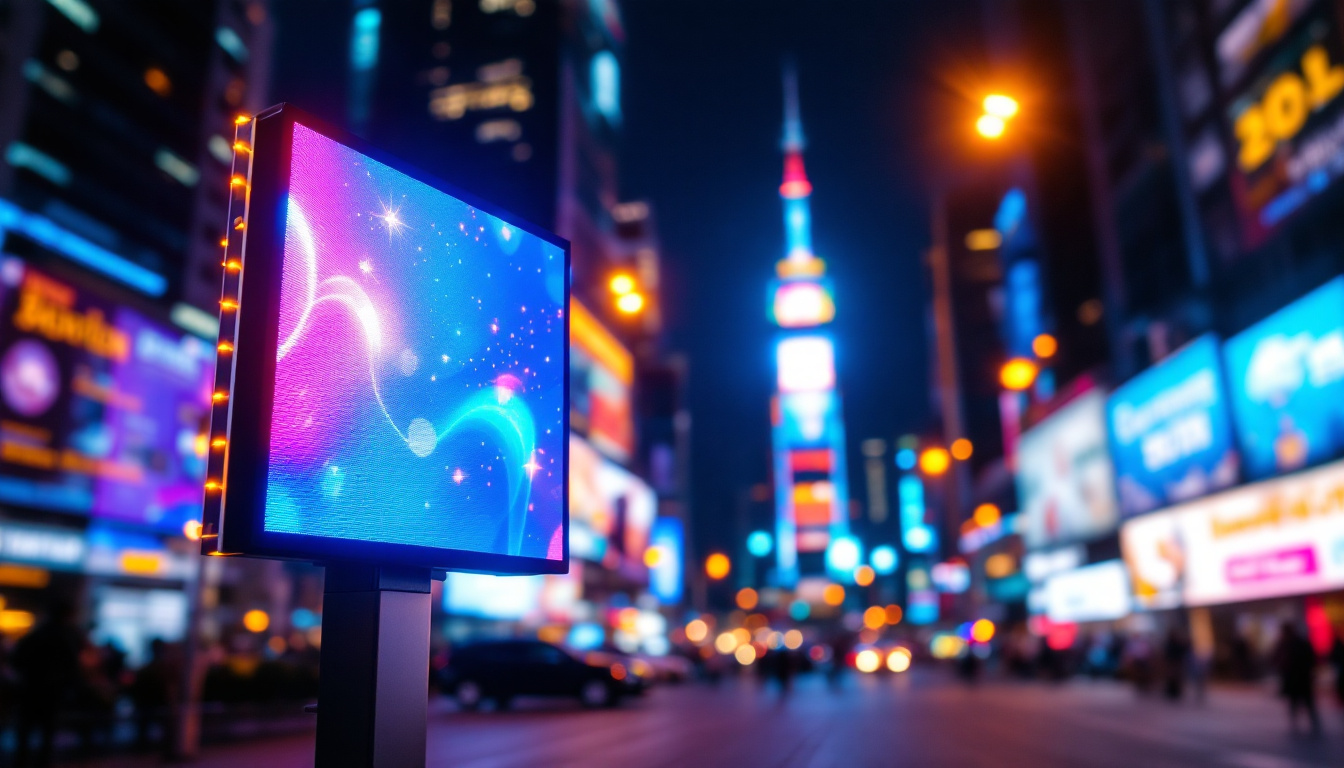
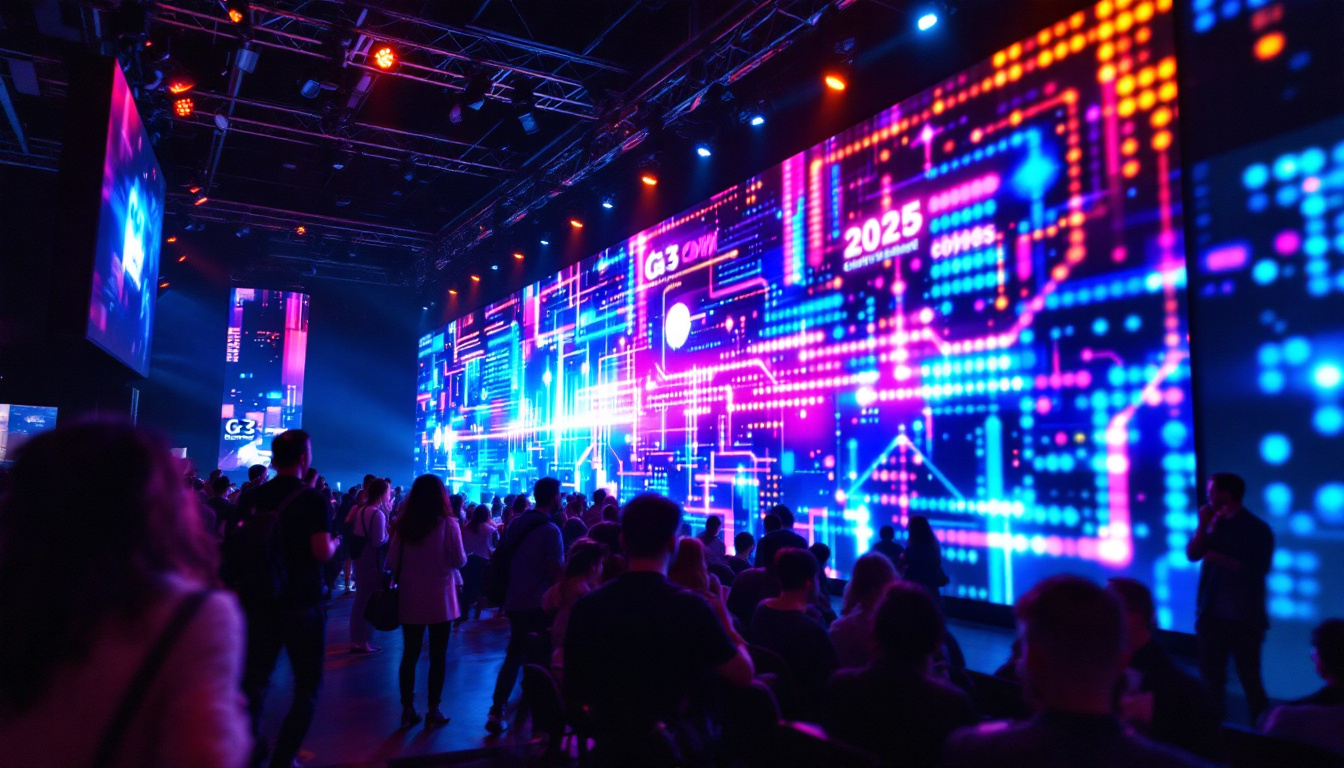
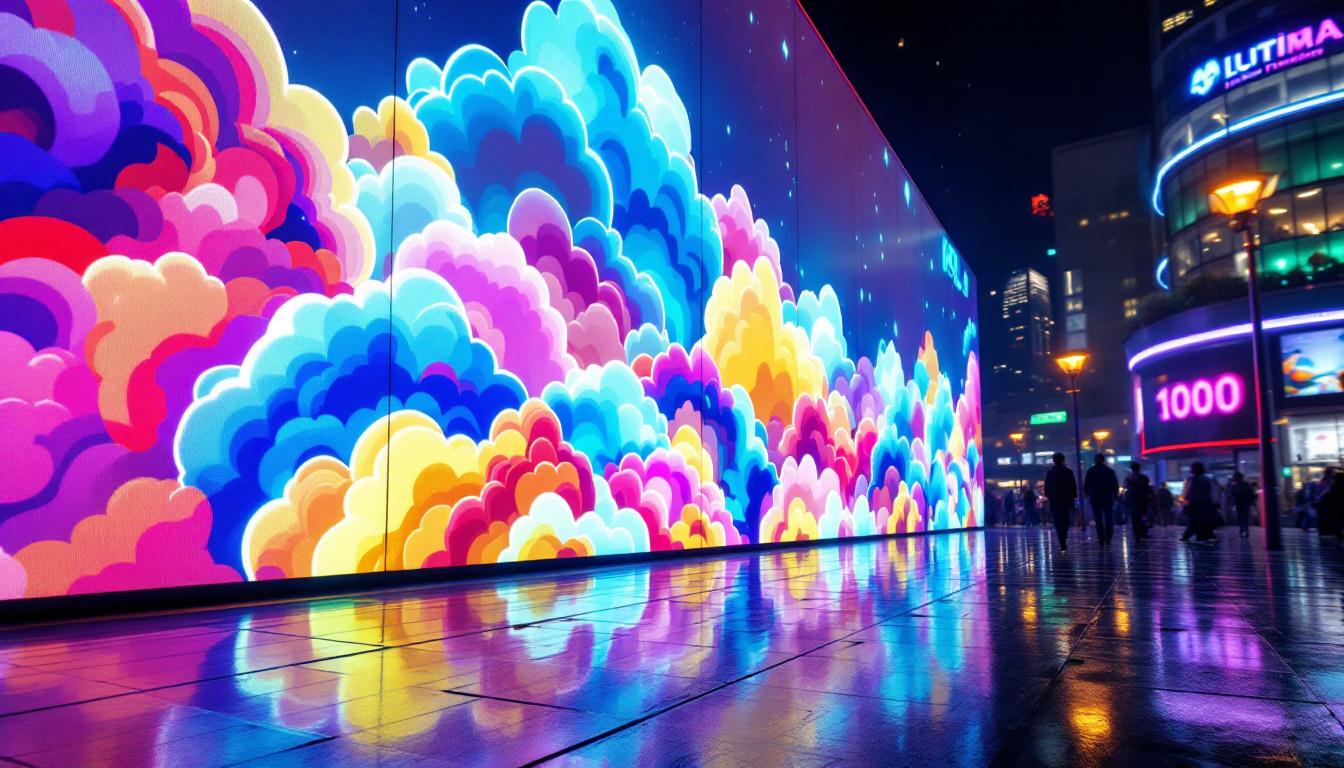
Today, LED signs are used in a variety of applications, from storefront signage and sports arenas to traffic signals and public transportation information boards. Their ability to display dynamic content makes them far more effective than static signs. Additionally, the integration of smart technology has allowed for the remote management of LED displays, enabling businesses to update content in real-time based on changing promotions or events. This adaptability not only increases engagement but also allows for targeted messaging that can resonate more effectively with specific audiences, making LED displays a powerful tool in modern advertising and information dissemination.
Key Components of an LED Sign
Building an LED sign requires understanding the essential components that make up the display. Each part plays a critical role in ensuring the sign functions correctly and reliably.
1. LED Modules
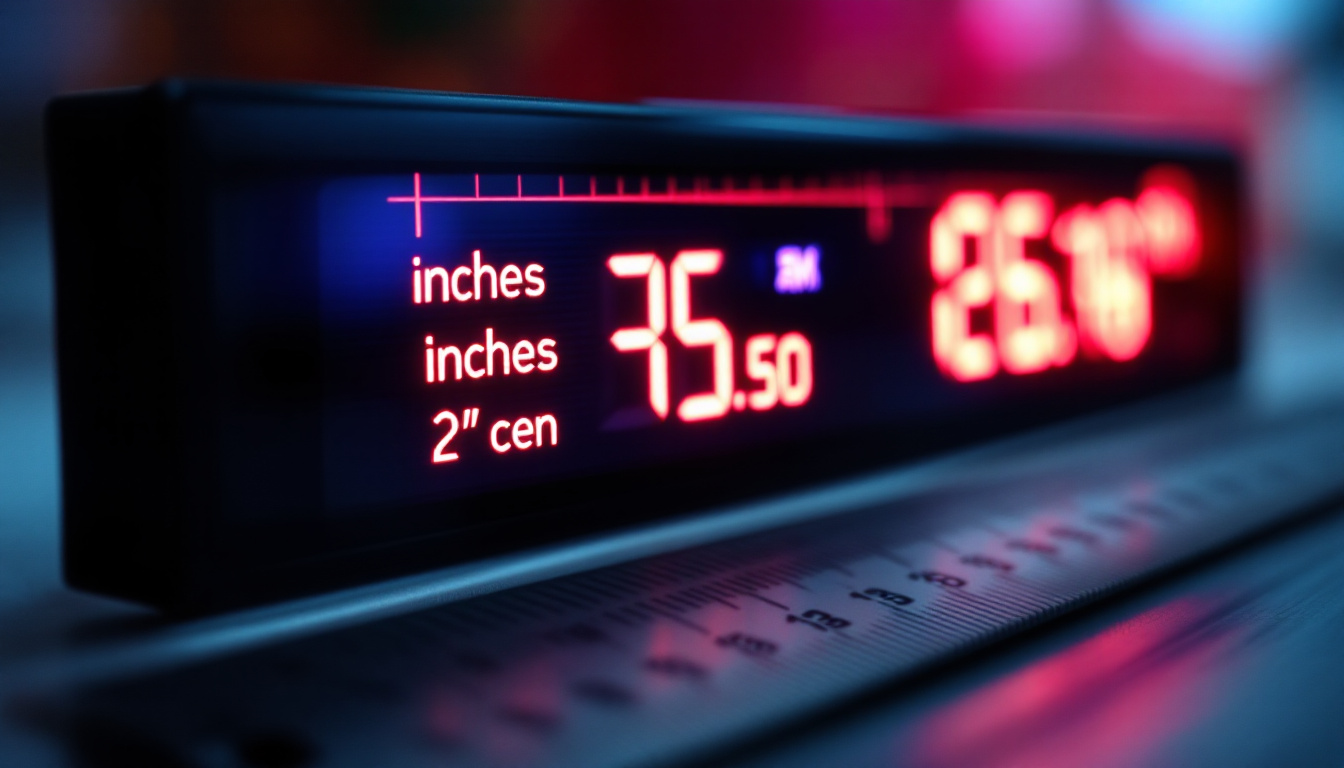
LED modules are the building blocks of the display. Each module contains a set of LEDs arranged in a matrix, along with the necessary circuitry to control them. Modules come in various pixel pitches — the distance between the centers of adjacent LEDs — which affects the resolution and viewing distance of the sign. A smaller pixel pitch results in higher resolution but also increases the cost.
2. Power Supply
LED signs require a stable power supply to operate. The power supply converts standard AC voltage from the mains into the DC voltage needed by the LEDs. It must provide sufficient current to power all the LEDs without fluctuations that could cause flickering or damage.
3. Control System
The control system manages the content displayed on the LED sign. It typically consists of a controller board and software that allows the user to upload images, videos, or text. Modern LED sign controllers support remote management via Wi-Fi or Ethernet, enabling real-time content updates.
4. Cabinet and Housing
The cabinet protects the LED modules and electronics from environmental factors such as rain, dust, and temperature changes. Materials used for the cabinet must be durable and weather-resistant, especially for outdoor signs. Proper ventilation or cooling systems are also necessary to prevent overheating.
Step-by-Step Guide: How to Make an LED Sign
Creating an LED sign involves several stages, from planning and design to assembly and testing. Below is a comprehensive guide to help you make your own LED sign.
Step 1: Define Your Requirements
Before purchasing components, clarify the purpose and specifications of your LED sign. Consider the following factors:
- Size: Determine the physical dimensions based on the installation location.
- Resolution: Decide on the pixel pitch and total pixel count to achieve the desired image clarity.
- Content Type: Will the sign display static text, animations, or video?
- Viewing Distance: The further the audience, the larger the pixel pitch can be.
- Indoor or Outdoor: Outdoor signs require weatherproofing and higher brightness.
Having clear requirements helps in selecting the right components and avoiding unnecessary expenses.
Step 2: Select and Purchase Components
Based on your specifications, source quality LED modules, power supplies, controllers, and housing materials. Reliable suppliers often provide technical support and warranty, which can be invaluable for troubleshooting and maintenance.
For beginners, it’s advisable to start with pre-assembled LED modules that include integrated driver ICs. This simplifies wiring and reduces the risk of errors.
Step 3: Design the Circuit and Layout
Plan the wiring and connections between the LED modules, power supply, and controller. Most LED modules use a daisy-chain connection method, where modules are connected in series for data and power.
Ensure the power supply can handle the total current draw of all LEDs combined. It’s a good practice to include a margin of 20-30% above the calculated current to prevent overload.
Step 4: Assemble the LED Modules
Mount the LED modules onto the cabinet frame securely. Use screws or clips as recommended by the manufacturer. Connect the modules according to your wiring plan, paying close attention to polarity and data input/output directions.
Take care to avoid static discharge during handling, as LEDs and driver ICs can be sensitive to electrostatic damage.
Step 5: Connect the Power Supply and Controller
Wire the power supply to the LED modules, ensuring proper voltage and current ratings. Connect the controller board to the first LED module’s data input port. Double-check all connections before powering on the system.
Step 6: Install and Test the Sign
Install the LED sign at the desired location. For outdoor signs, ensure the cabinet is sealed and weatherproof. Power on the system and upload test content using the controller software.
Check for dead pixels, color uniformity, and brightness consistency. Adjust settings such as brightness and refresh rate to optimize performance.
Step 7: Program and Maintain
Use the control software to schedule content, create animations, or integrate live data feeds. Regular maintenance includes cleaning the sign surface, checking connections, and updating firmware to ensure longevity.
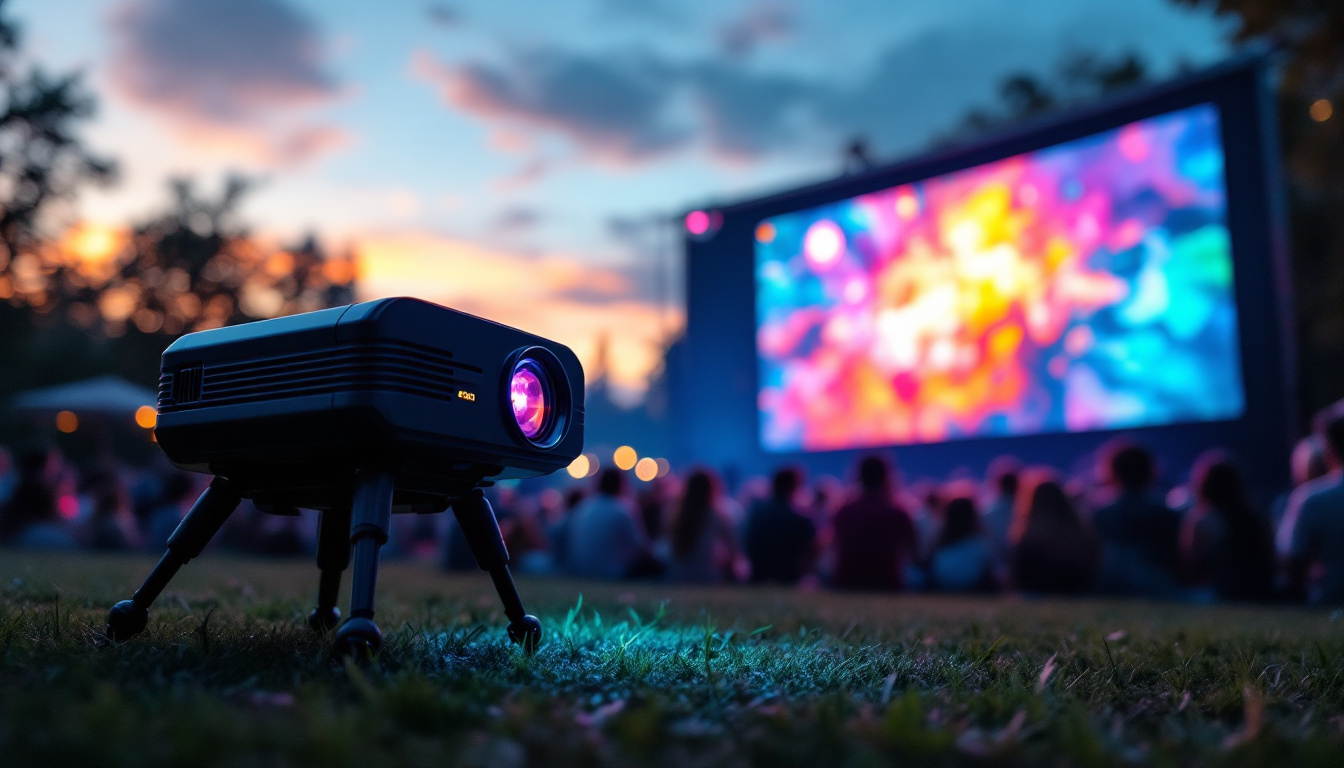
Practical Applications of LED Signs
LED signs have transformed how information is communicated in public and commercial spaces. Their adaptability allows for a wide range of uses.
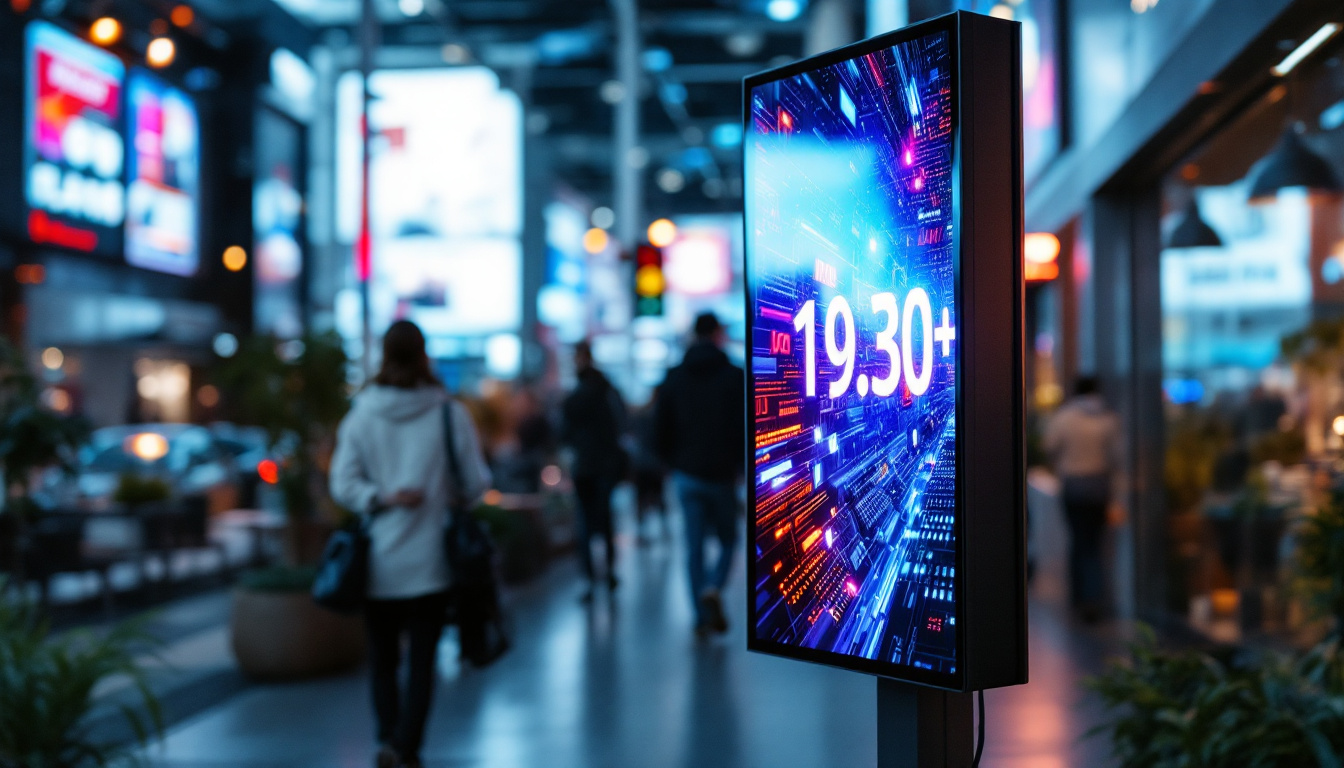
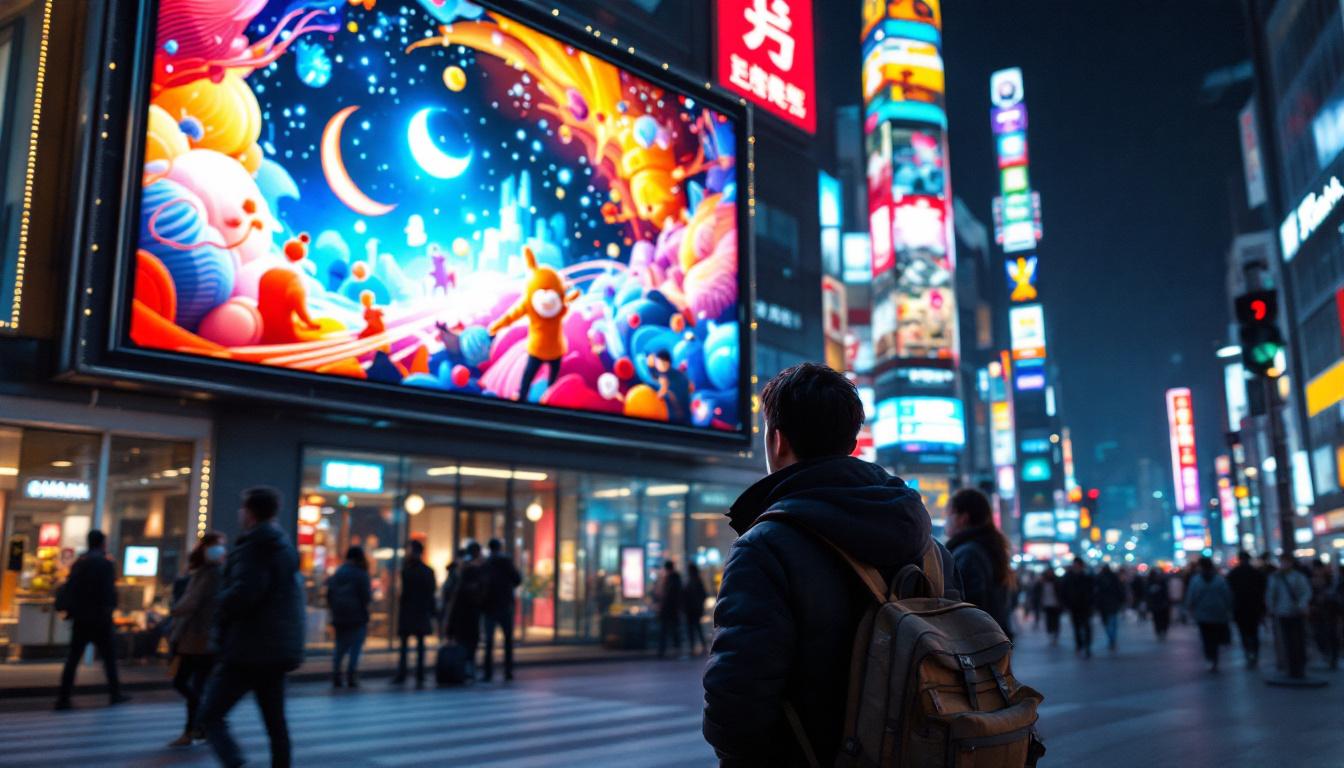
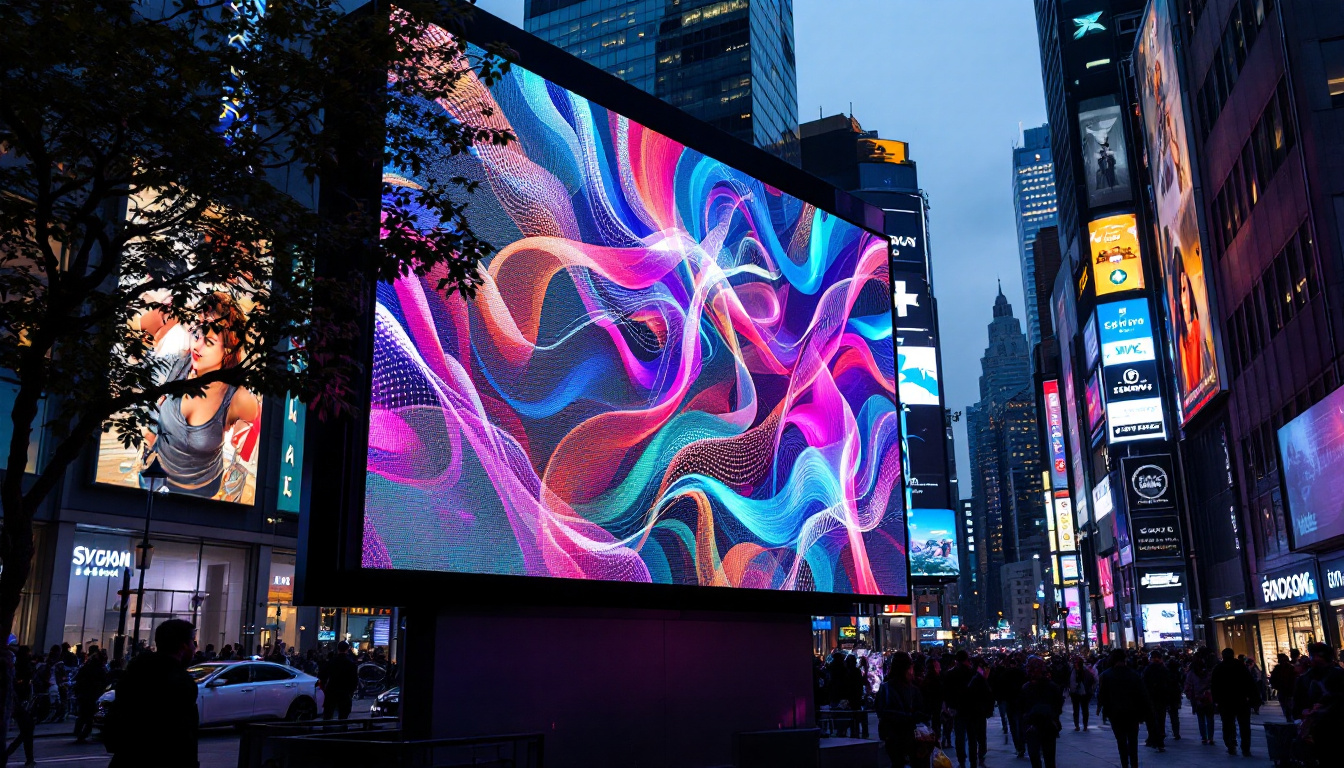
Advertising and Retail
Retailers use LED signs to attract customers with dynamic promotions and brand messaging. Studies show that digital signage can increase sales by up to 30% by capturing attention more effectively than static signs.
Transportation and Public Information
LED displays are integral to airports, train stations, and bus stops, providing real-time updates on schedules and alerts. Their high visibility and reliability improve passenger experience and safety.
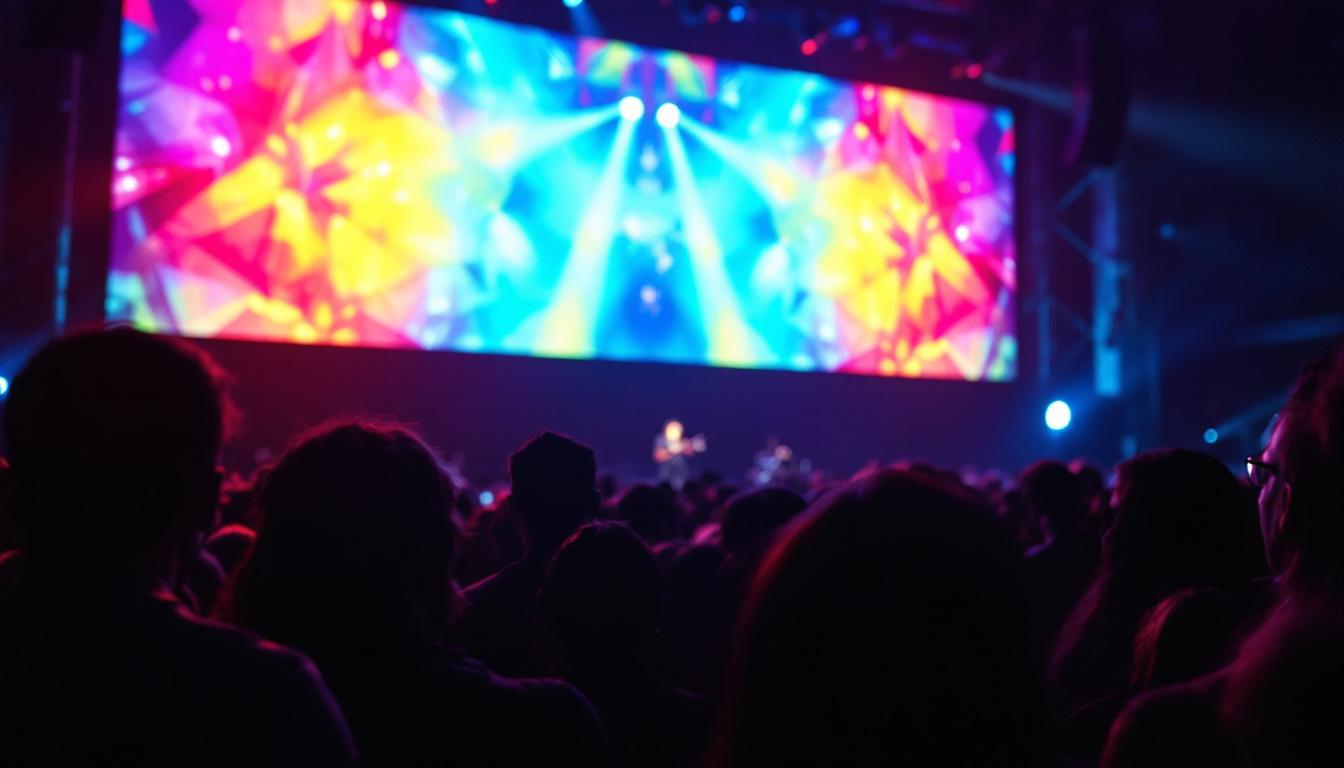
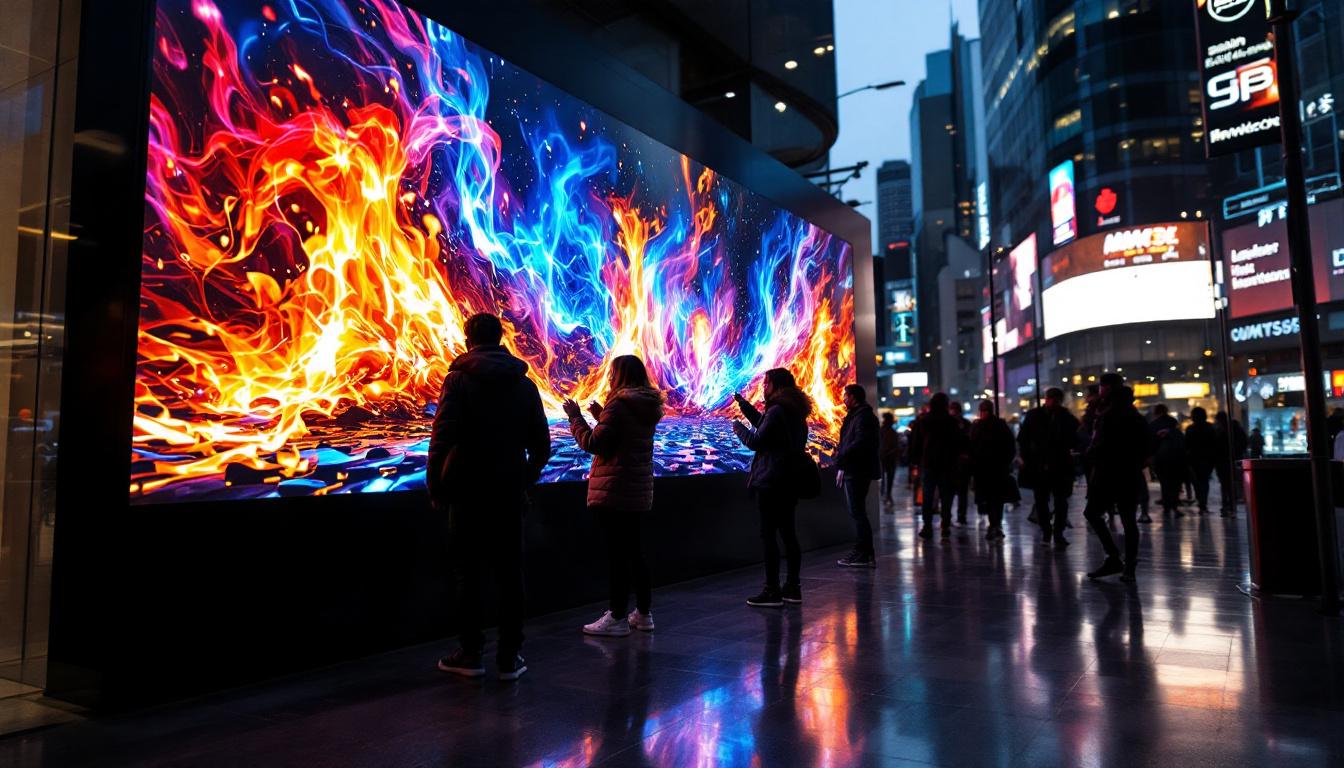
Events and Entertainment
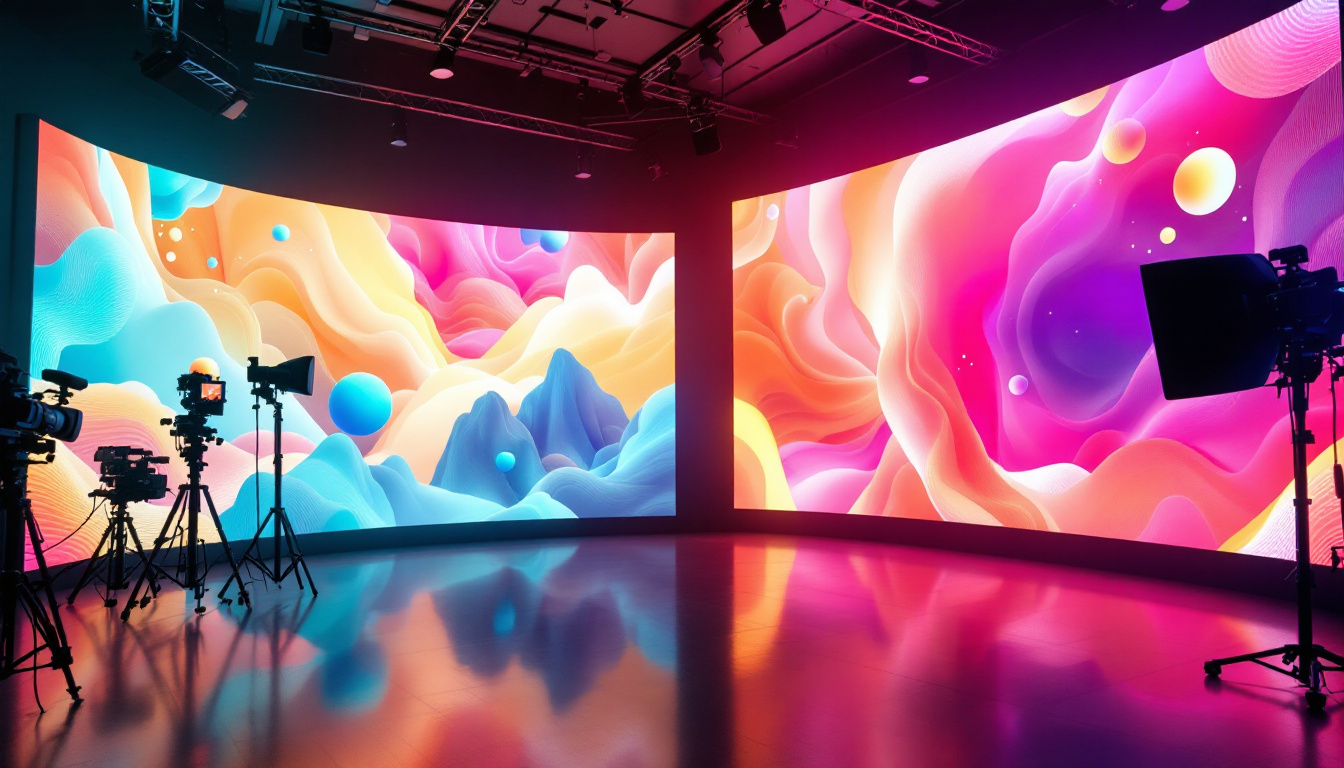
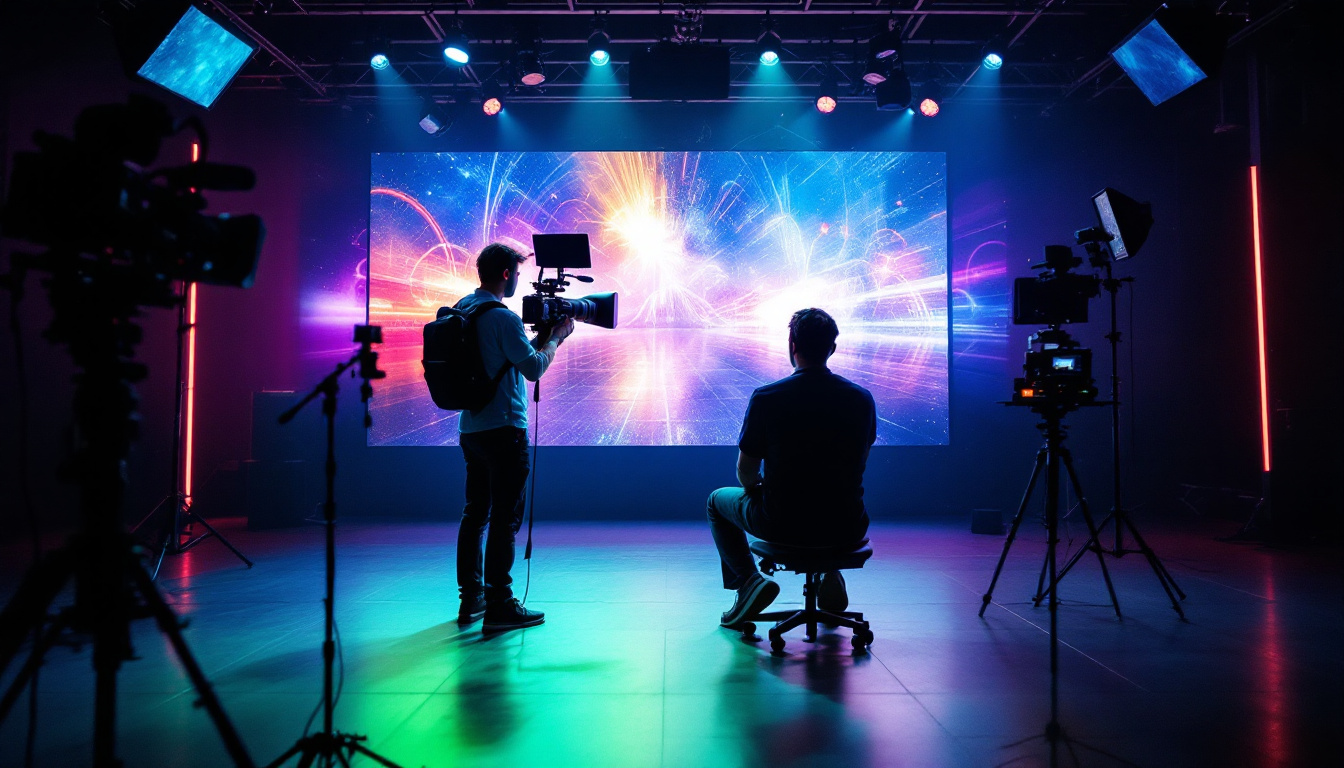
Concerts, sports events, and exhibitions use large LED video walls to engage audiences with live video, graphics, and interactive content. The scalability of LED technology allows for creative installations of various sizes.
Advantages and Challenges of LED Signs
While LED signs offer numerous benefits, it’s important to understand their limitations to make informed decisions.
Advantages
- Energy Efficiency: LEDs consume significantly less power than traditional lighting, reducing operational costs.
- Brightness and Visibility: High brightness levels ensure readability even in direct sunlight.
- Longevity: LEDs have a lifespan of up to 100,000 hours, minimizing replacement frequency.
- Flexibility: Content can be changed instantly, enabling dynamic messaging.
- Low Maintenance: Solid-state construction reduces mechanical failures.
Challenges
- Initial Cost: High-quality LED signs require significant upfront investment.
- Technical Complexity: Designing and assembling LED signs demands technical knowledge.
- Environmental Factors: Outdoor signs must withstand weather extremes, requiring robust design.
- Light Pollution: Improper use of LED signs can contribute to urban light pollution.
Future Trends in LED Signage
The LED signage industry continues to innovate, driven by advancements in technology and changing user needs.
MicroLED and MiniLED Technologies
Emerging MicroLED and MiniLED technologies offer even higher resolution and brightness with improved energy efficiency. These advancements will enable thinner, more flexible displays suitable for diverse applications.
Integration with IoT and AI
Smart LED signs integrated with the Internet of Things (IoT) and artificial intelligence (AI) can deliver personalized content based on audience demographics, weather conditions, or time of day. This dynamic adaptability enhances engagement and effectiveness.
Sustainability Focus
Manufacturers are increasingly prioritizing sustainable materials and recycling programs to reduce the environmental impact of LED signs. Energy-efficient designs and solar-powered options are gaining traction.
Conclusion
Creating an LED sign involves a blend of understanding the underlying technology, selecting the right components, and carefully assembling the system to meet specific requirements. Whether for business advertising, public information, or entertainment, LED displays offer unmatched versatility and impact.
By following the steps outlined in this article and staying informed about the latest trends, anyone interested can successfully build and maintain an effective LED sign. As LED technology continues to evolve, its role in visual communication is set to become even more prominent and exciting.
Discover LumenMatrix LED Display Solutions
Ready to bring your LED sign vision to life? LumenMatrix is at the forefront of LED display innovation, offering a wide array of solutions tailored to your needs. From dazzling Indoor LED Wall Displays to dynamic Vehicle LED Displays and beyond, our products are designed to make your brand stand out and your message resonate. Experience the future of visual communication with our LED Sports Displays, Floor LED Displays, and even Custom LED solutions. Embrace the power of LED technology and create an unforgettable visual experience. Check out LumenMatrix LED Display Solutions today and see how we can illuminate your world.