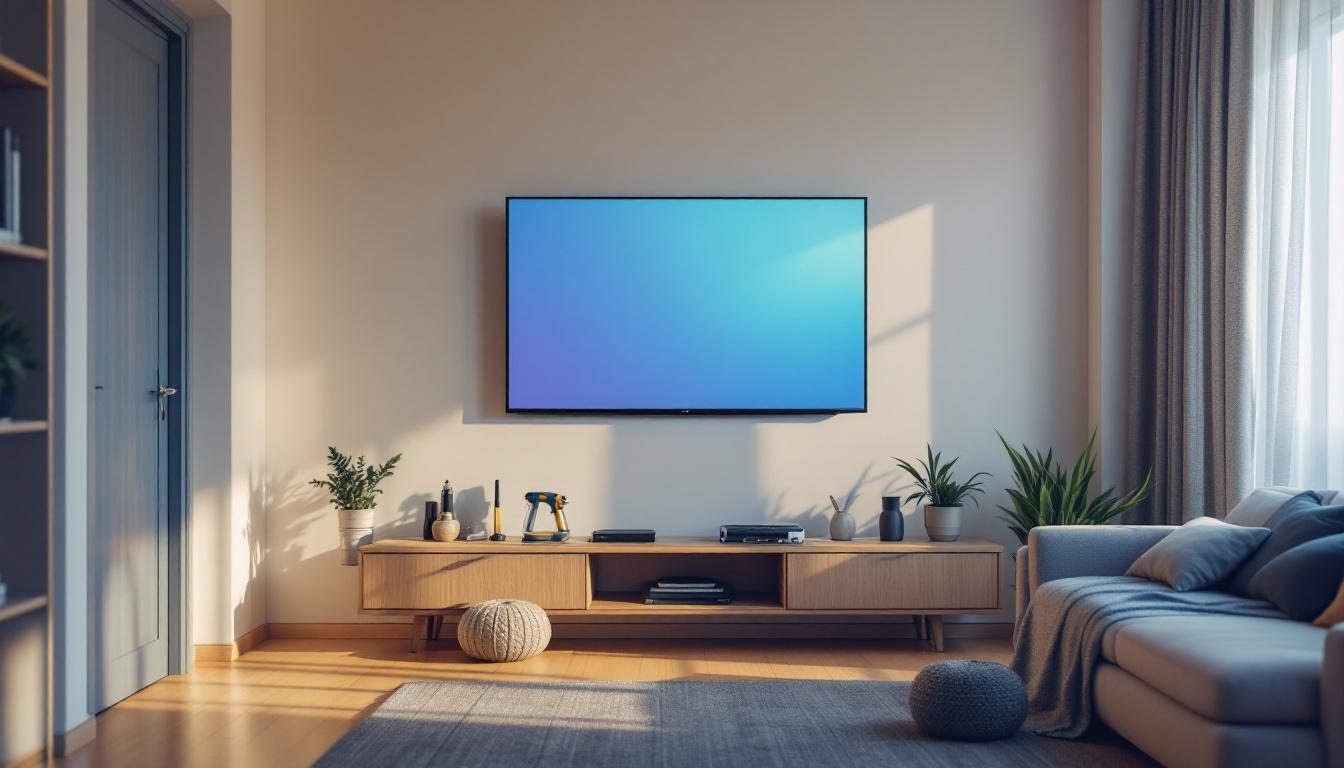
Mounting a TV on the wall has become increasingly popular as consumers seek to maximize space, enhance viewing experiences, and create sleek, modern living environments. With LED TVs dominating the market due to their slim profiles and vibrant displays, understanding how to securely and effectively mount these devices is essential. This comprehensive guide will walk you through the process of mounting an LED TV on the wall, explain the technology behind LED displays, and offer practical tips to ensure safety and optimal viewing.
Understanding LED TV Technology
What Is an LED TV?
LED TVs are a type of LCD (Liquid Crystal Display) television that use Light Emitting Diodes (LEDs) as a backlight rather than the traditional cold cathode fluorescent lamps (CCFLs). This technology allows LED TVs to be thinner, more energy-efficient, and capable of producing brighter and more vivid images. The transition from CCFL to LED backlighting has revolutionized the television industry, providing consumers with a better viewing experience and more options for display quality.
The LEDs can be arranged in different configurations, such as edge-lit or full-array backlighting. Edge-lit LED TVs place LEDs around the edges of the screen, allowing for slimmer designs, while full-array LED TVs have LEDs spread evenly behind the screen, enabling better local dimming and contrast. Full-array technology can significantly enhance picture quality by allowing specific areas of the screen to dim or brighten independently, resulting in deeper blacks and more vibrant colors. This capability is particularly noticeable in scenes with high contrast, such as dark night skies or bright daylight settings.
Why LED TVs Are Ideal for Wall Mounting
Due to their slim and lightweight design, LED TVs are particularly well-suited for wall mounting. Unlike older CRT or plasma models, which were bulky and heavy, most modern LED TVs weigh between 10 to 50 pounds depending on their size. This makes installation easier and safer when using the proper mounting hardware. Moreover, many manufacturers provide wall-mounting kits that are specifically designed for their models, ensuring a secure fit and reducing the risk of damage during installation.
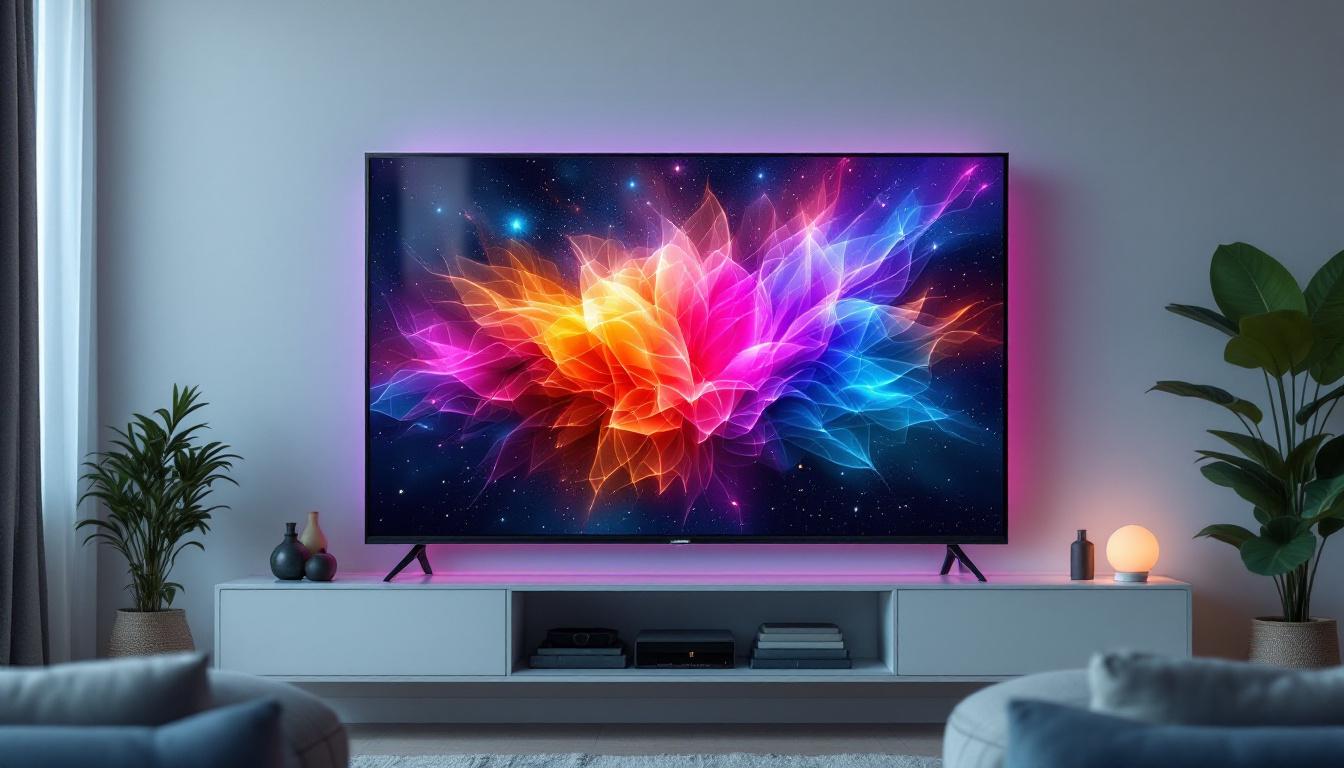
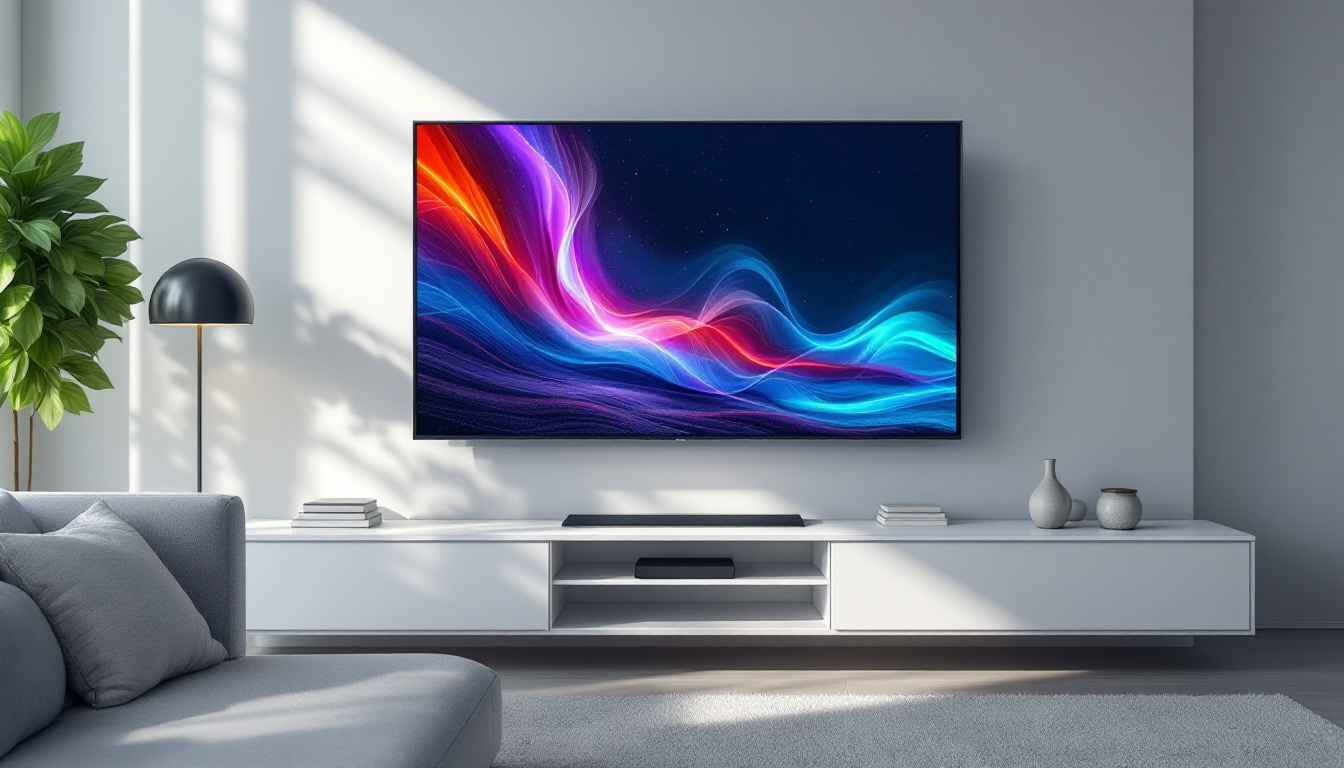
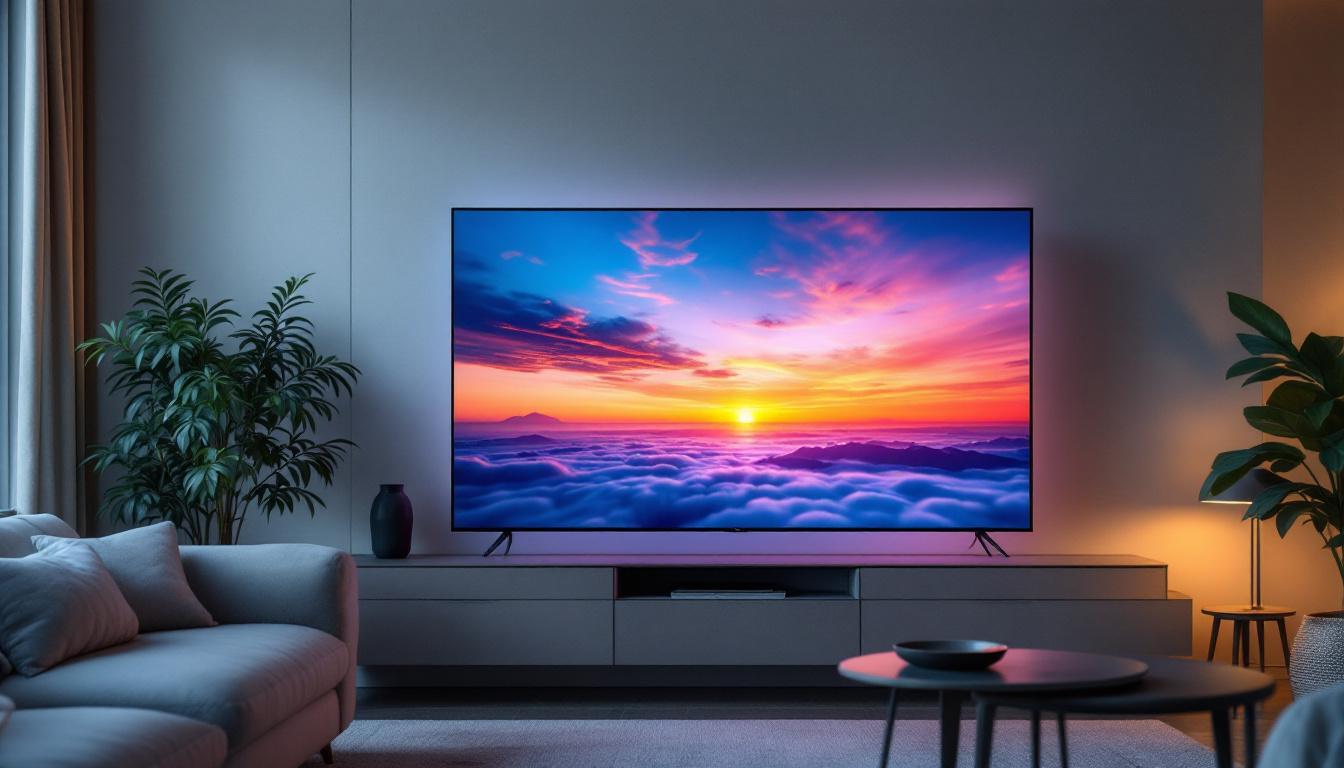
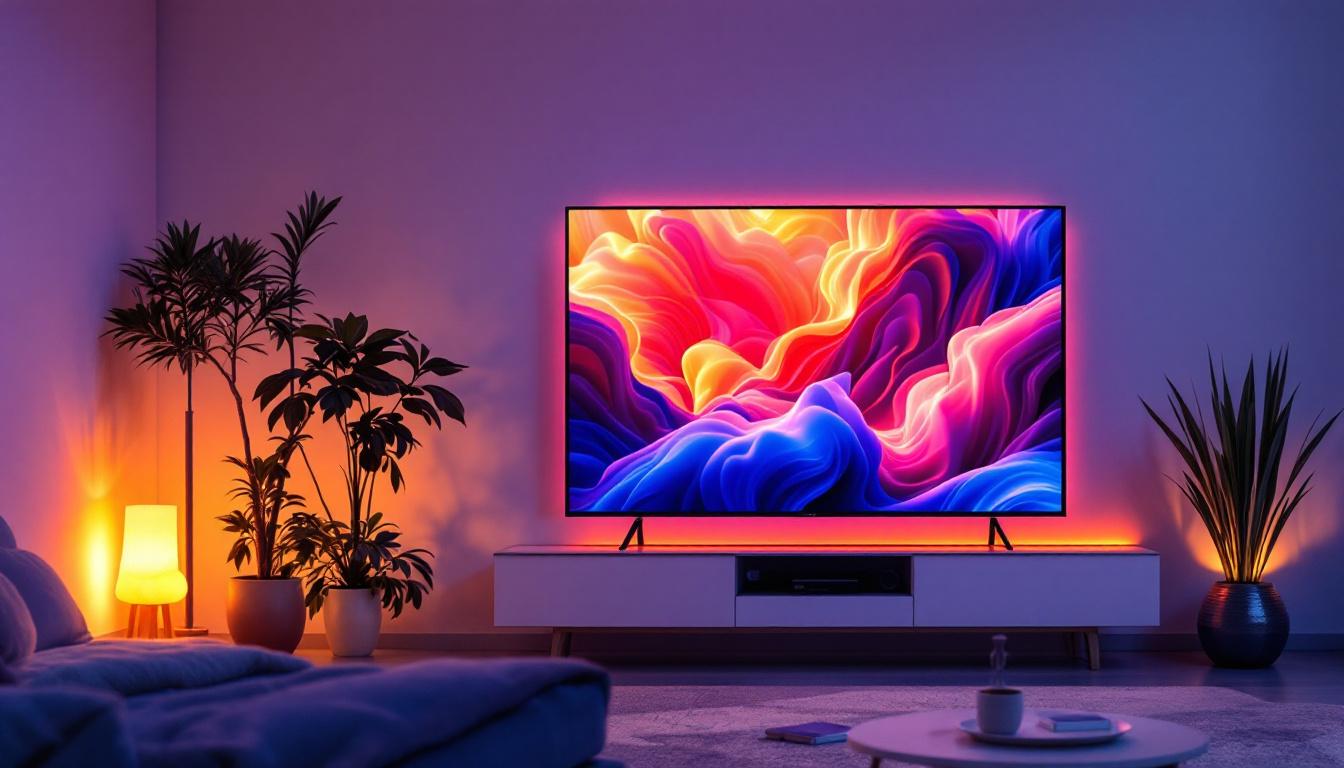
Additionally, the flat-panel design of LED TVs allows for a flush, aesthetically pleasing installation that can transform a room’s ambiance. The minimal depth of LED TVs means they protrude less from the wall, reducing the risk of accidental bumps and making the space feel more open. Wall mounting also frees up valuable floor space, allowing for more versatile room layouts and furniture arrangements. Furthermore, many people choose to integrate their LED TVs into a home automation system, where they can be controlled remotely, enhancing the convenience and functionality of home entertainment setups.
Another advantage of wall-mounted LED TVs is the ability to position them at optimal viewing heights. This can lead to a more comfortable viewing experience, reducing neck strain and improving overall enjoyment during movie nights or gaming sessions. Some advanced mounting systems even allow for tilting or swiveling, providing flexibility in viewing angles and accommodating different seating arrangements. As technology continues to evolve, the integration of LED TVs into smart home ecosystems will only enhance their appeal, making them a central feature in modern living spaces.
Preparing to Mount Your LED TV
Choosing the Right Wall Mount
Selecting the appropriate wall mount is crucial for both safety and functionality. Wall mounts come in several types:
- Fixed Mounts: These hold the TV flat against the wall without any movement. They are usually the most affordable and provide a clean look.
- Tilting Mounts: Allow the TV to tilt vertically, which is useful to reduce glare or adjust the viewing angle when the TV is mounted higher than eye level.
- Full-Motion or Articulating Mounts: These mounts enable the TV to swivel, extend, or retract, providing maximum flexibility in positioning.
When choosing a mount, verify that it supports your TV’s size and weight. Most mounts list compatible VESA (Video Electronics Standards Association) patterns, which correspond to the mounting holes on the back of your TV. Matching the VESA pattern ensures the mount will securely fit your television.
Tools and Materials Needed
Before starting the installation, gather the following tools and materials:
- Stud finder
- Drill with appropriate drill bits
- Level
- Socket wrench or screwdriver
- Measuring tape
- Wall anchors (if mounting on drywall without studs)
- Mounting bracket and hardware (usually included with the mount)
- Assistant or helper (recommended for safety and ease)
Having these tools on hand will streamline the process and reduce the risk of mistakes or damage.
Selecting the Ideal Location
Choosing where to mount your TV is as important as the mounting process itself. Consider the following factors:
- Viewing Height: The center of the screen should ideally be at eye level when seated to reduce neck strain.
- Room Lighting: Avoid placing the TV opposite windows or bright light sources to minimize glare.
- Wall Material: Ensure the wall can support the TV’s weight. Studs in drywall, brick, or concrete walls provide solid mounting points.
- Accessibility: Consider cable management and access to power outlets and input ports.
Step-by-Step Guide to Mounting Your LED TV
Step 1: Locate the Wall Studs
Using a stud finder, locate the vertical studs behind the drywall. These wooden or metal studs provide the necessary support for your TV. Mark the stud locations with a pencil. Mounting the bracket directly into studs ensures the TV will be securely anchored.
If you cannot find studs in the desired location, use heavy-duty wall anchors rated for your TV’s weight. However, mounting on studs is always preferable for safety.
Step 2: Mark and Drill Mounting Holes
Hold the wall bracket against the wall at the desired height, aligning it with the stud marks. Use a level to ensure the bracket is perfectly horizontal. Mark the drilling points through the mounting holes on the bracket.
Drill pilot holes at the marked points. The size of the drill bit should match the size of the mounting screws or anchors to be used. Proper pilot holes prevent the wall from cracking and make it easier to insert screws.
Step 3: Attach the Wall Bracket
Secure the wall bracket to the wall using lag bolts or screws provided with the mount. Use a socket wrench or screwdriver to tighten the bolts firmly, but avoid over-tightening which can damage the wall or bracket.
Double-check the bracket’s level after installation to ensure it hasn’t shifted during tightening.
Step 4: Attach the Mounting Plate to the TV
Locate the mounting holes on the back of your LED TV. Attach the mounting plate or arms that came with your wall mount using the appropriate screws. Be sure to use the correct screw length and type to avoid damaging the TV.
It’s helpful to lay the TV face down on a soft surface such as a blanket or carpet to prevent scratches while attaching the mounting plate.
Step 5: Hang the TV on the Wall Bracket
With the help of an assistant, lift the TV and align the mounting plate with the wall bracket. Carefully hook or secure the TV onto the bracket according to the mount’s instructions.
Once mounted, check that the TV is firmly attached and that any locking mechanisms are engaged to prevent accidental dislodging.
Step 6: Connect Cables and Manage Wires
Connect all necessary cables such as power, HDMI, and audio cables. Use cable management solutions like cable covers, raceways, or in-wall rated cables to keep wires organized and hidden for a clean look.
Proper cable management not only improves aesthetics but also prevents cables from becoming tripping hazards or damaged.
Safety Considerations and Tips
Weight and Size Limits
Always verify the weight and size limits of your wall mount before installation. Mounts designed for smaller TVs may not support larger, heavier models, leading to potential accidents or damage.
Consult your TV’s manual for its exact weight and dimensions, and choose a mount rated to handle at least 20% more than the TV’s weight for added safety.
Wall Material and Stud Integrity
Drywall alone cannot support a TV’s weight. Always mount into studs or use appropriate anchors for masonry walls. If unsure about the wall’s integrity, consider consulting a professional installer.
Electrical Safety
Be cautious of electrical wiring inside walls when drilling. Use a stud finder with wire detection or consult building plans to avoid hitting electrical cables.
Secure Mounting for Child Safety
In homes with children, secure mounting is especially important to prevent TVs from tipping over. Use mounts with locking mechanisms and consider additional safety straps if necessary.
Optimizing Your Viewing Experience
Adjusting Viewing Angles
If your mount allows tilting or swiveling, adjust the TV to minimize glare and achieve the most comfortable viewing angle. This is particularly useful in rooms with multiple seating areas.
Calibrating Your LED Display
After installation, take time to calibrate your LED TV’s picture settings. Adjust brightness, contrast, color temperature, and sharpness to suit your room’s lighting and personal preferences. Many TVs include built-in calibration tools or presets for different viewing modes.
Sound Considerations
Wall mounting can sometimes affect the TV’s built-in speakers due to proximity to the wall. Consider adding a soundbar or external speakers to enhance audio quality and create a more immersive experience.
Common Challenges and How to Overcome Them
Uneven Walls
Older homes may have uneven walls that make mounting difficult. Use shims behind the bracket to level the mount, or select mounts with adjustable arms to compensate for wall irregularities.
Hidden Cables
Running cables inside walls for a clean look requires compliance with local building codes and may require professional installation. Alternatively, use surface-mounted cable raceways that blend with your décor.
Heavy or Large TVs
For very large LED TVs (75 inches and above), mounting can be challenging due to weight and size. Enlist professional help to ensure safe installation and avoid damage.
Conclusion
Mounting an LED TV on the wall is a practical and stylish way to enhance your home entertainment setup. Understanding the technology behind LED displays, selecting the right mount, and following a careful installation process ensures safety and optimal performance. By considering viewing angles, cable management, and room layout, you can create a comfortable and visually appealing space that elevates your TV watching experience.
With the right preparation and tools, wall mounting your LED TV can be a rewarding DIY project that adds value and modern flair to your living space.
Enhance Your Space with LumenMatrix LED Displays
Now that you’re equipped with the knowledge to mount your LED TV seamlessly, why not elevate your visual experience even further? LumenMatrix specializes in bringing your space to life with vibrant and innovative LED display solutions. From captivating Indoor LED Wall Displays to dynamic Outdoor LED Wall Displays and beyond, our products are designed to revolutionize visual communication and engagement. Discover how LumenMatrix can transform your environment and help you share your message with unparalleled impact. Check out LumenMatrix LED Display Solutions and take the first step towards an unforgettable visual journey.